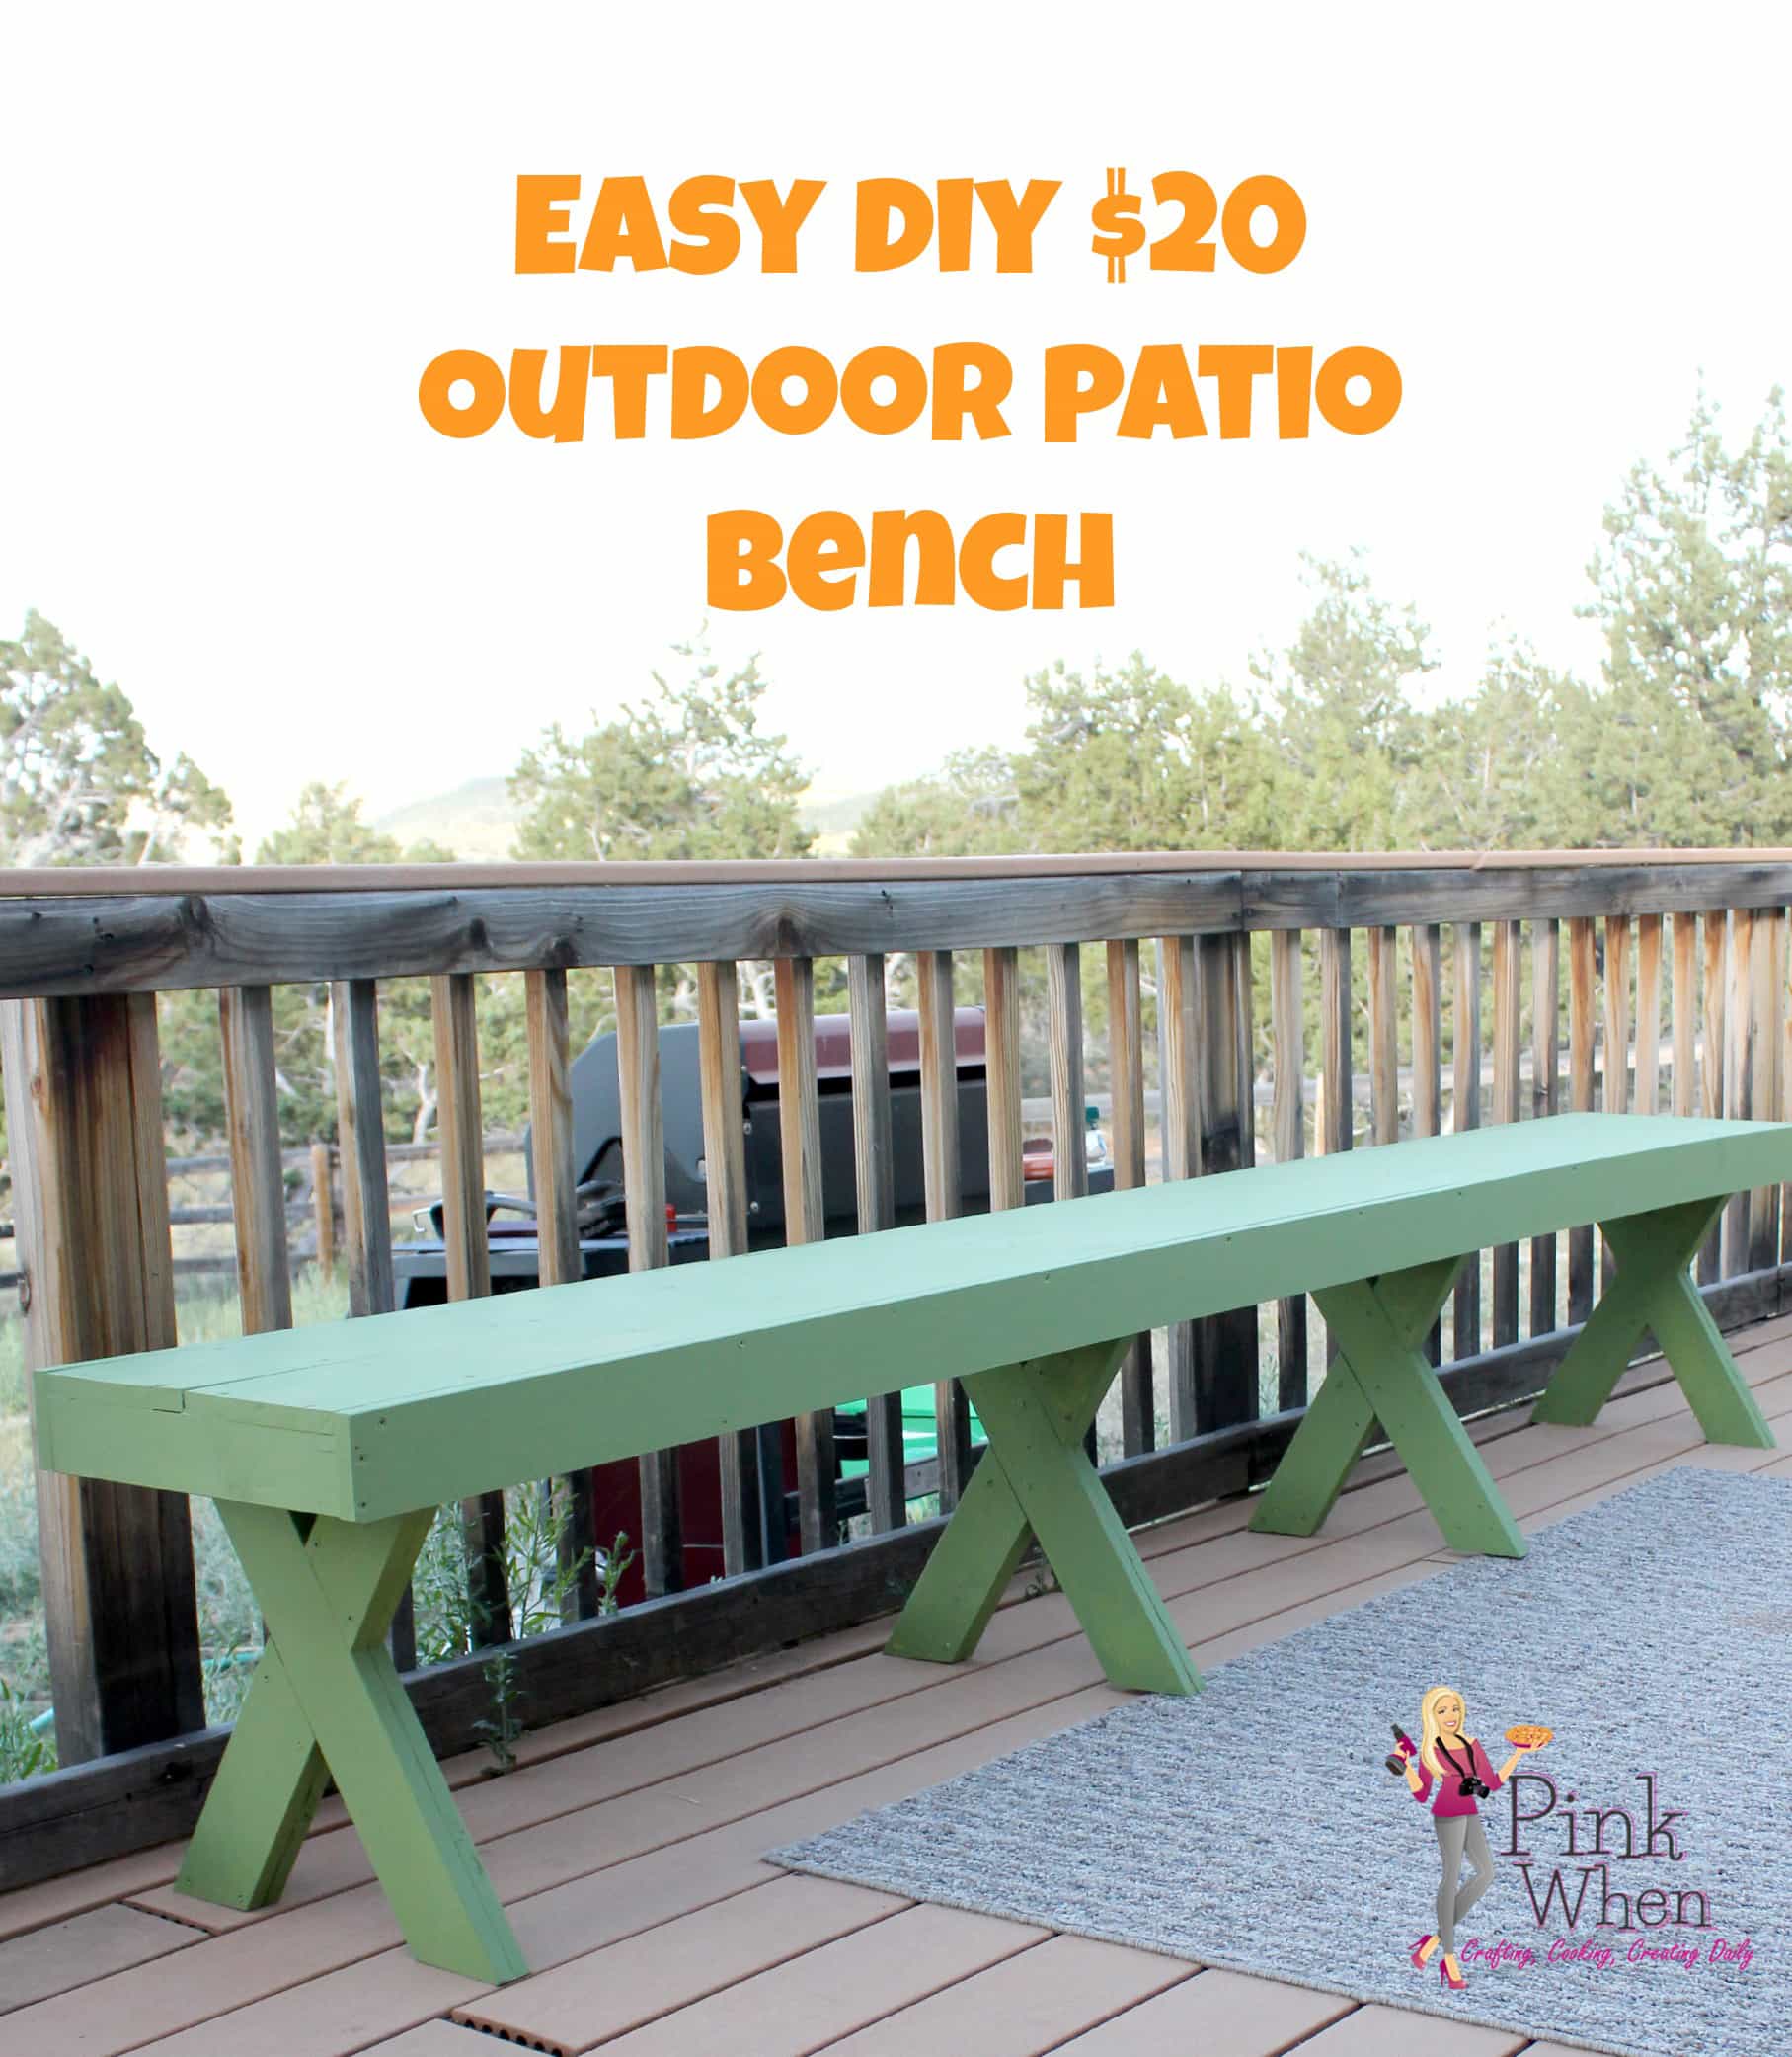
Beautiful Summer is in full swing and so is spending time outdoors. It’s always fun to have an outdoor party, but it’s a bummer when you don’t have enough seating available for all of your friends and family. With that being the case, a few weeks ago we made a couple of patio benches for my friends in Colorado and their new house and outdoor deck.
They love to have friends over to look at those beautiful views, but they didn’t have the right amount of seating. That’s where this awesome DIY $20 Outdoor Patio Bench was born.
Material Needed to Make a Patio Bench
To make this Out door Patio bench, you are going to need a few supplies:
- (2) 1 x 6 x 10 (These will be the seat tops)
- (1) 2 x 4 x 8 cut (4) 13 7/8″ (for leg braces)
- (2) 1 x 4 x 10 (Legs are 22″ length board with 28 degree and 32 degree cut (feet) measure 19″ tall)
- (2) 14 3/16″ long and 2 9/16″ wide for the center end pieces
- 2″ screws
- 1 1/4″ screws
- (2) 1 x 4 x 10 (These are the skirts on the bench)
- 4″ screws
How to make a patio bench
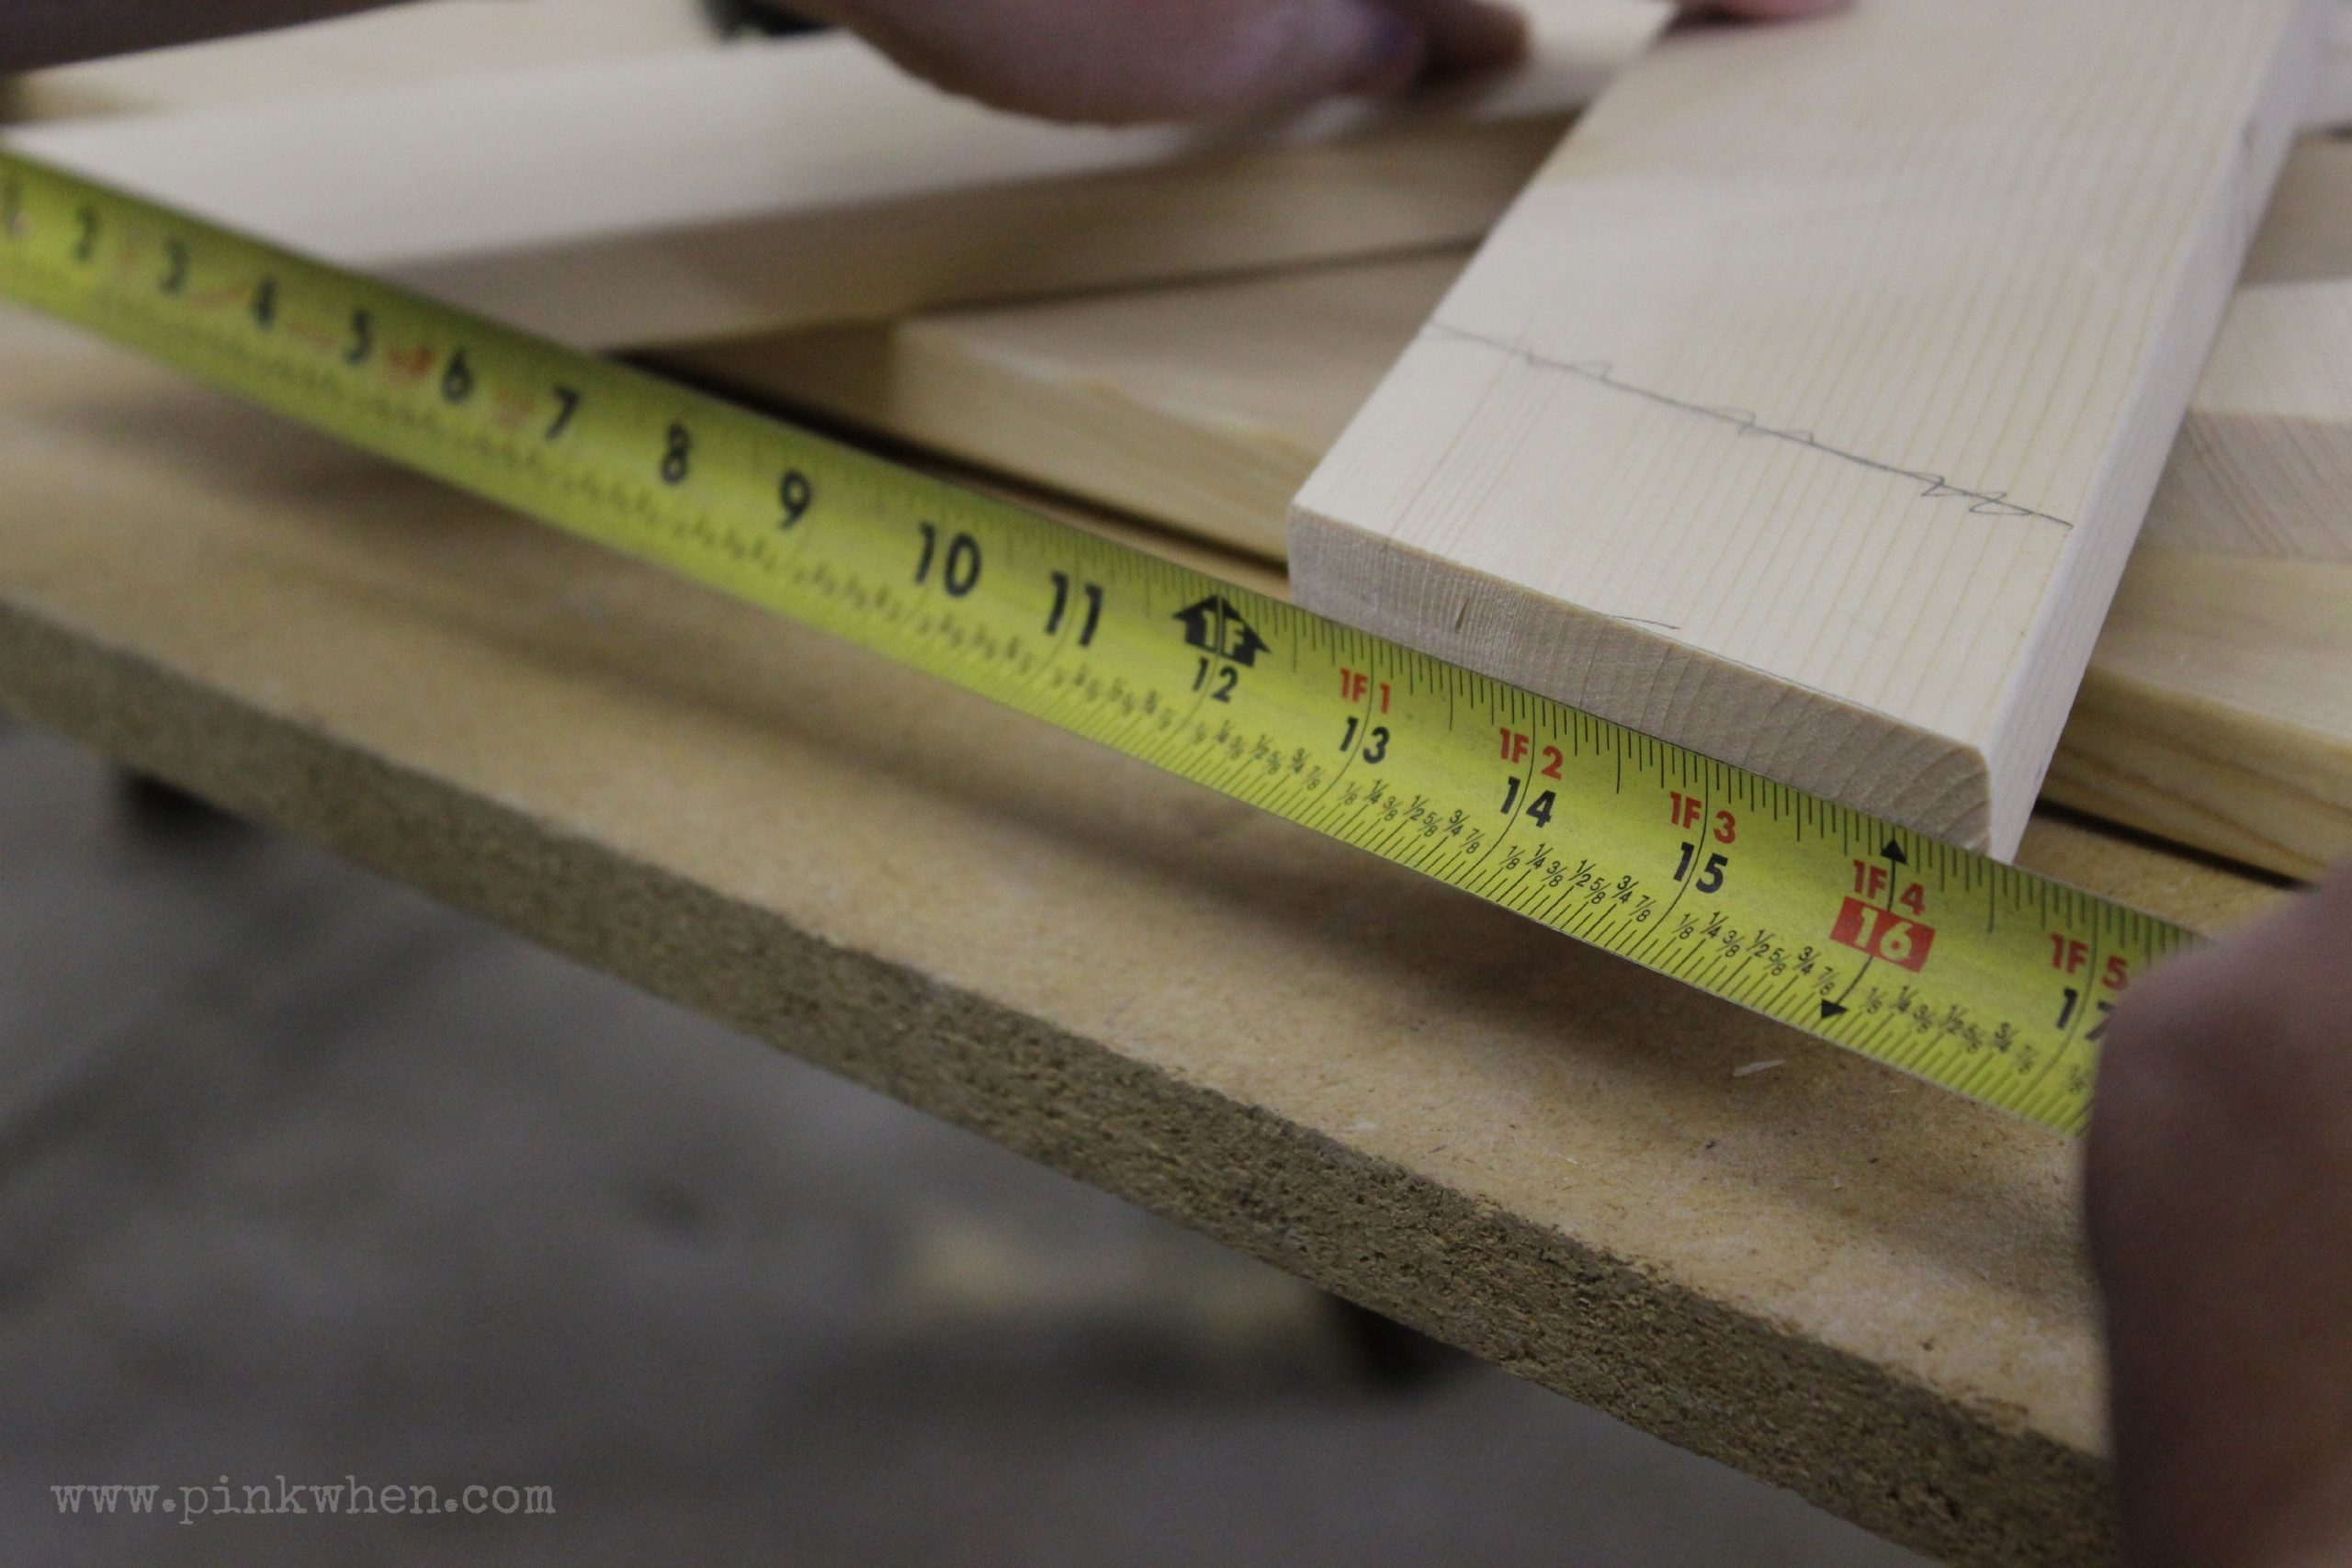
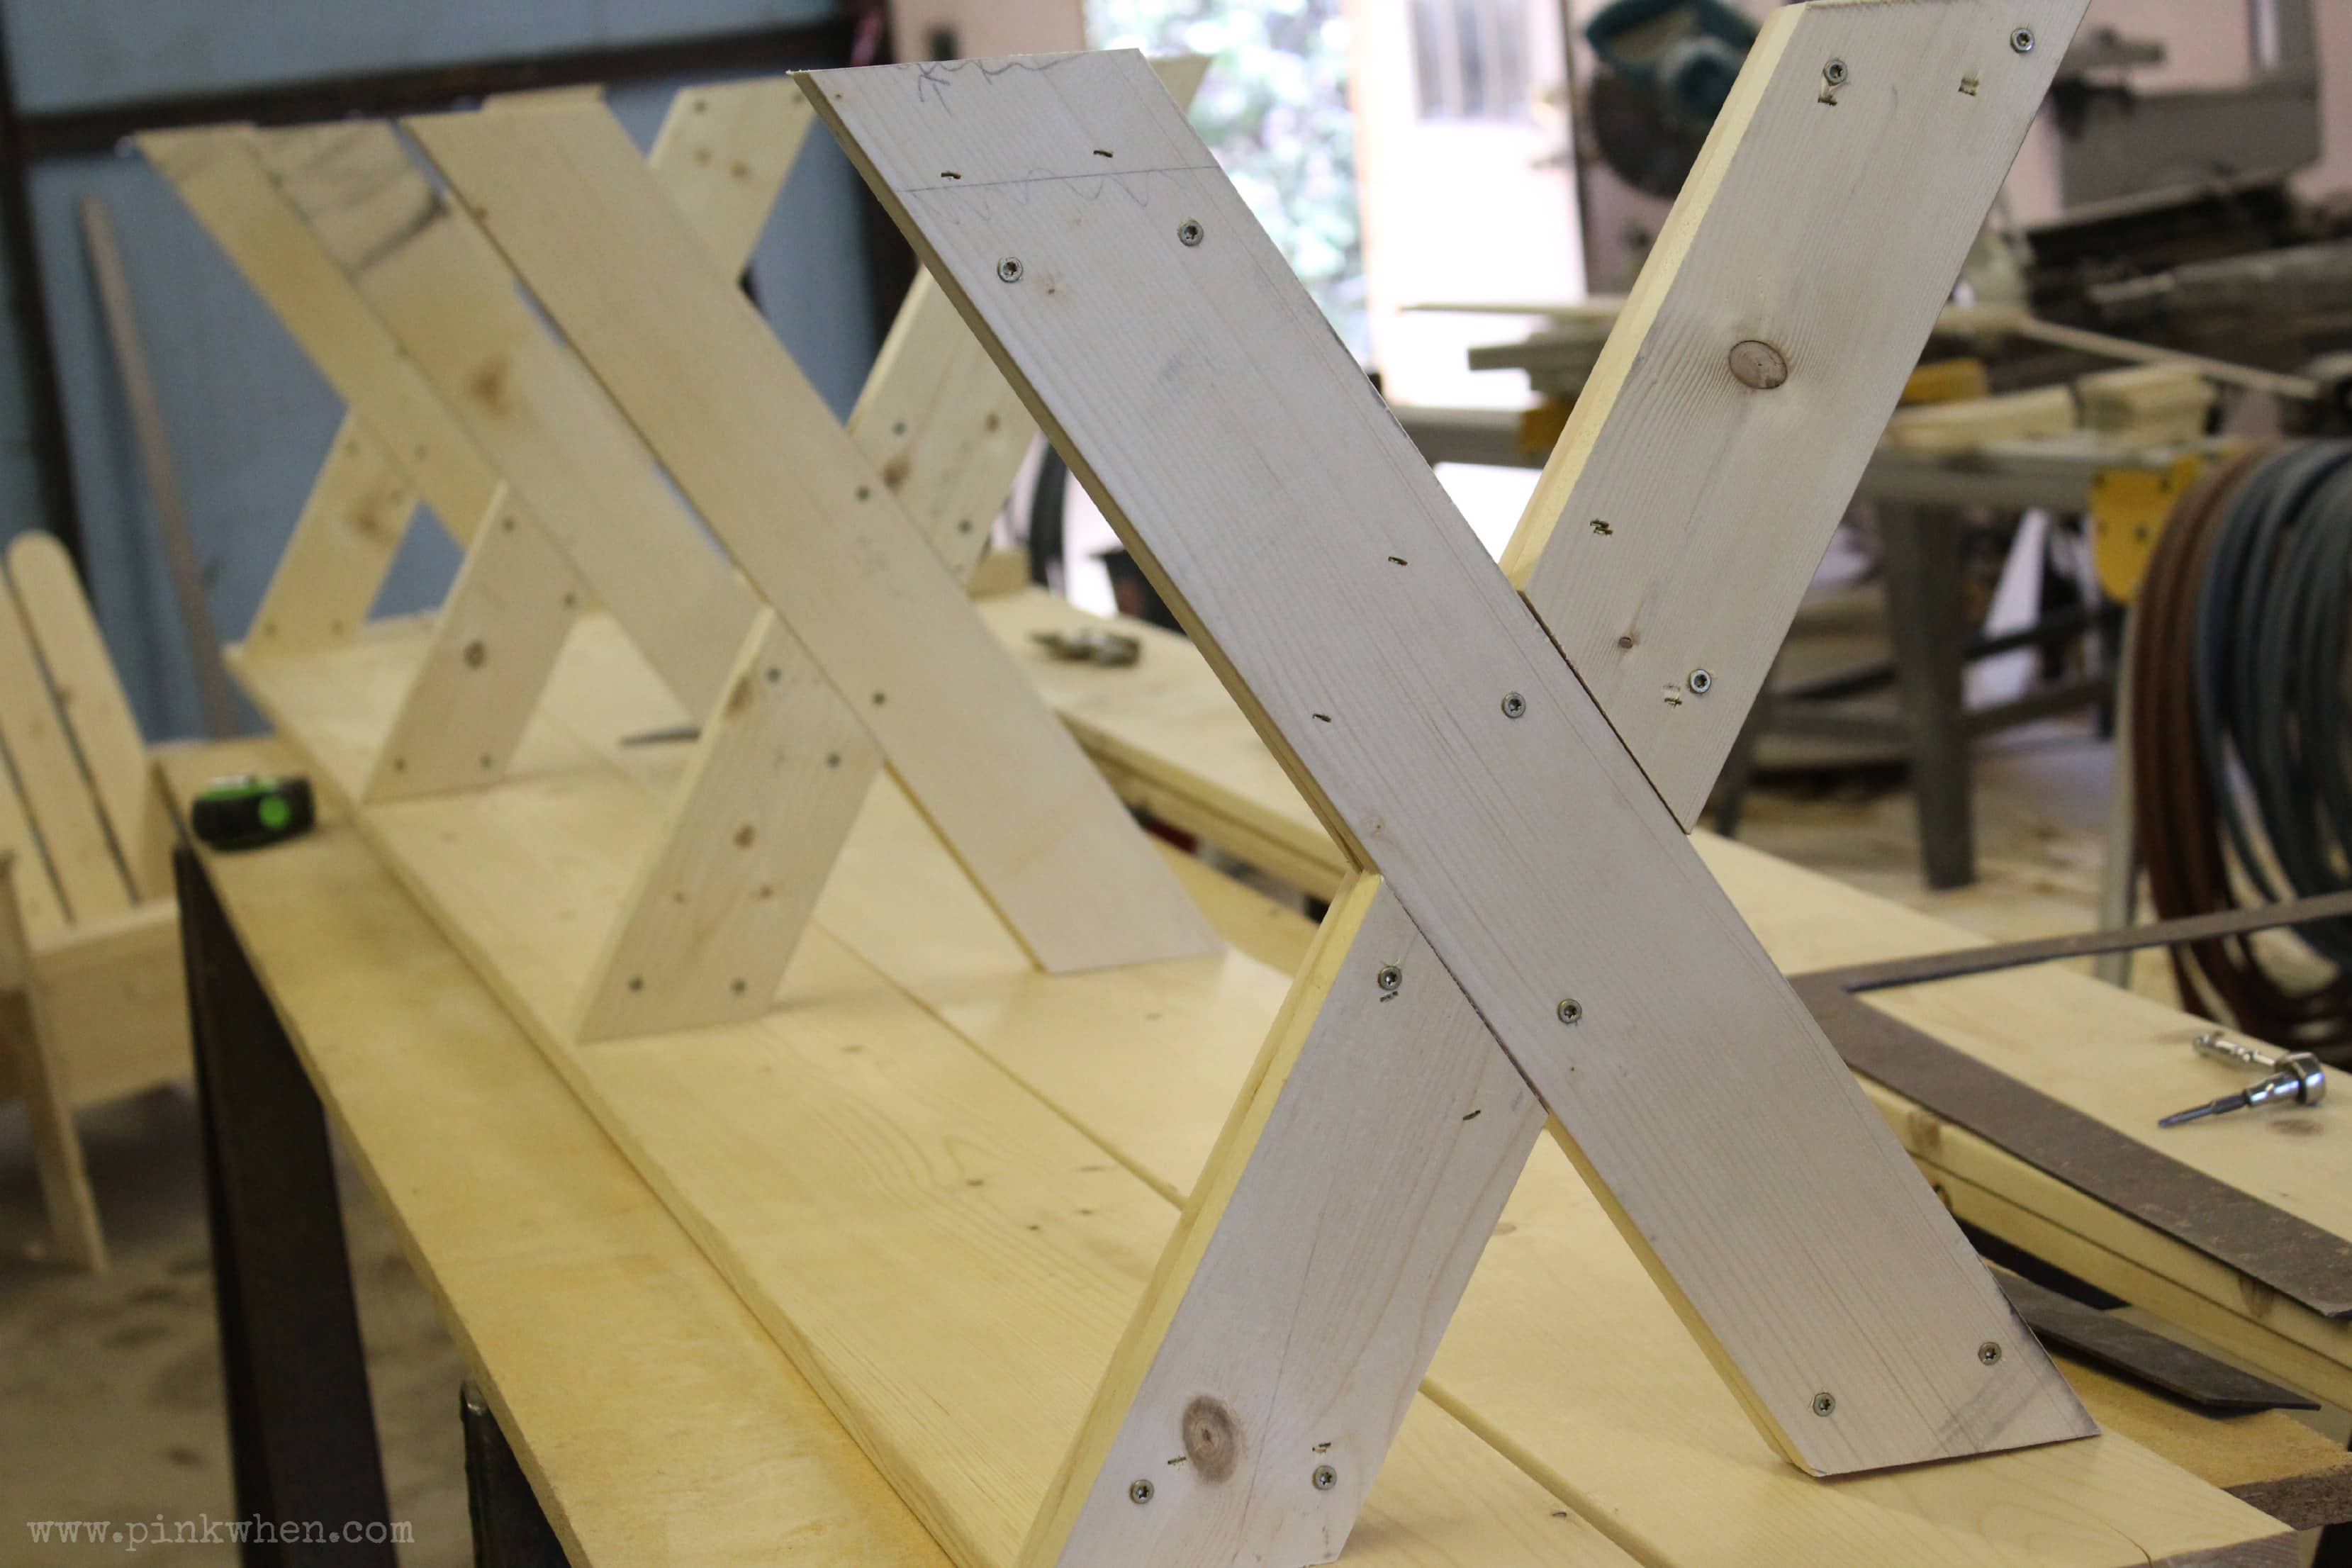
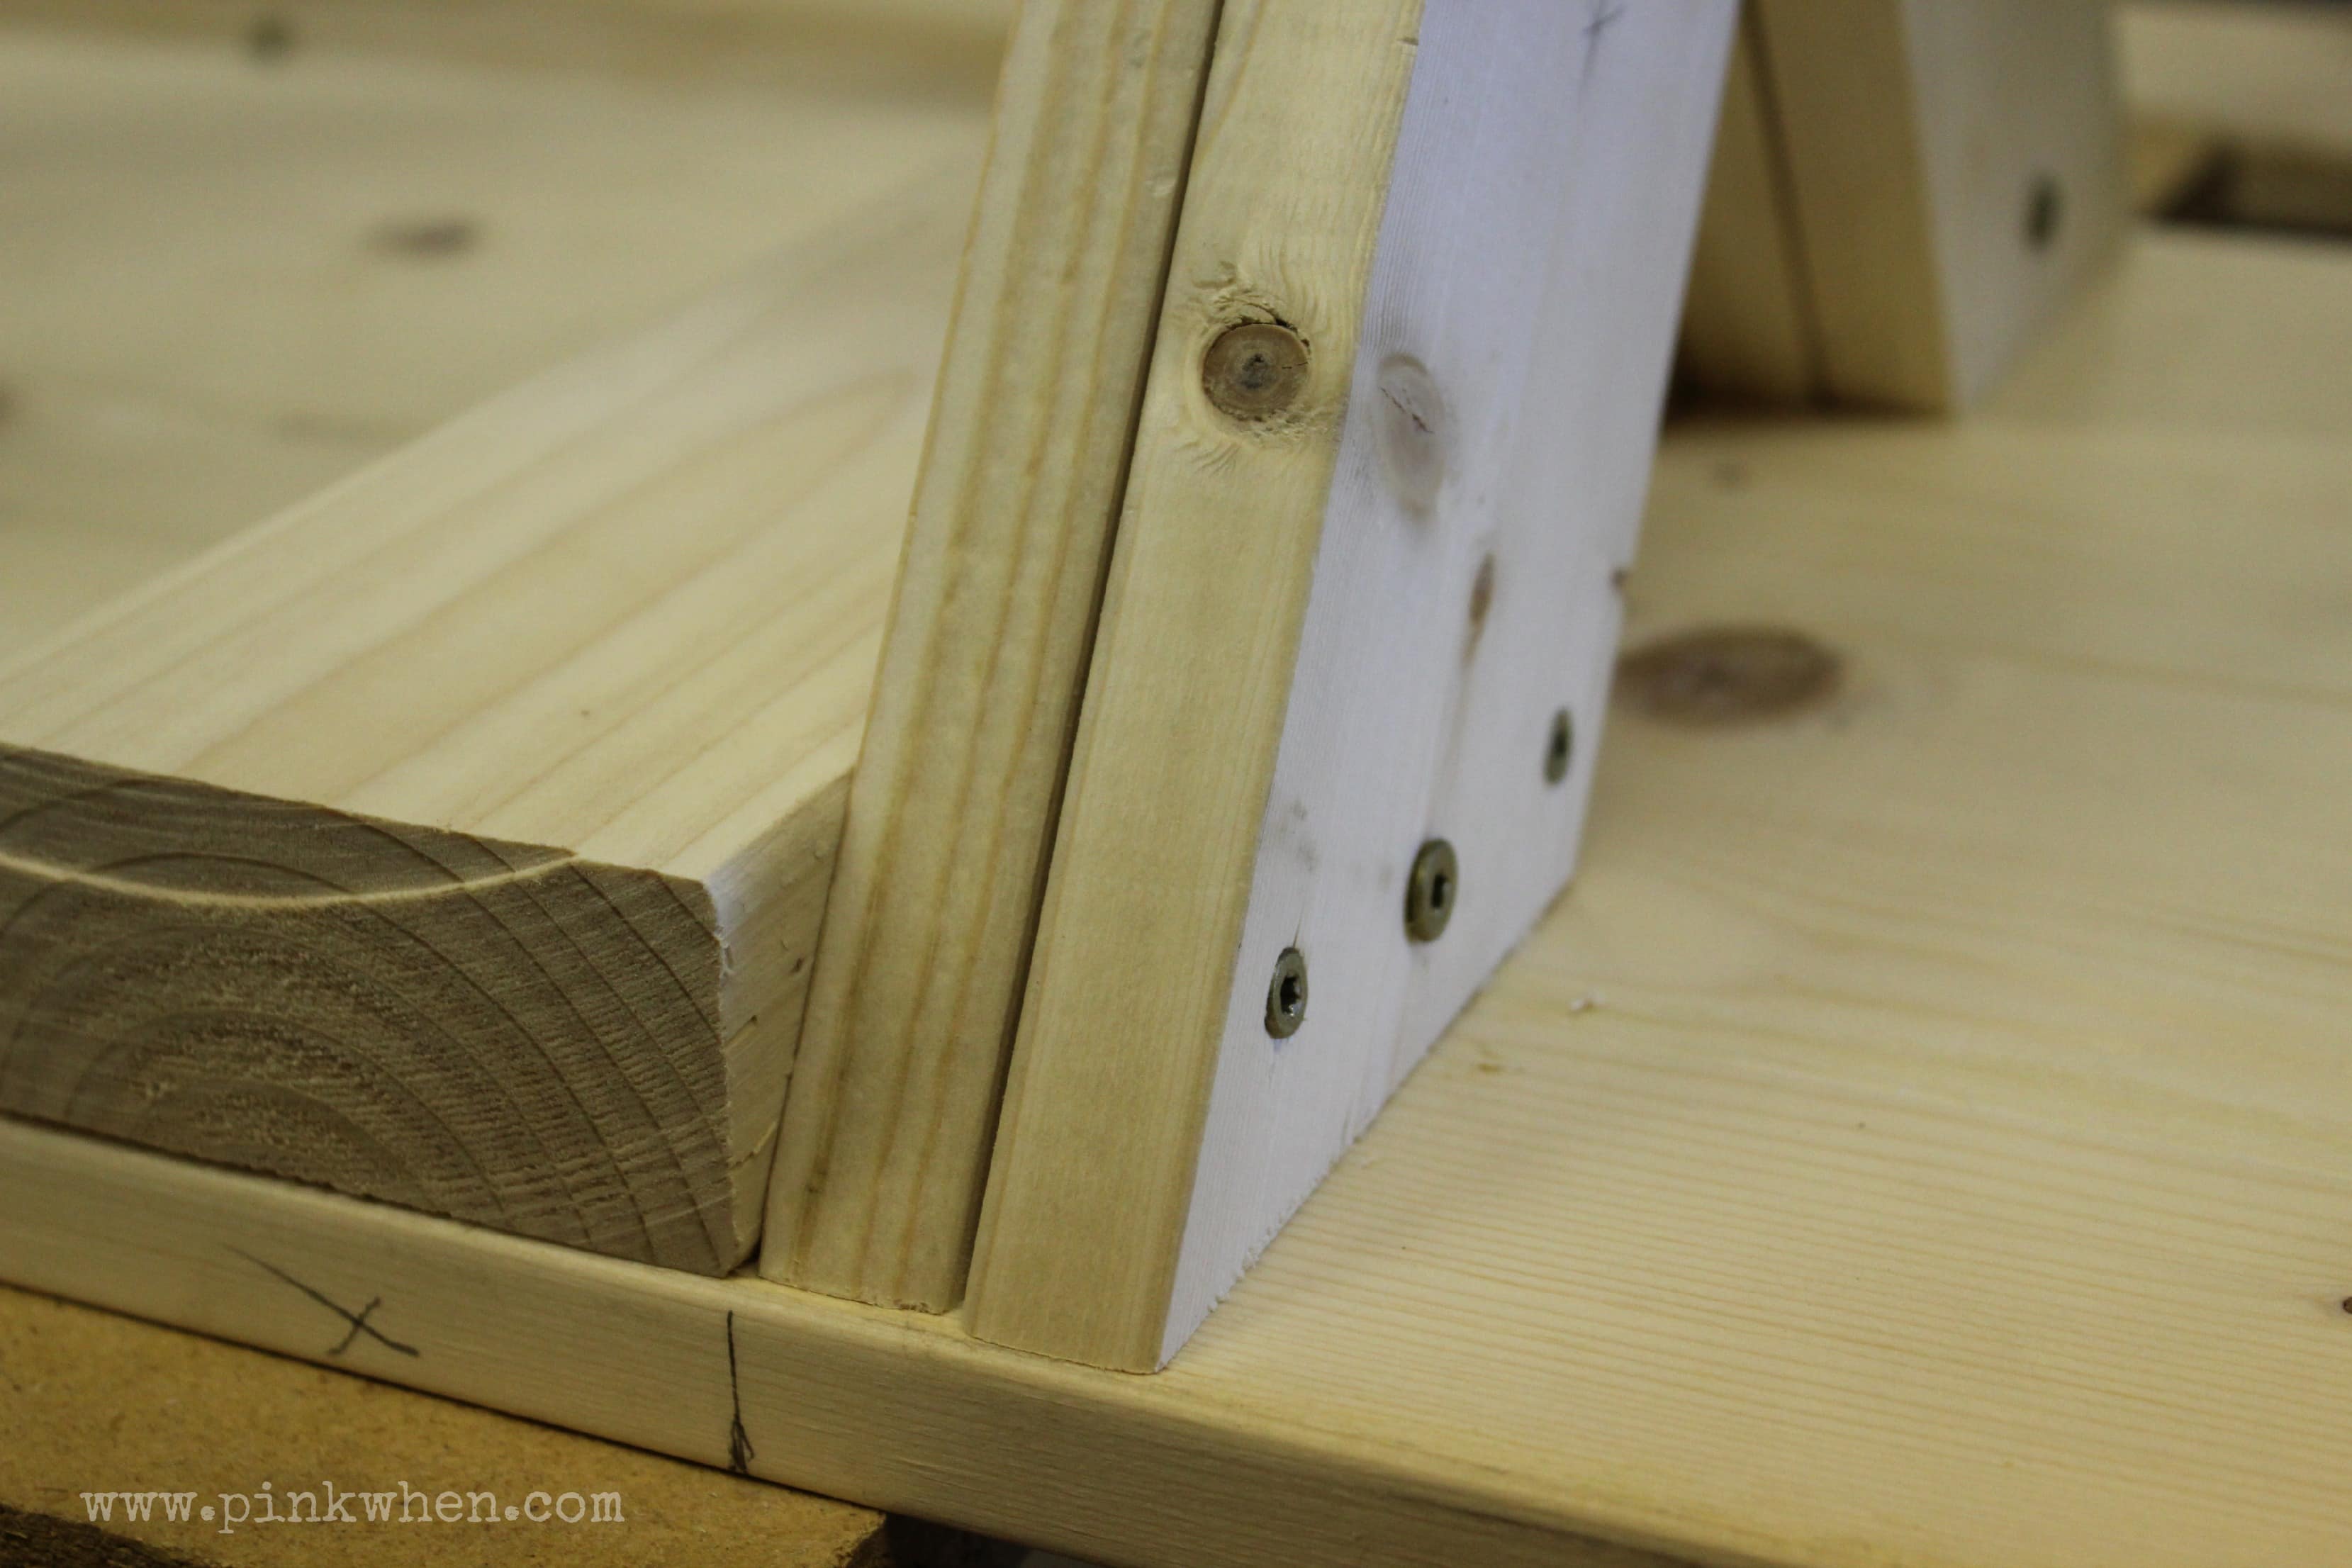
The first thing we did in creating this patio bench was to create the legs. Once we created the legs, it was all smooth sailing from there. However, the legs were a bit cumbersome at times. We needed to cut and keep angles, and sometimes there was a lot of sanding involved because of the angles. Don’t get discouraged. We were able to help ourselves out when we created a template of the legs and used that template to help create all of the others.
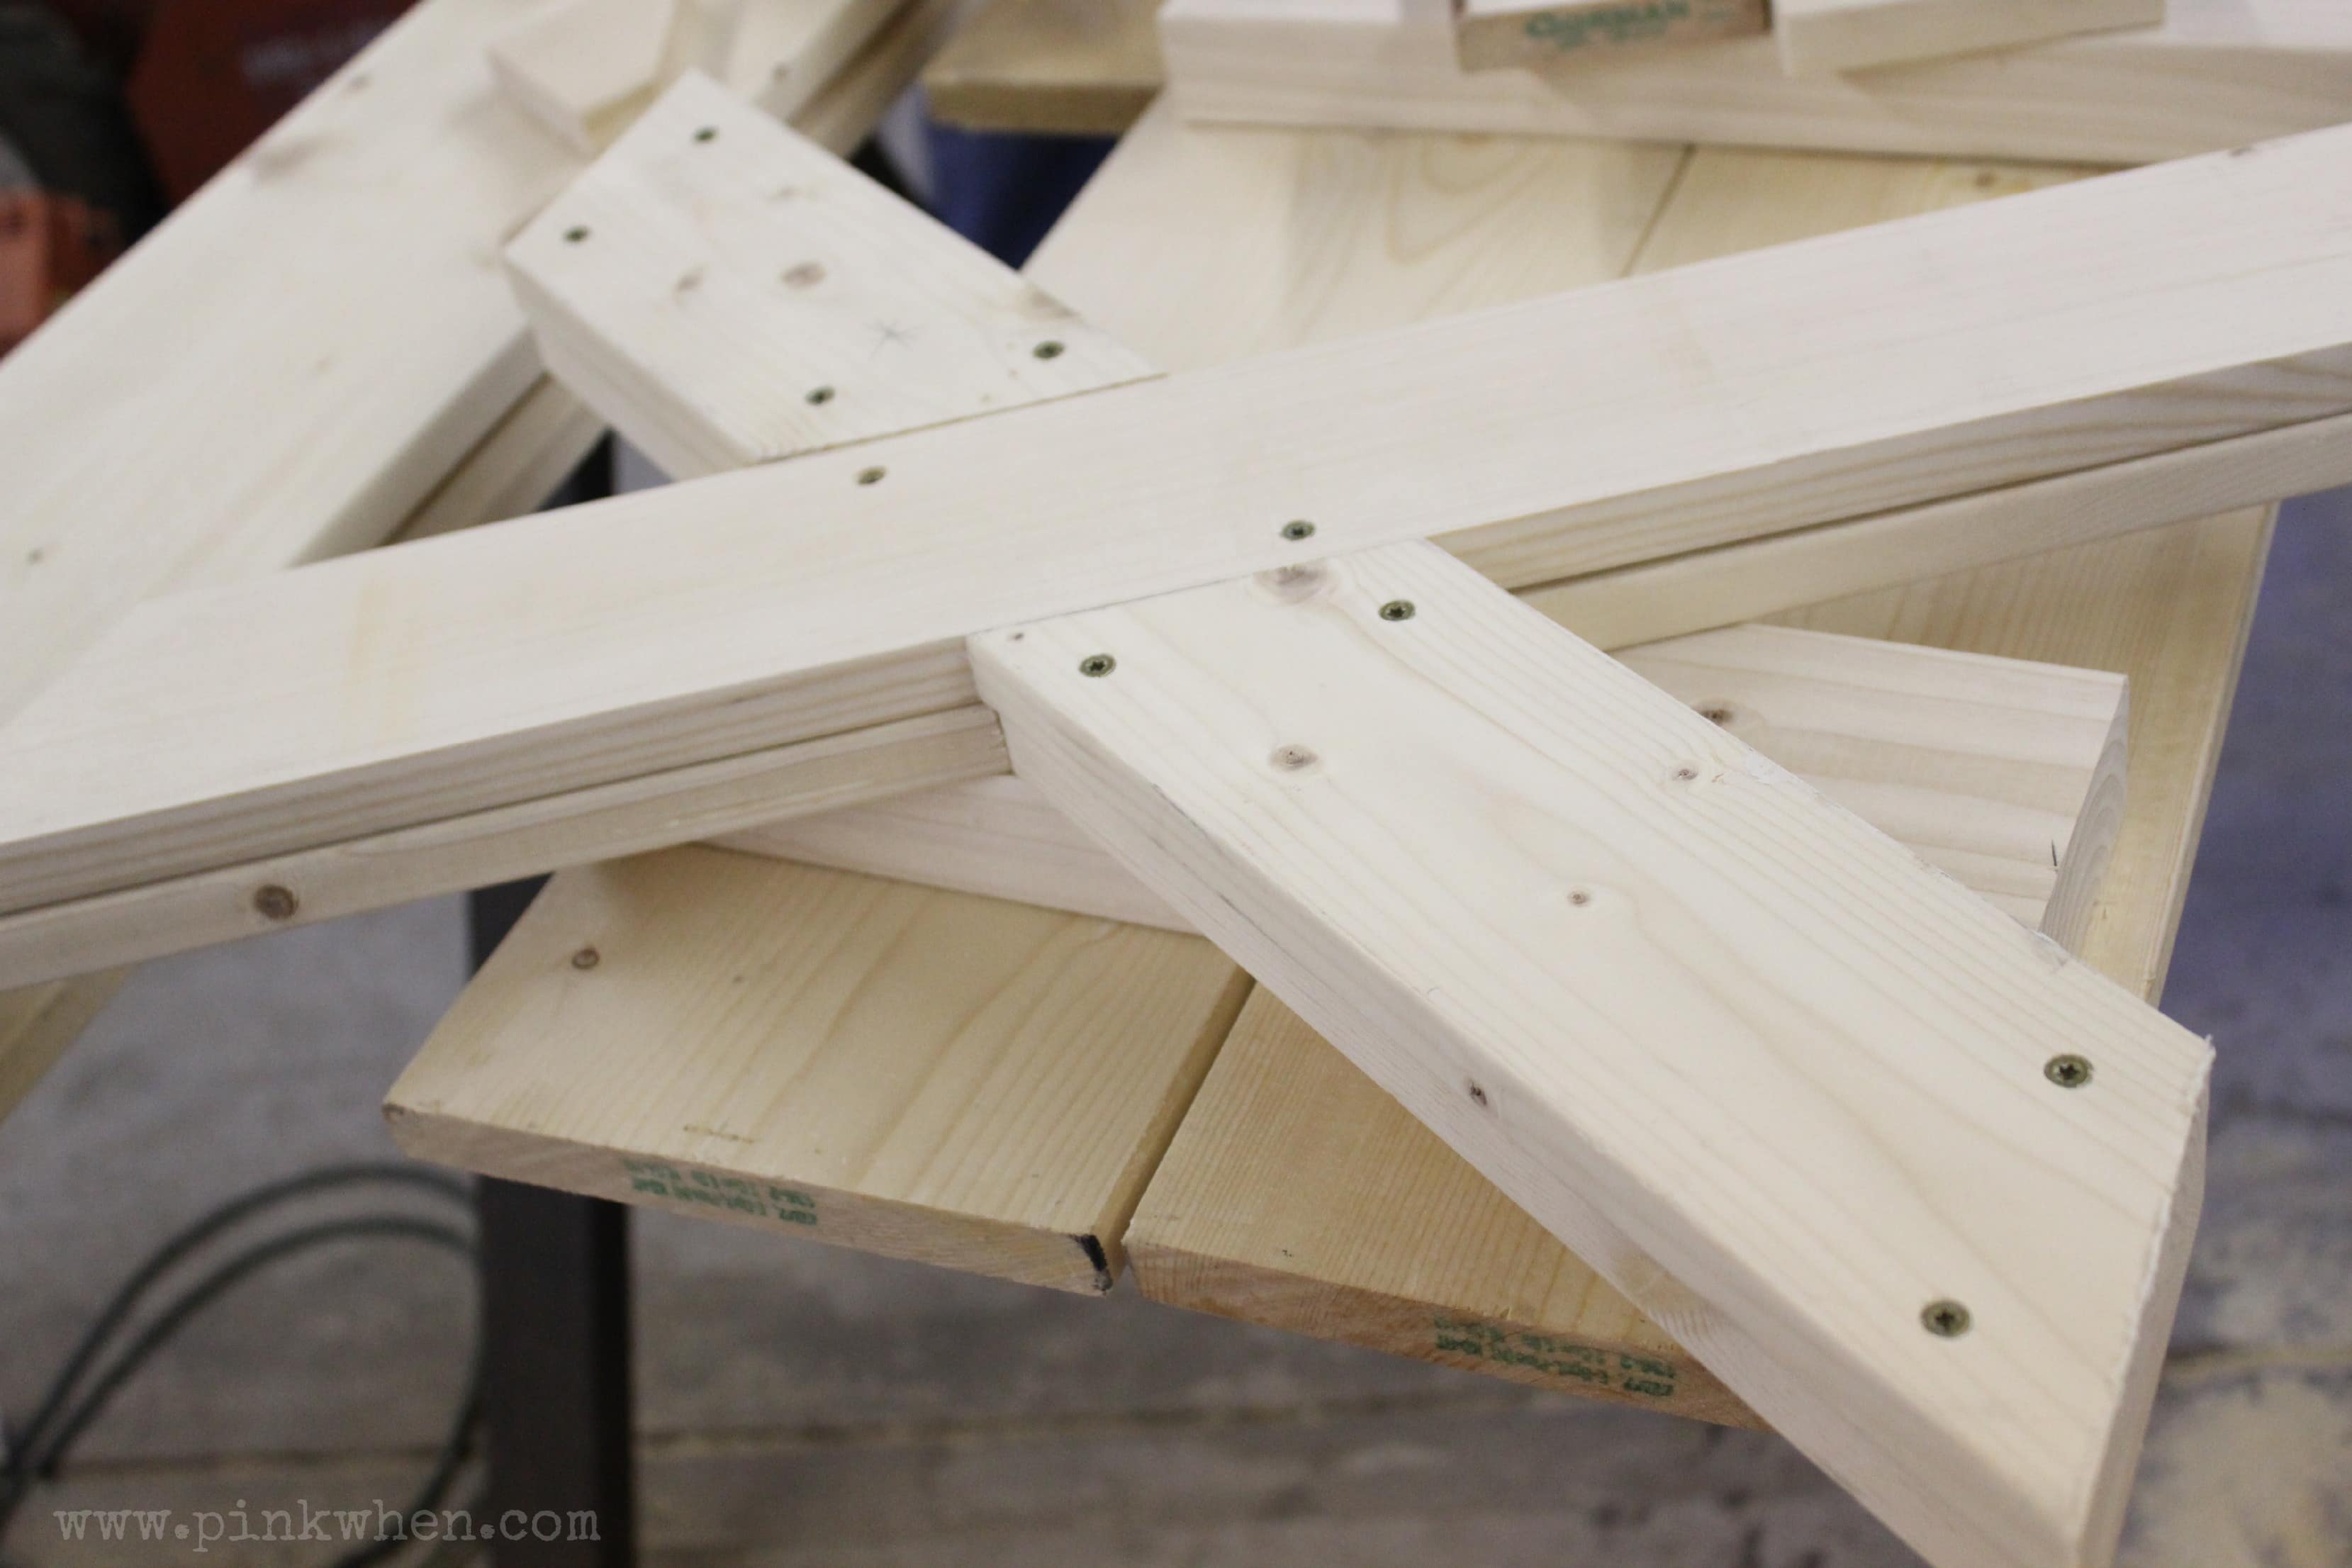
As you can see in the picture above, we did “double” pieces on the legs. This was done to make them a little sturdier that what they would have been with just a 1 x 4 leg. Below is one of the the templates that we created. Once we had all of our pieces, we placed them together with 1 1/4″ screws.
After making all of the legs, it was time to stand them up and attach our seating boards.
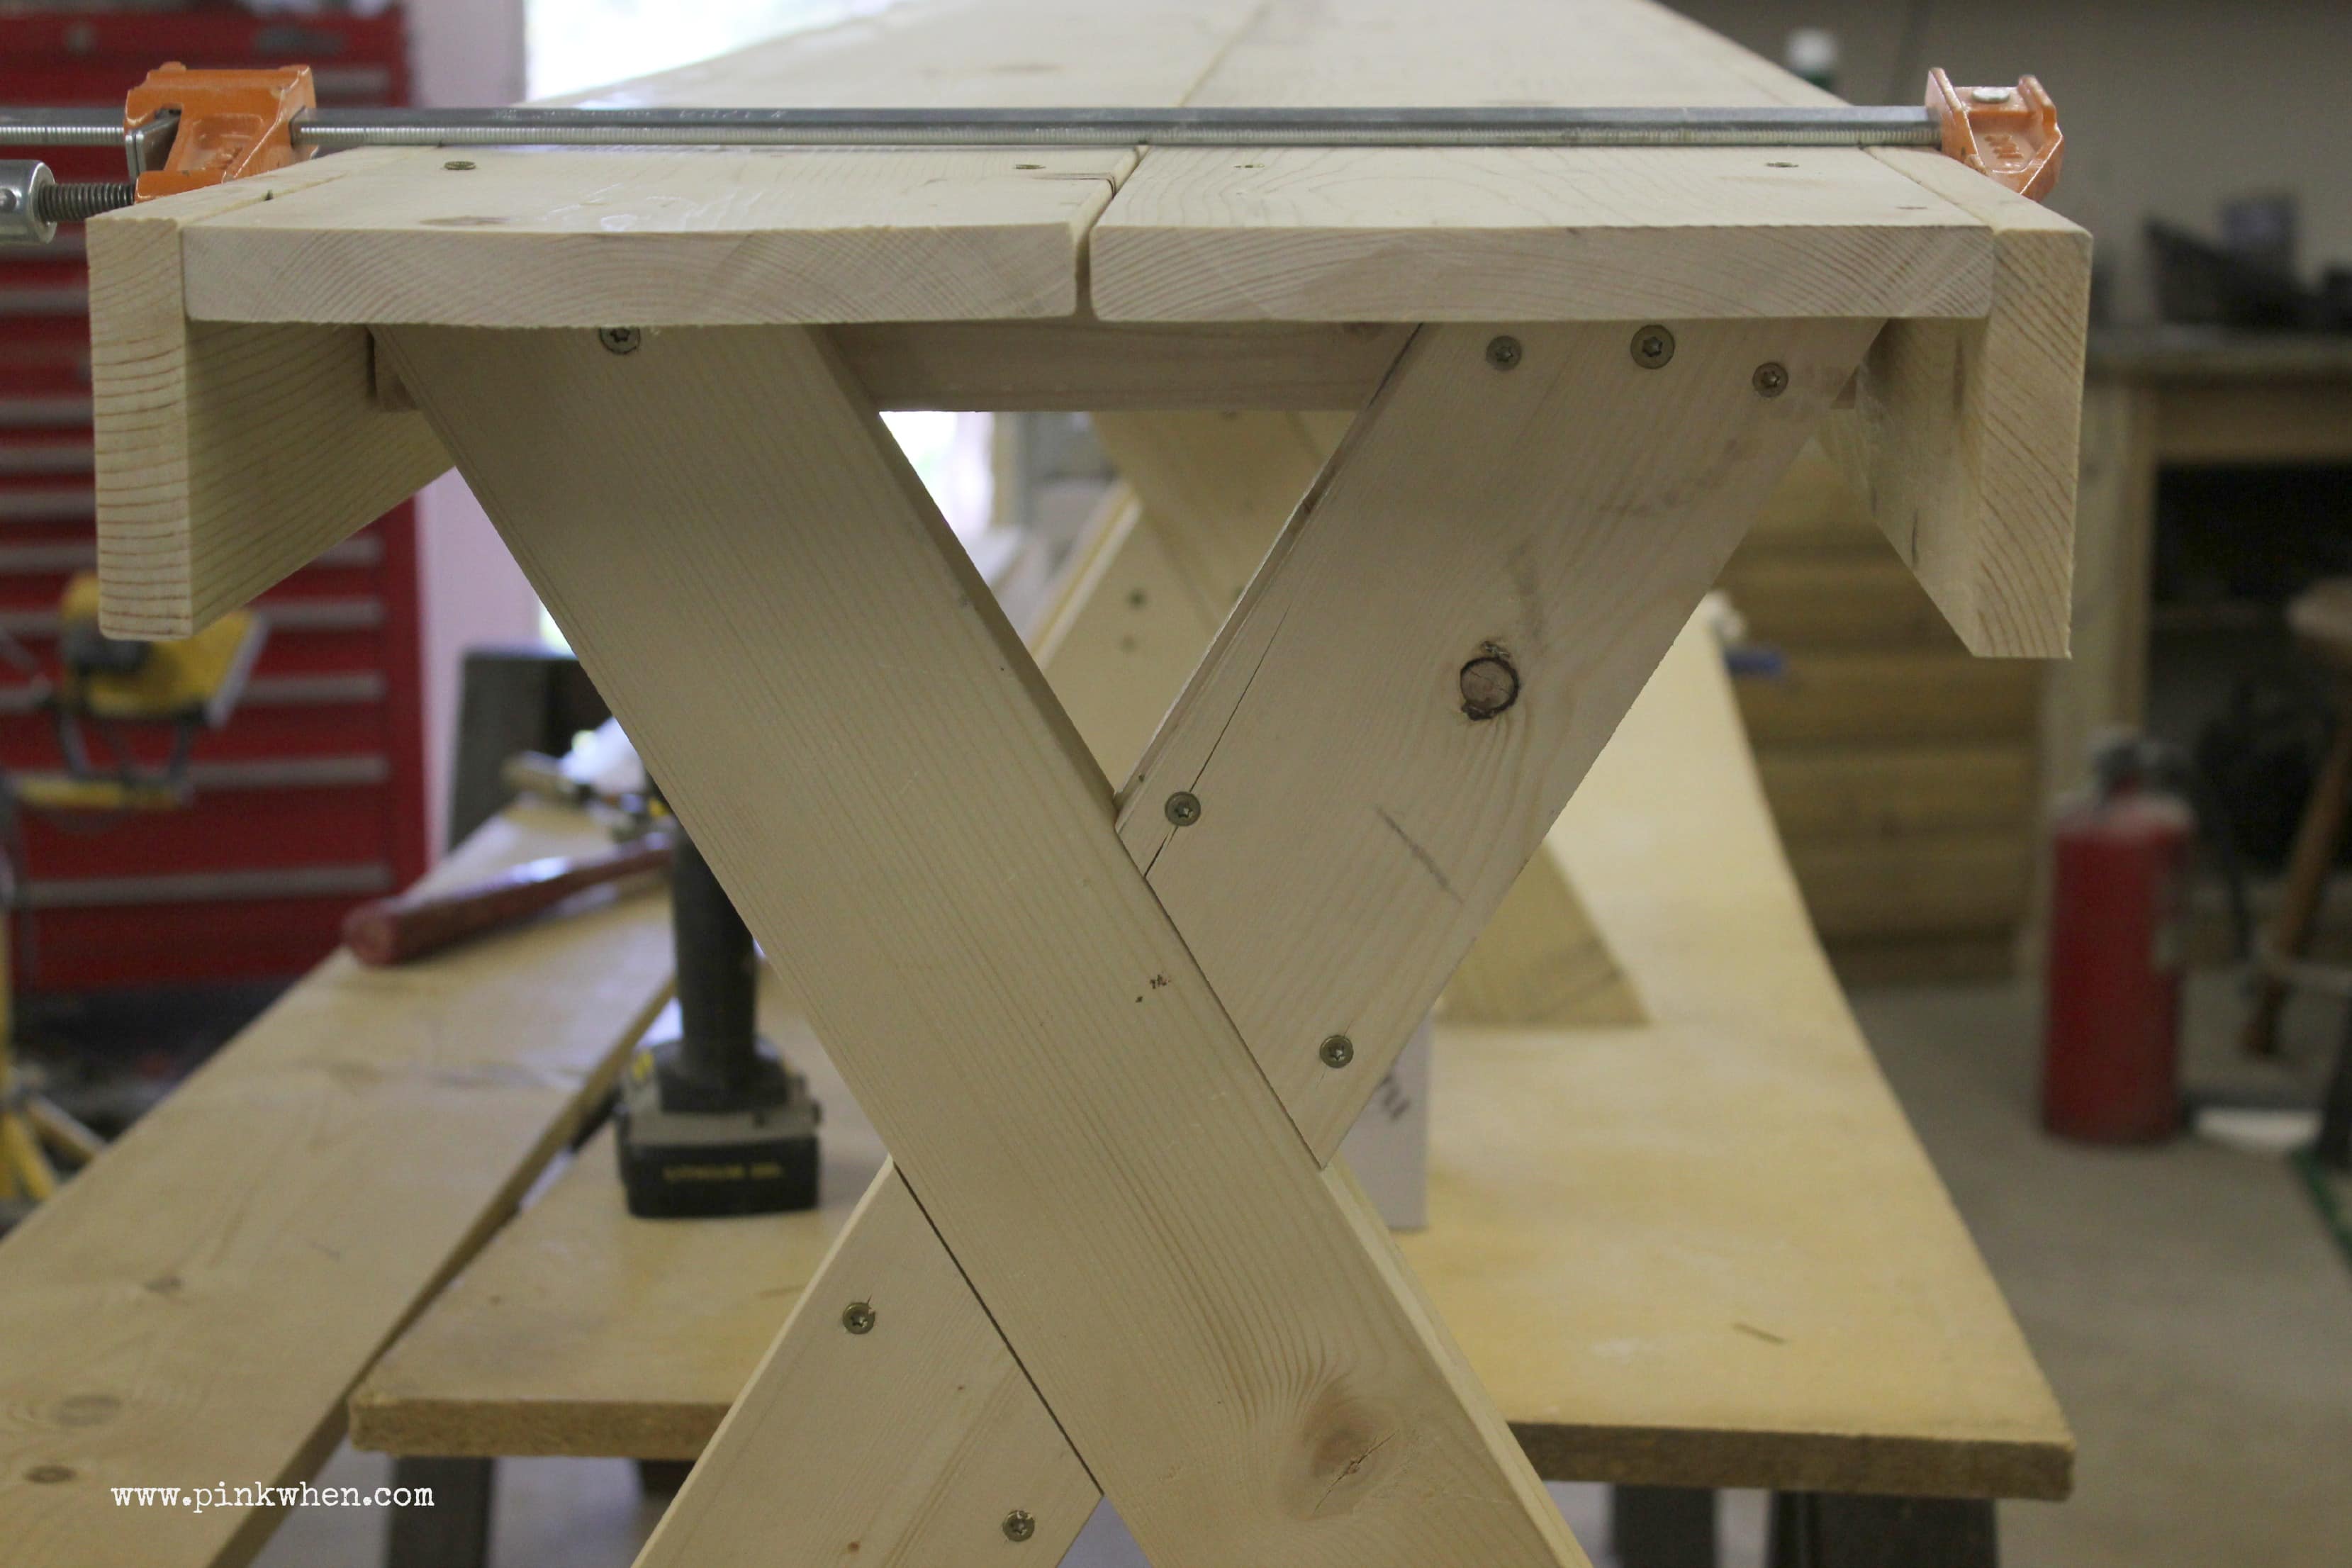
Once the top was attached, we then started to attach the braces up at the top where the seat and legs meet. These were placed and attached with 4″ screws.
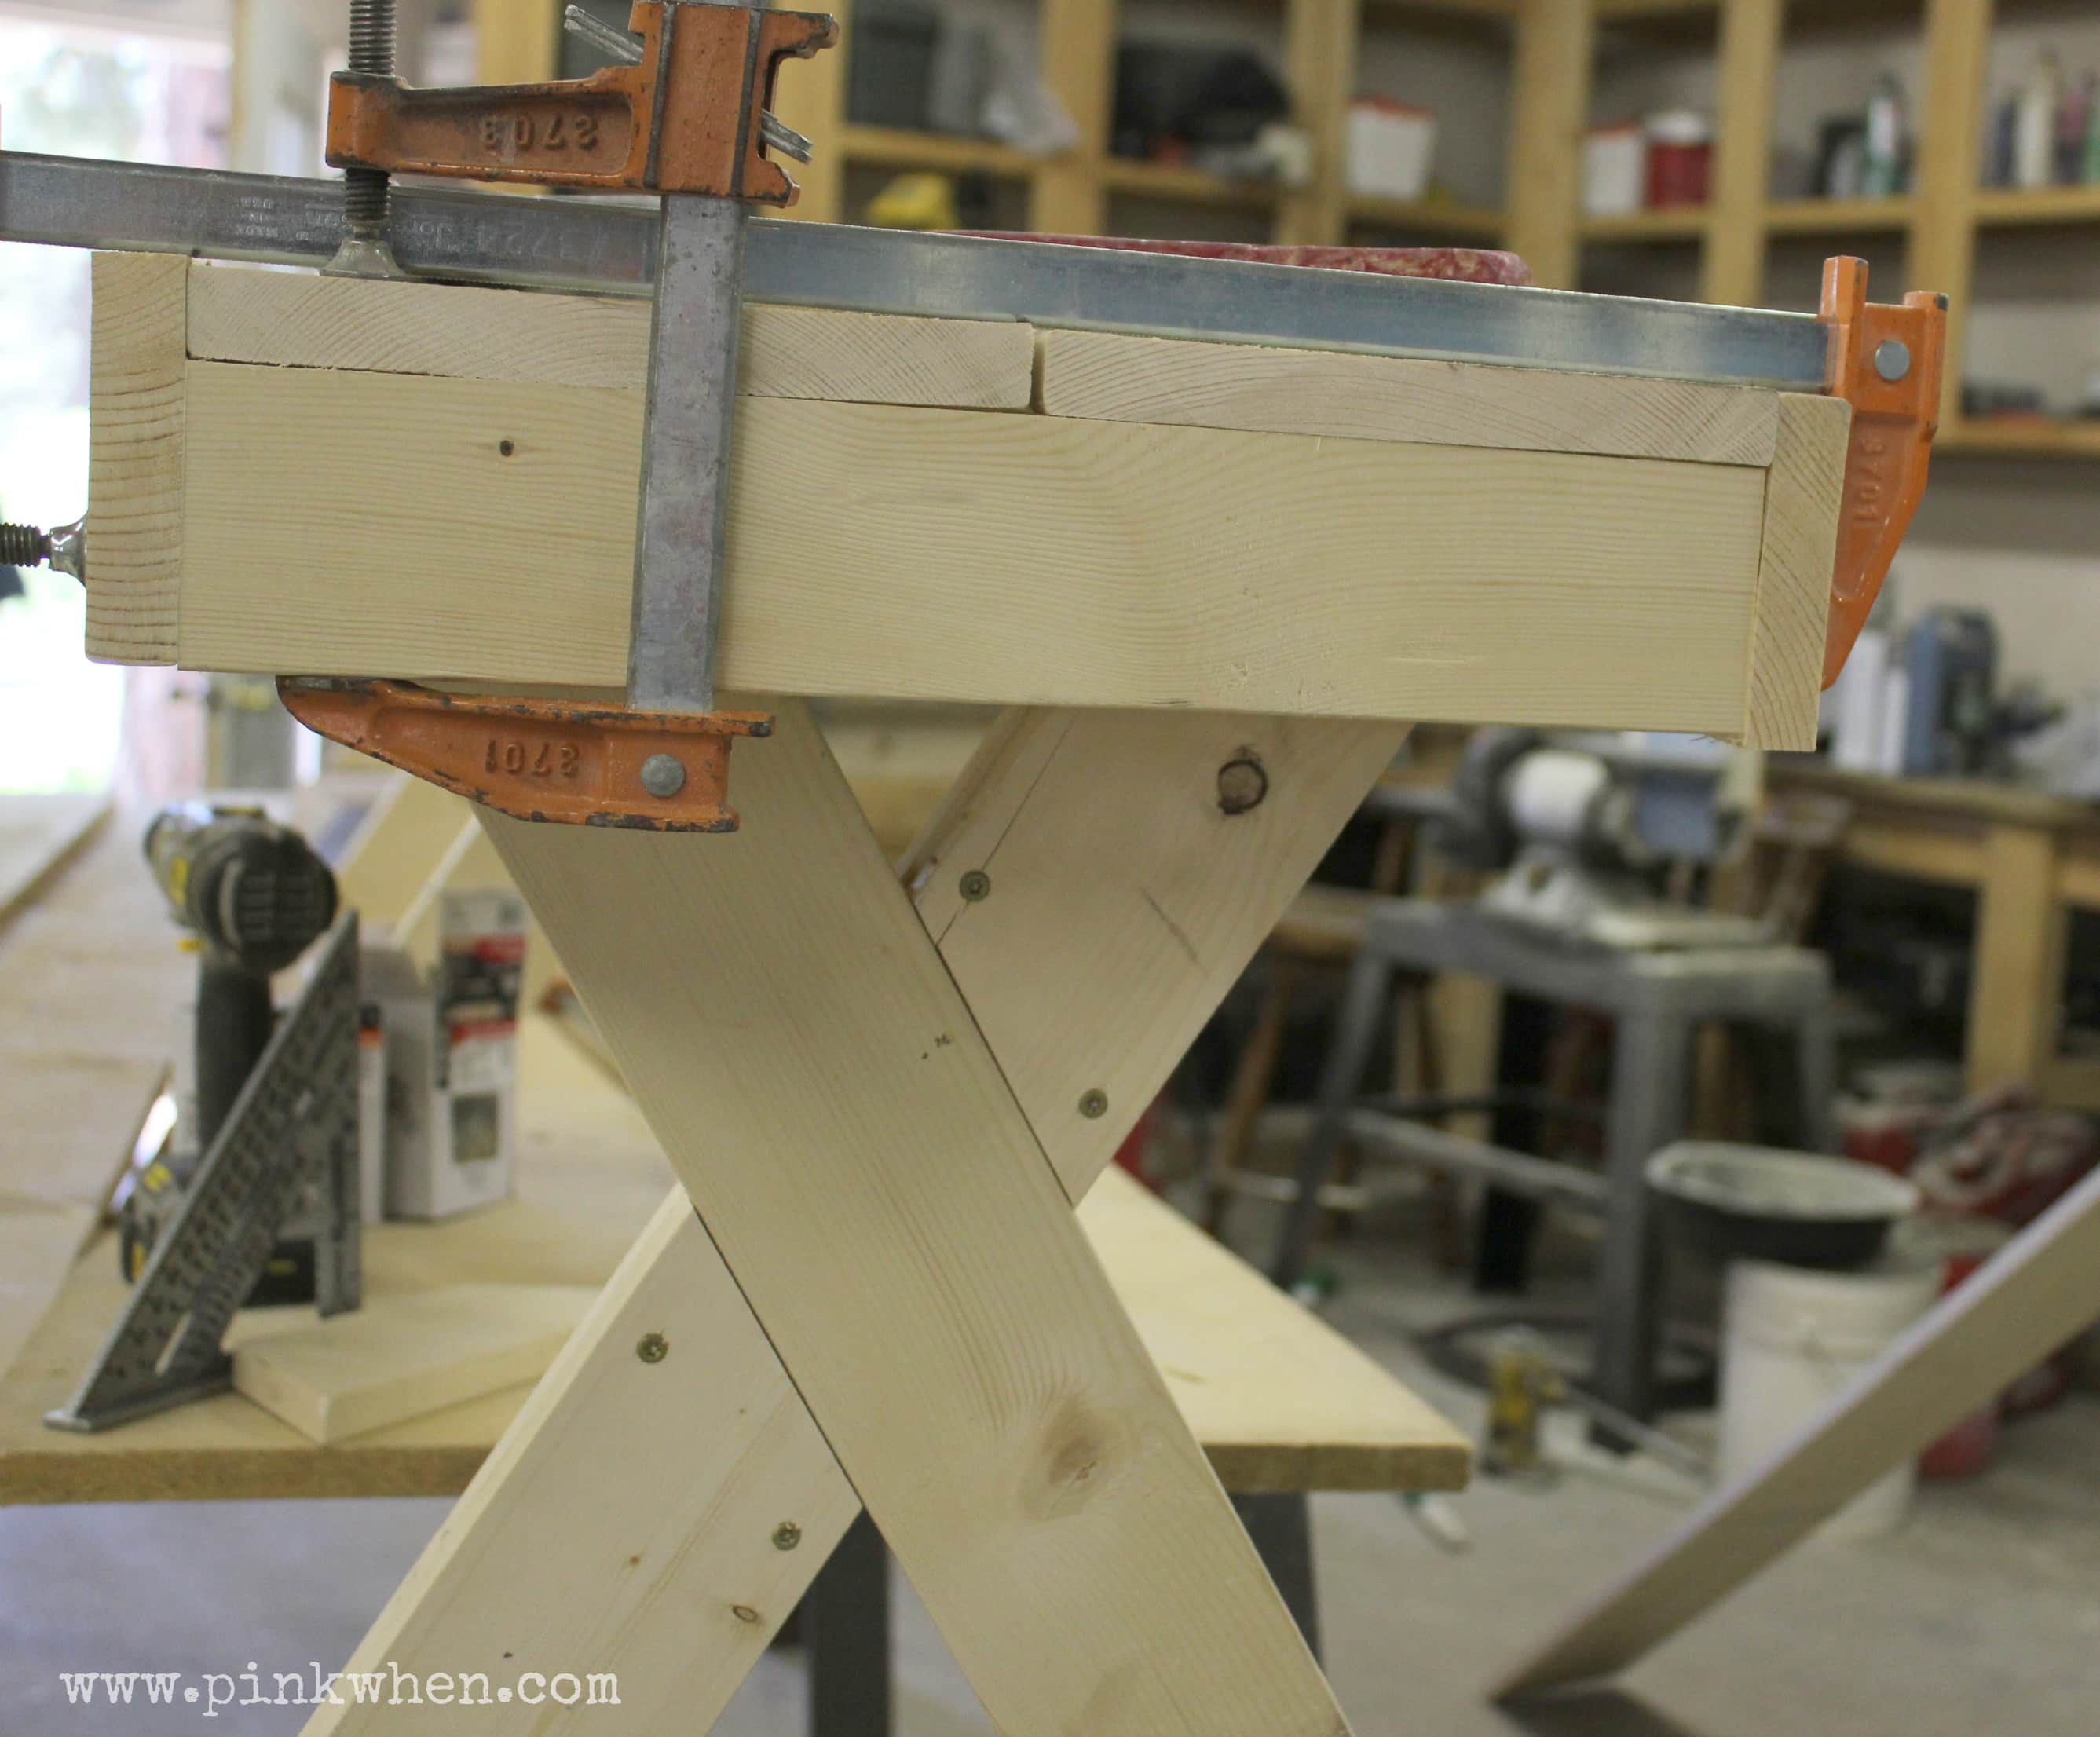
After the braces were on, we turned the benches over and added the skirting to both sides of the bench.
Finally, after the skirting came the end pieces to finish off the bench.
Painting the patio bench
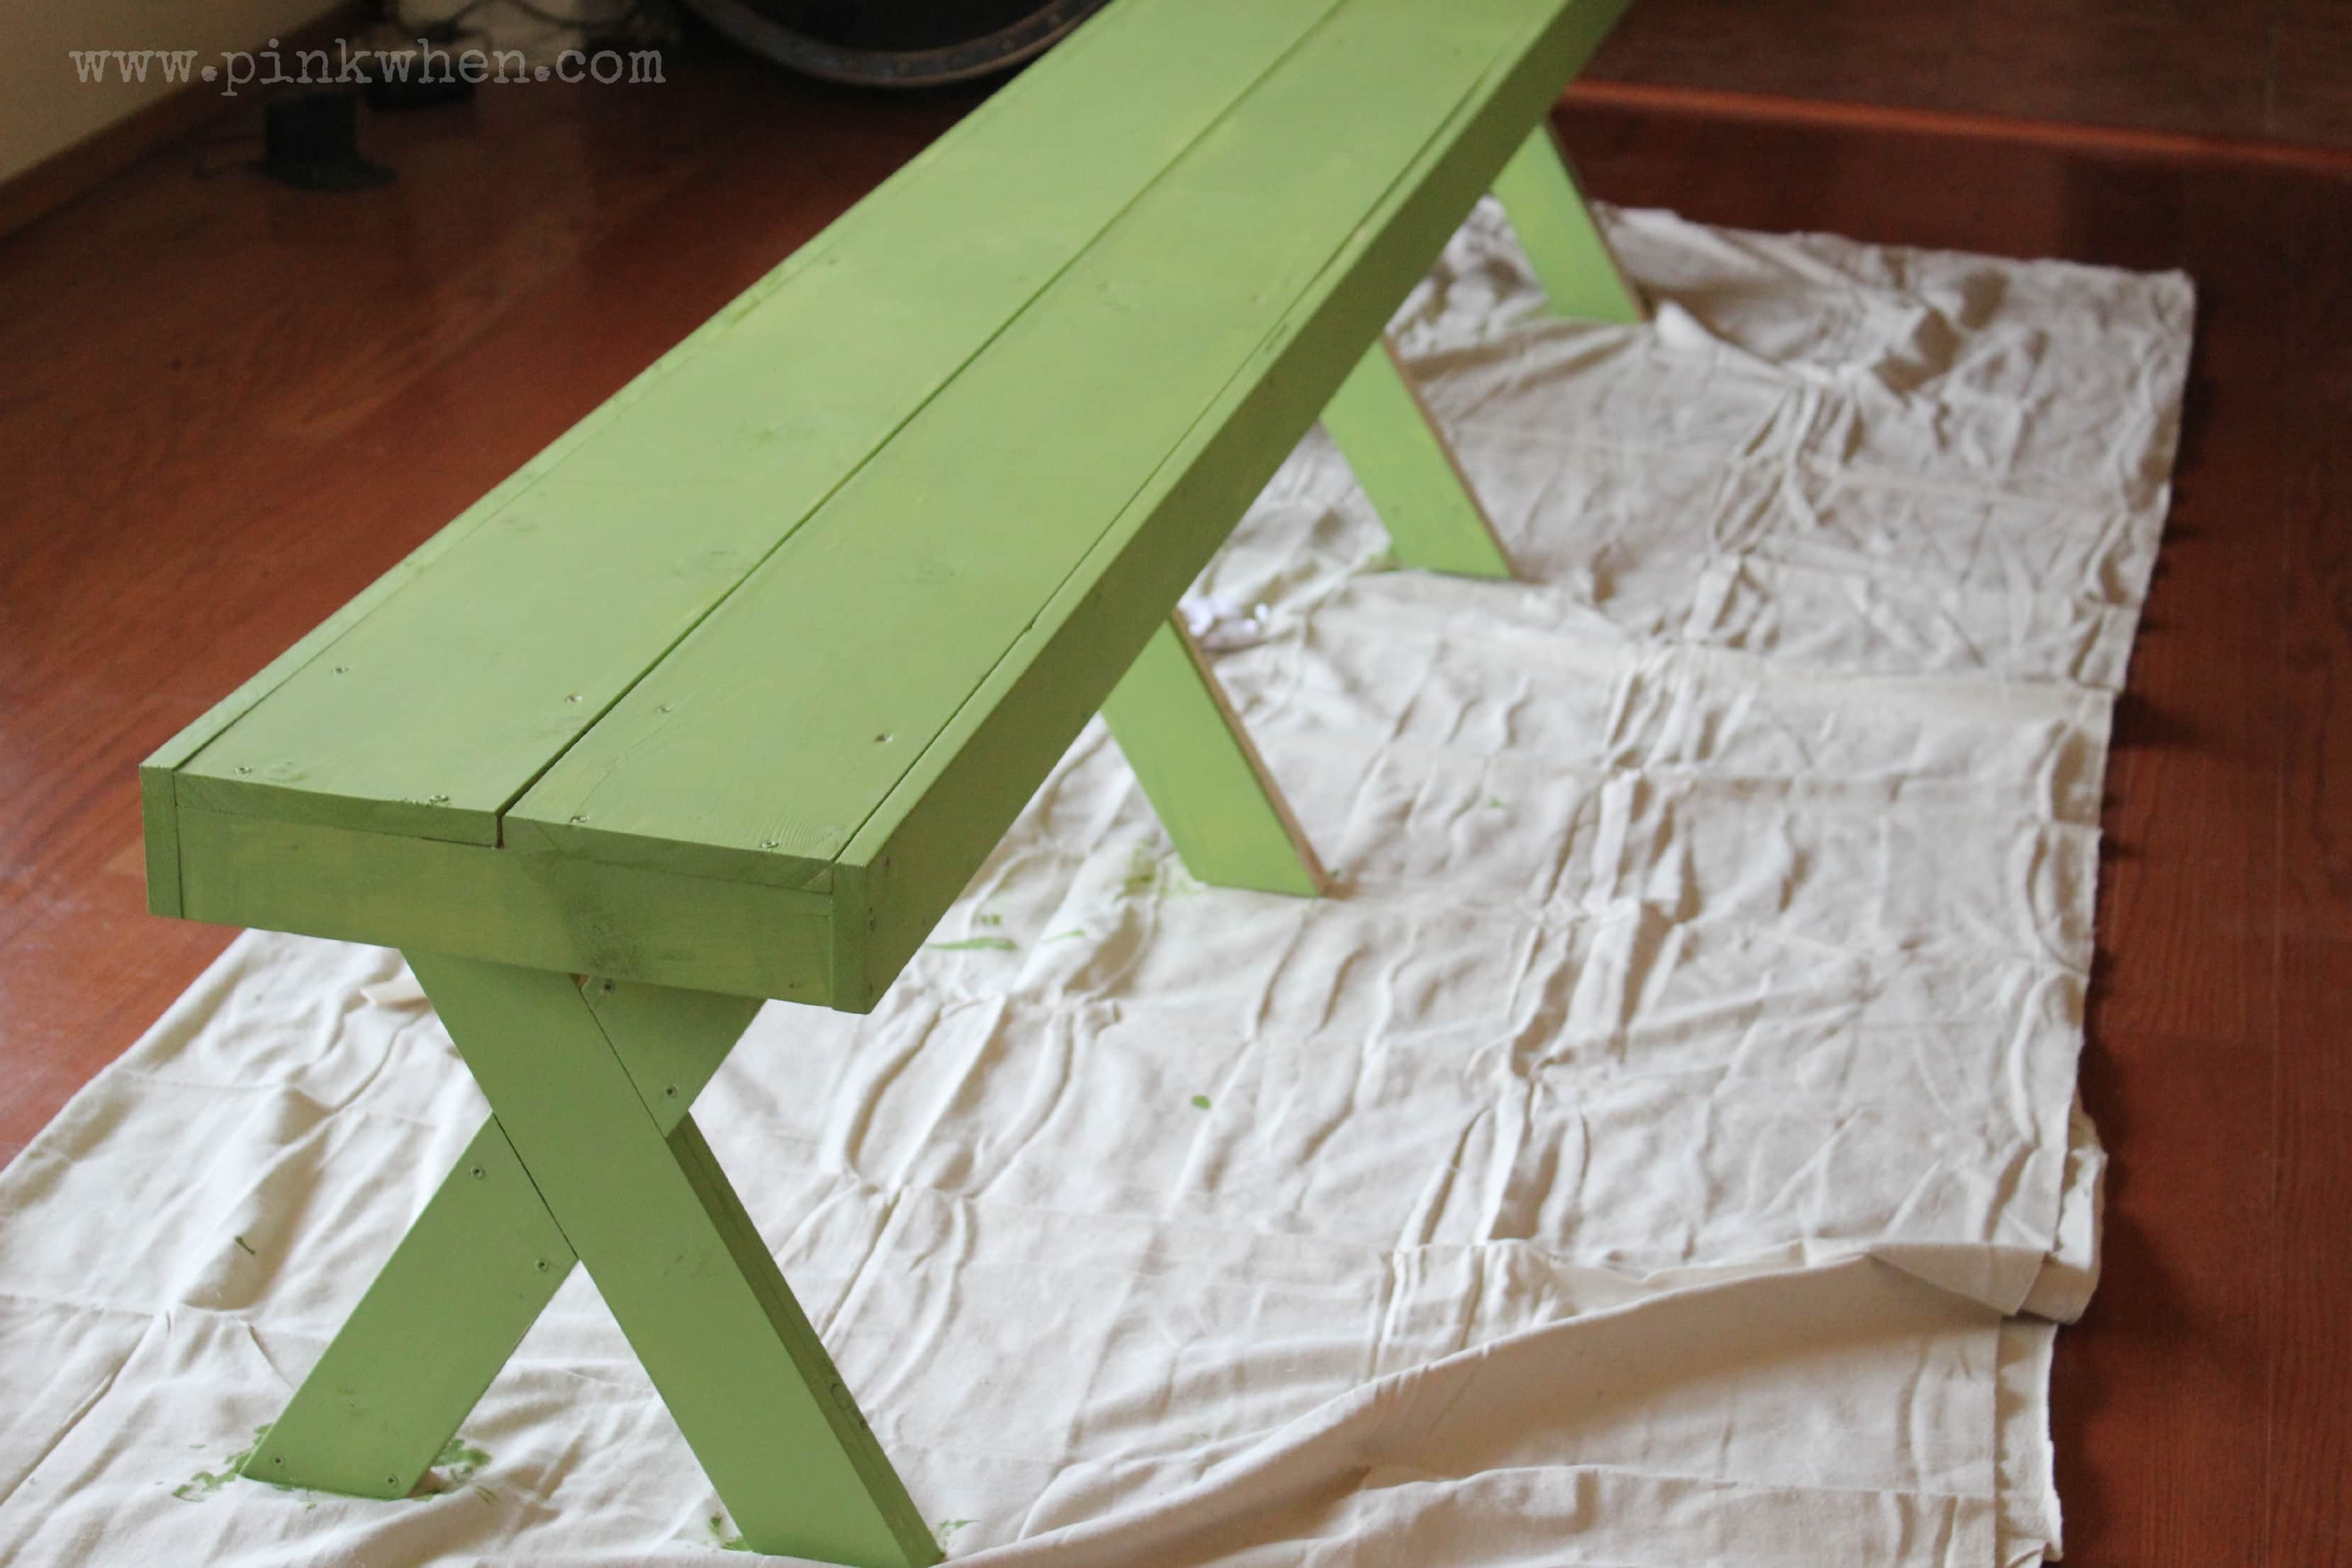
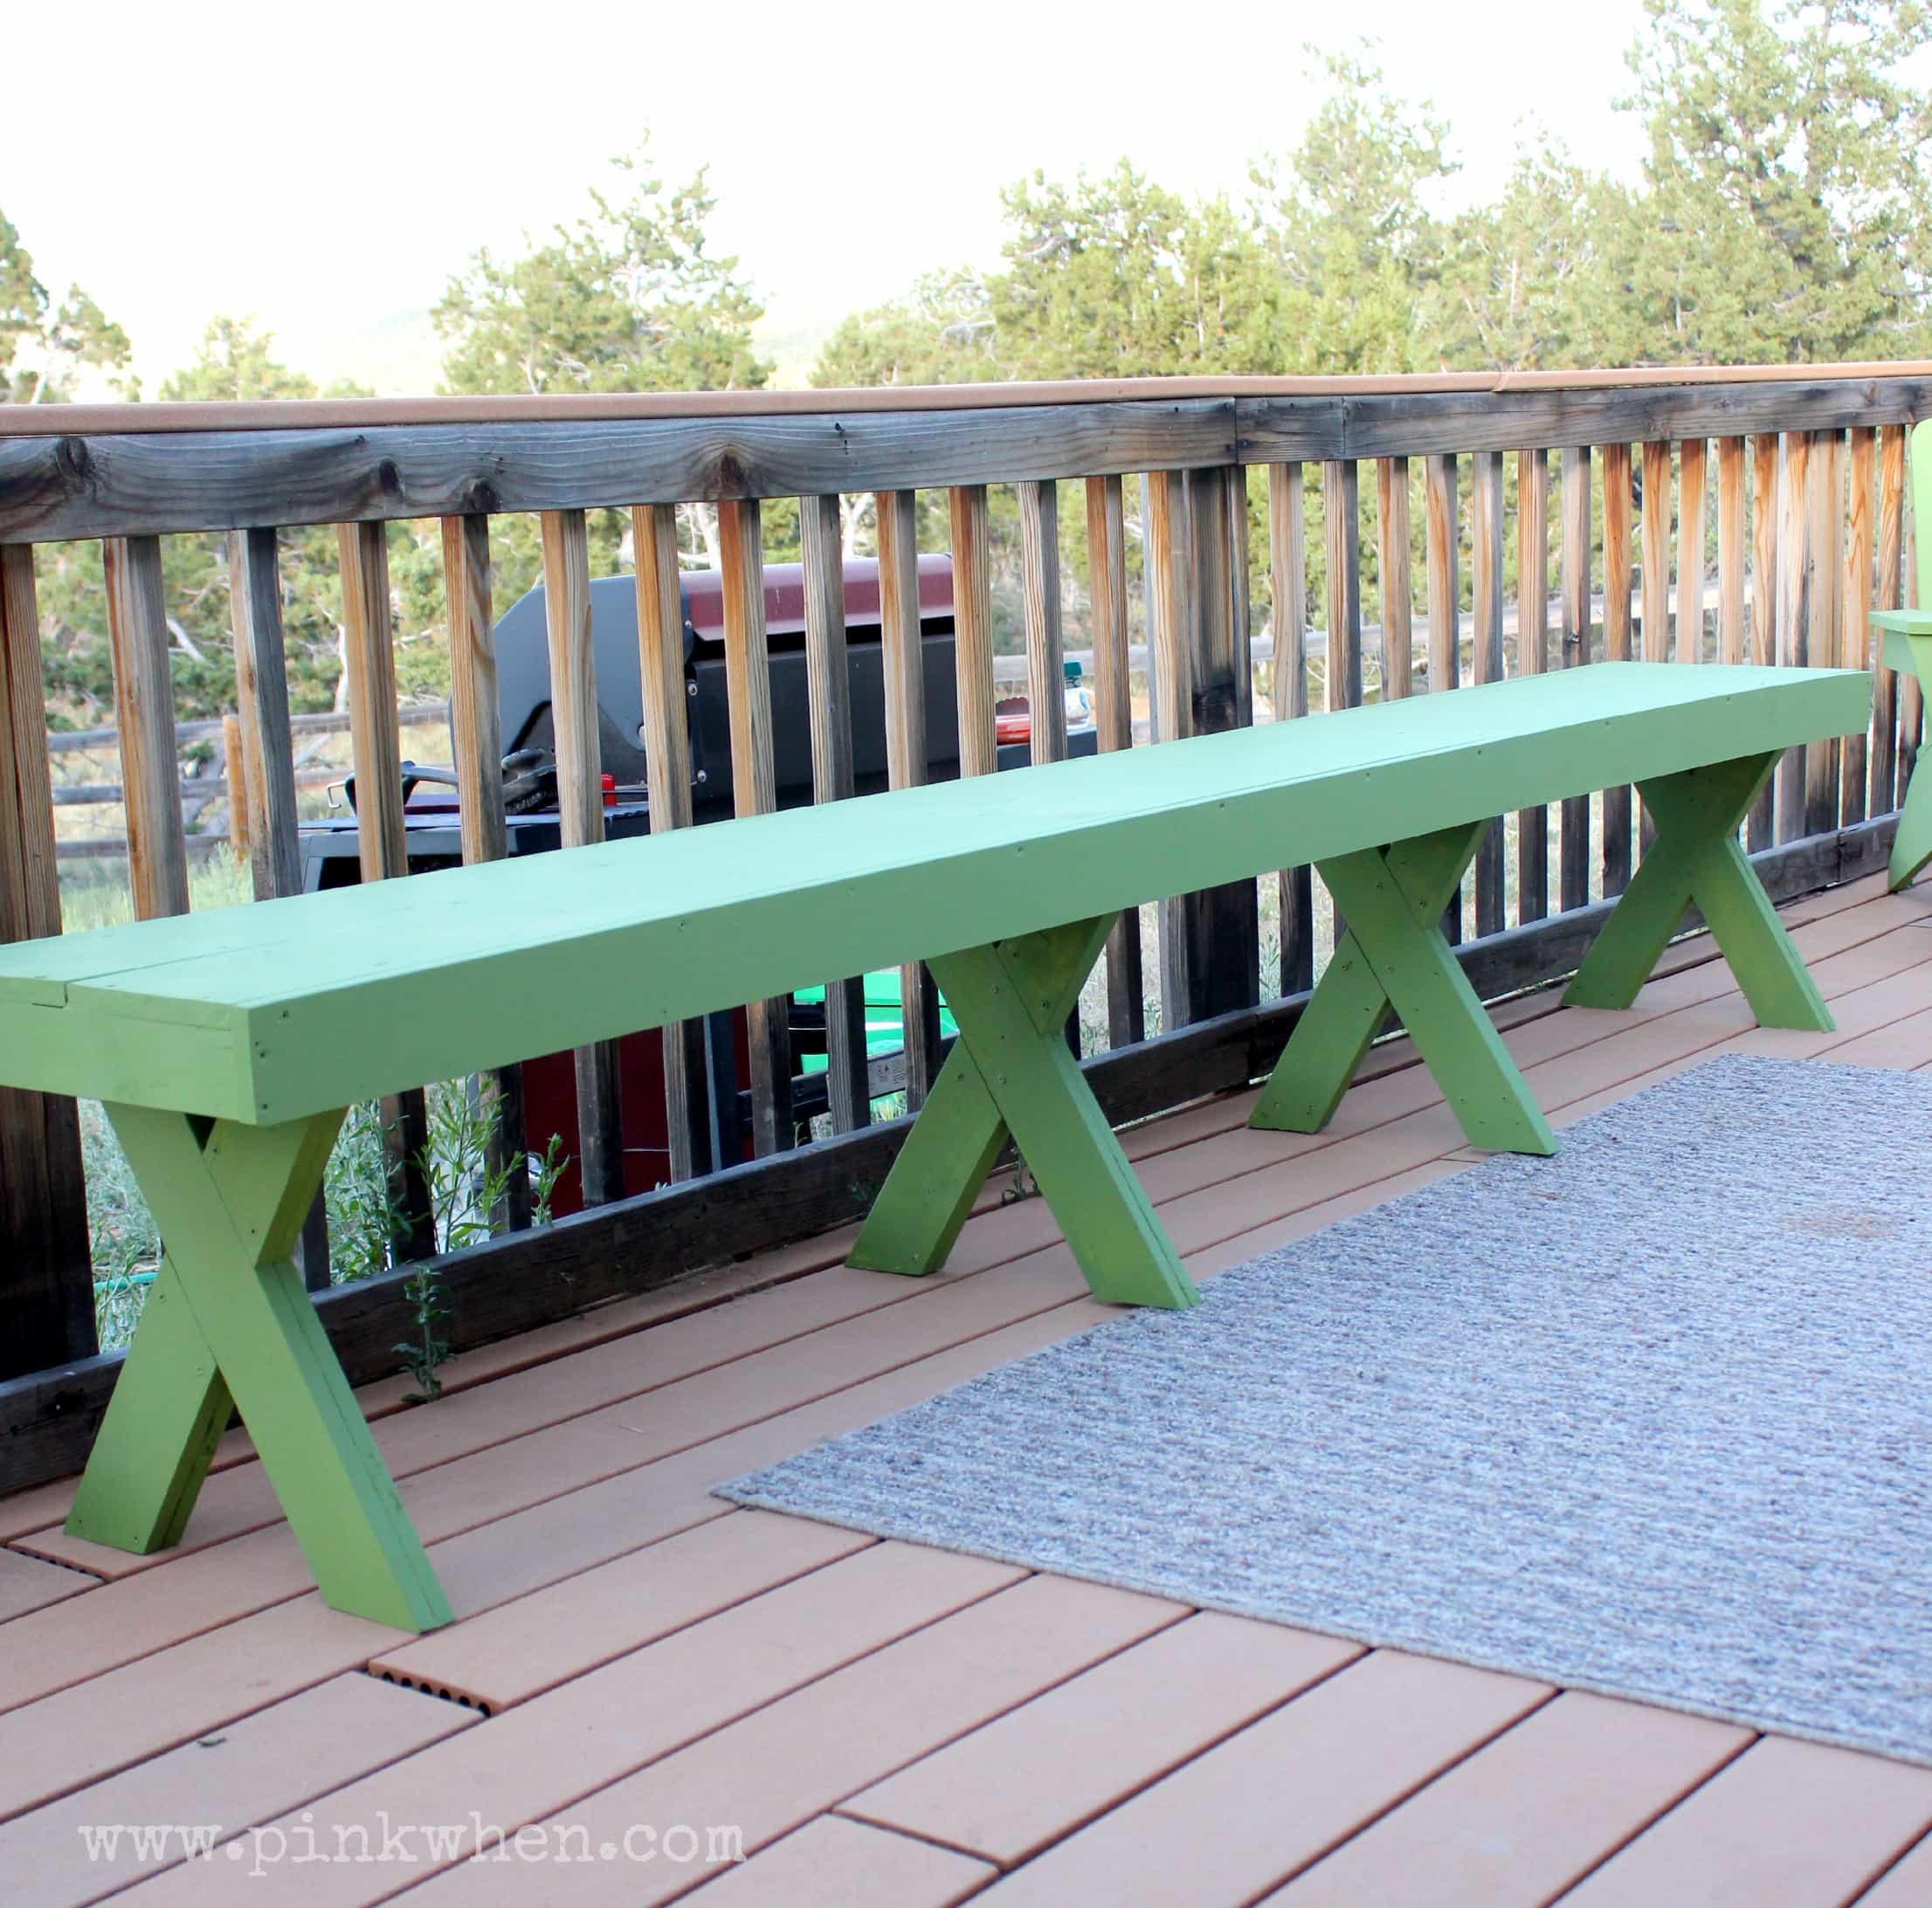
Now let’s add your favorite color of paint! Once again, we used Whirld Peas Outdoor Paint and Primer from Valspar. The picture below is after just one coat, but we applied two coats to make a more even finish.
With a brand new 10ft long bench, we added a lot of seating area to her family’s large outdoor deck area. In fact, the deck is so large, we added in a second bench.
I hope you enjoyed this DIY $20 Outdoor Patio bench. It was a challenging and fun experience to work on this project. Are you going to make these? If so, make sure you share the results in the comments below.
If you are looking for a few other outdoor projects to work on, you could also try these:





This looks great! I love that it seats so many and the fun green color!
Love this! You did an amazing job. Pinned so I can attempt to make this bench one day!
Thanks so much!
This looks great, you did a good job. I like the color you chose to paint it too.
Love the bench and the color you picked!!
Thanks so much April!
These are beautiful! I have zero handy-woman skills but will be trying to convince my dad to make these!! http://www.camillecolumbia.blogspot.com
Share a picture if you do! 🙂
We have a front patio that this would be perfect for! Thanks for giving me a new project for the hubby.
How many people comfortably fit on one of these benches?
I think 4 people EASILY fit onto one of these benches.
looks good and definitely love the price! Would be a fun weekend project! Where do you purchase your lumber?
I picked these pieces up at the Ace Hardware store in Cortez, Co.