Hello friends! I am so excited to have you back and to share with you this fun, DIY Faux Wood Pallet Map Art. That’s right, it’s faux wood. You probably know it better by calling it, wait for it…. styrofoam. That’s right! This is such a cool project and one I hope you take the time to try and recreate.
When I went to SNAP! conference in Salt Lake City this past April, I met the wonderful ladies from FloraCraft® and fell in love with their large faux pallet map. Now, their pallet map was ginormous! Way too big for my little patio home, so I had to scale things down a bit for this version.
It also reminds me of a lot of the Pallet Map Art that Pottery Barn retails for over $200! Well, this version is not only cost-efficient, but it is super light! Let’s jump into how I made this map.

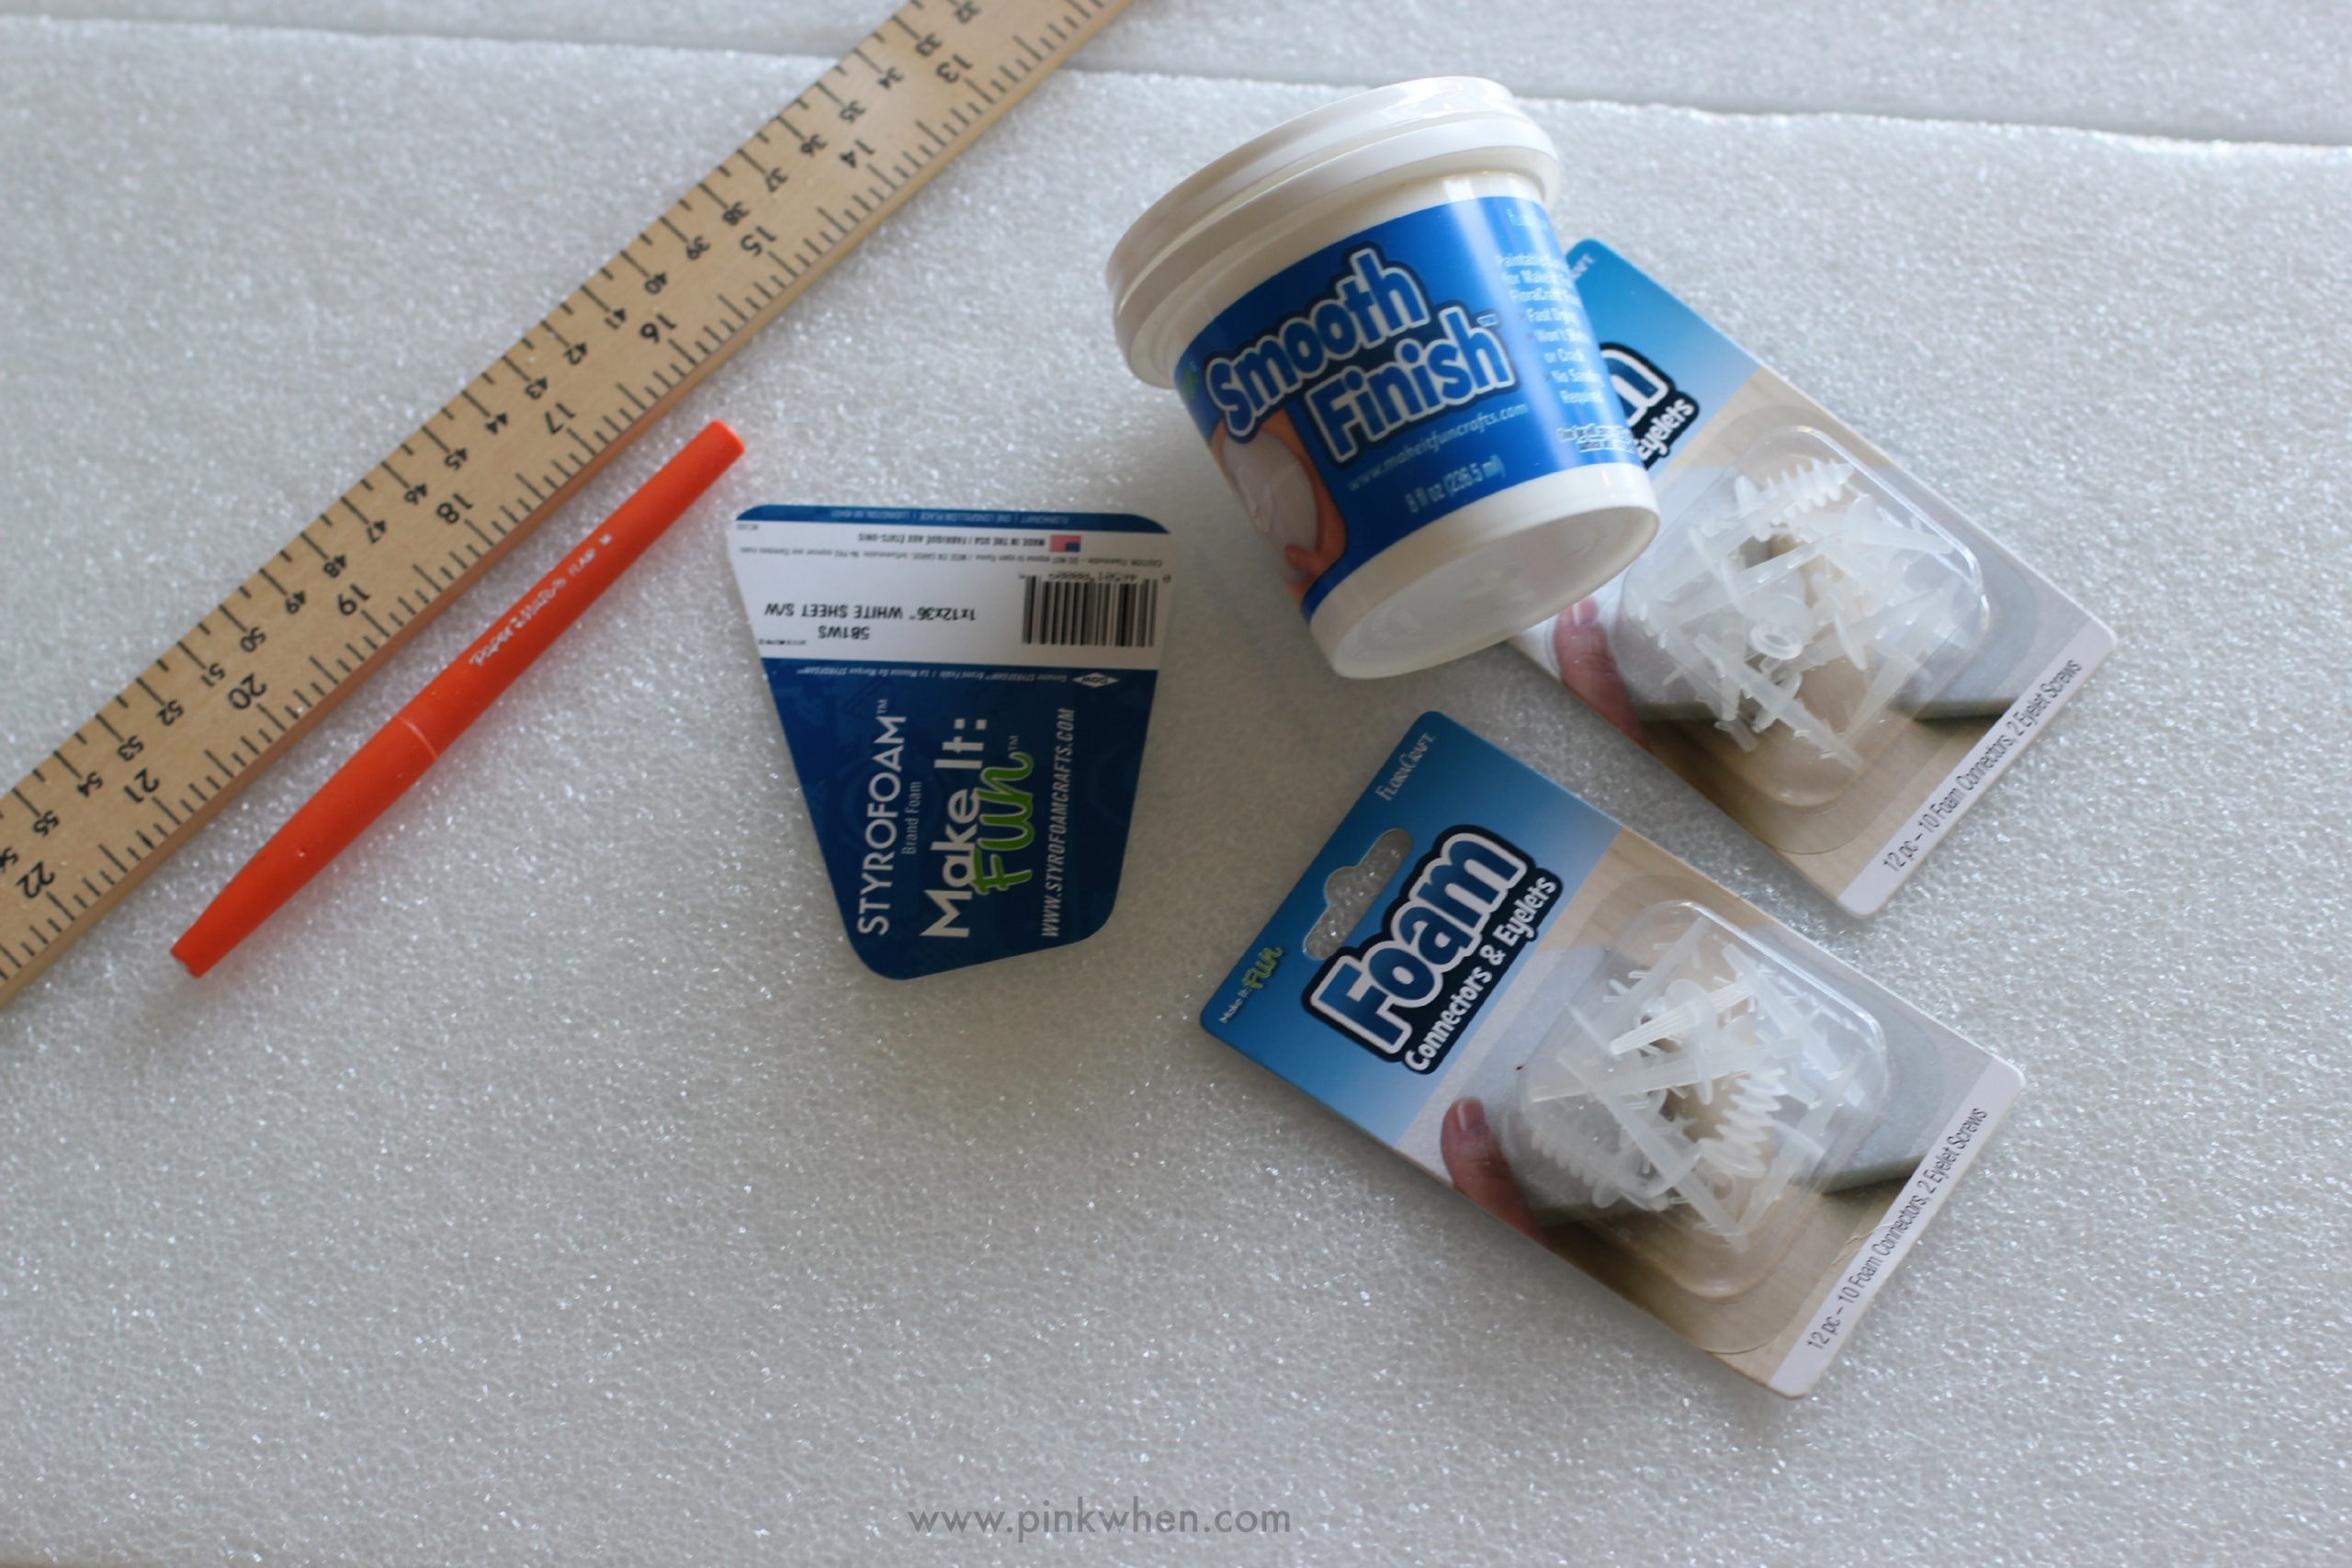
Here is what you are going to need to recreate this Faux Wood Pallet Map Art:
DIY Faux Wood Pallet Map Art
- (2) 1 x 12 x 36 piece of Make It Fun® FloraCraft® Styrofoam
- StyroCutter®
- FloraCraft® Foam Connectors & Eyelets
- Make It Fun® FloraCraft® Smooth Finish
- spatula
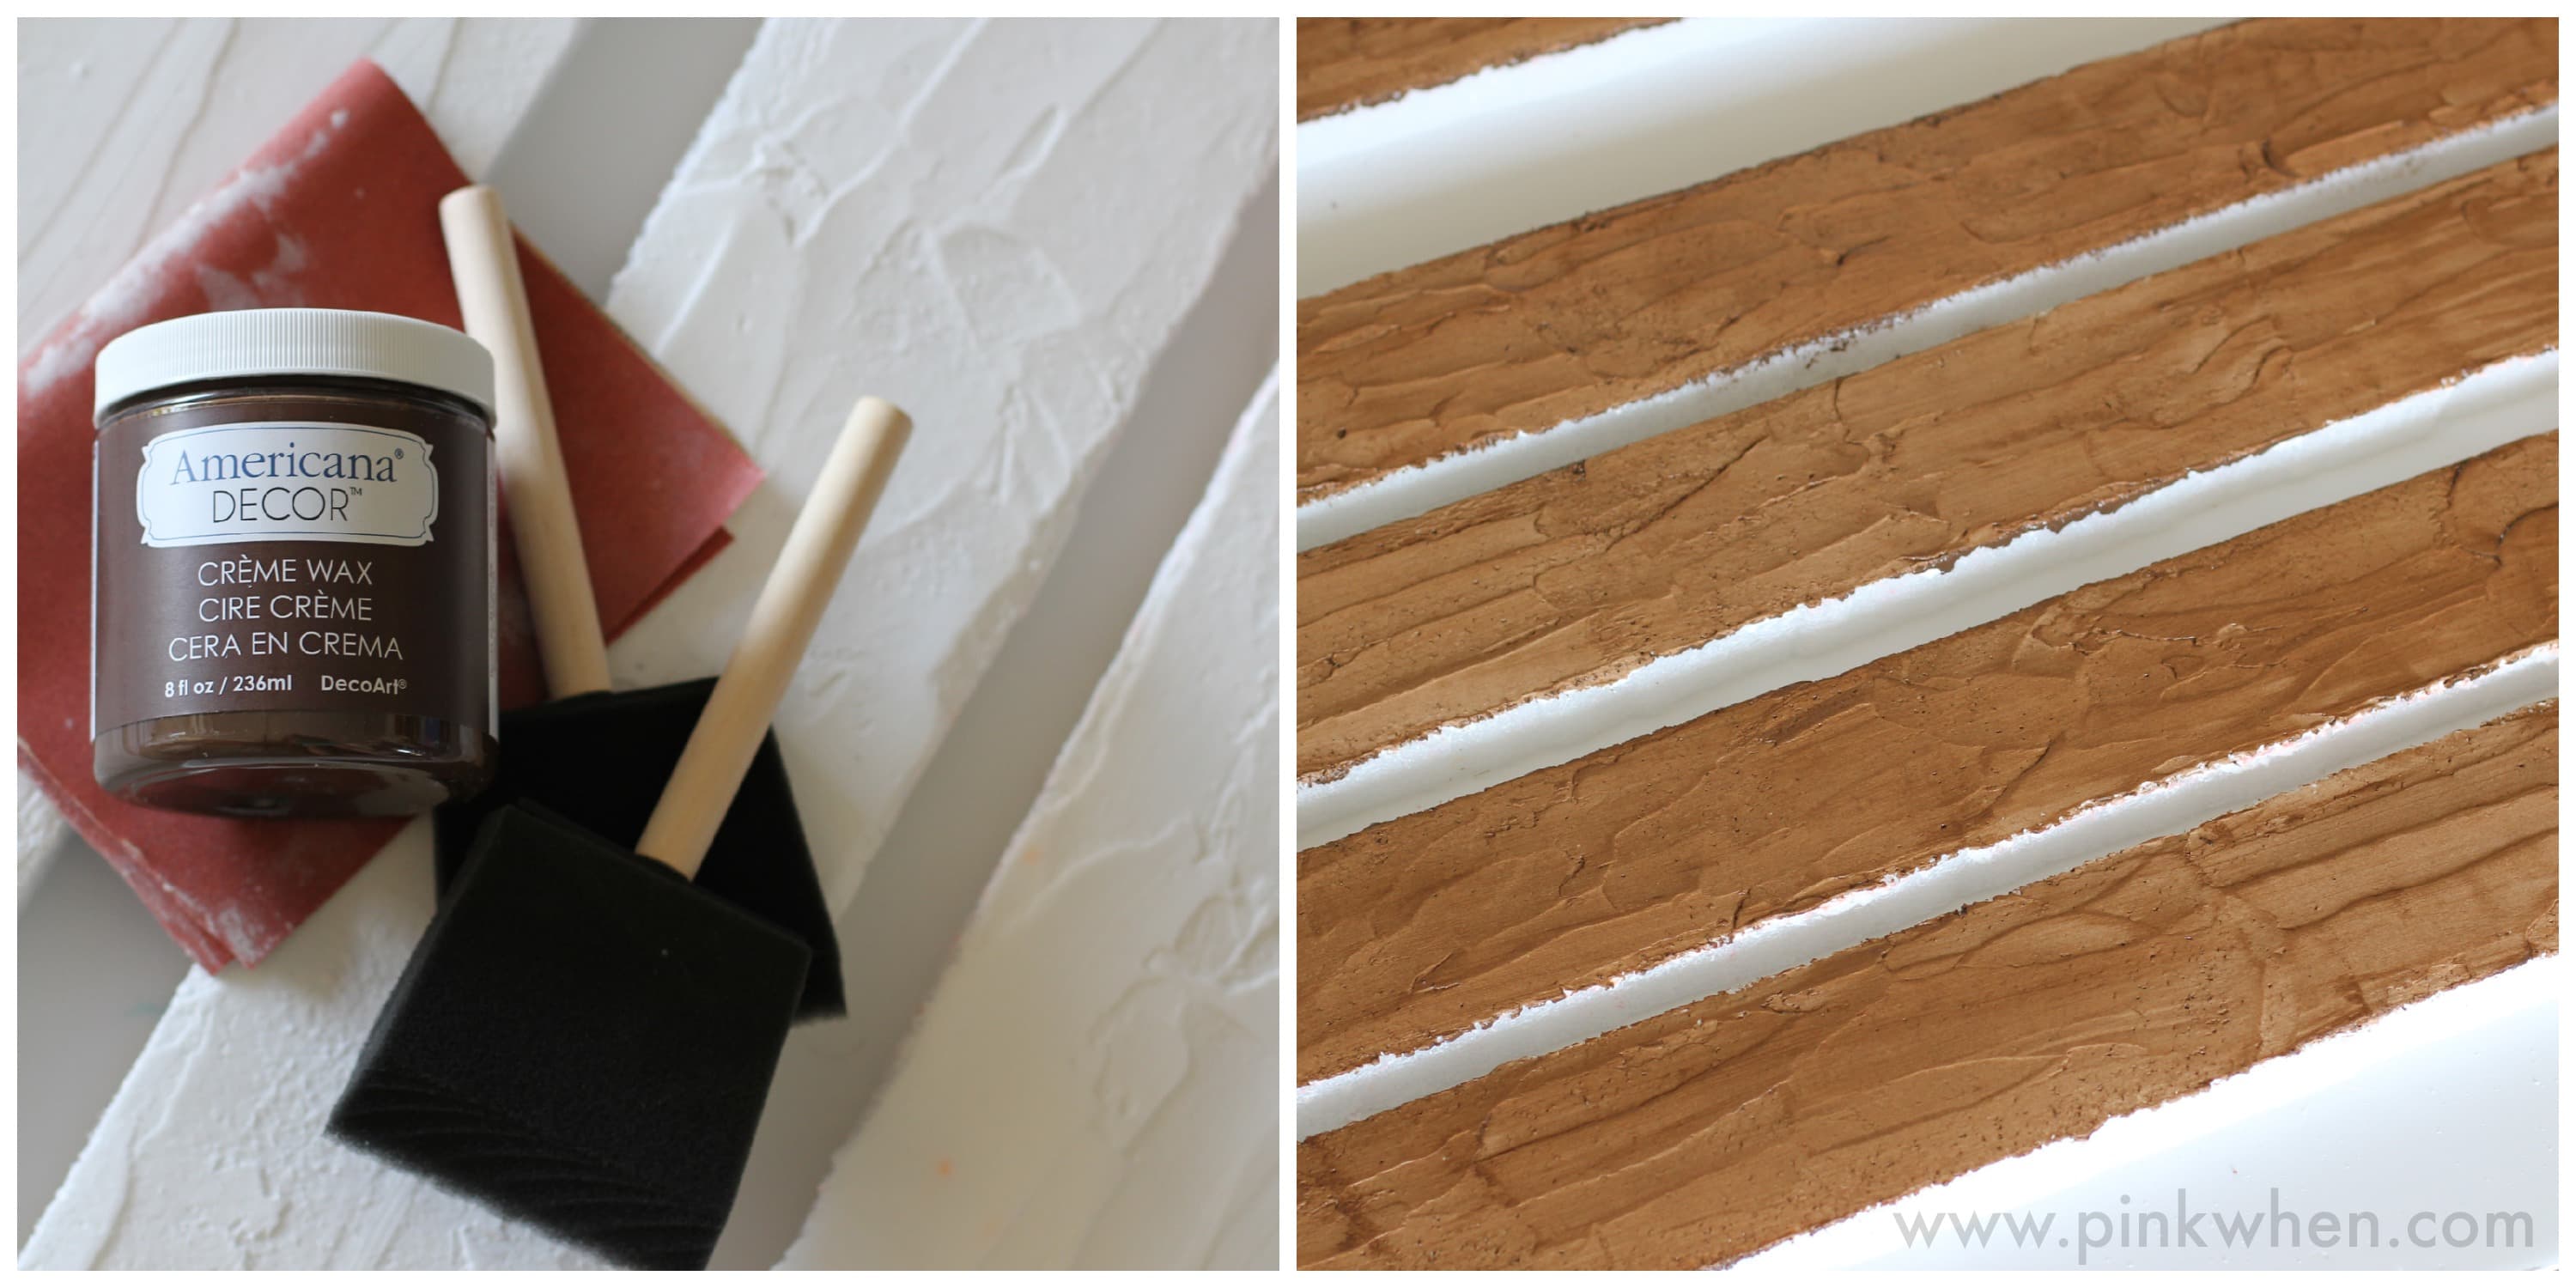
- creme wax color (I used Americana Decor® in deep brown)
- map stencil (I cute mine out from my Silhouette with vinyl)
- white spray paint
- light (120 grit) sand paper
How to Make a Faux Pallet Map
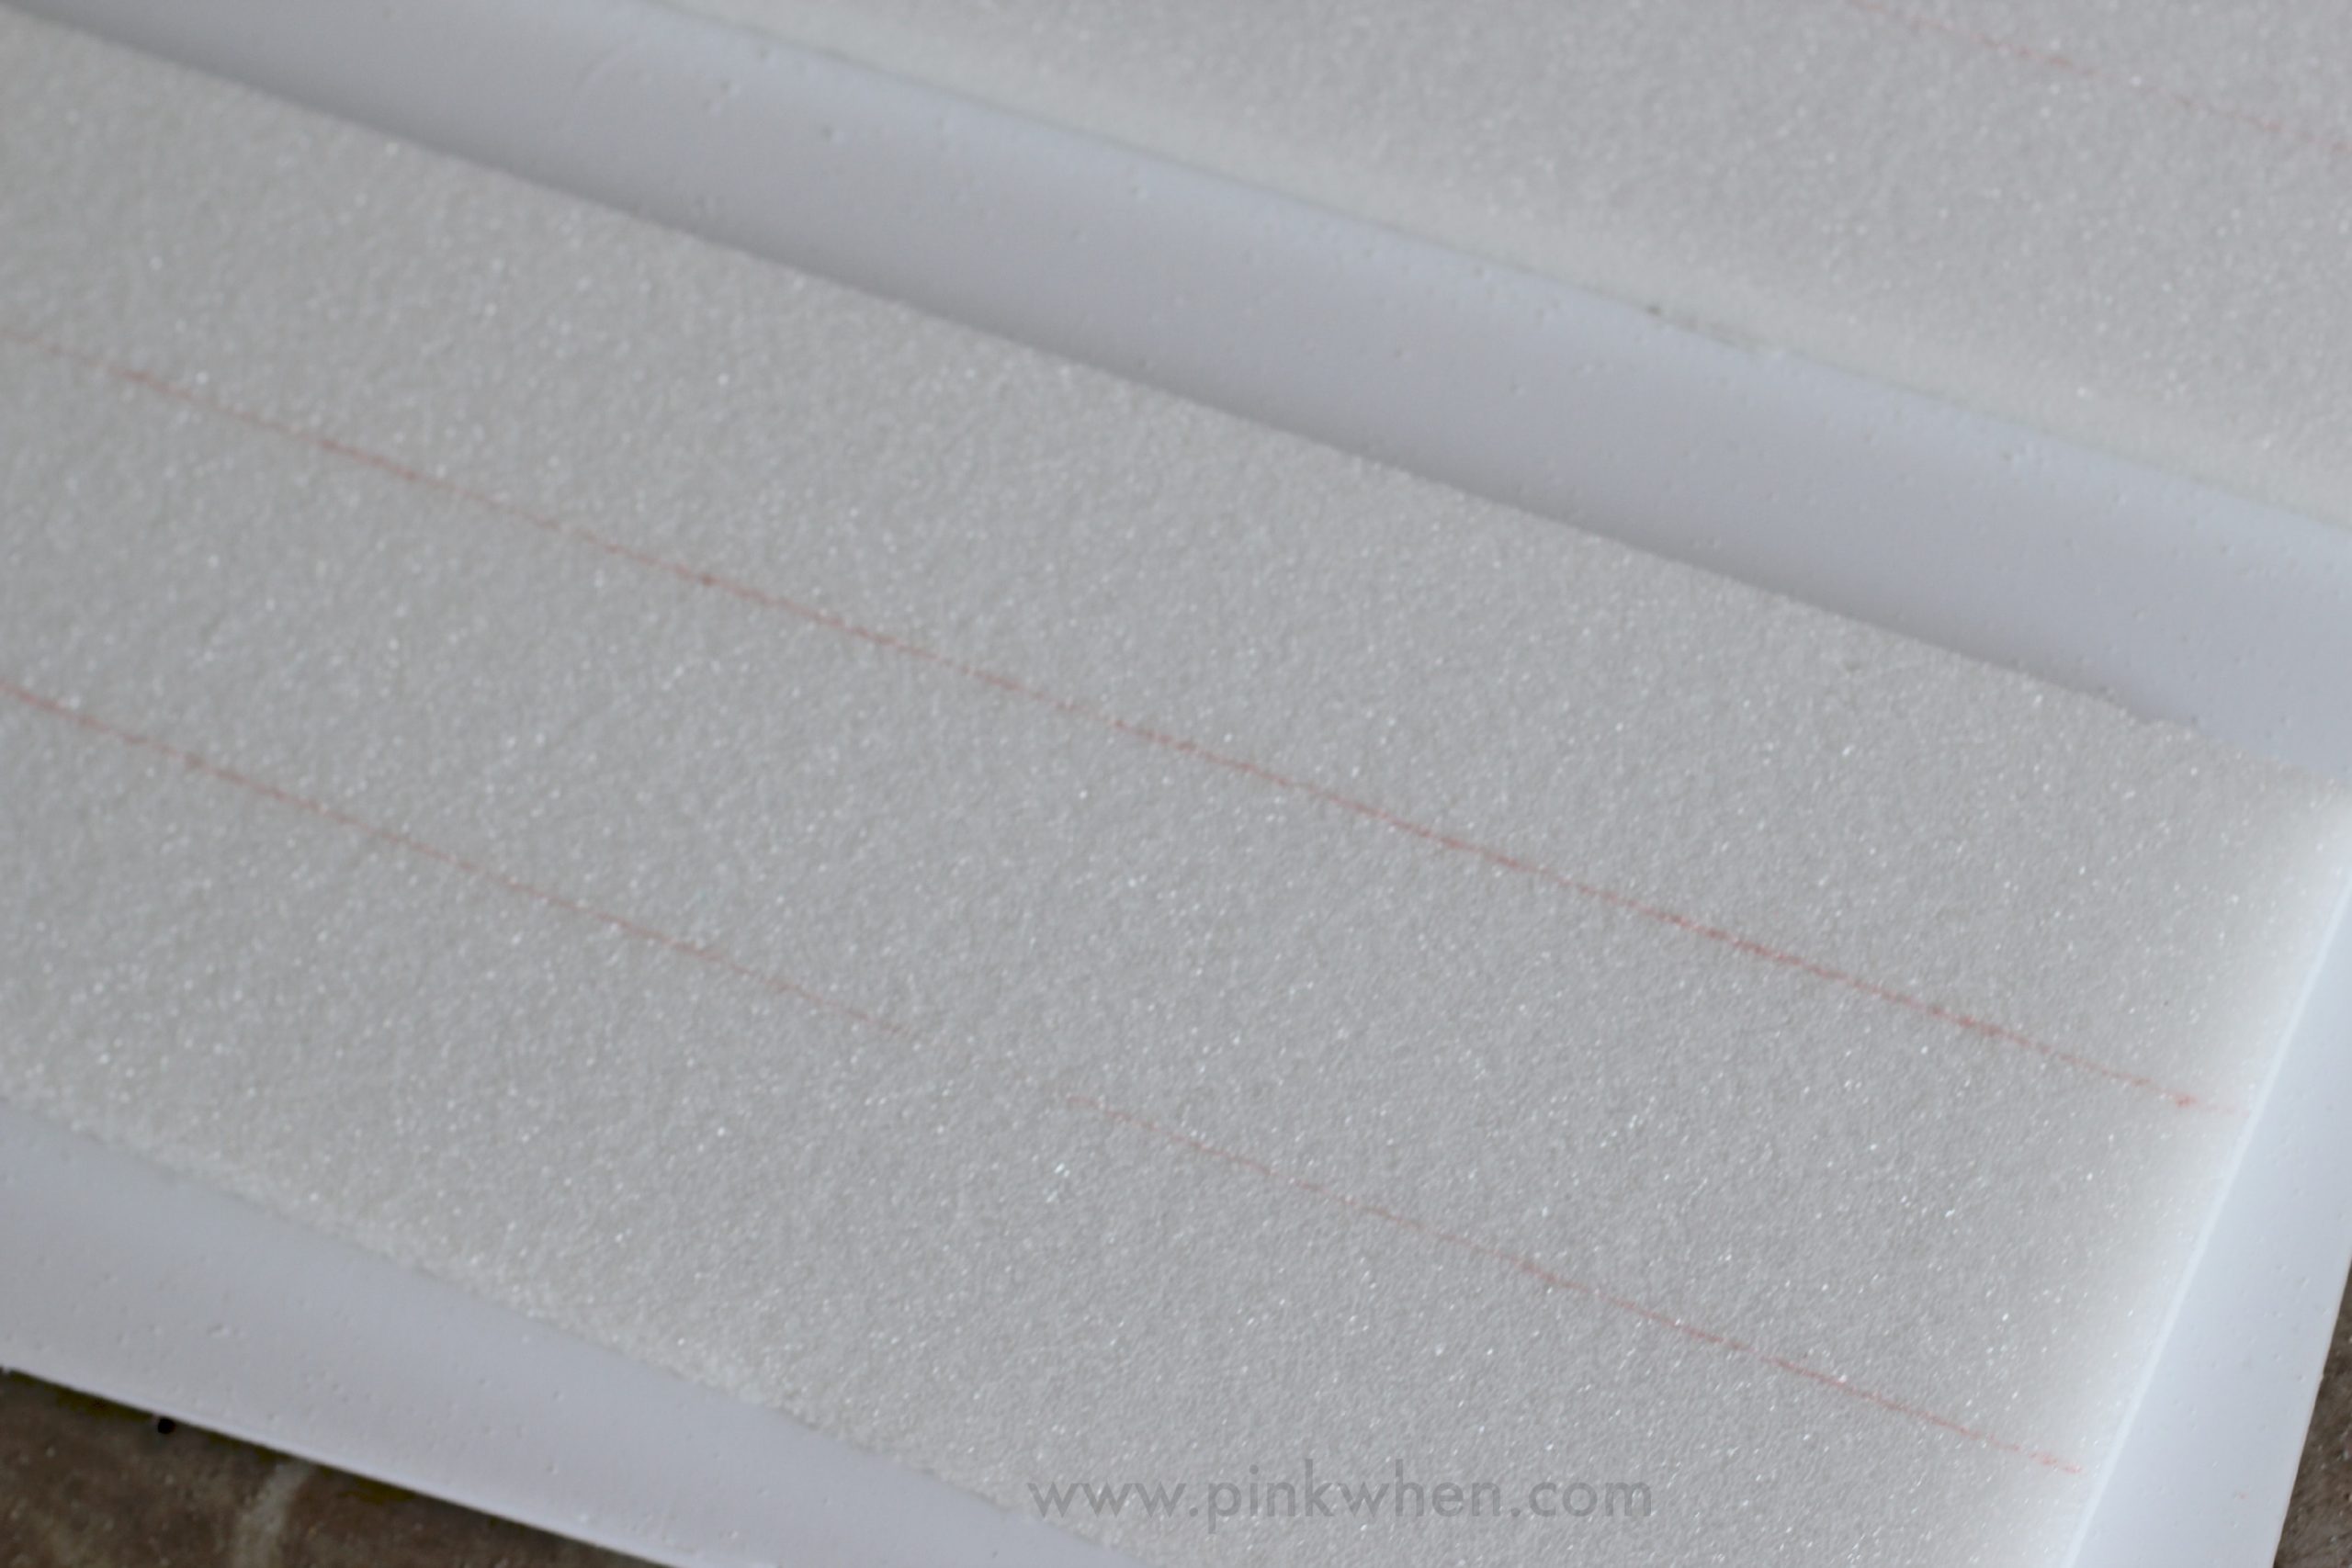
- The first thing I did was take my ruler and pen and mark my foam sheets every 4 inches.
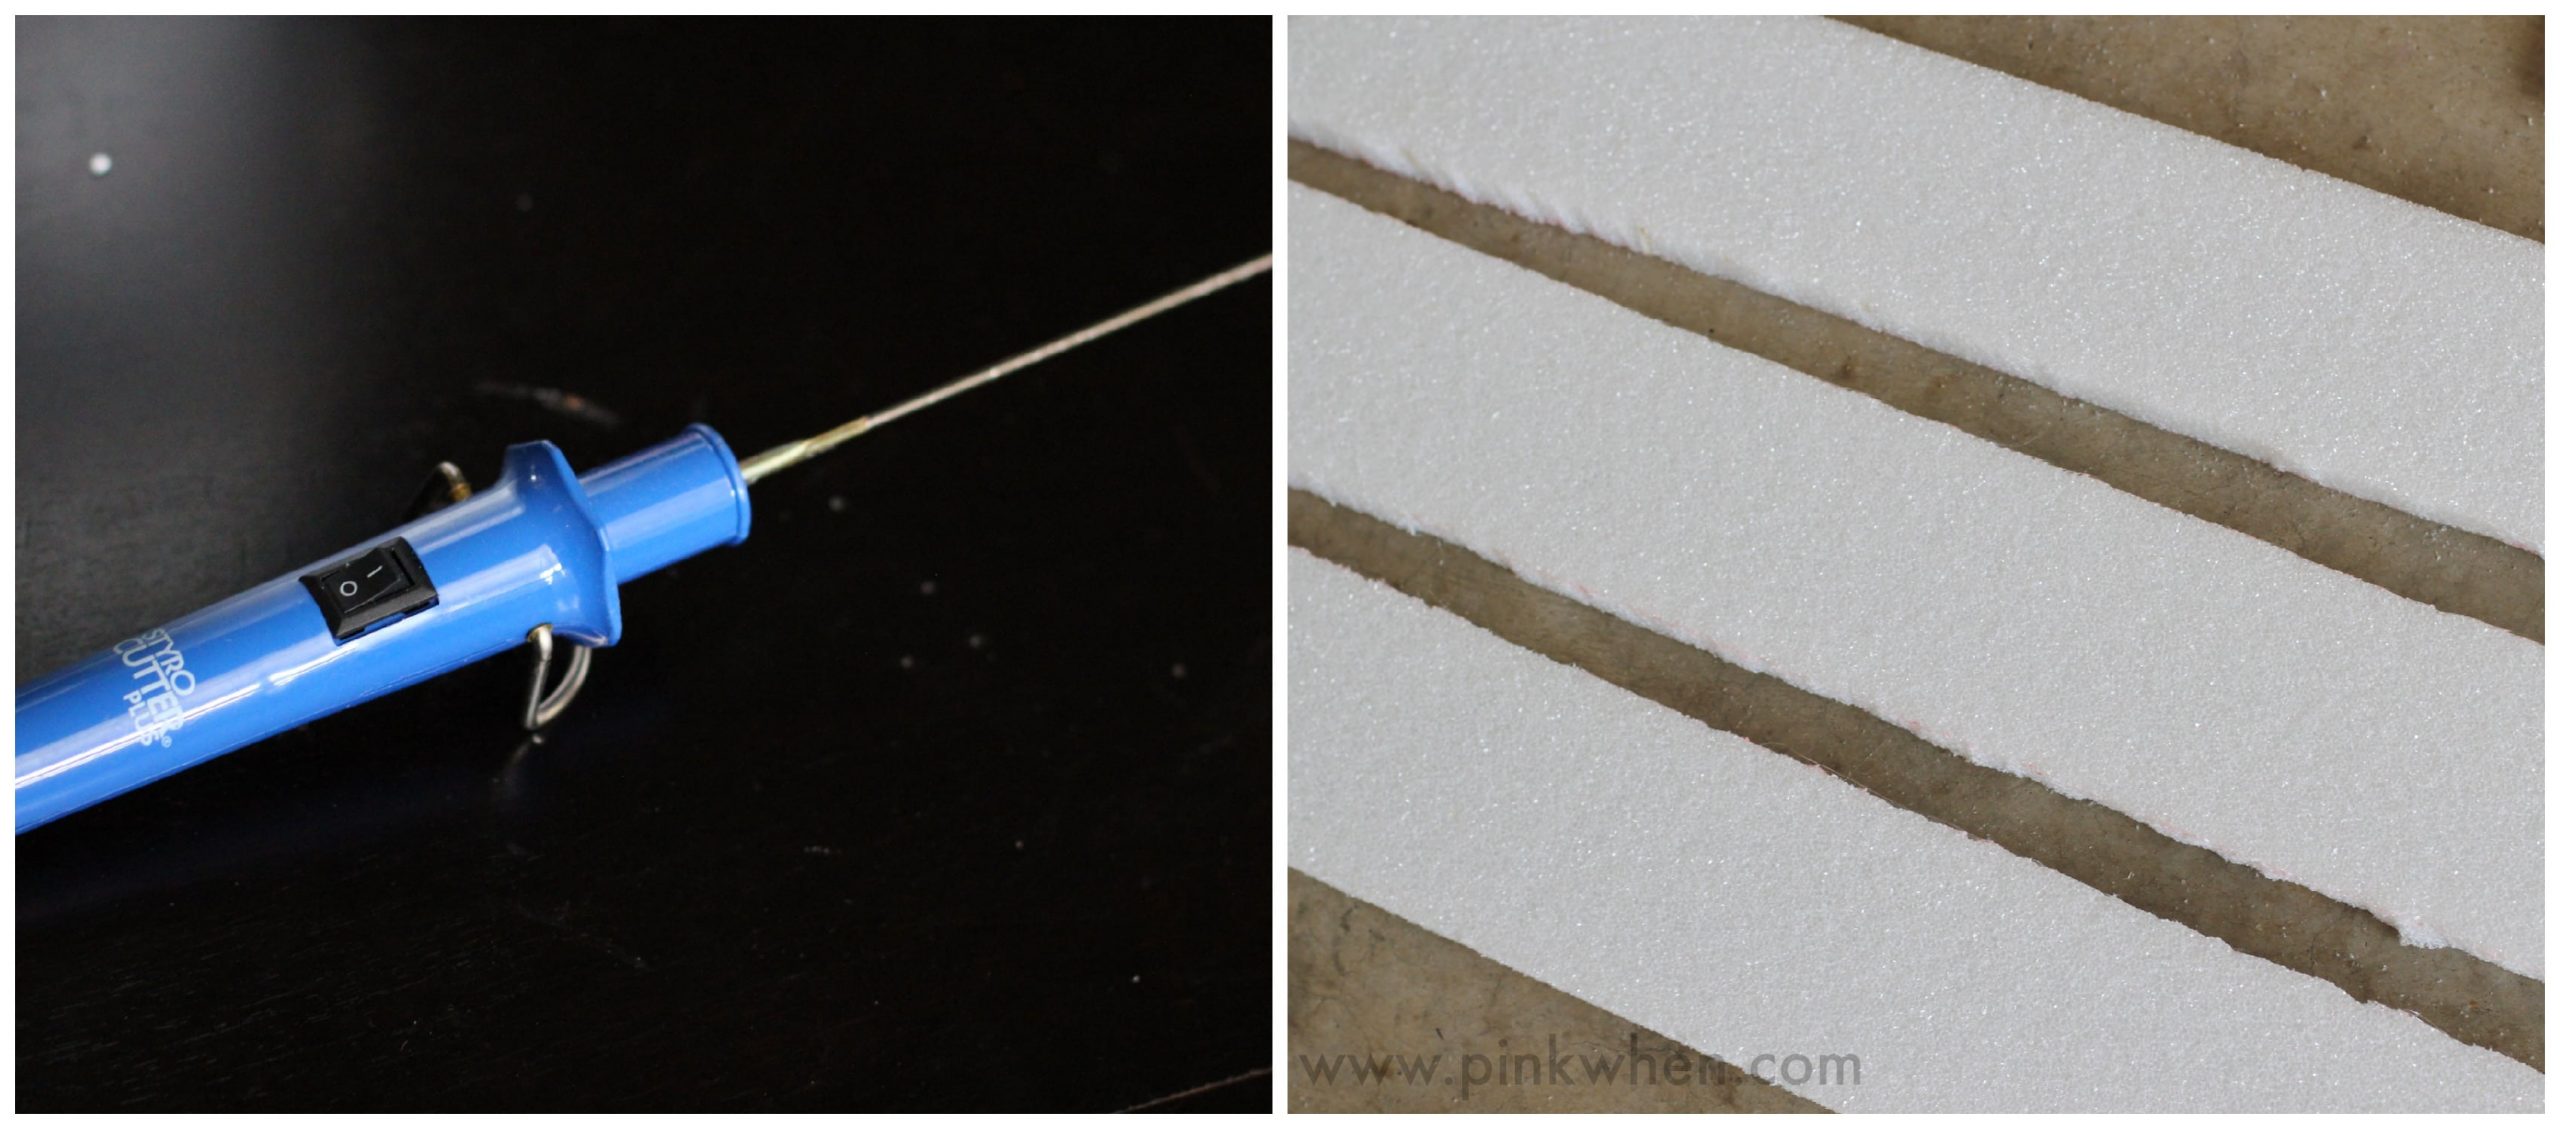
2. After you have marked the foam, take the StyroCutter® and cut along your lines as best as you can.
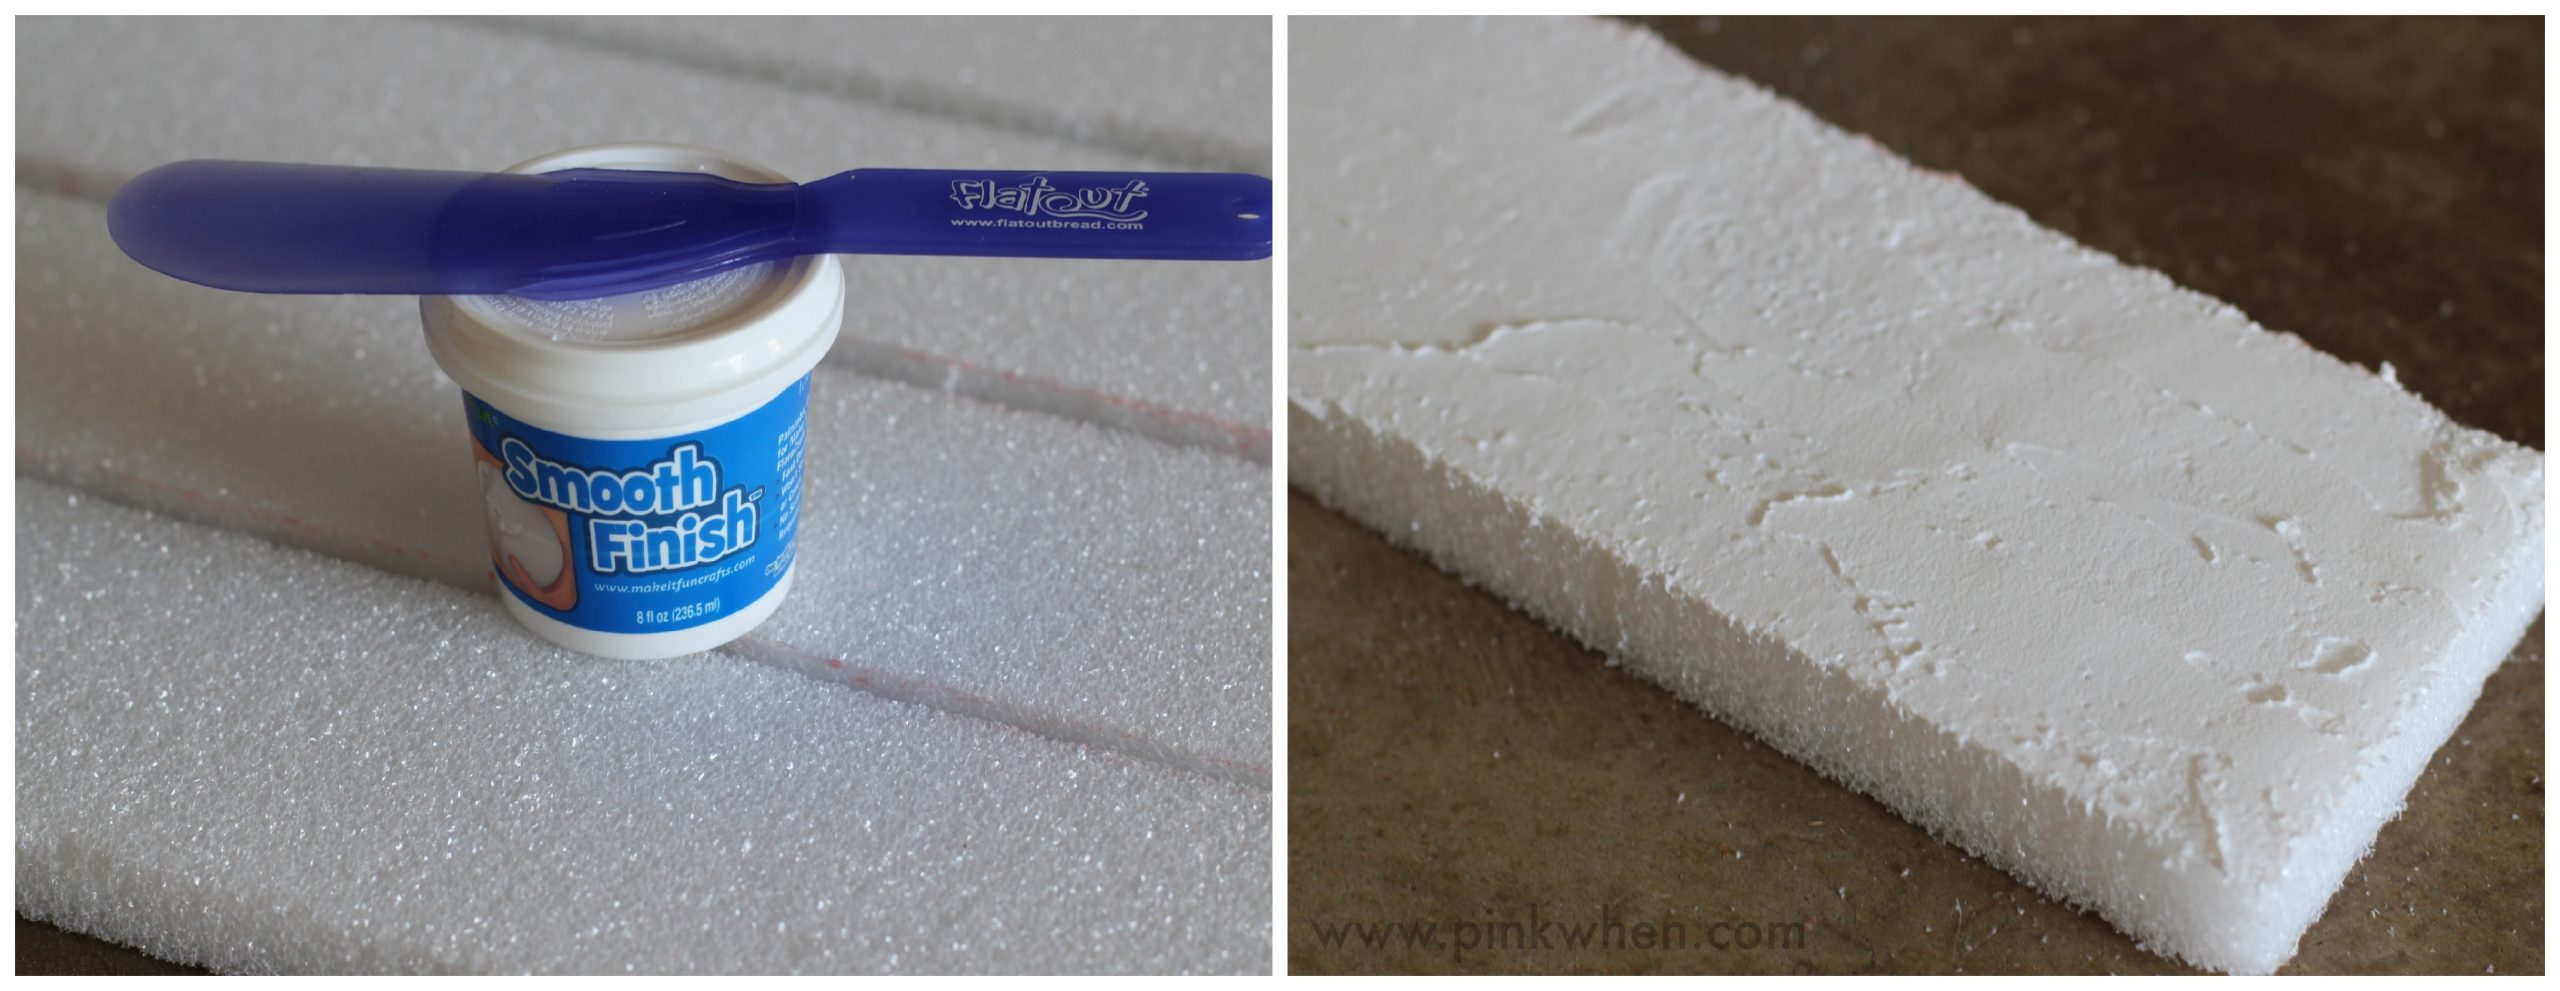
3. After the foam is cut, take your pieces and grab the FloraCraft® SmoothFinish® and a spatula to create your faux wood look. Just apply a really smooth stroke and make sure to cover all of the foam. Just take your time, it goes on really easy.
4. After you have done all of your boards and allowed them to dry completely (I opted to only do 5 because I wanted my faux pallet to be a bit smaller than it would have been with all 6) it’s time to add the wood color.
5. The first thing I did was take my sandpaper and lightly sand any really rough spots on the smooth finish. There were not many, so that was a quick fix! I then grabbed a foam brush applicator and the creme wax color and applied it carefully and smoothly over all of the foam tops. After I did my first coat, I went back and added a little more to a few spots to make it look a little more realistic.
Faux Pallet Art
6. Once the color was dry, it was time to secure the foam boards together to create my pallet look. I grabbed my FloraCraft® Foam Connectors and Eyelets and spaced them every 9 inches on one side of the boards, which is 4 connectors to each board.
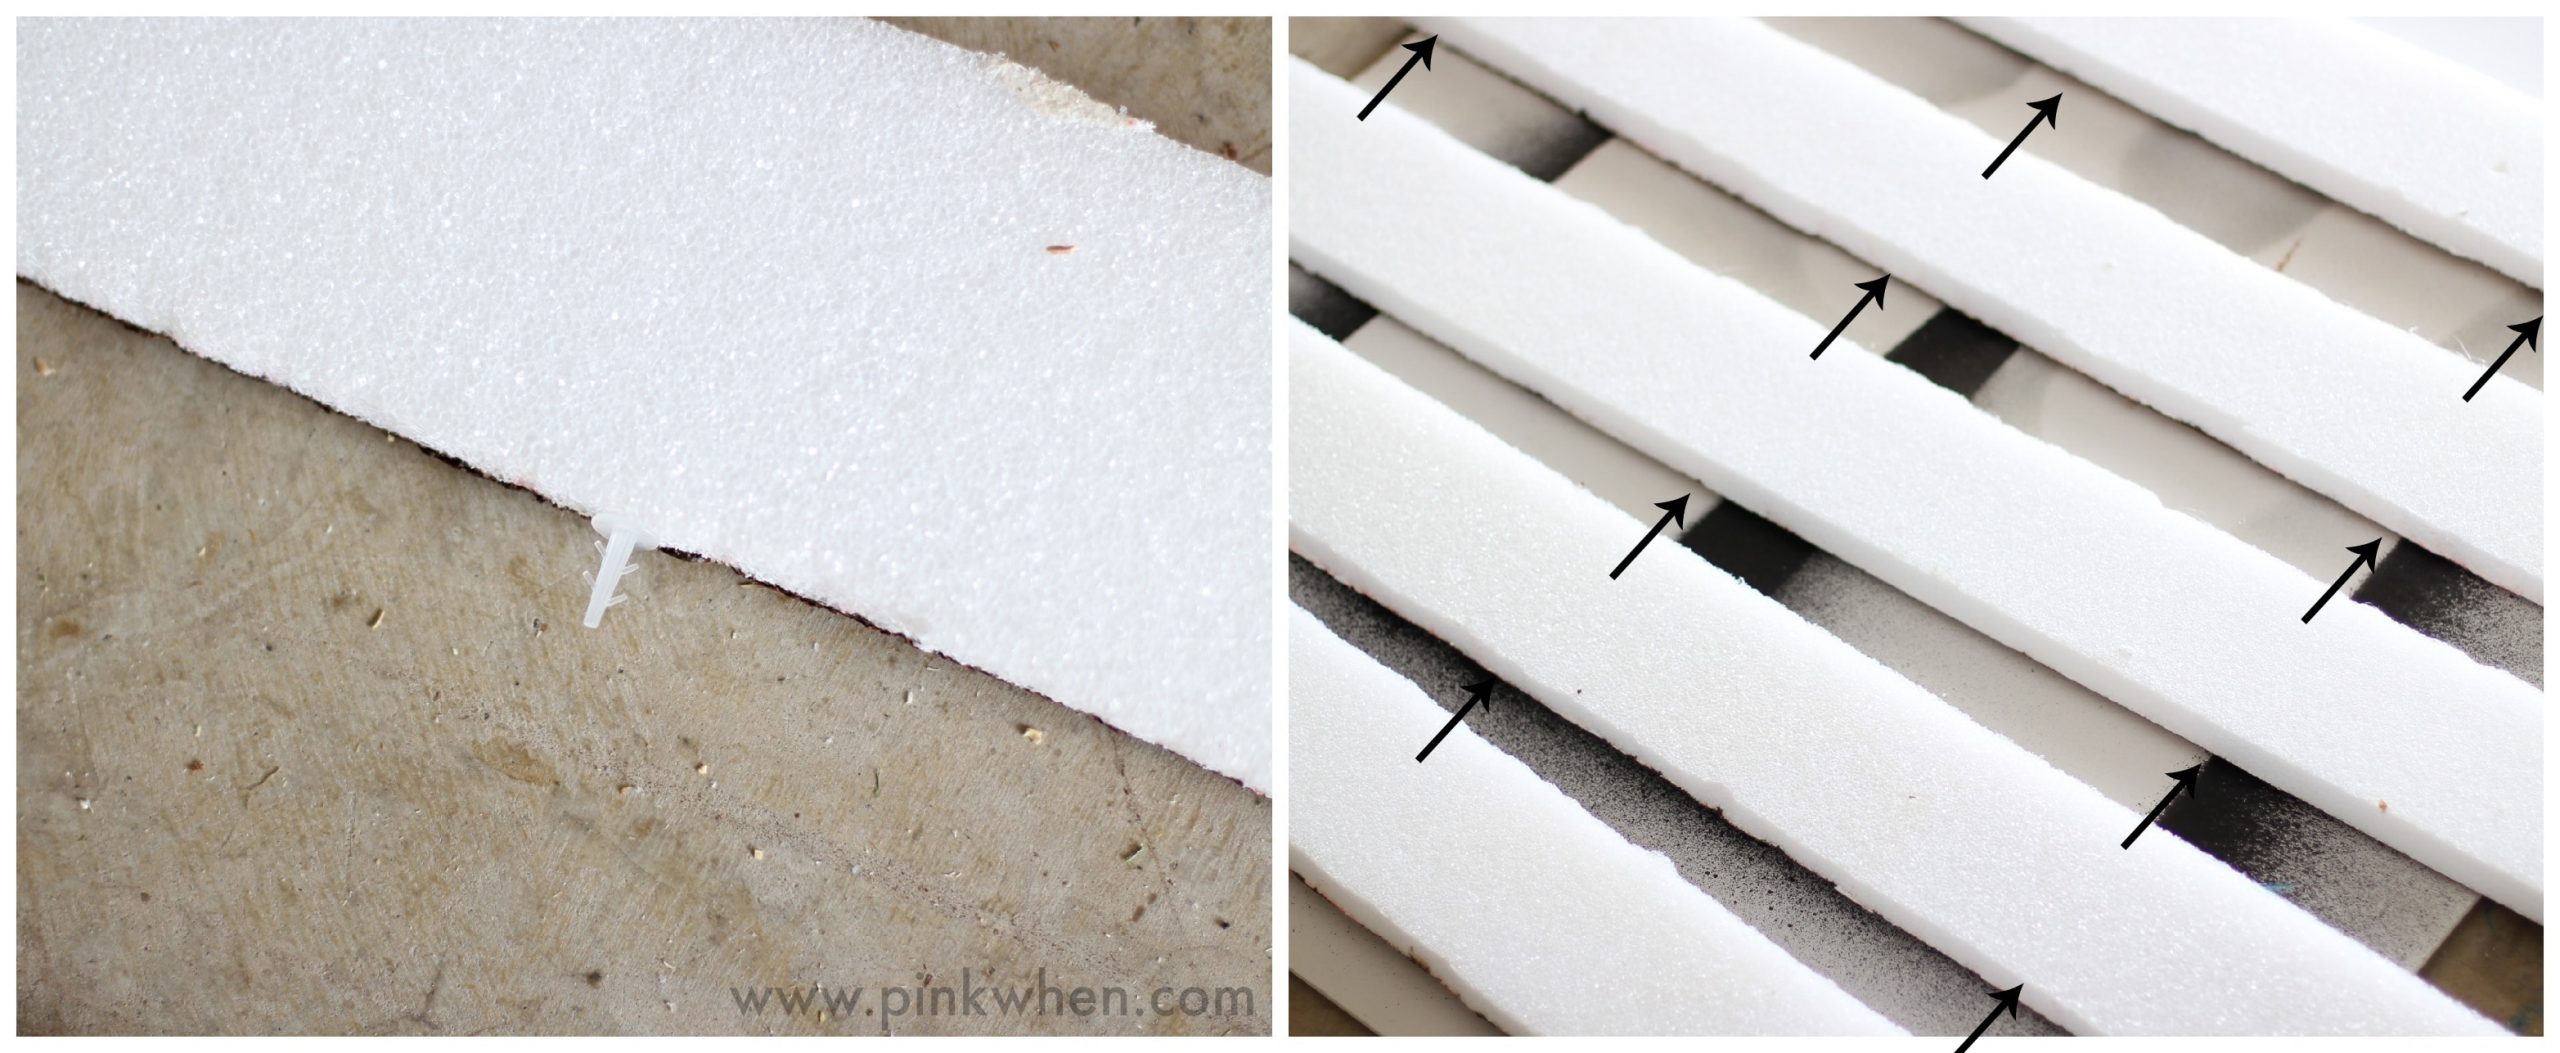
7. After the boards were connected, I also added a couple of strips of clear tape to make sure everything stays together. Now I am ready to stencil!
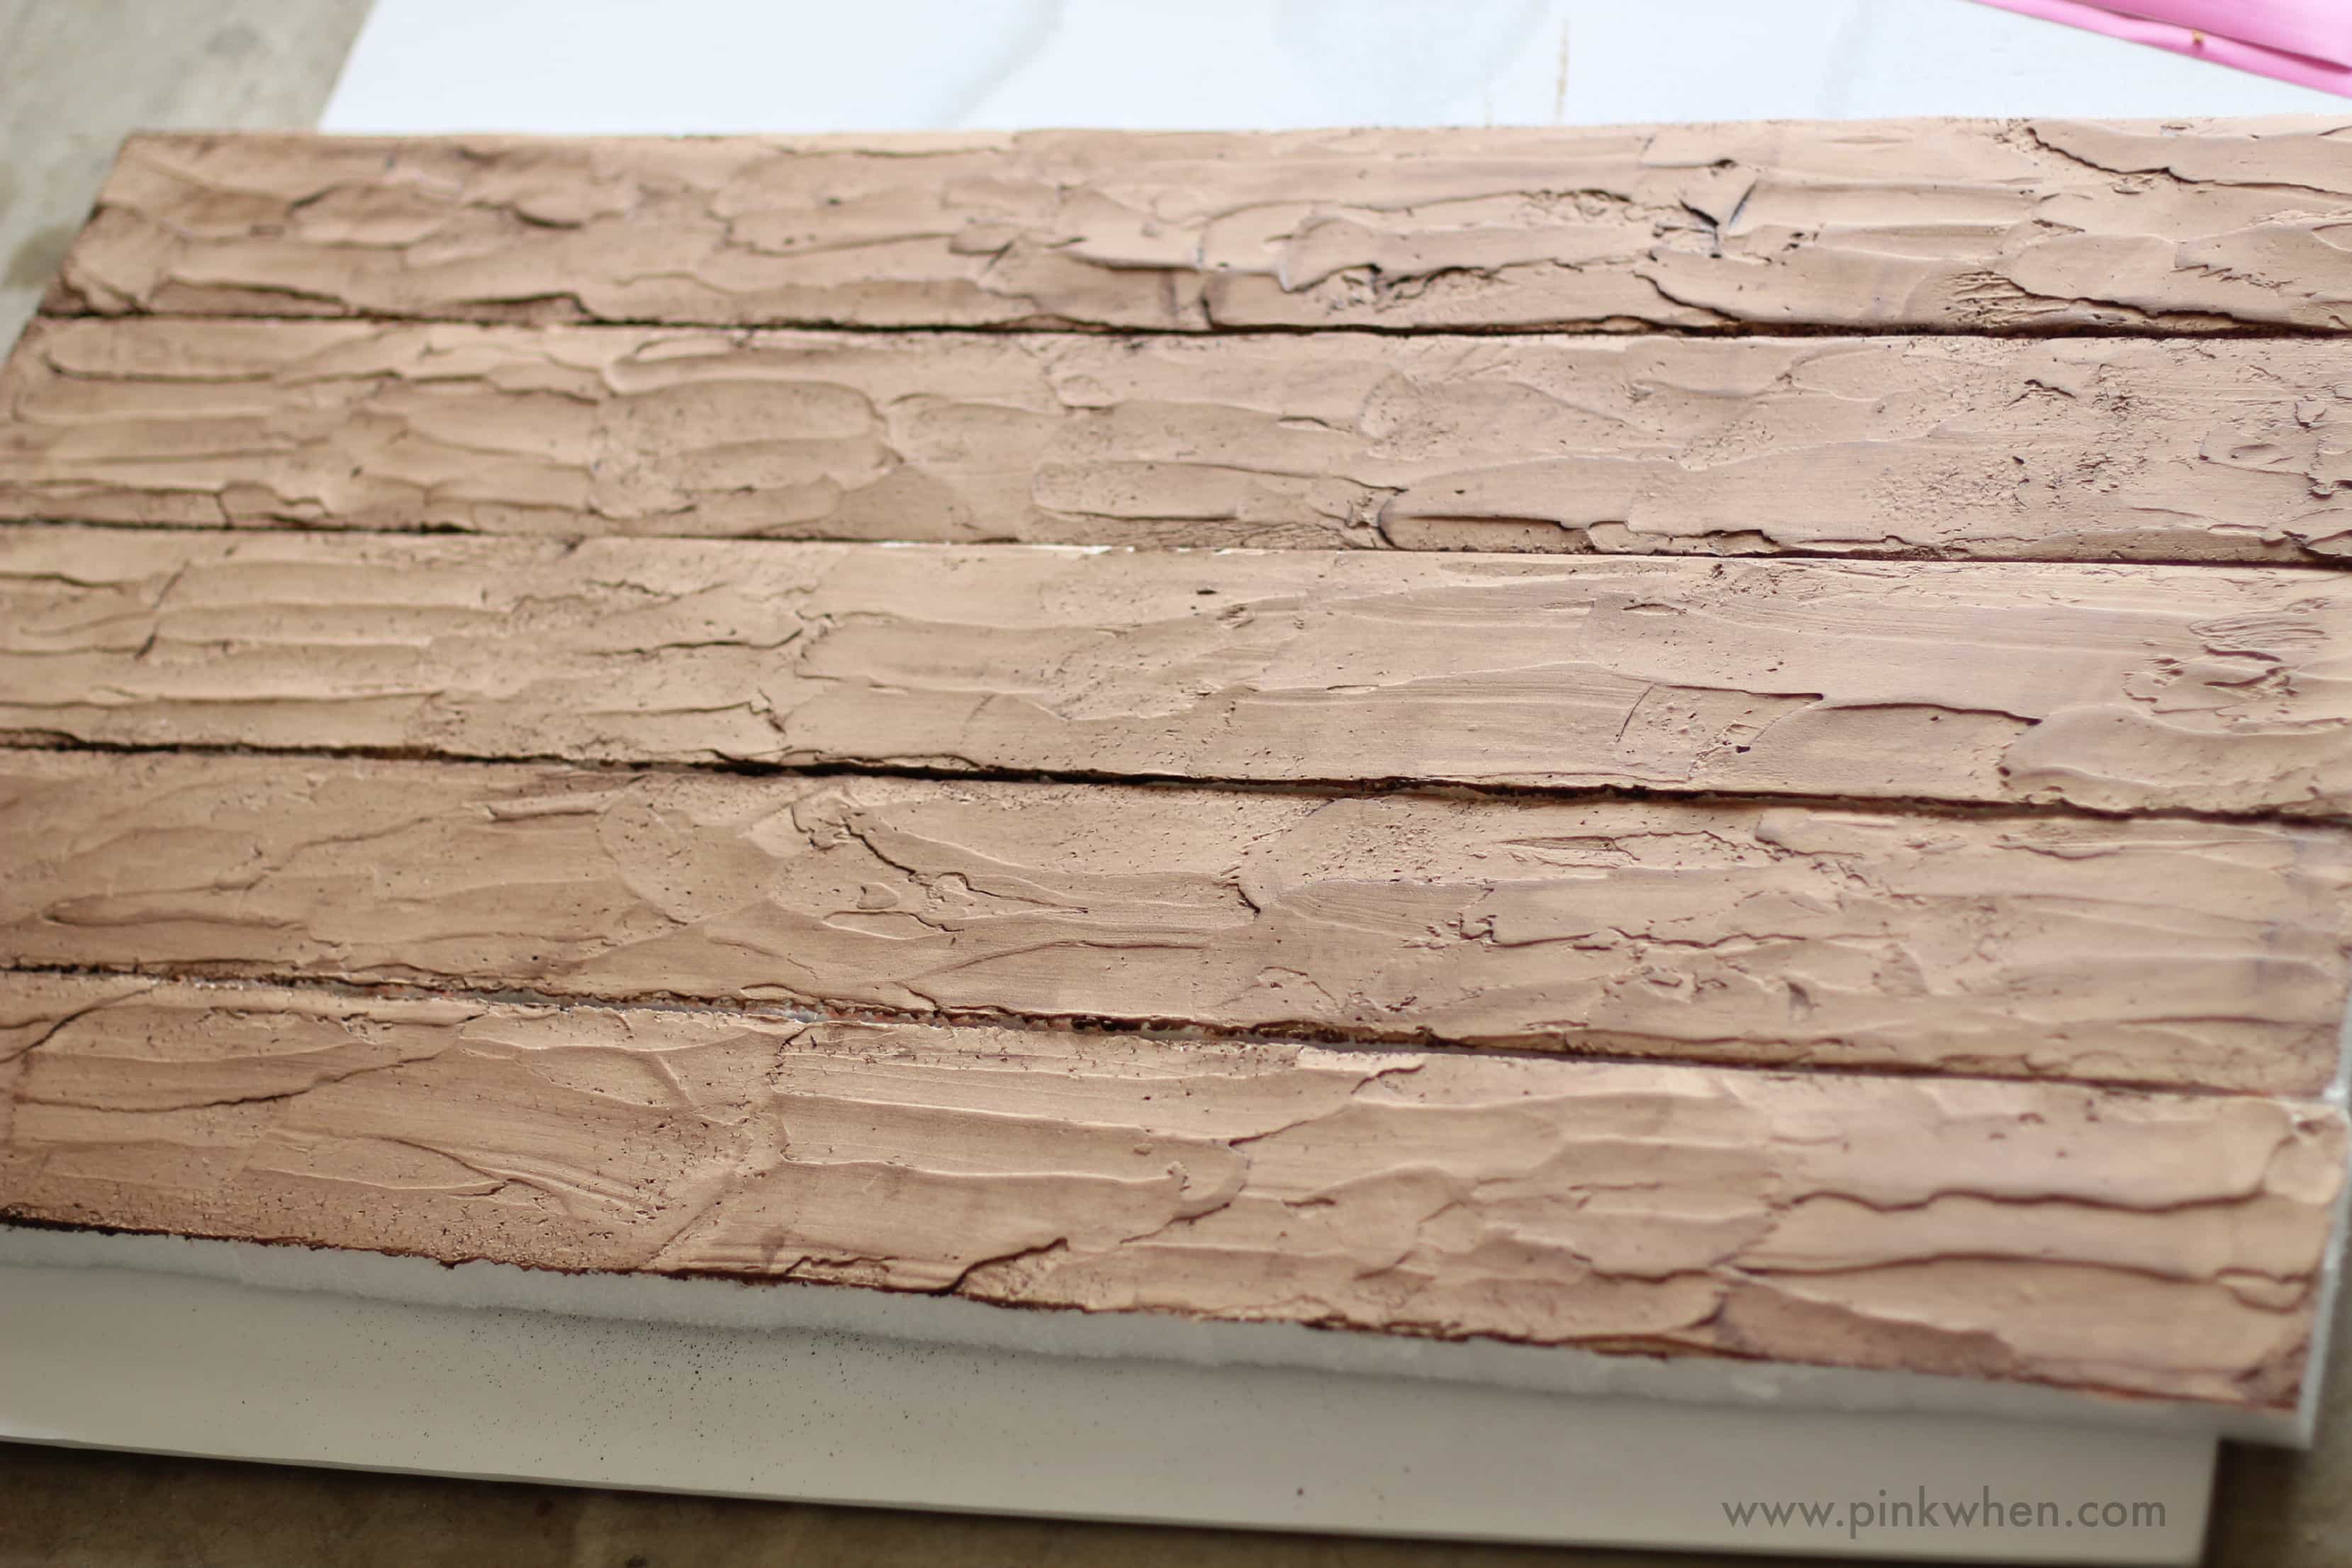
8. I then created a stencil on my Silhouette machine and sliced it into three halves so I could make it large enough for me faux pallet. You can find the tutorial on how to do that here.
9. After I created my stencil, I applied it to my board and then applied a cover over any extra exposed areas of my faux pallet.
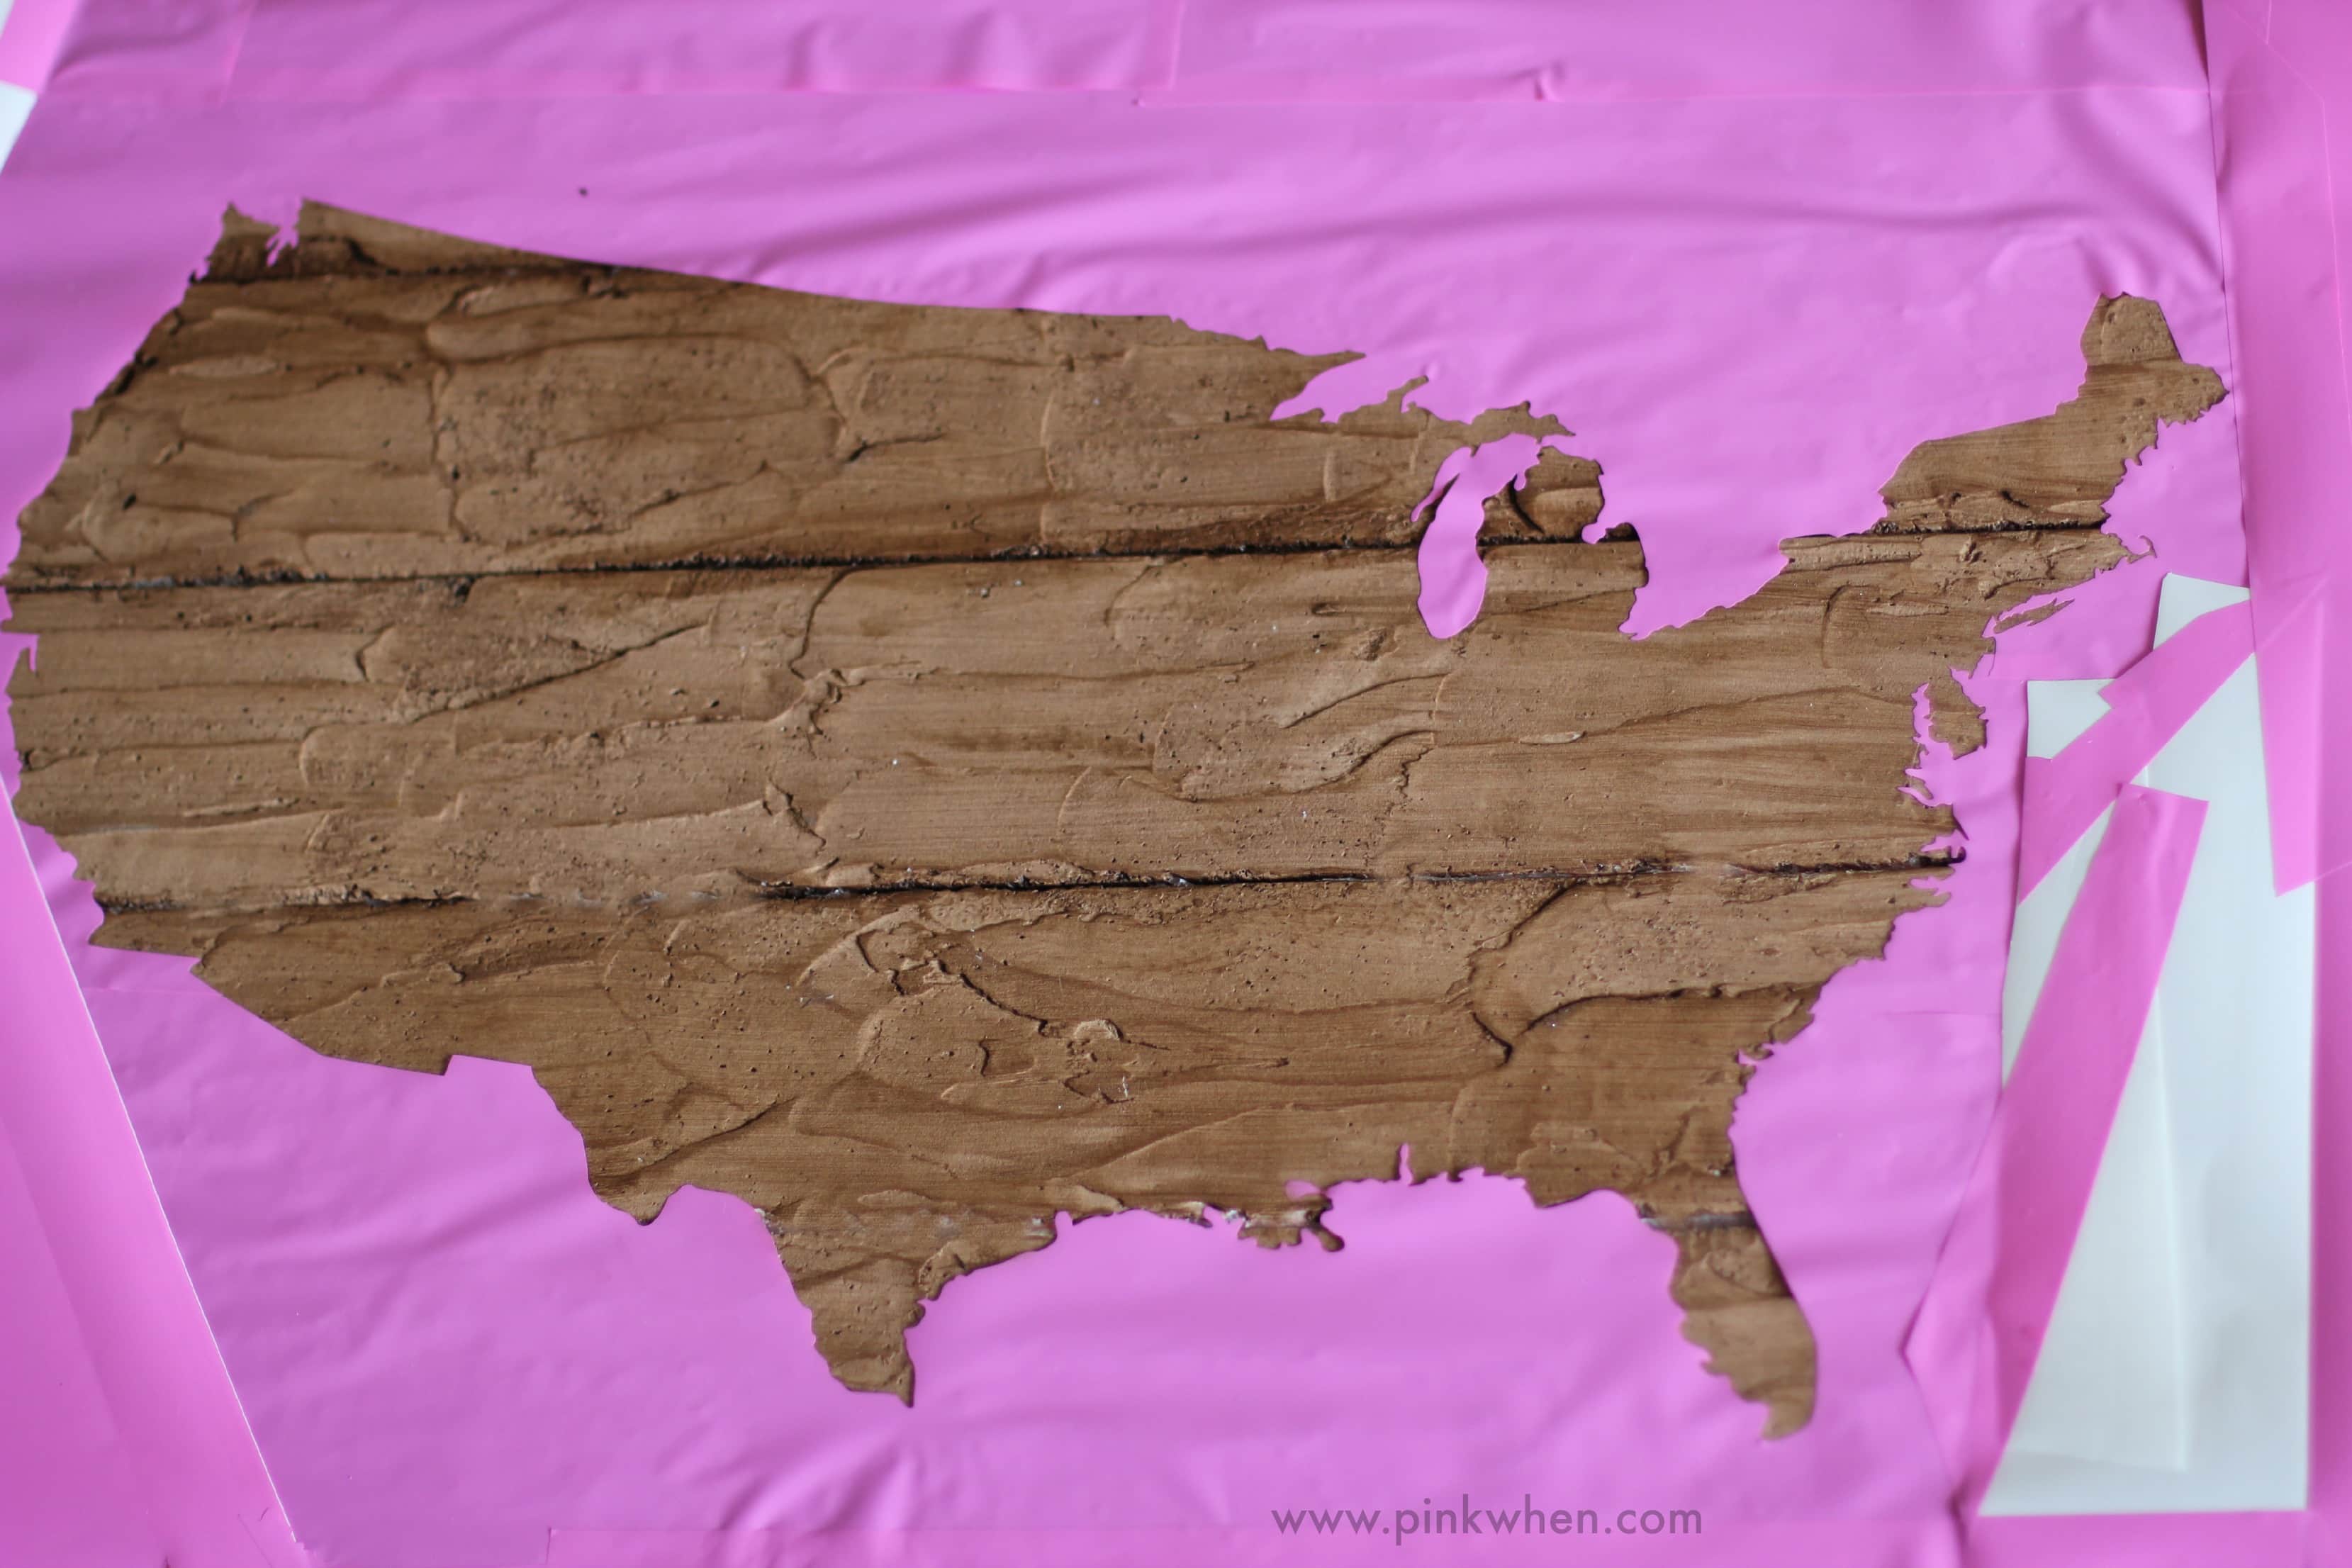
10. Once I had all of my areas covered, I gave them a nice coat of white spray paint, staying a good 15-20 inches above the board and covering it in a sweeping motion. After I was confident I had the entire area covered, I removed the stencil before it was completely dry. I did this for two reasons: I didn’t want the paint to possibly pull up in spots with the stencil if I let it fully dry, and I also didn’t want to leave the sticky vinyl on the smooth finish and possibly remove some of it and possibly expose foam. So in a matter of minutes, I was finished!
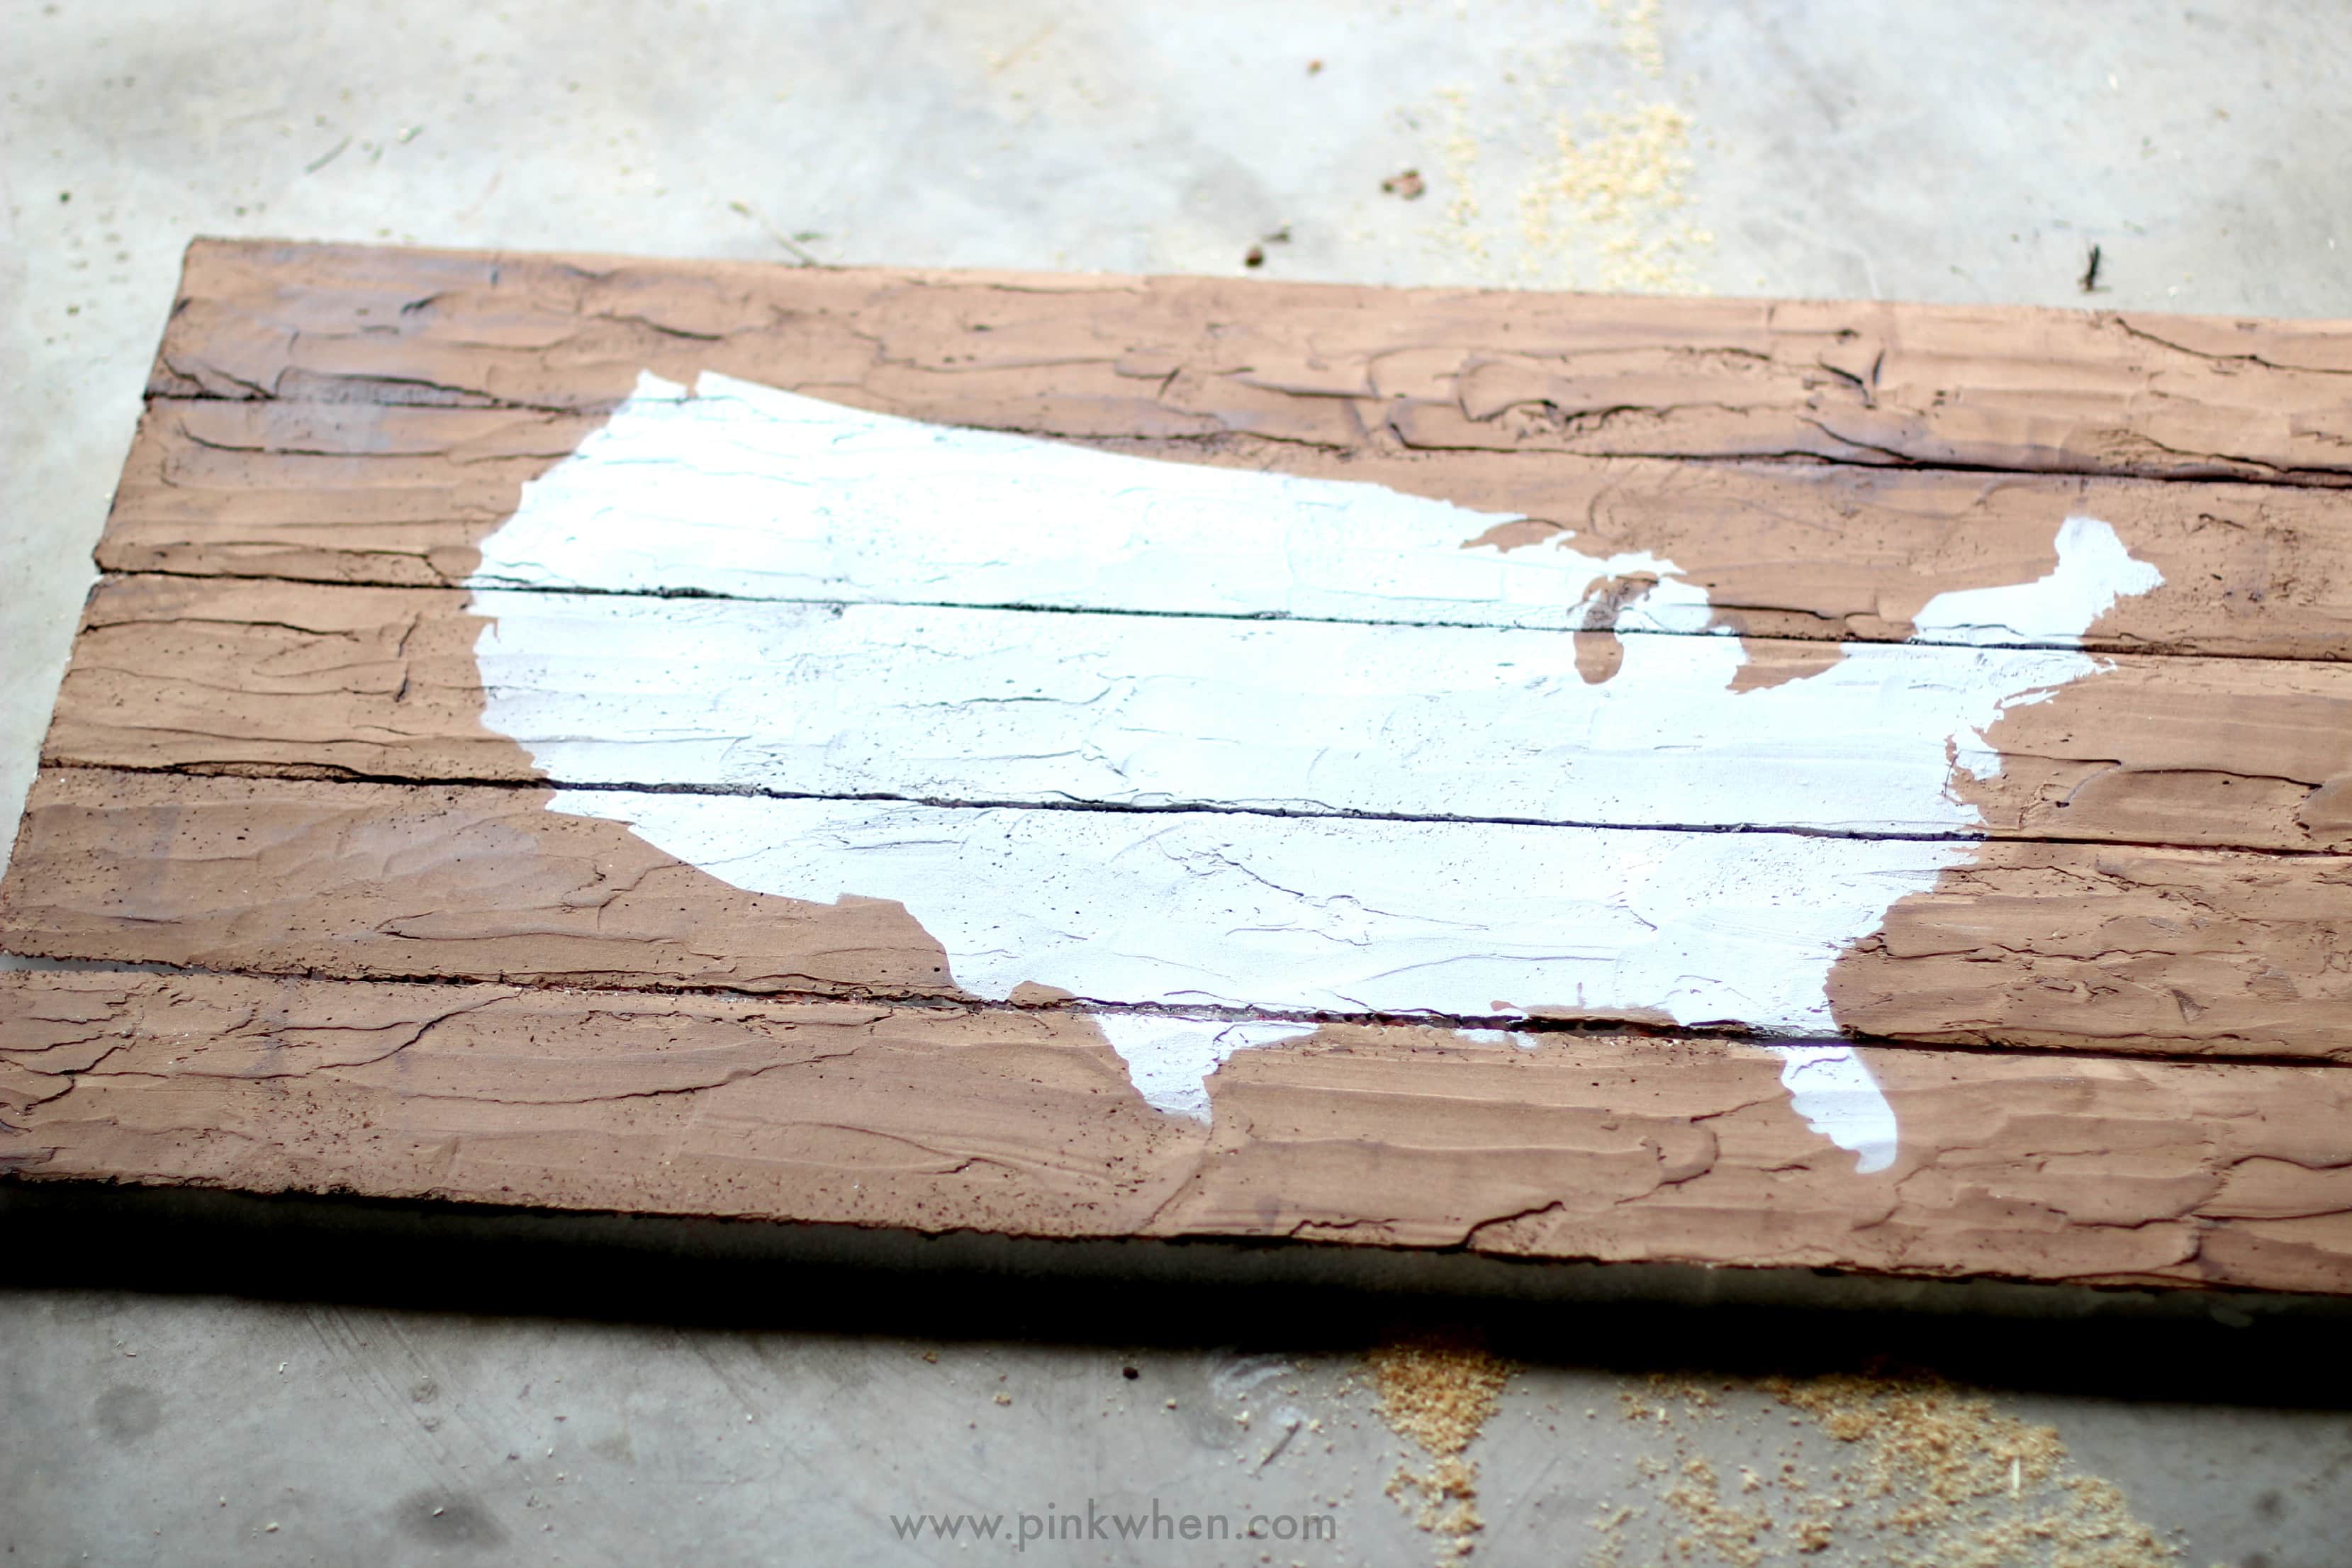
What do you think? Looks a lot like a scruffy wood pallet to me! Here is a close up.
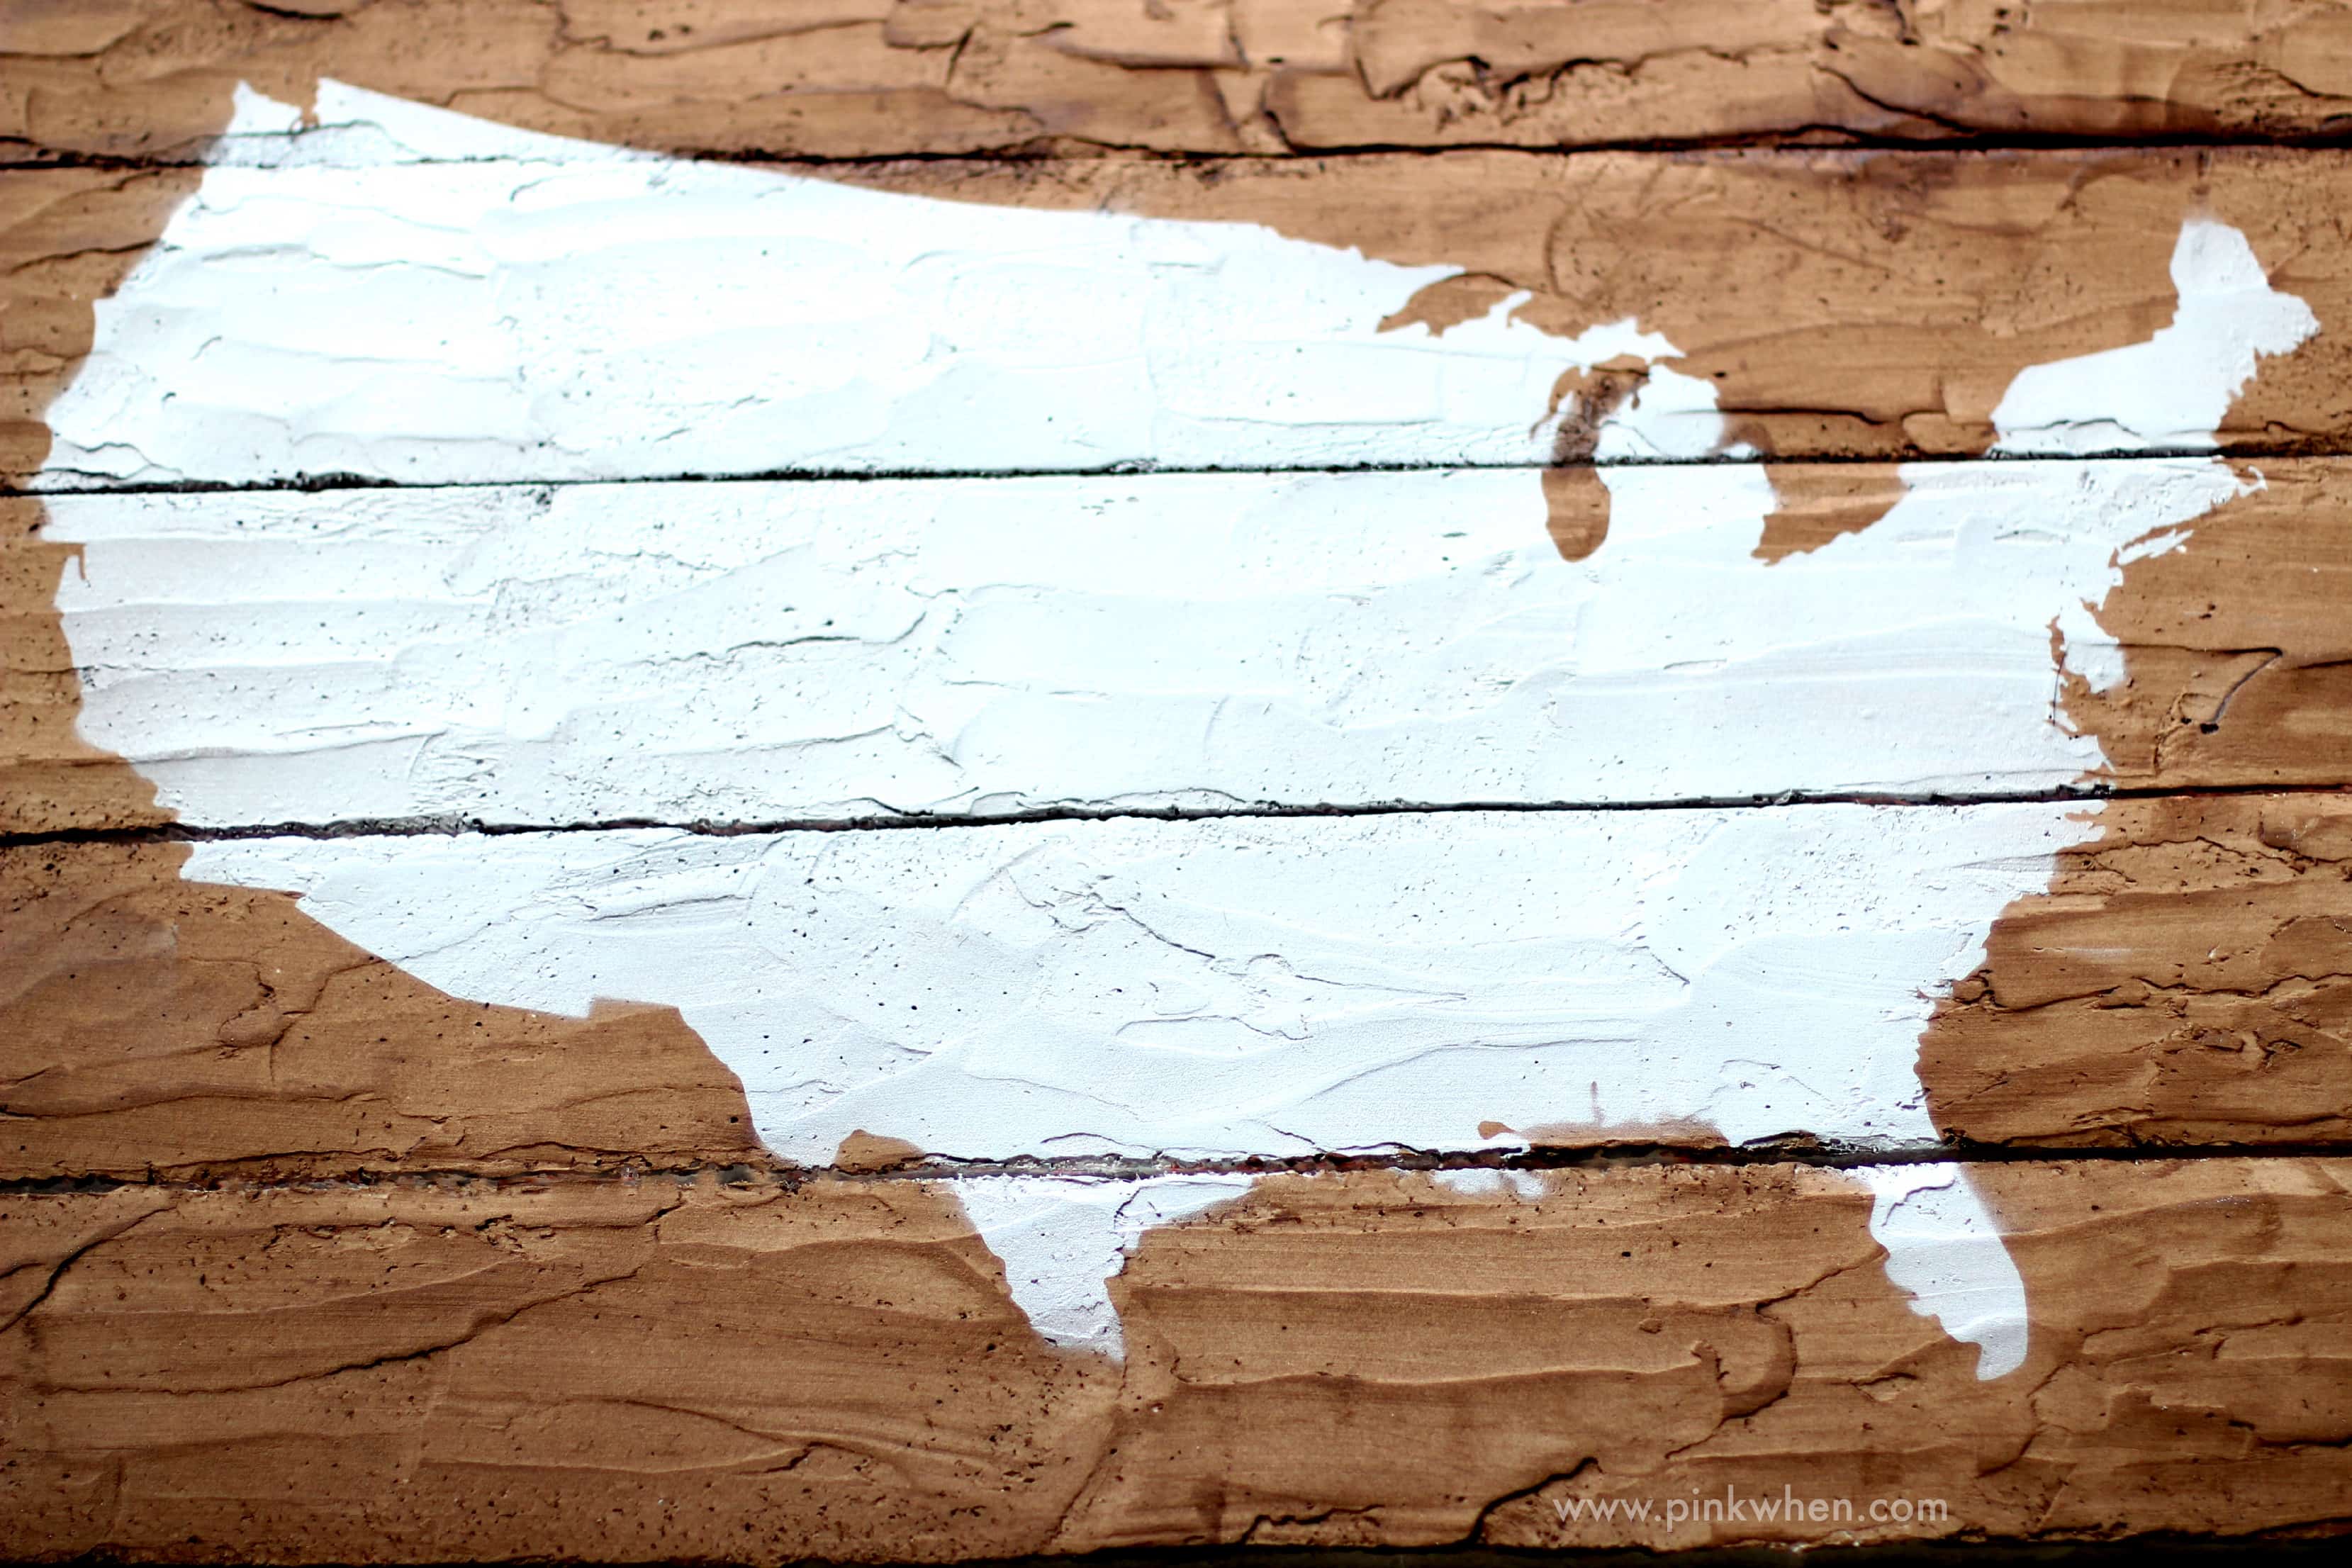
It is so light, I bet this project weighs less than 2 pounds! Much easier to hang up and move than an actual wooden pallet. Not to mention, you don’t have to worry about termites! Ha!
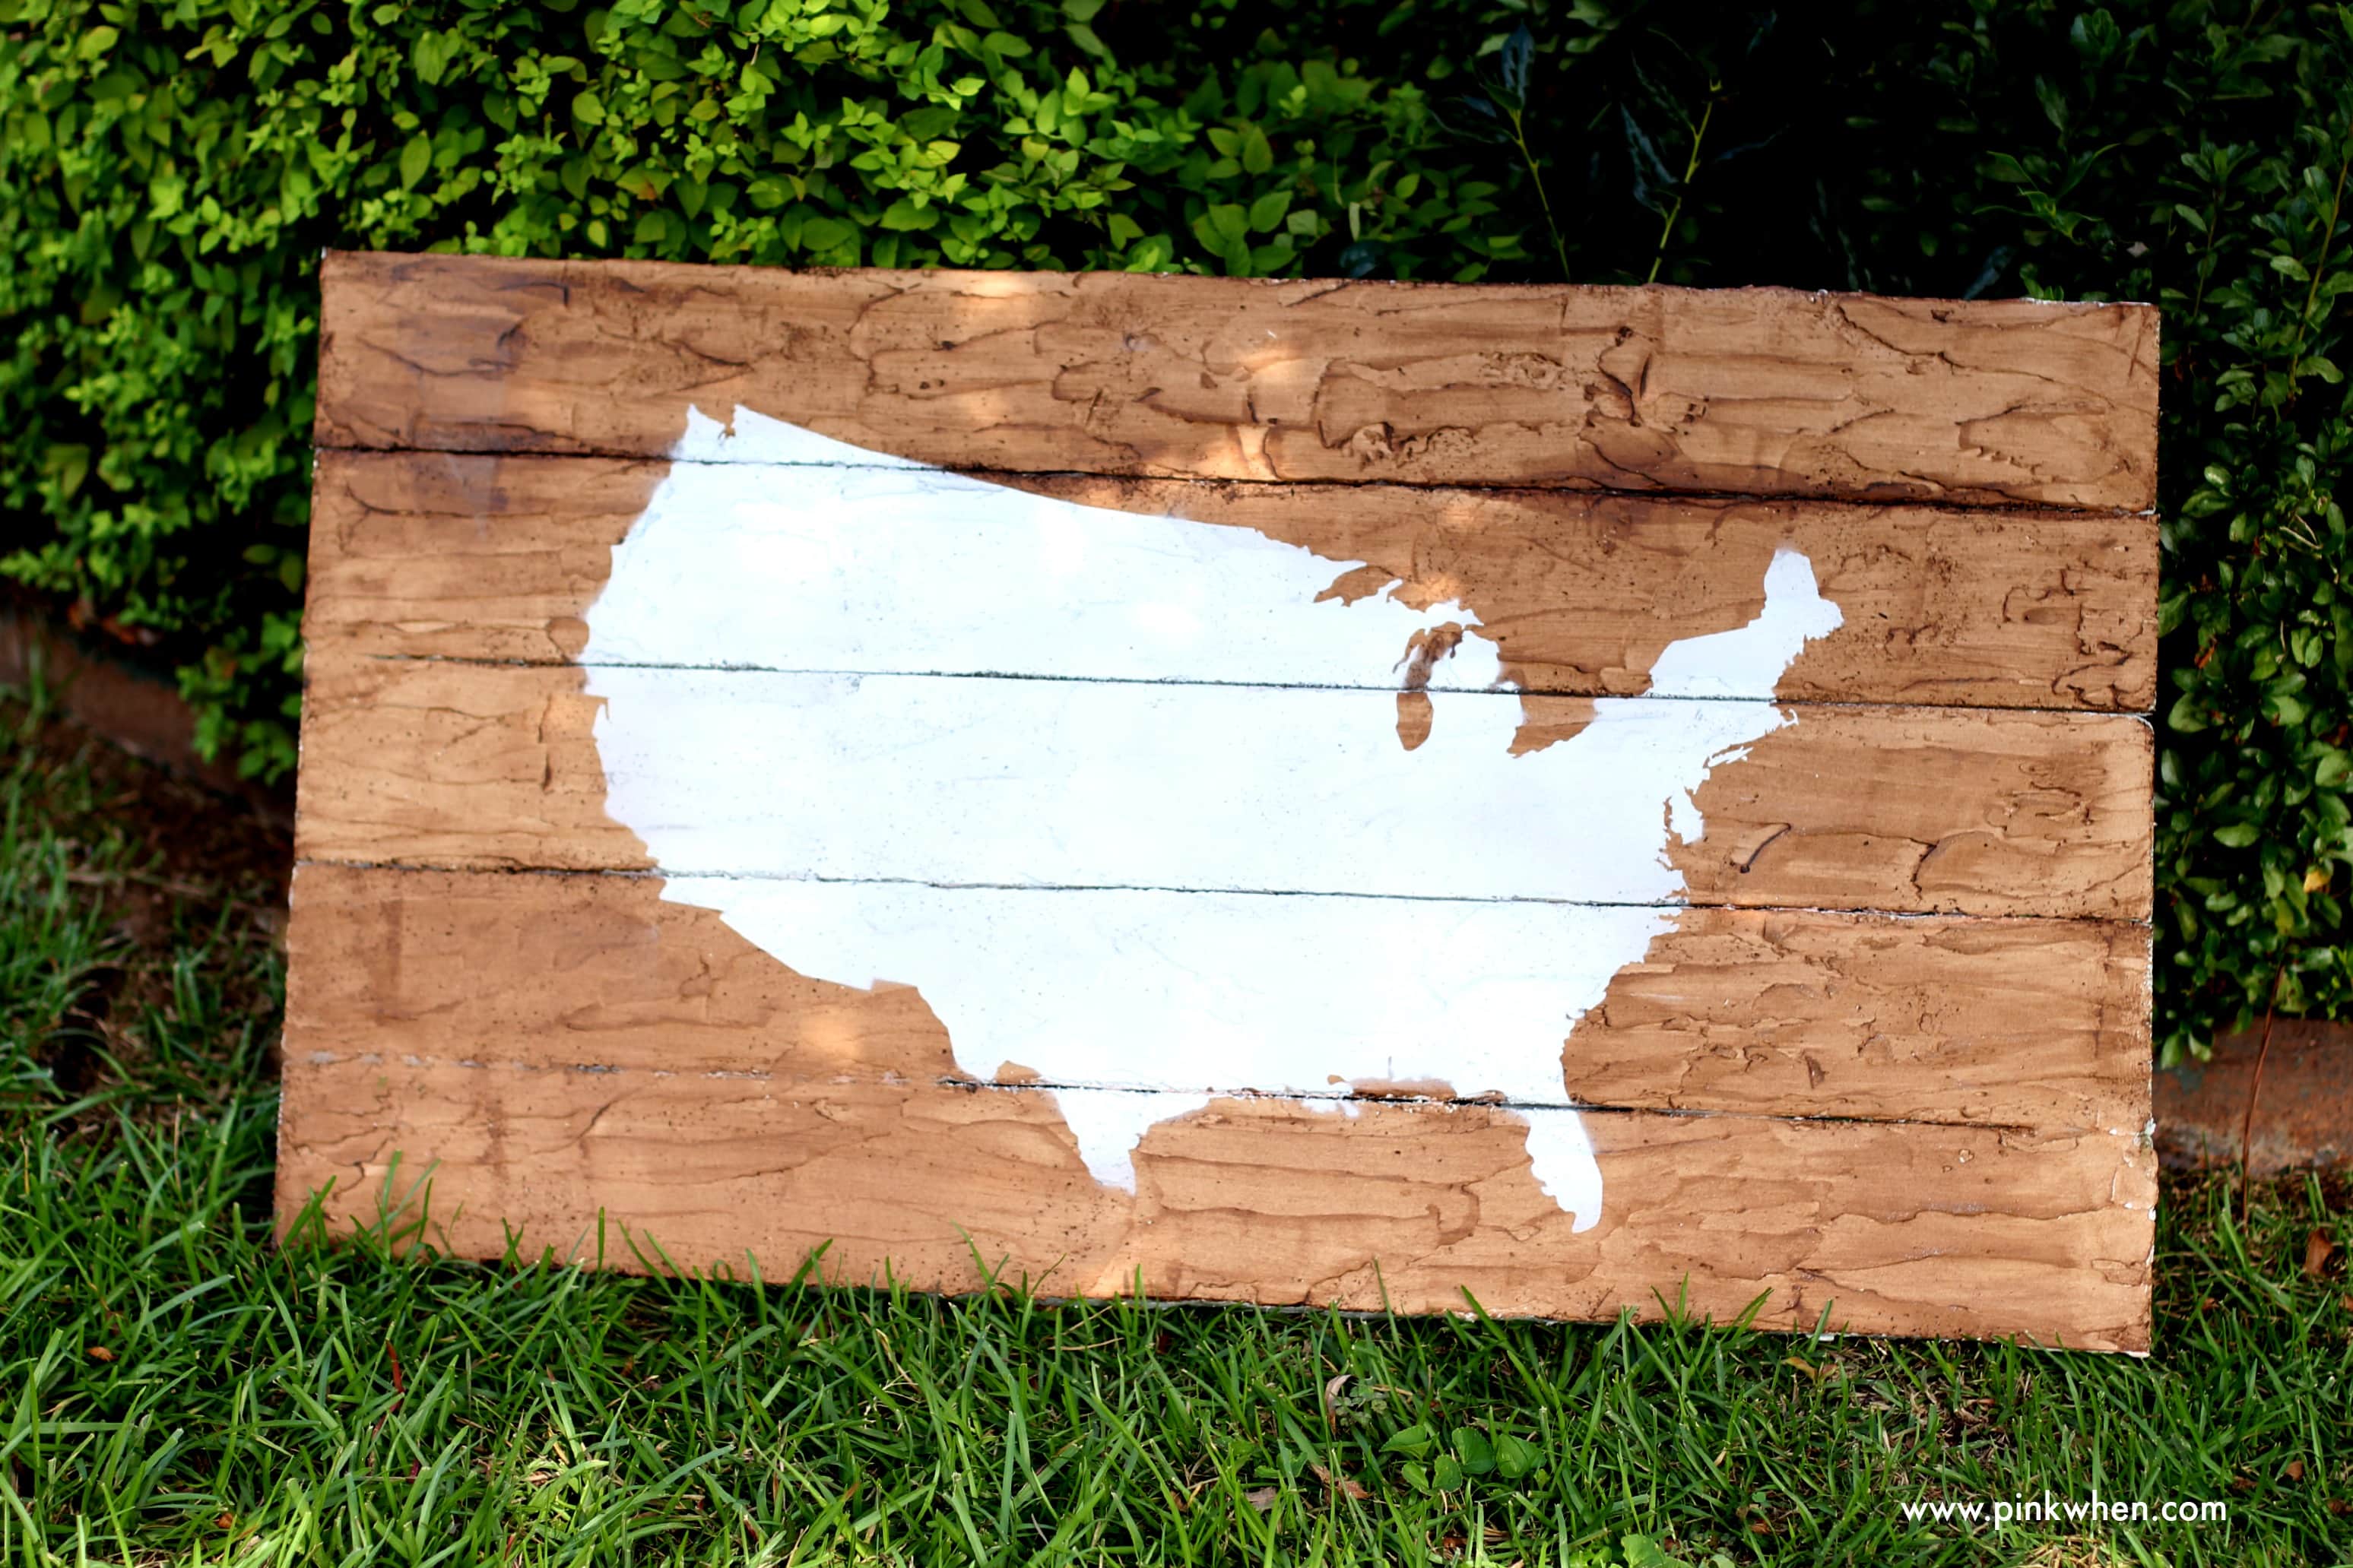
I hope you enjoyed this DIY Faux Wood Pallet Map Art and if you are ready to tackle a cool project, you should give this fun idea a try!






I find myself here everyday. Haha. I love this. I want to make a pallet sign for the boyfriends kitchen. I wonder if I can do it, Is it hard? You make it seem so easy. Haha.
Oh my gosh, this is just beautiful! I love your pallet art map. You did a fabulous job! Sharon
This is great! I say, as I have a super heavy actual wood pallet art thing to hang up in my son’s room 🙂
This is a great idea! It looks soooo good!
I may have to try this for my boy’s room :0)!
Terry
I’ve been wanting one of these forever! now I think I have the guts to try it on my own. come share it at my brand new link party! {I co-host with Brandy!} http://www.carissamiss.com/2014/09/outside-box-link-party-no-1.html
What a cleaver idea!Sharing this on Facebook!
Thanks so much!
What a fabulous idea!! Love this idea and the light weight of the styrofoam. 🙂 Great job.
I never would have known that was styrofoam! How cool! Definitely need to remember this 🙂
This looks so great!! Perfect way to get the look with out the nasty junk that comes with pallet wood. Pinning!
Thanks so much! 🙂
What a creative project! I had no idea until I read your post that this wasn’t a pallet and is really styrofoam. Love this!
Love it. I have a pallet sitting in my garage begging to be worked on. Great project for that.
Thanks so much for linking up at Creativity Unleashed last week! Love the map jennifer. Pinning and featuring you tonight on the blog and hope to see you back for another great link party!
Awesome! Thank you 🙂