Today I am sharing how I created this cute Olaf Shirt using SIlhouette heat transfer. It’s a fun and easy way to create your own personalized items. Check out the quick and easy tutorial below.

Creating this fun shirt was actually a pretty simple project. I downloaded the PDF of a cute Disney Printable for Olaf and then I used the portion of his head to create this Olaf shirt.
DIY Frozen Olaf Shirt
Once I had the PDF downloaded I grabbed the head and dragged it into my Silhouette Cameo software. There are different ways you can do this, but I just did a quick transfer/cut/paste so I could grab his head. (If you don’t have a Silhouette…you could probably print this out on a piece of heat transfer and just carefully cut around it.)
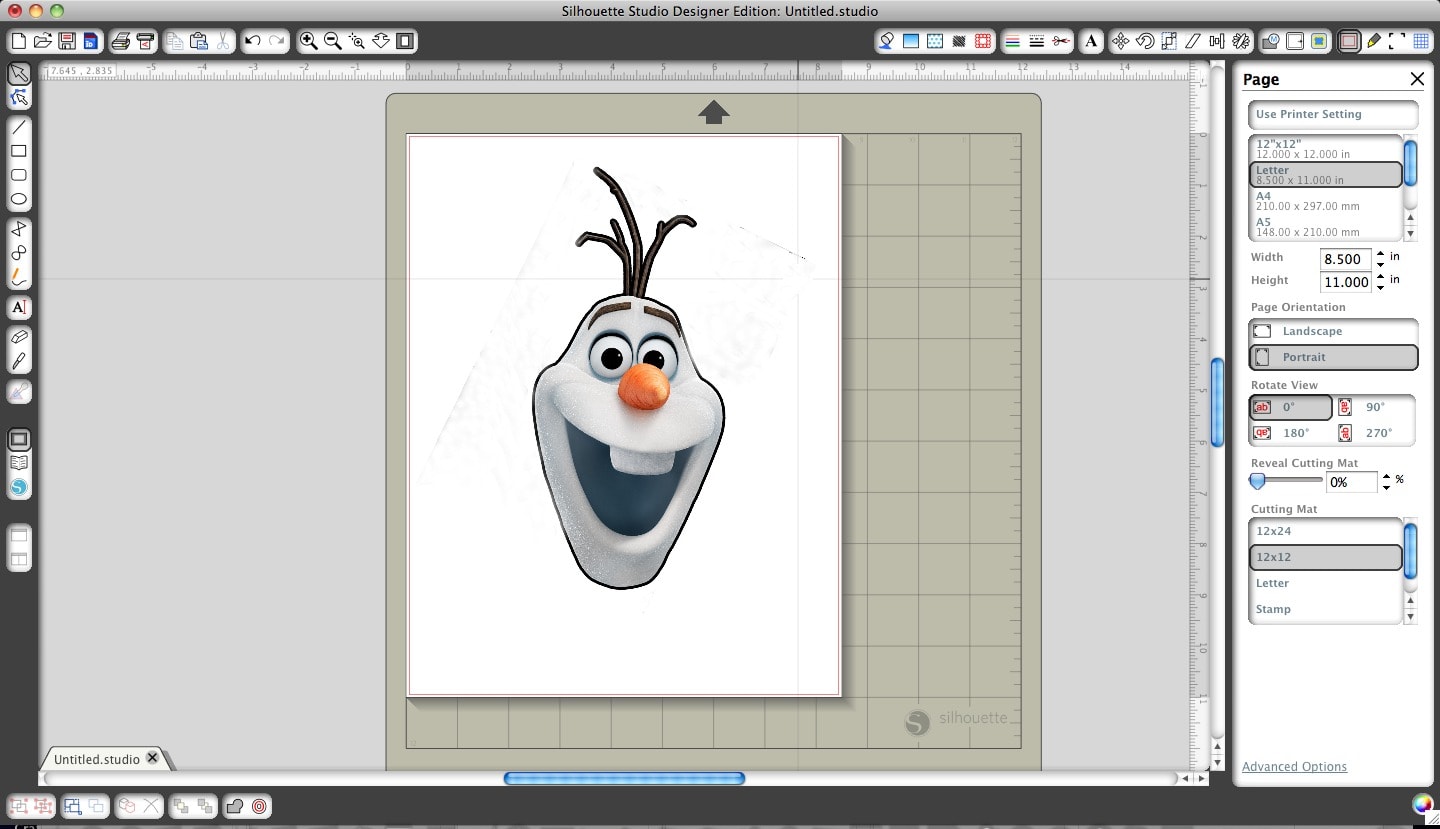
How to use Silhouette Heat Transfer
Once I had Olaf into the Silhouette, I resized him and added my text and a couple of hearts.
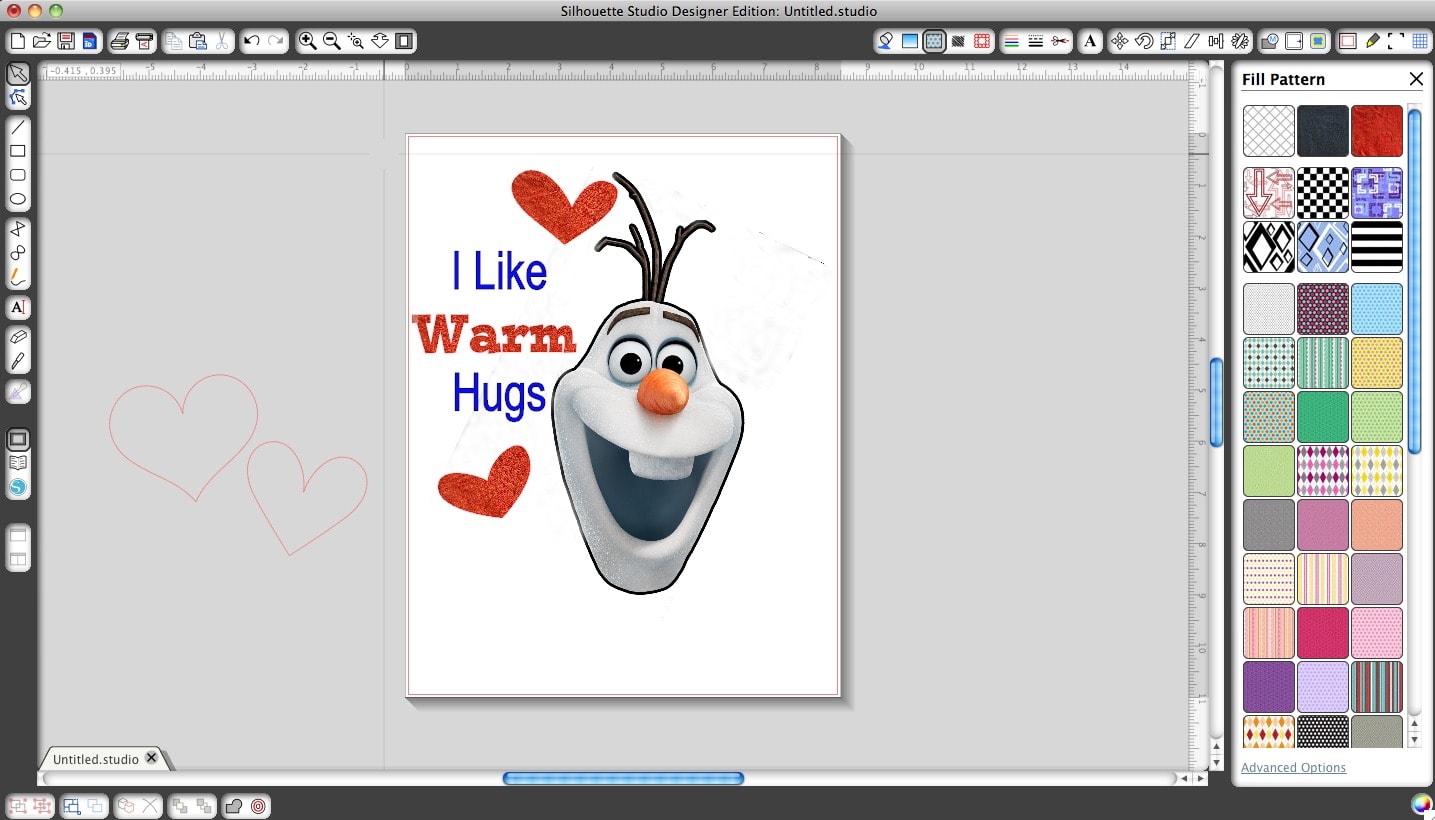
Once I had everything set and just like I wanted, I mirrored the image, set the trace lines so it would only cut on the outside of the project, and added the registration marks so it would read my project and cut correctly.
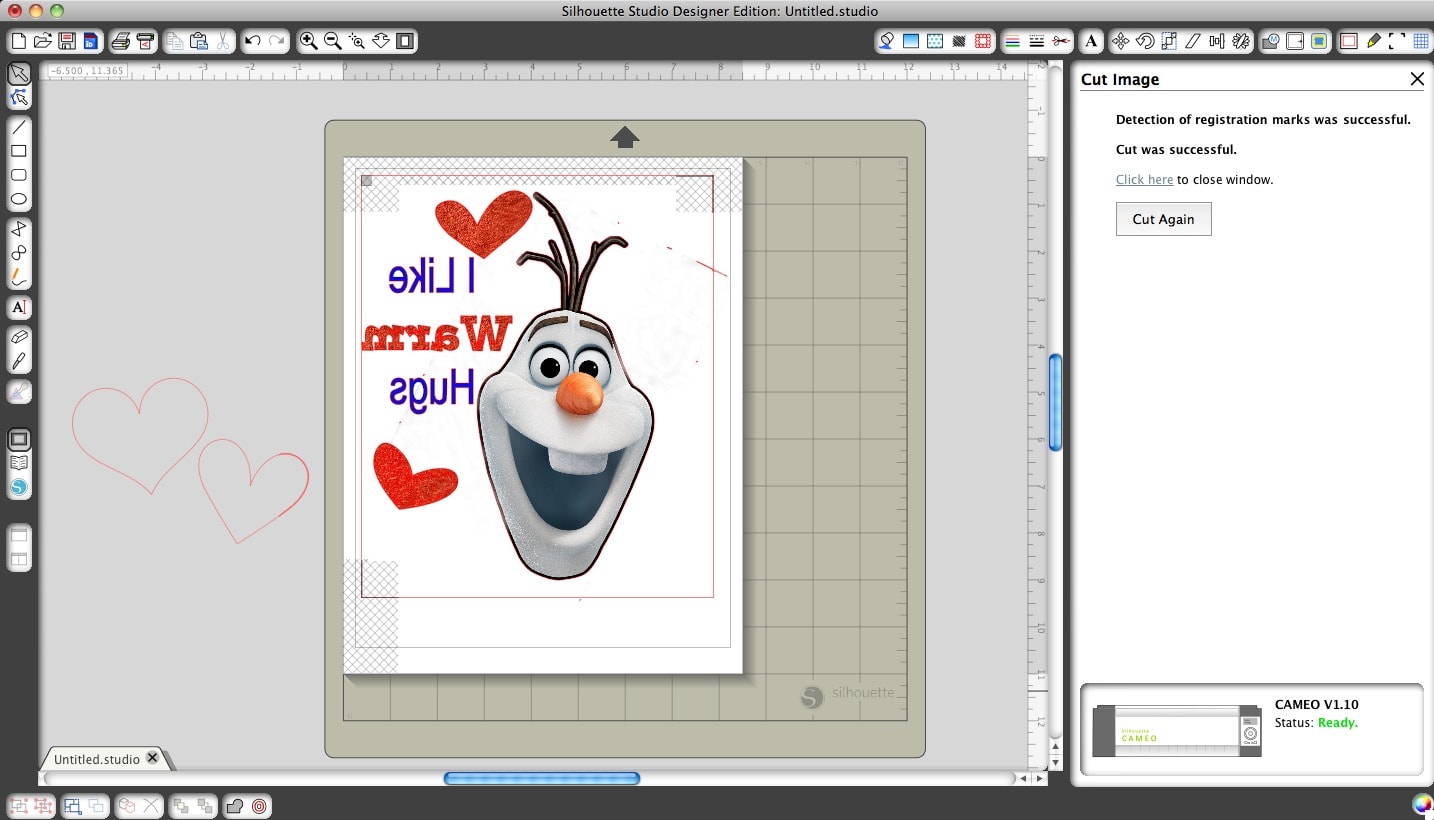
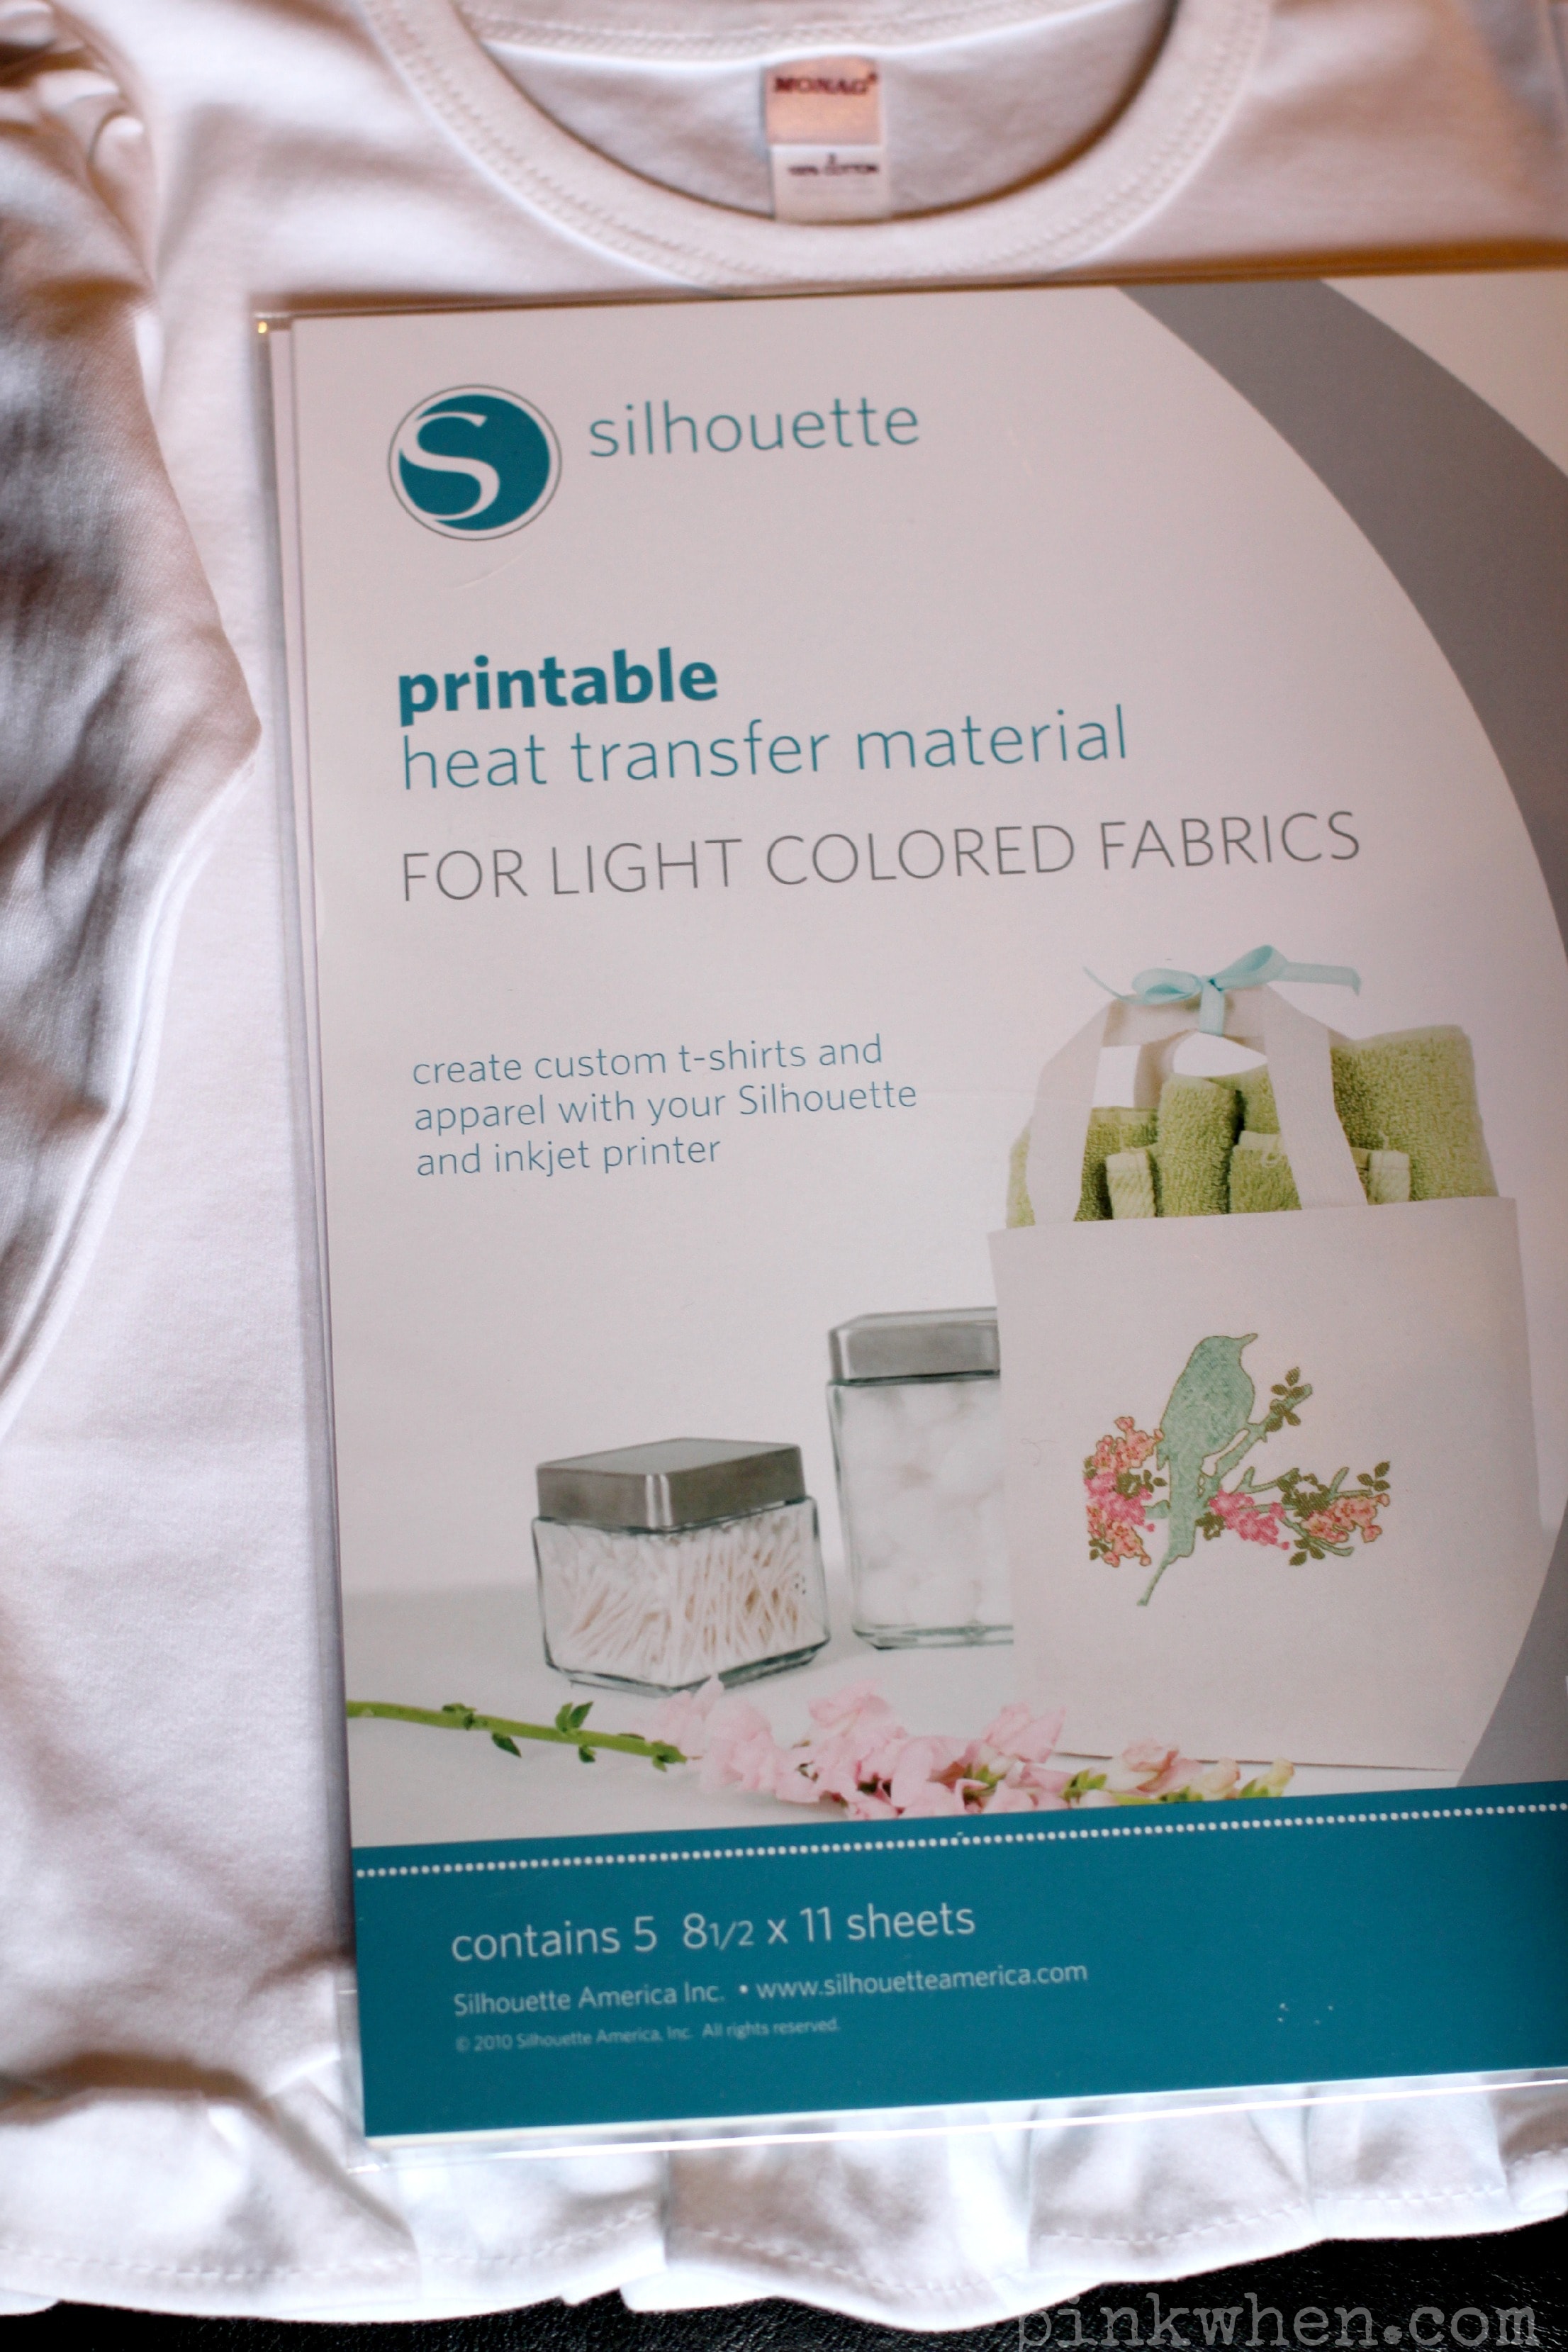
After everything thing above was set, I placed my printable heat transfer page into my home printer and printed the above image onto the heat transfer.
After it was printed, I placed the heat transfer into the Silhouette Cameo on a cutting mat, detected registration marks, and then proceeded to cut. Because this is such a thin project piece, I kept my blade on 1 and cut speed at 3.
Easy Silhouette Heat Transfer Project
Once it was cut, I removed the fronting, removed the rest of the heat transfer for the cutting mat, and then placed it face down onto my shirt. With an iron set on Cotton settings, I placed a thin fabric over the heat transfer and ironed the project so it would directly transfer over to my shirt.
And then I had this….you will notice that the red is “faded” and so are the hearts. That is the color I filled them in with when creating them in the Silhouette software, a faded red. I really like the way it turned out.
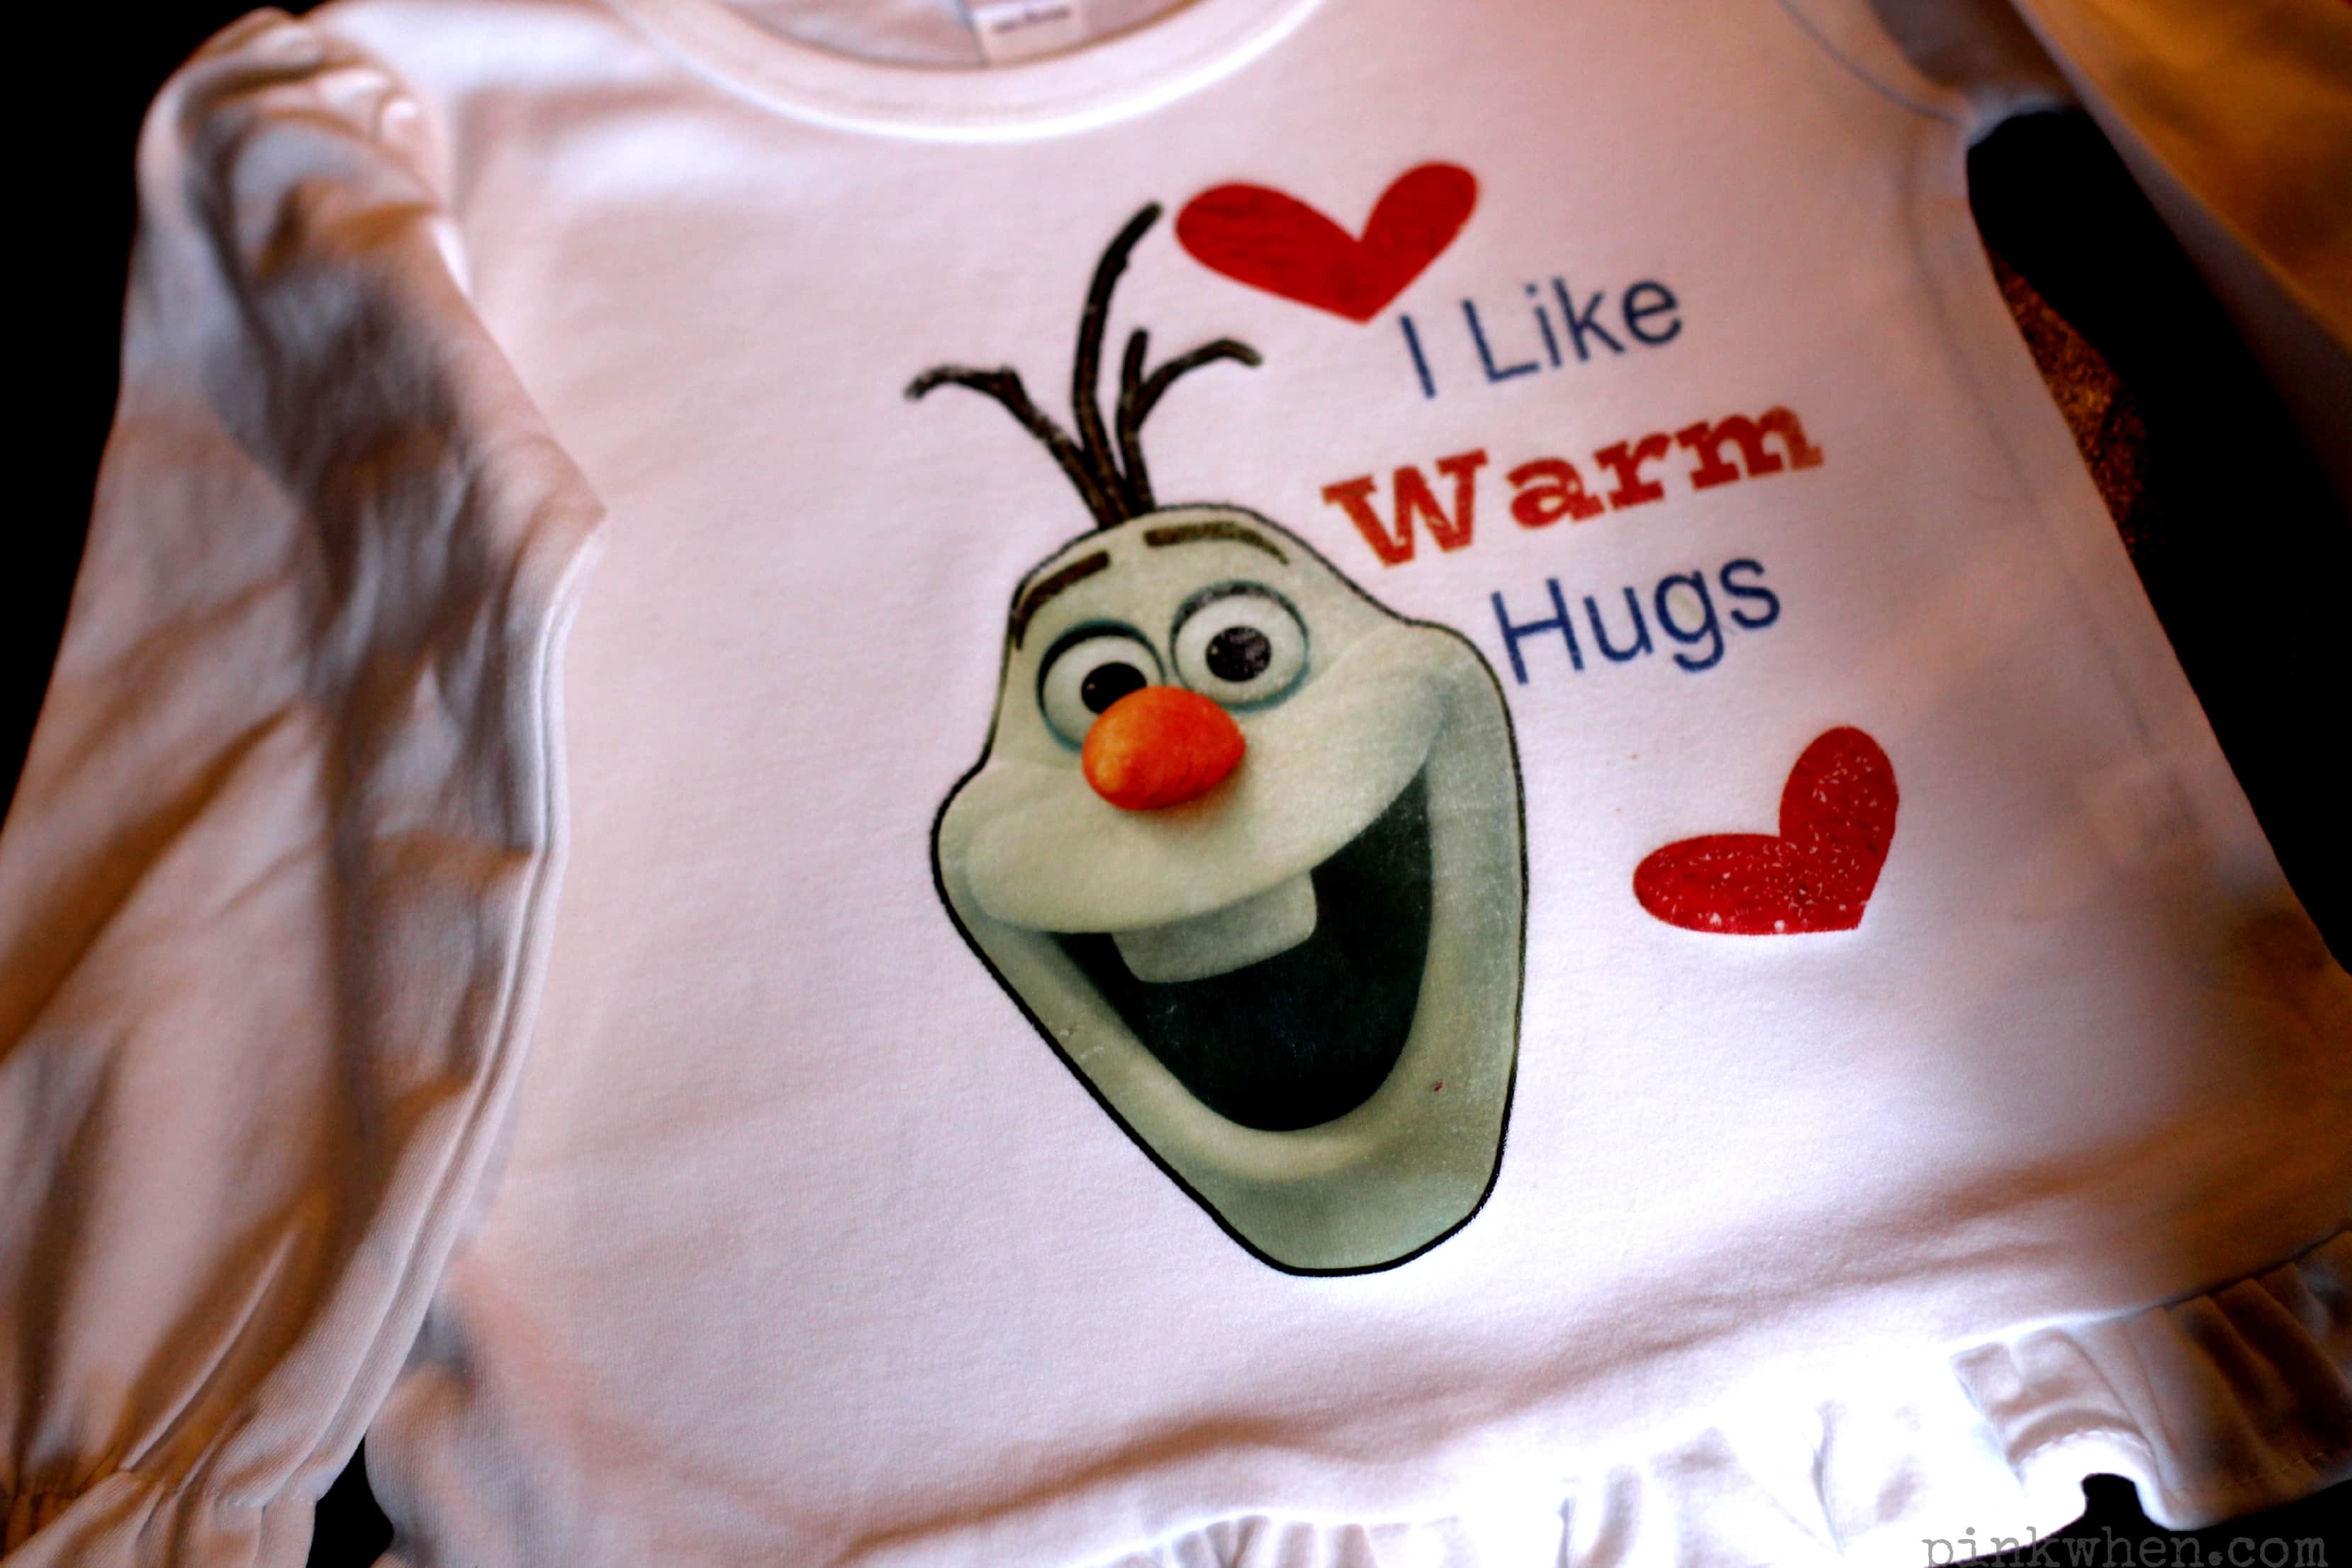
And then this…
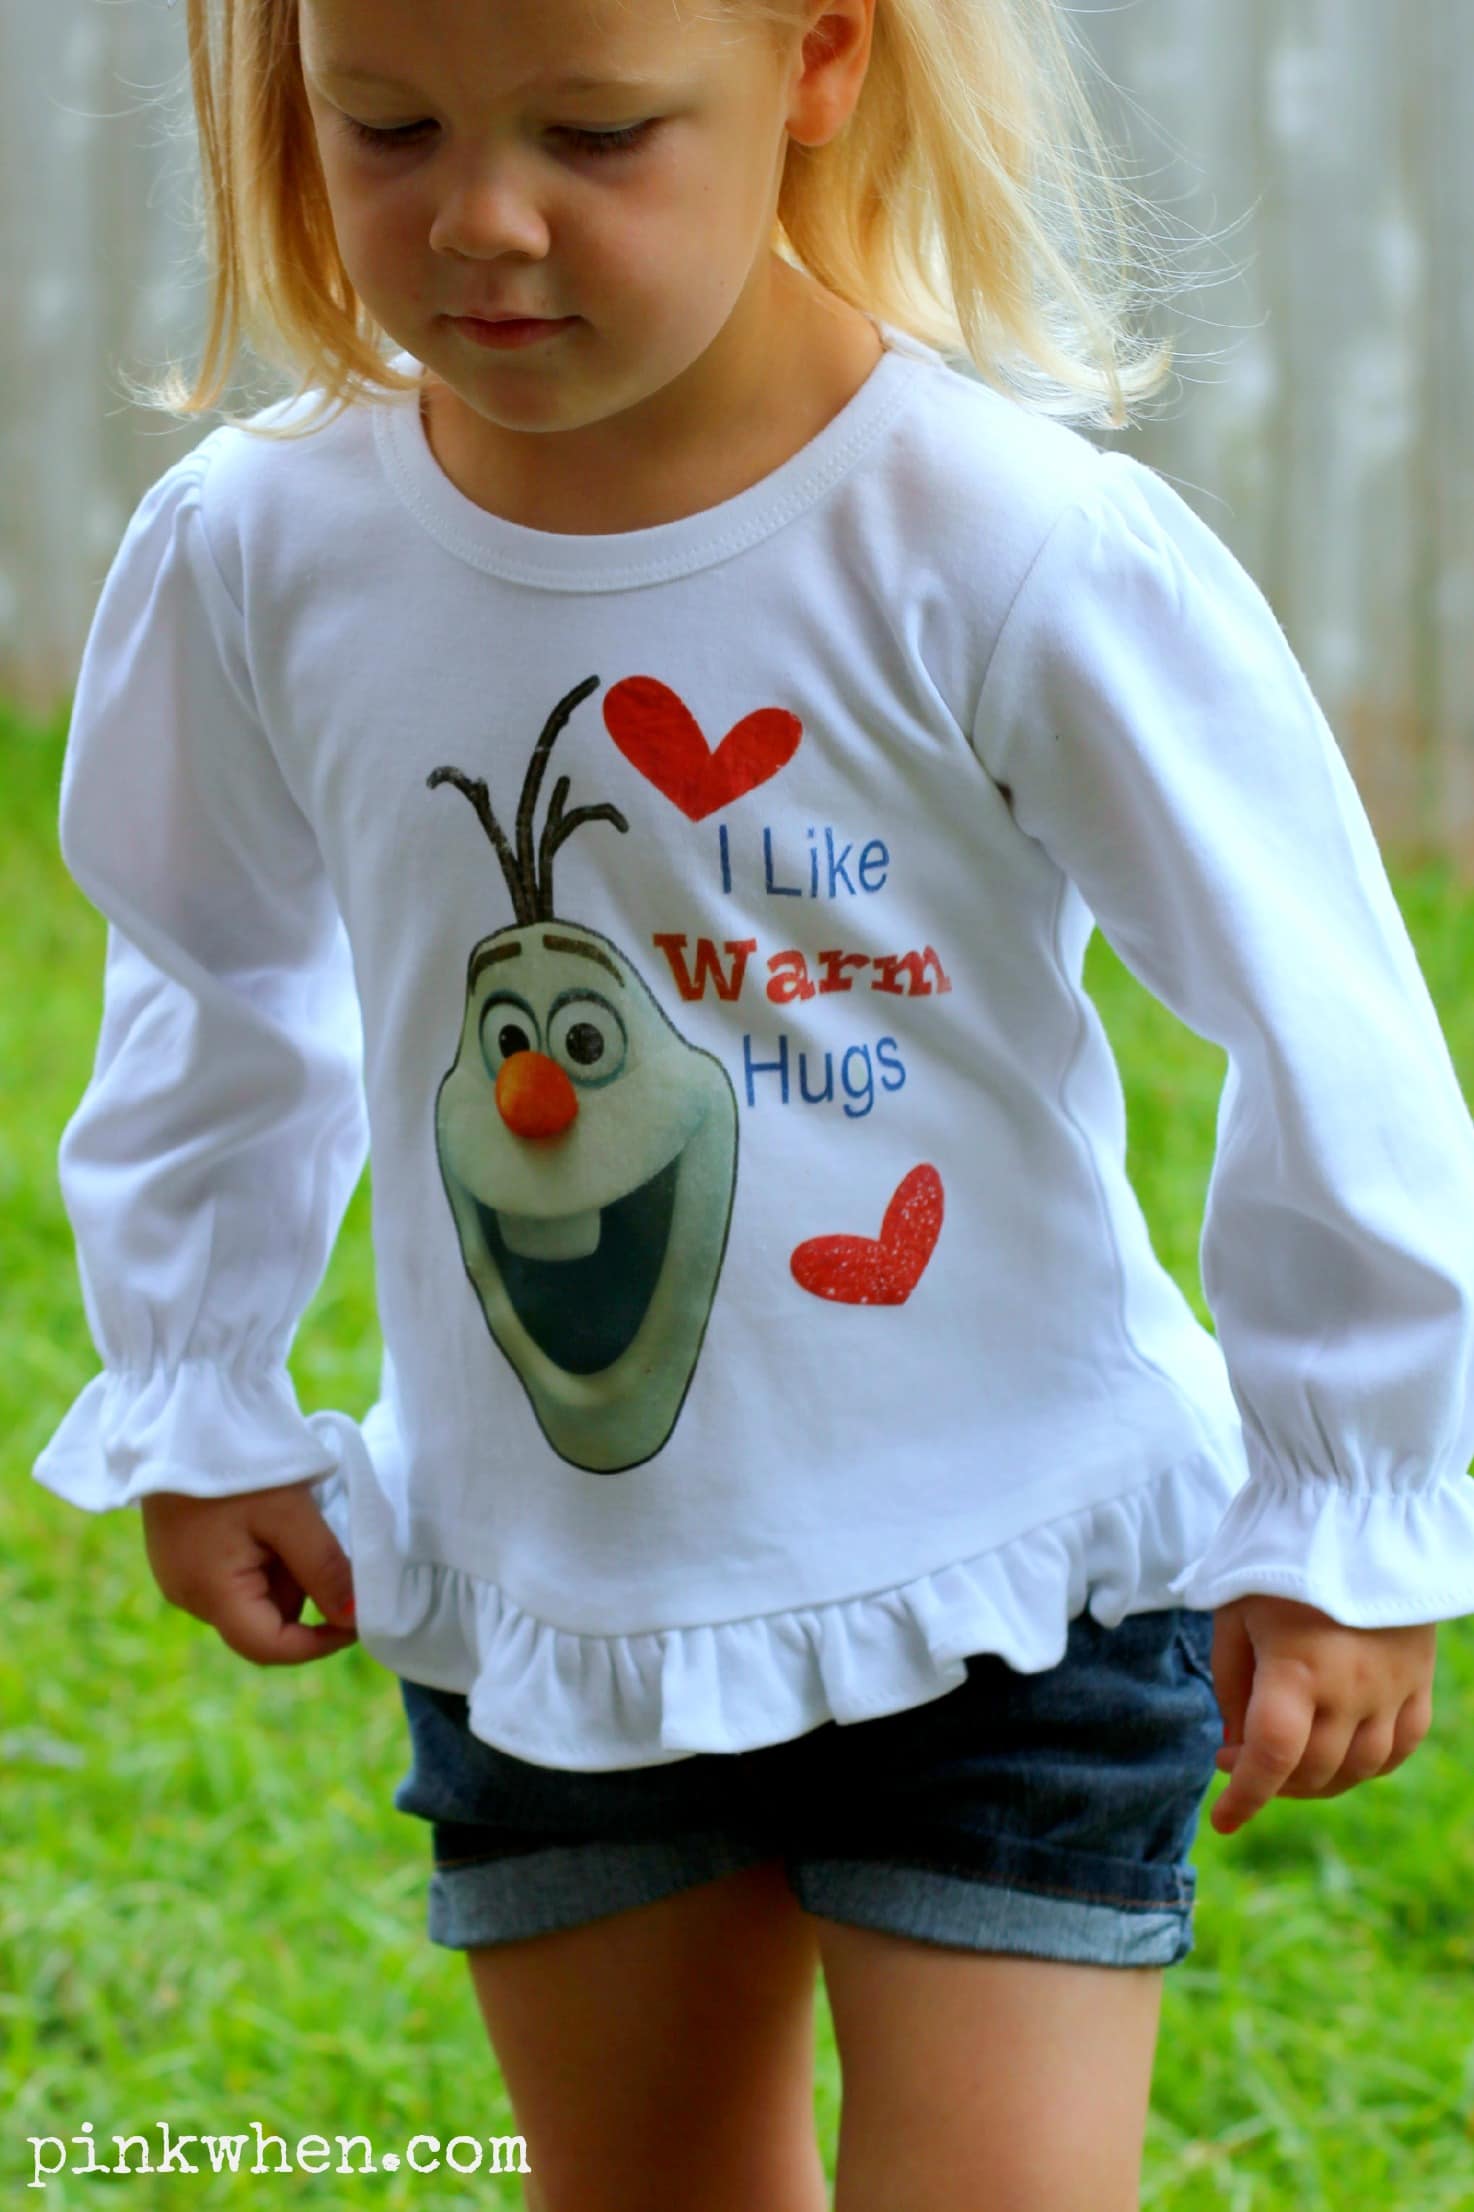
She loves her new Olaf shirt….and she literally went around and everyone she would see would get a “Warm hug” from her…

It turned out really cute.
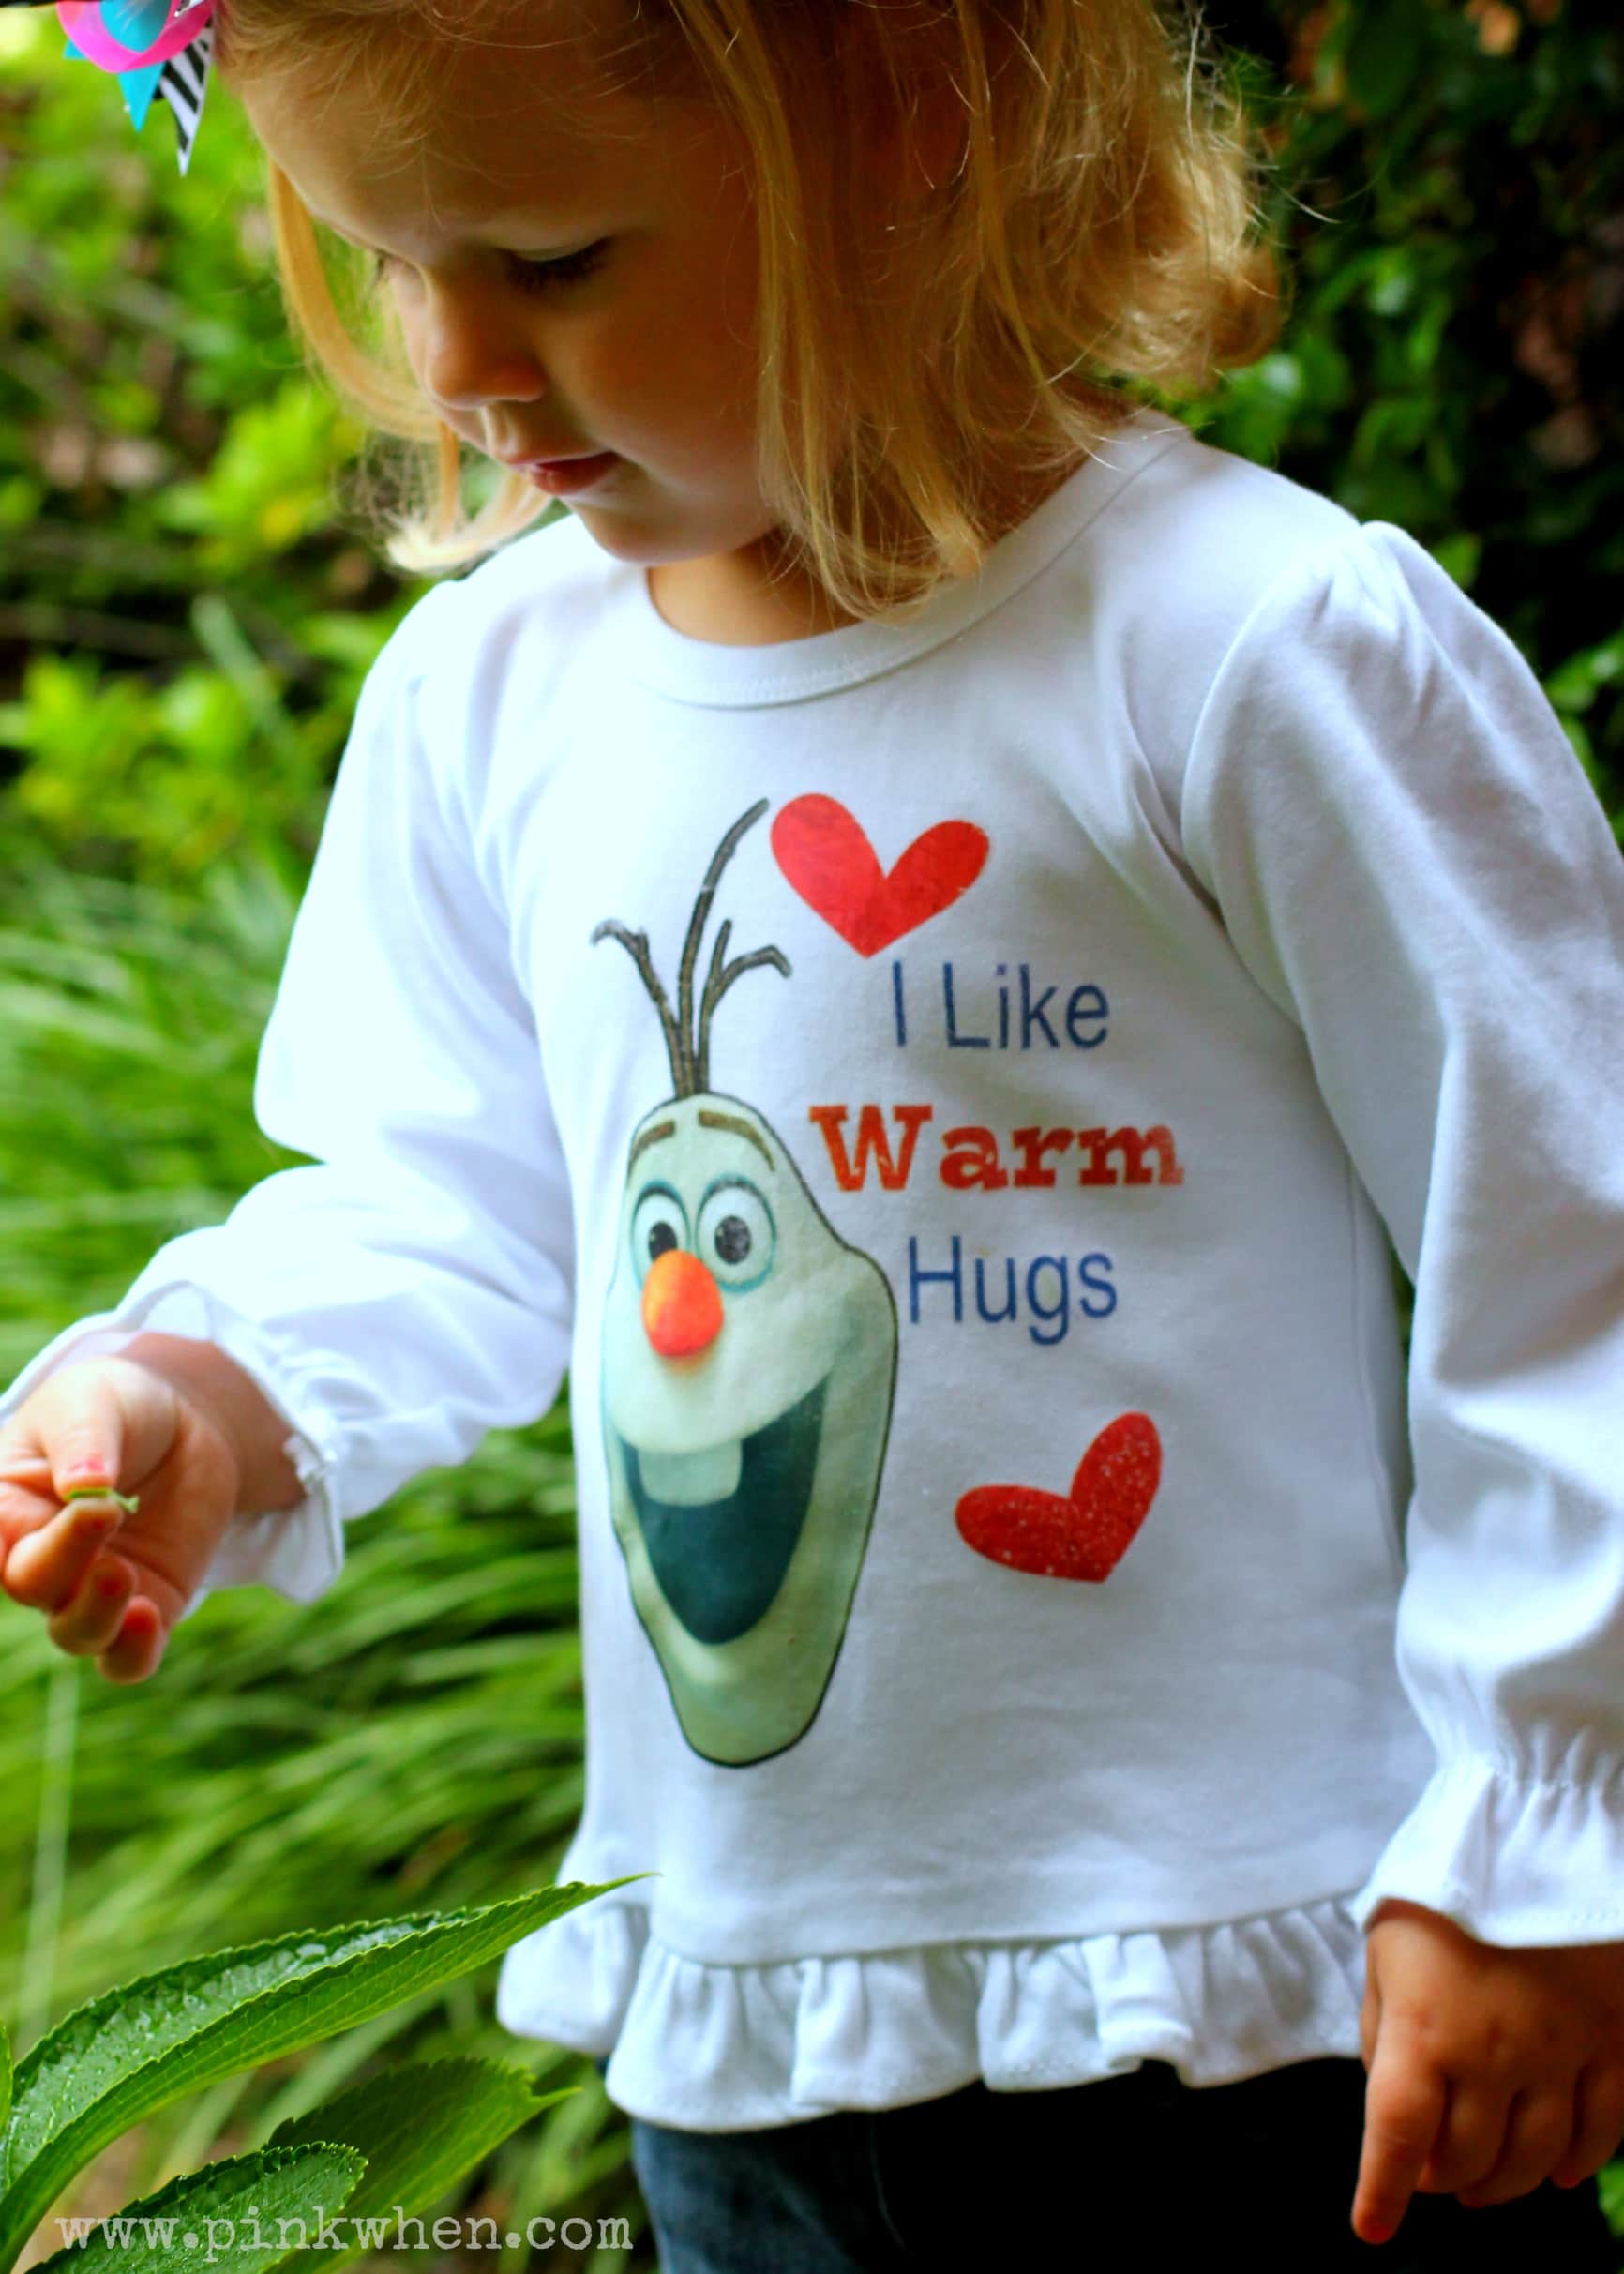
Such a cool and simple tutorial, and one your kiddo will be happy for you to make! Let me know if you make one of these DIY Frozen Olaf Shirts! Here is the link to the PDF if you want to make one JUST LIKE THIS ONE! Note the wording is already mirrored so you are all set for ironing!
Did you enjoy this project? Here are a few more you may also like:
- DIY Linen Napkins
- Personalized Pool Towel
- Creeper Shirt Tutorial
- Print Graphics Using Heat Transfer




Love your creation. Did u individually cut each latter ad well or sas it all one piece?
My Silhouette cut the letters individually, so if you don’t have one you will probably just cut a box around the letters….it might be too hard and too time consuming to hand cut the letters individually.