Hello PinkWhen readers! My name is Bethany and I blog at Whistle and Ivy. I love to bake, craft and I especially love to crochet (You can find all my original {free} designs here). I am so excited to be contributing and sharing my posts here at PinkWhen and to be part of such an amazing team.
I have been cruisin’ the internet looking for some cute ideas for my son’s new room. Now that he will be the big brother, we are working on getting him a big boy room. When I stumbled on this adorable whale bookend set at Anthropologie, I fell in love! But knew I would never spend $70 on a room accessory, so I decided to try and make them myself.
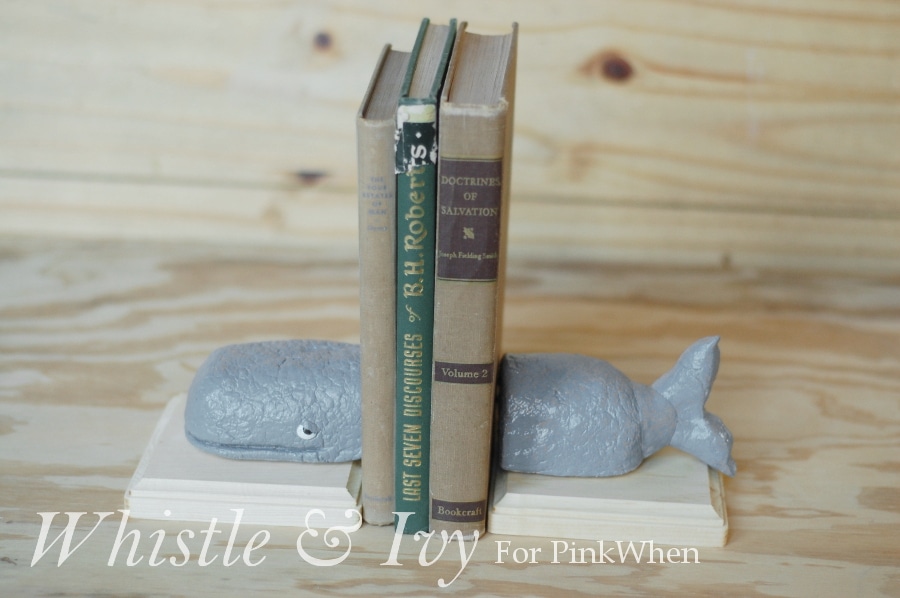
I had big ‘ol plans but when I finished, these whale bookends ended up being less of a knock-off and more of a “creative interpretation”. But I still like how they turned out.
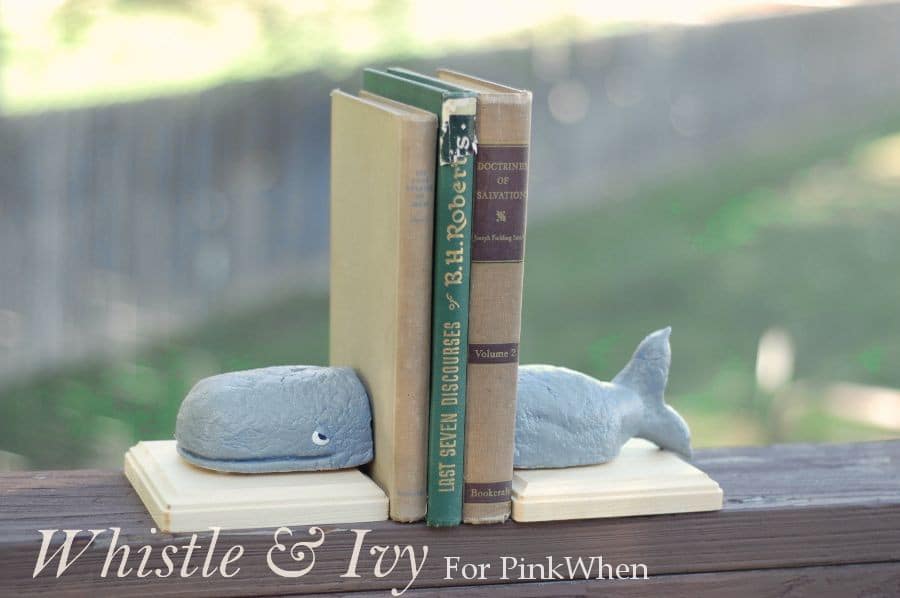 DIY Whale Bookends
This DIY only cost me $4, a far cry from $70!
When I started out, I considered using polymer clay. I decided against it simply because a brick large enough to sculpt this whale would be quite expensive and I was trying to keep the costs low. I ended up using the simple salt dough. It was fine (and dirt cheap) but it dried out quickly, and for someone without much sculpting talent, it was a lot of pressure! The “texture” that my finished whale has is just the cracking of the dough as I tried to keep molding it while it dried out; I don’t hate it, but you should definitely use a different clay recipe if you prefer the smoothness that the Anthro version has.
How to Make Whale Bookends
Here is my method:
{Make sure to work on a non-stick surface like parchment paper. The dough can stick to your surface and you may have to squish it a bit out of shape as you try to pry it up (not that I did that or anything)}.
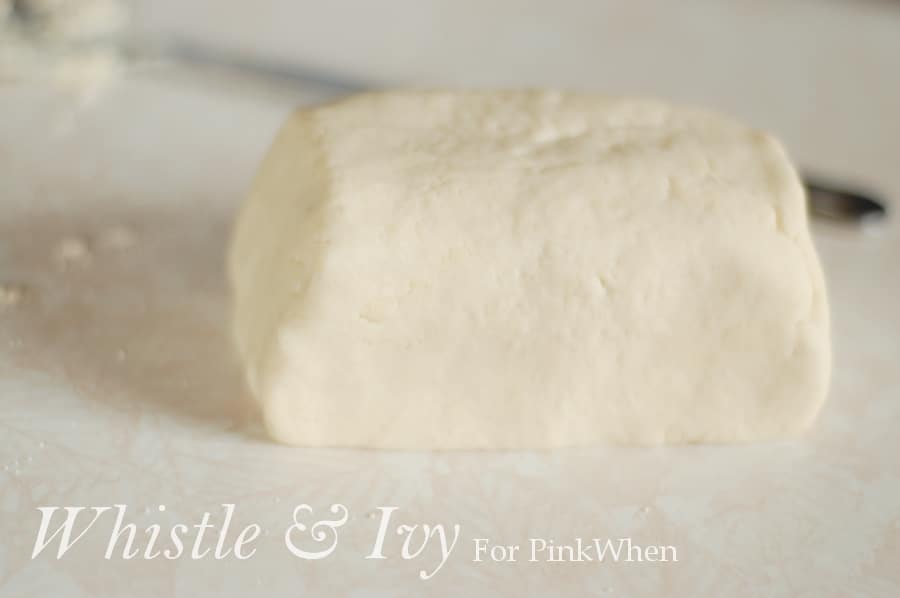
I started on the head; because a sperm whale’s head is square-ish, I started with a rectangle shape and rounded the top corners.
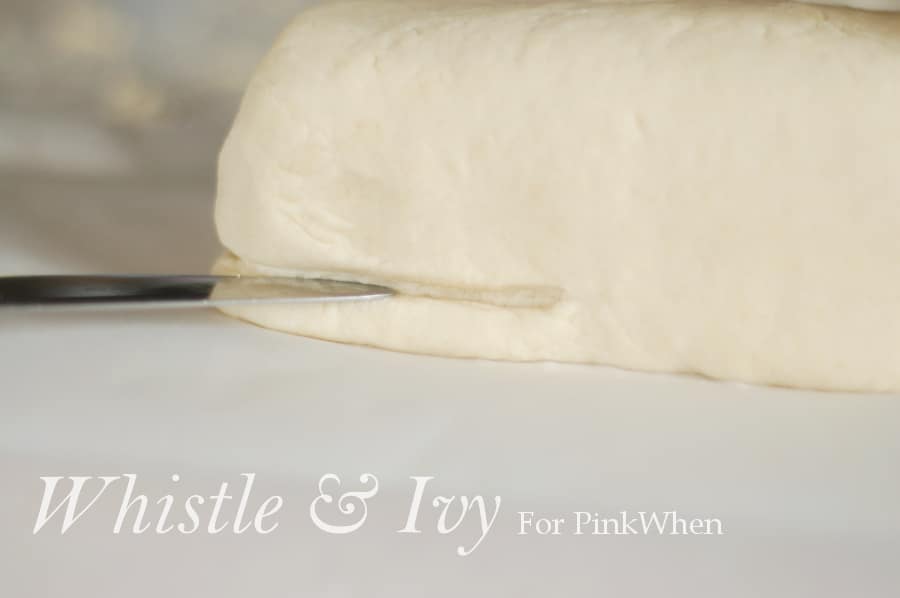
Next, I made the mouth by using a butter knife to indent the dough.
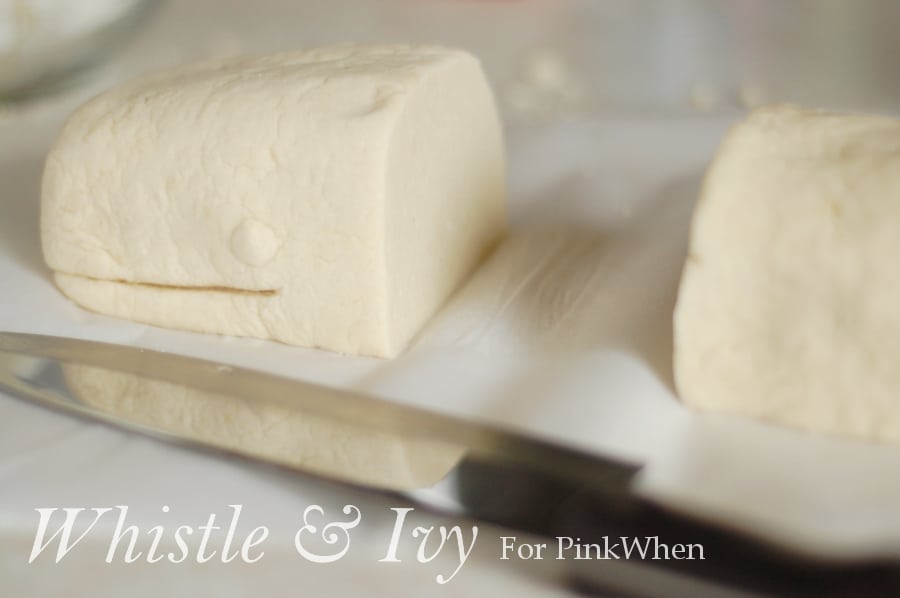
I made the eye by squishing a little ball into the side of the head. I also ended up cutting off the end. I thought the ratio of length to height was a bit off, plus I wanted a nice, clean edge.
The tail, which I thought would be the easy part, proved to be a bit tricky. I tried several times to get the tail correct. The salt dough ended up being problematic because it is a heavy, dense dough, but not stiff enough to hold its own weight. So after several attempts, I decided it was much easier to made the end of the body and the tail fin separately.
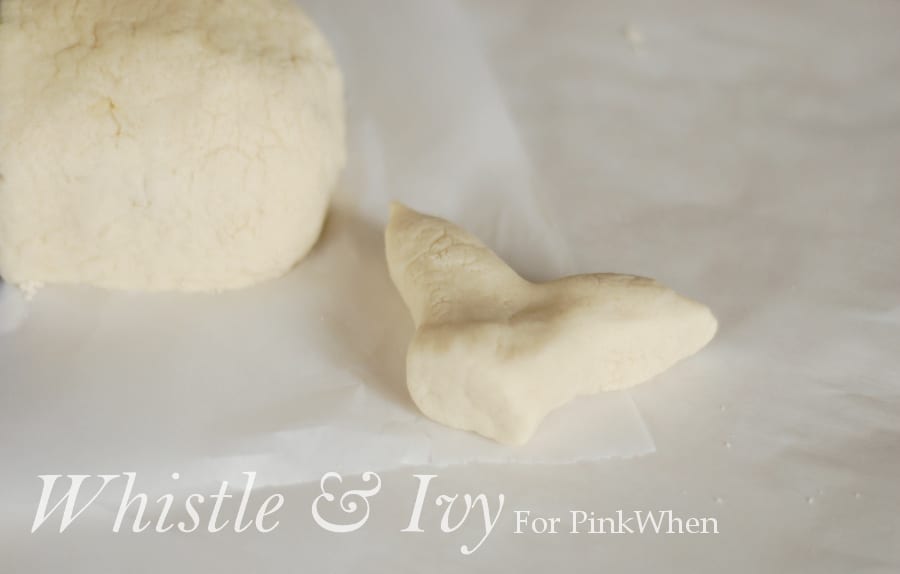
Easy Whale Bookends
After the pieces were (pretty much) the way I wanted them, I heated the oven to 200º and baked the pieces for several hours. Because the pieces are rather dense, they seemed to never completely dry. The paint did not seem to be affected, so don’t stress if you feel like your dough isn’t 100% dry in the middle.
I then “welded” the tailpiece onto the body end with lots of hot glue.
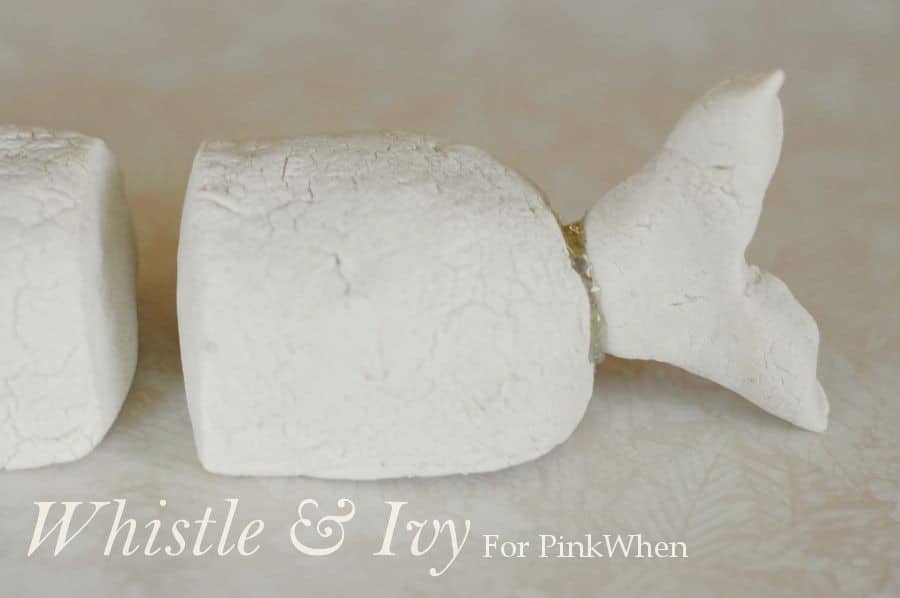
Next, I molded some unused dough around the glue to cover it up. I wasn’t able to achieve the same texture, darn it!
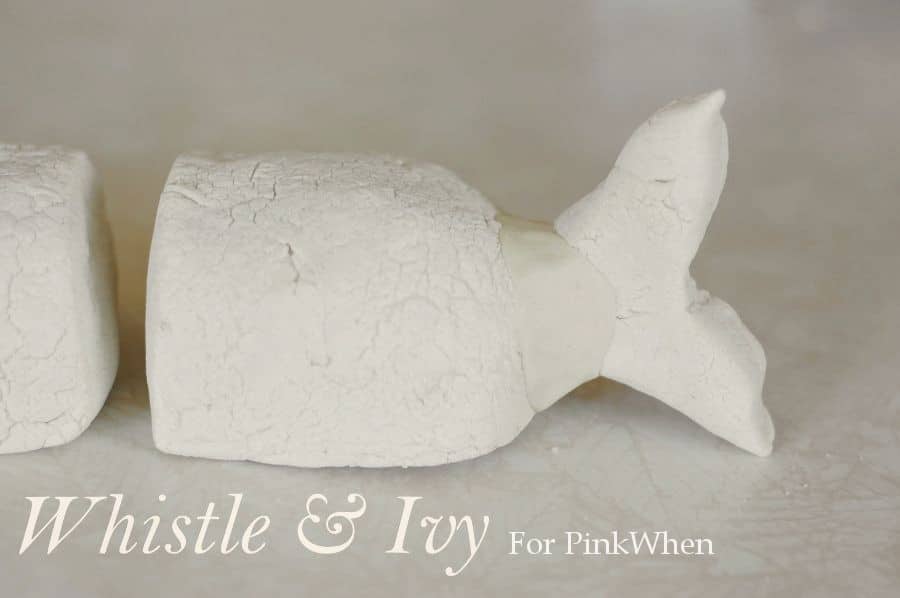
I put it back in the oven for an hour or so to dry the patched tail.
Then, I added some paint. I did two coats of gray acrylic paint over the whole thing, and then carefully painted the eye over the gray. Start with the white and paint the half the circle. When that is dry, paint a tiny black half circle for the pupil.
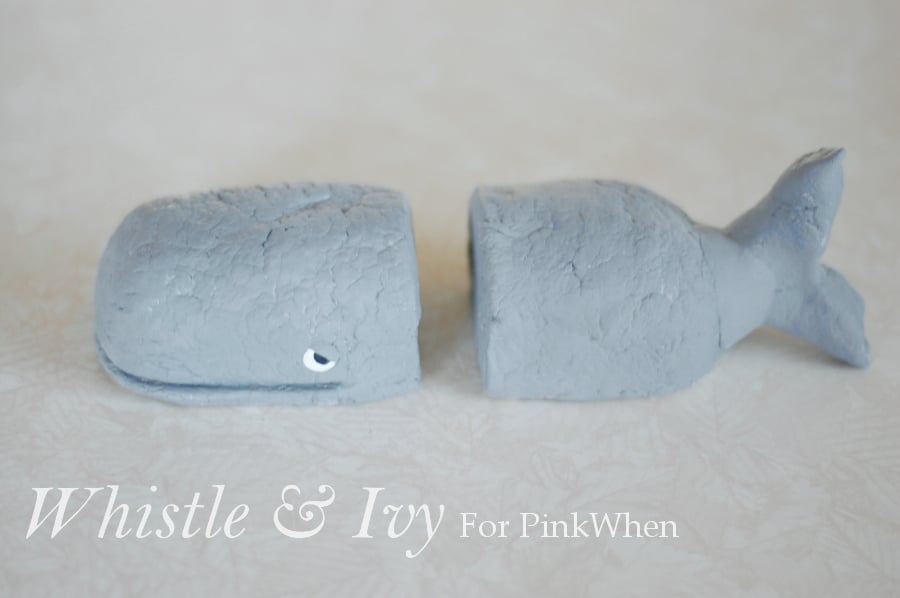
They might have been fine like this, but when everything was said and done, they weren’t as big as I have envisioned them to be. I added a bit more stability by gluing the pieces onto 5 x 5 wooden plaques that I had finished in clear varnish( I am still on the fence about the natural pine that I decided to go with). I also covered the whales’ pieces in a glossy top coat, but I do like the look of the matte as well.
All in all, my bookends ended up okay! Halfway through, I was sure that I was working on a huge #craftfail…
If you enjoyed this tutorial, you might also enjoy:







Oh my goodness! He is so cute! I love the look on his face!
Very cute!!
That’s adorable! I’m impressed by your whale. Not sure I could make one, but the directions are tempting. I especially love the eyes:)
Very cool! I like that!