I finally turned the toddlers’ bed into her “big girl” bed a few months ago. Ever since I have been wanting to do something special for her room. I have always loved bed cornices, but they are just so expensive. This (of course) had me thinking I could do it myself, so I did! I created this Easy DIY Crown Cornice for under $50. That includes everything, including the panels, which can be EXPENSIVE. Also, this is a NO SEW project.
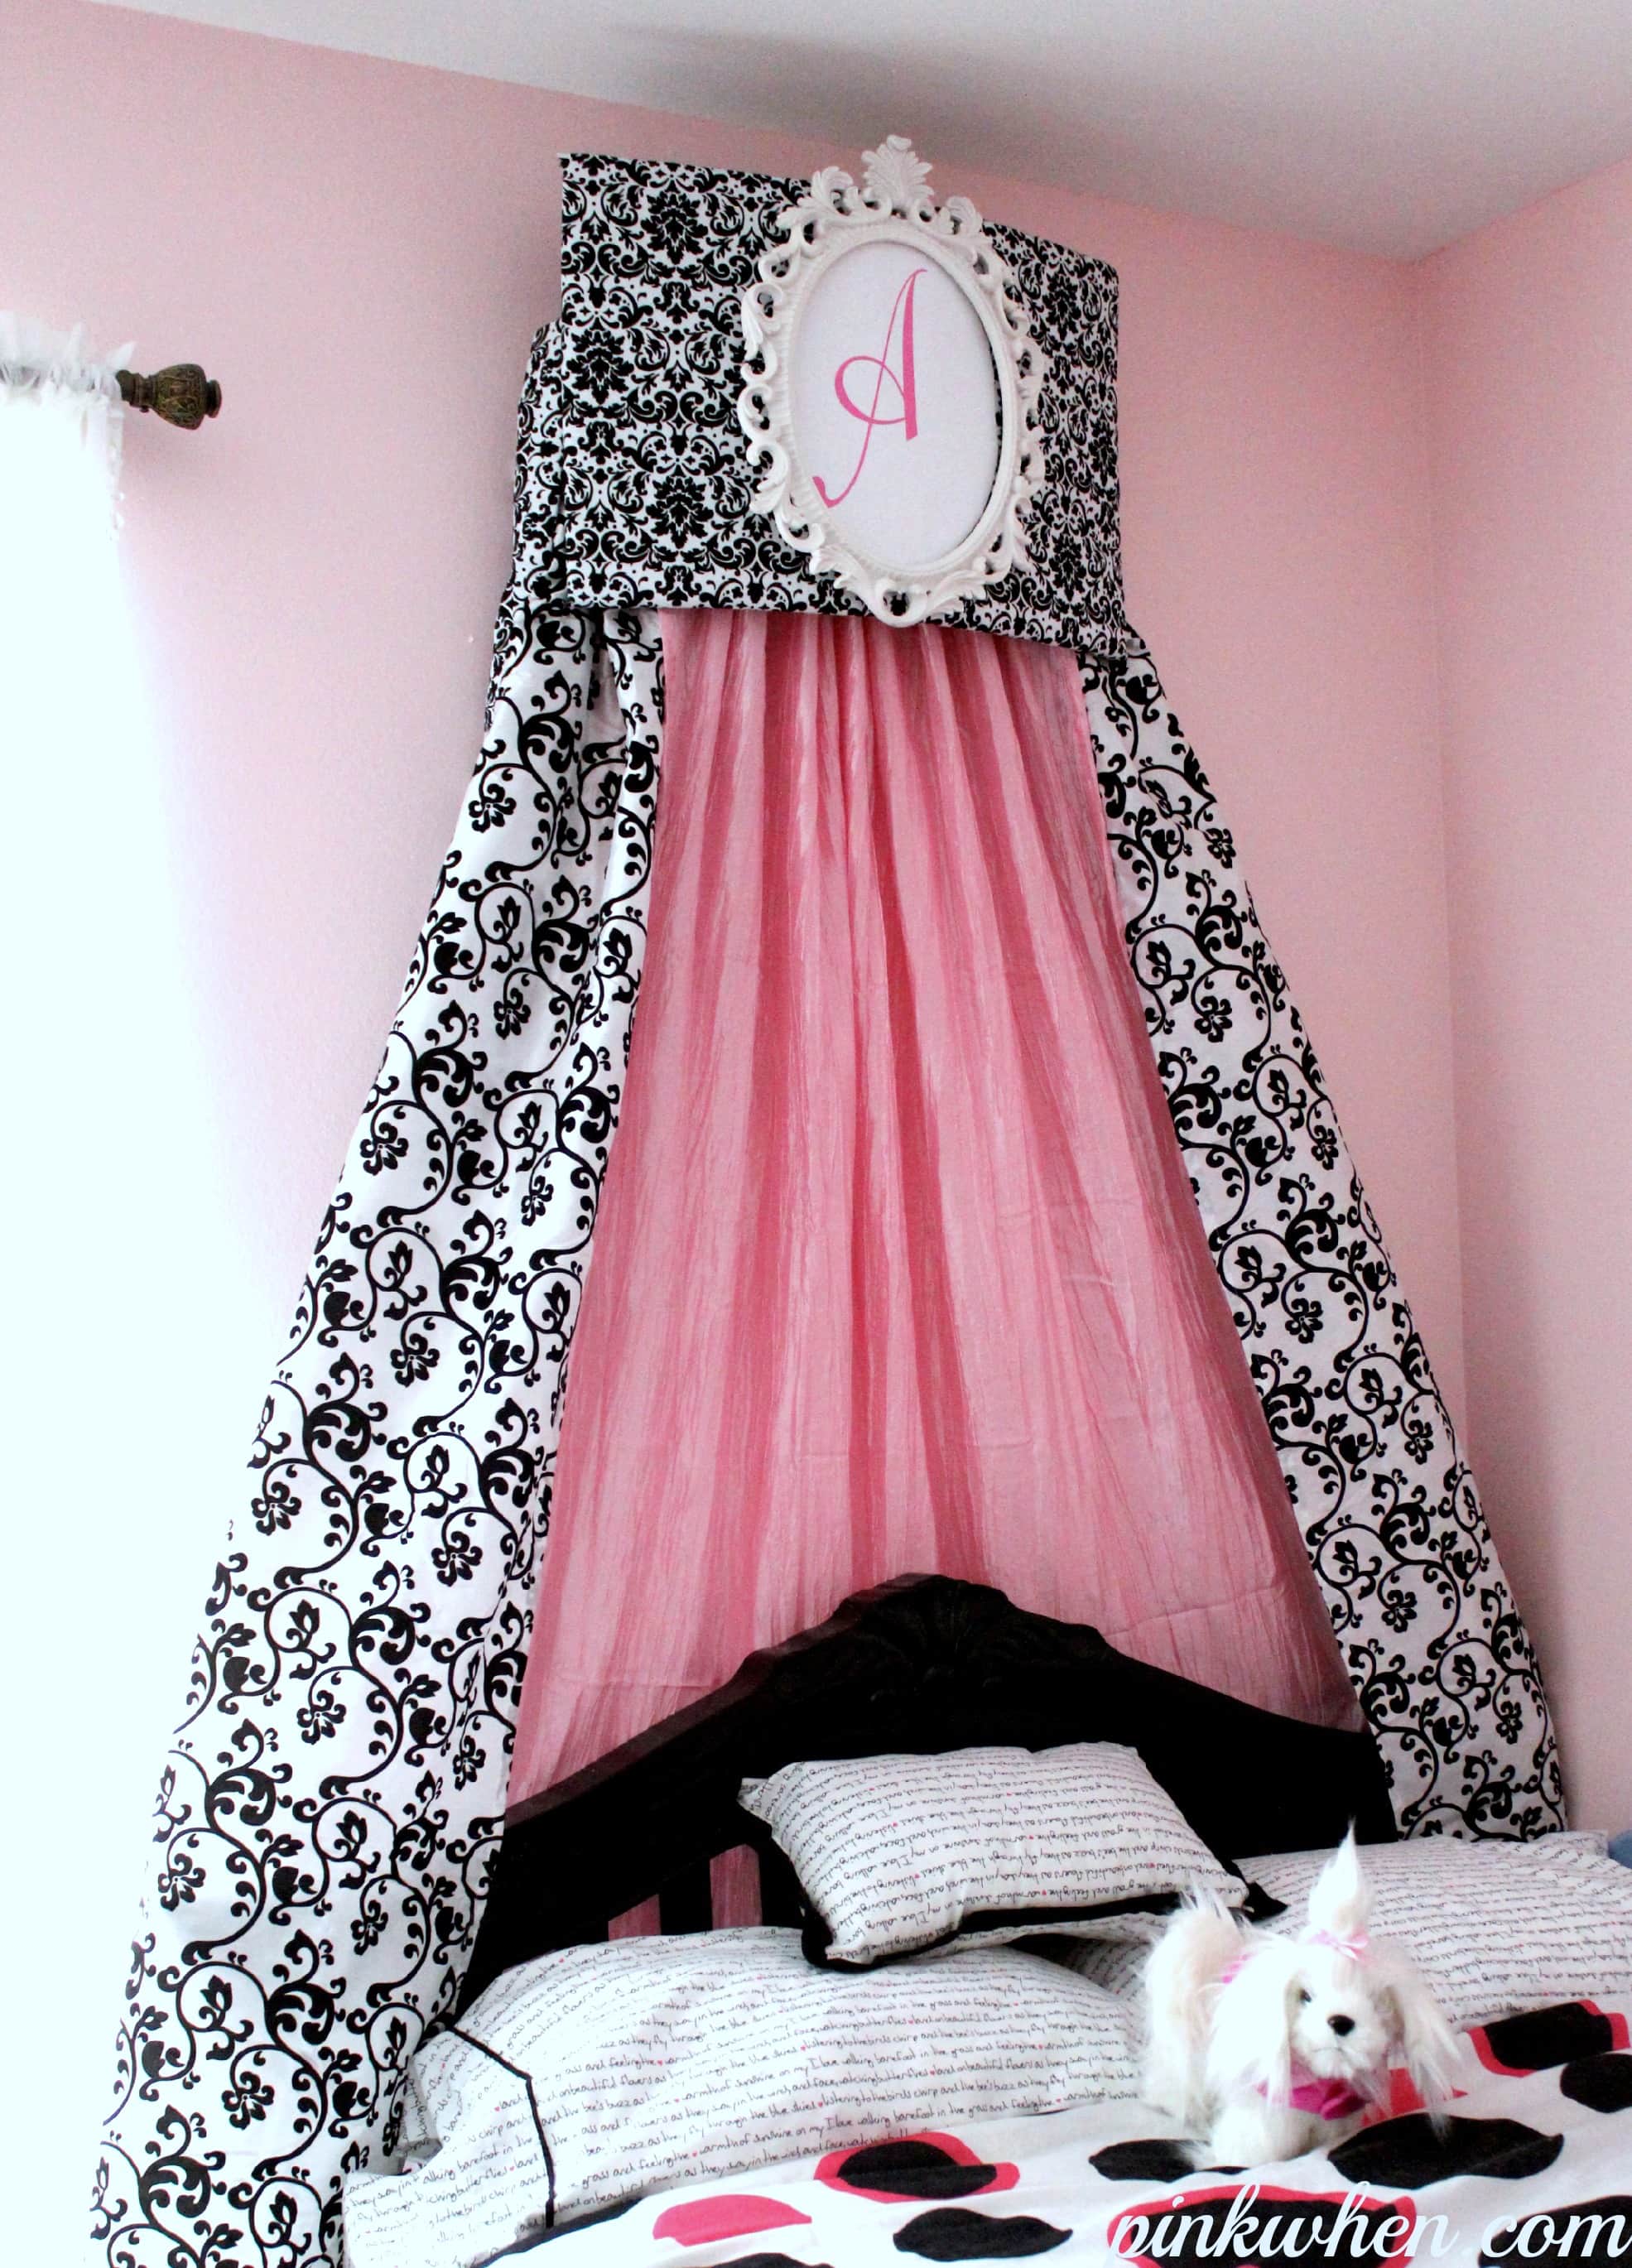
This post is to show you how to build the structure of the cornice, but you can always click here and be taken to the post that shows you how to upholster the cornice.
I hope you give this project a try, it was surprisingly easy, and a beautiful project in the end. Just make sure to read through all of the steps before you get started. I am going to split this up into a couple of posts. This one telling you how to create the bed crown cornice, and a second one showing you how to cover the cornice and make it pretty!! You will find a few affiliate links below for some of the products I used in creating this cornice. Let’s get started.
How to Make a Crown Cornice
Supplies:
- template (I created one in my Silhouette Cameo for the base structure)
- 1″ 2′ x 2′ plywood (cut your semicircles and base from this piece)
- 1/4″ soft plywood (for the curved top of the base)
- 1 x 3 x 8 cut into
- 1 x 4 x 8 cut into
- Dry Dex Spackling & Nail Hole filler (optional if covering with fabric)
- primer (optional if covering with fabric)
Cut list:
- cut 2 24″ long 5″ tall semi circle pieces from 1″ x 2 x 2(using template below)
- cut 1 24″ x 5″ piece from 1″x 2 x 2
- cut 1/4″ 28″ x 17″ for the curved top piece
- cut 1 x 3 x 8 into (3) 5″ pieces (braces)
- cut 1 x 4 x 8 into (2) 8″ pieces and (1) 22″ piece
How I made the bed crown cornice template
I used Silhouette Designer Software to create a template. To do this, create an oblong circle that is 24″ long and 10″ in width, and then place a cut line down the middle.
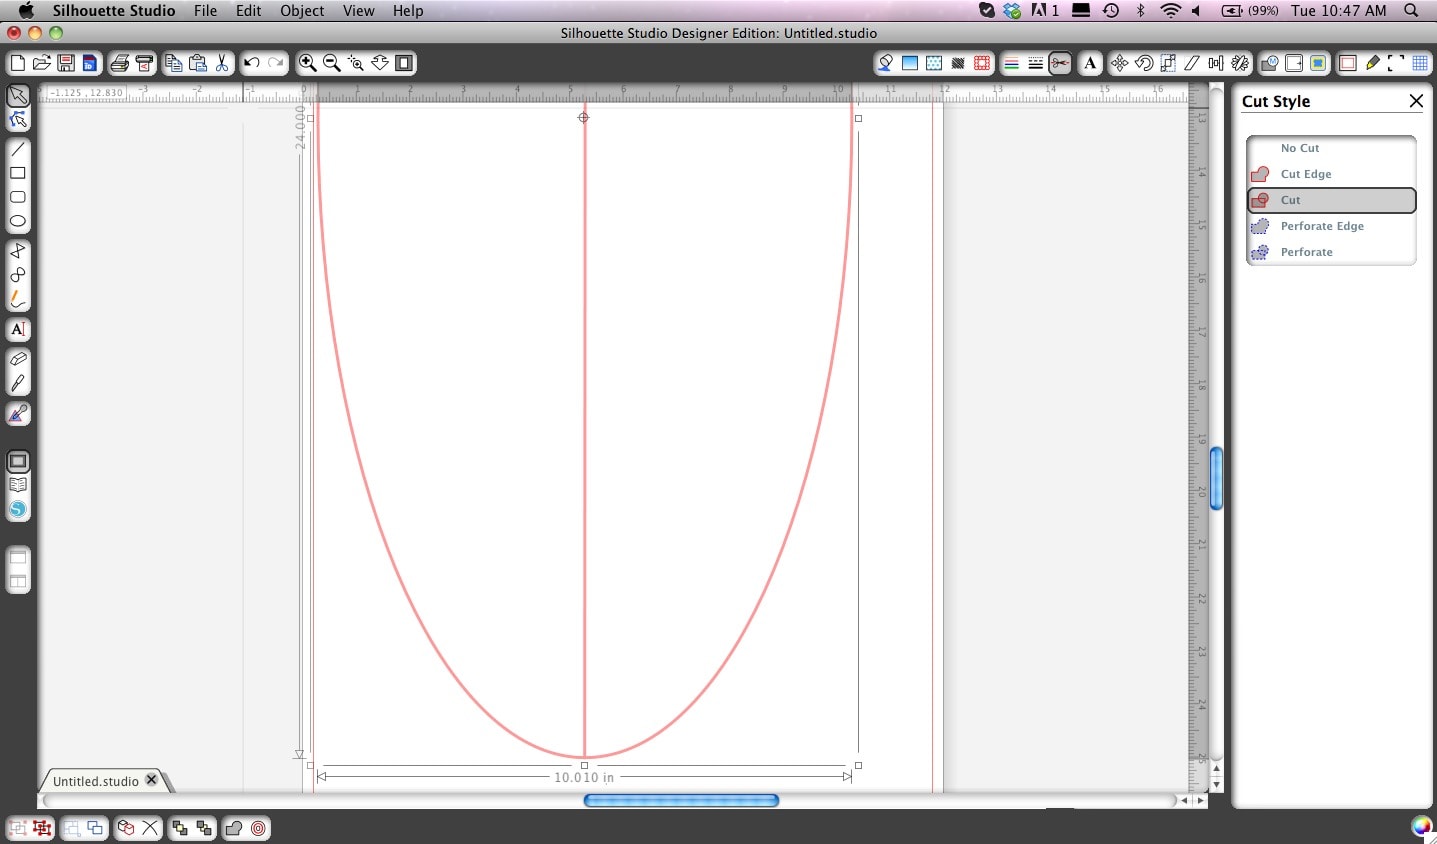
Once the pieces have been cut from vinyl, attach the vinyl sheets to the 2 x 2 plywood piece.
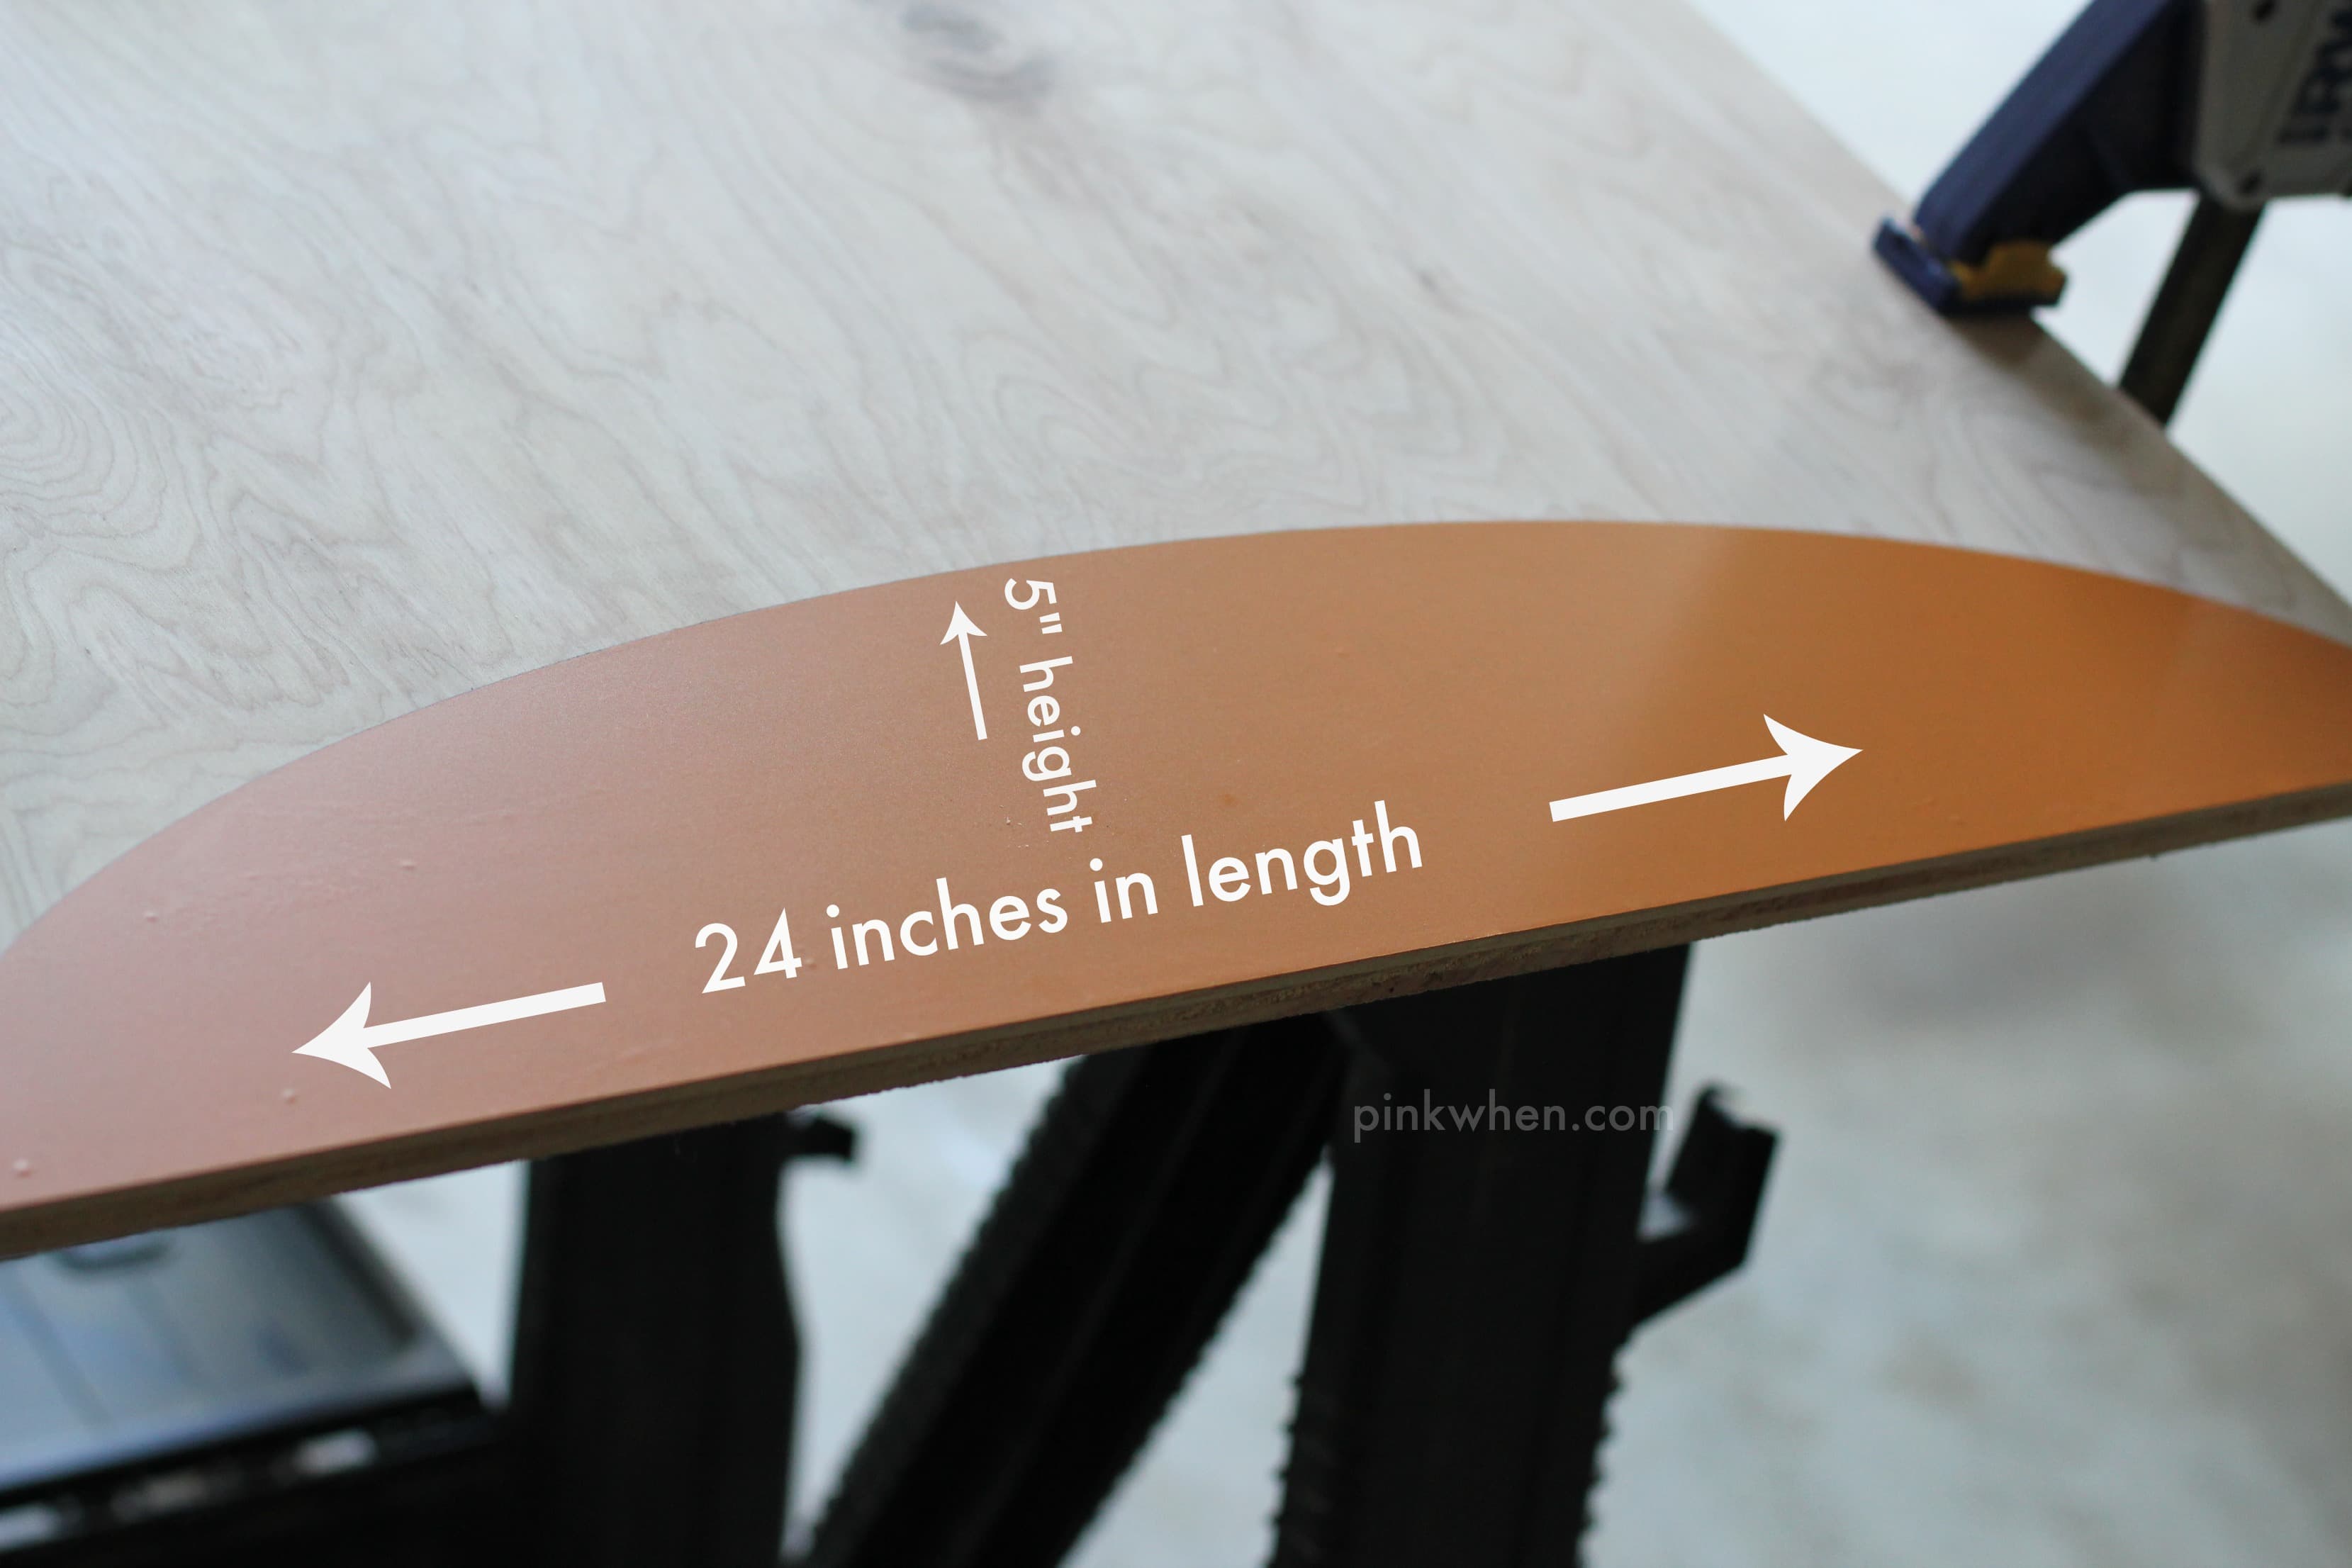
Once you have the vinyl set, take your jigsaw and adjust the setting for the correct cut and depth and then cut out your pieces.
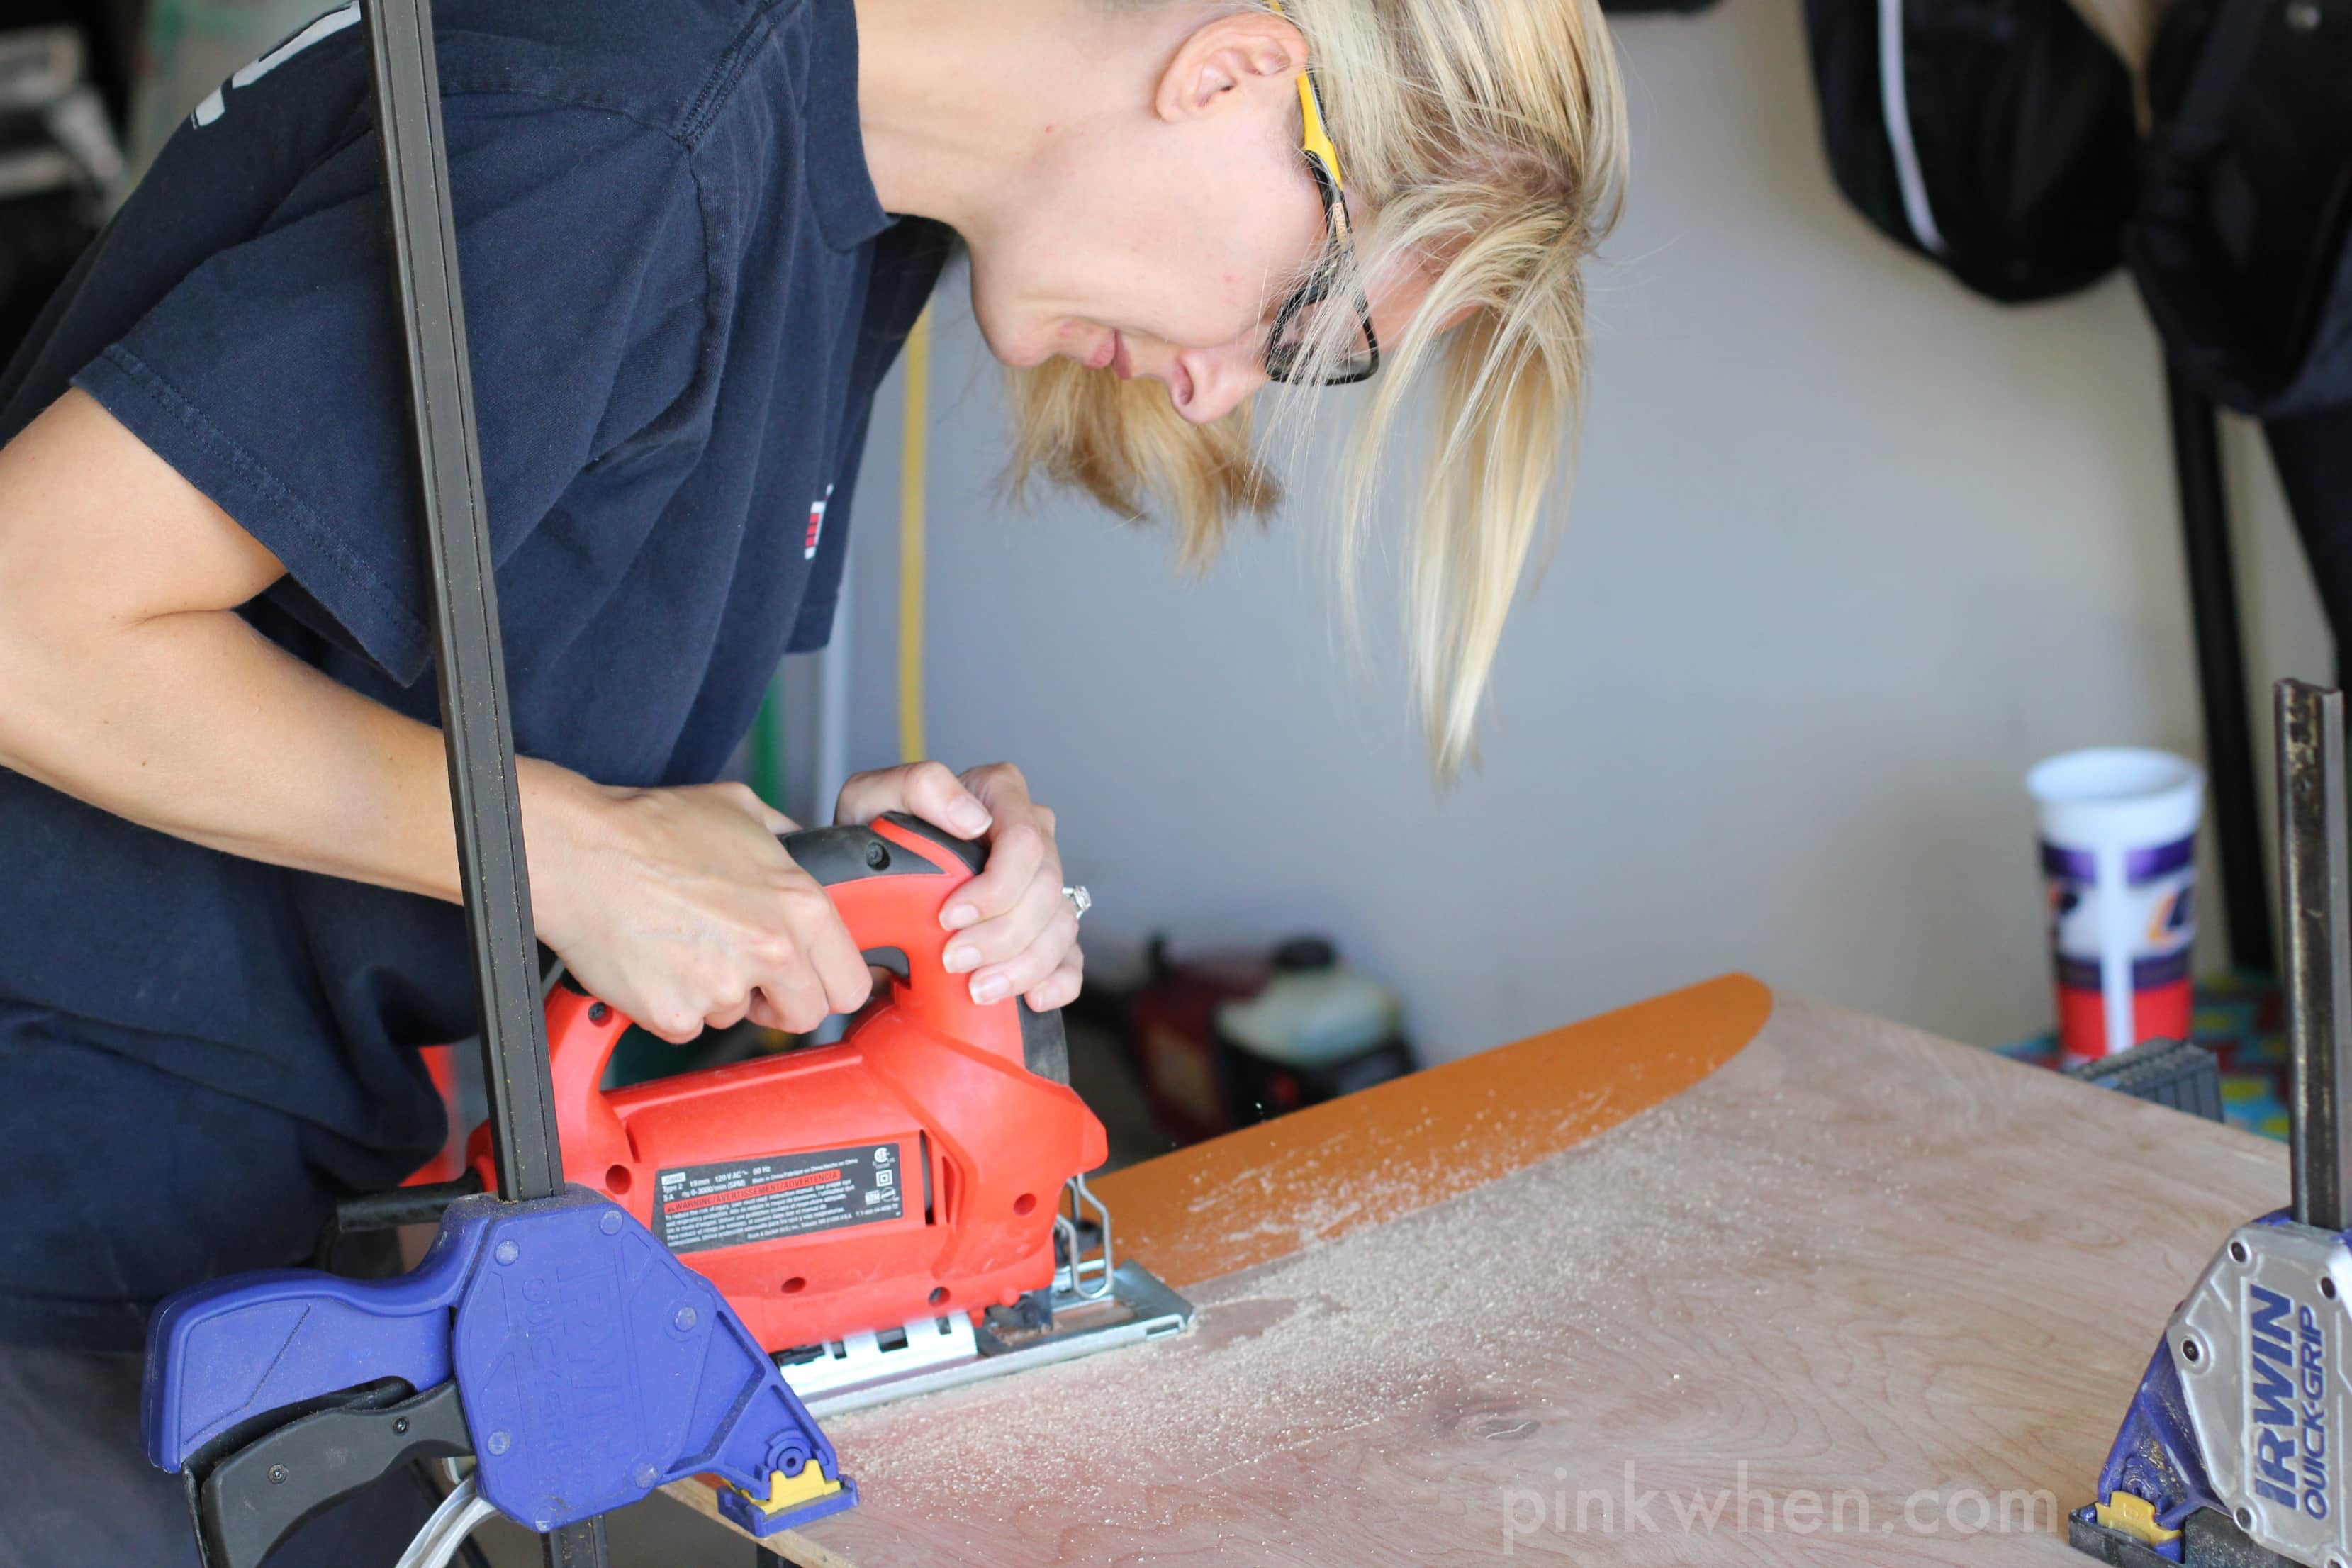
You should have a semi-circle that looks like this.
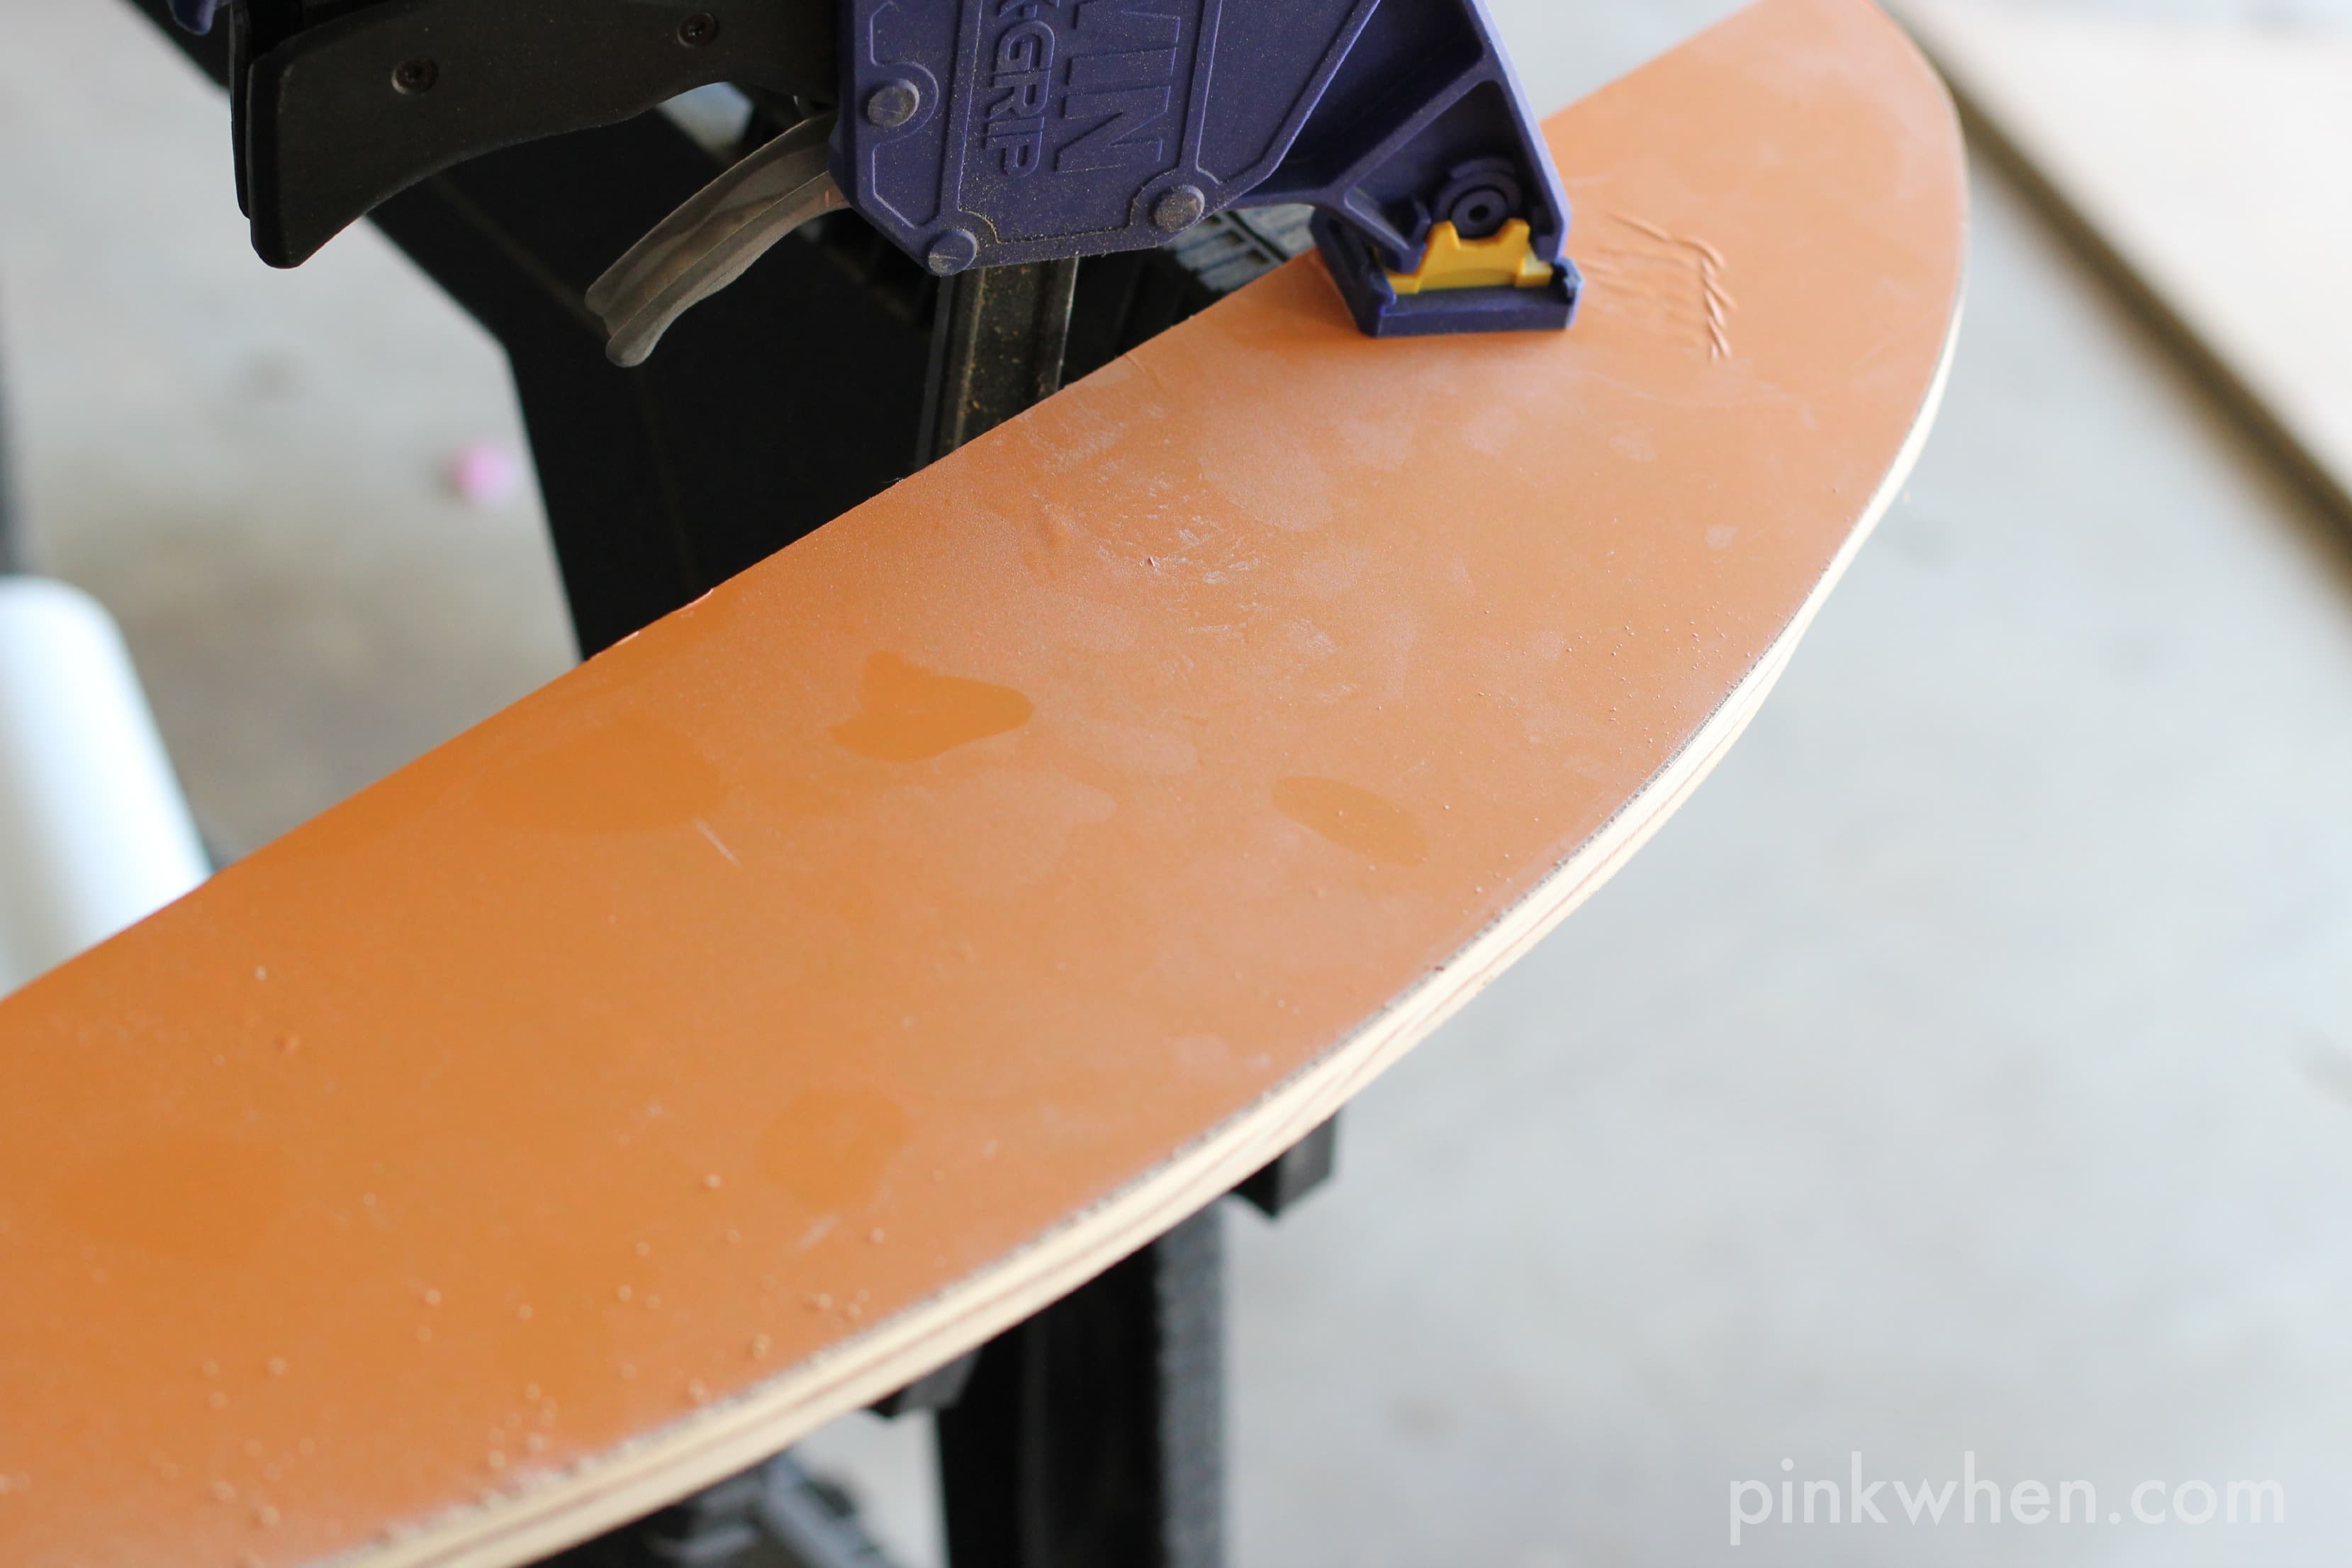
Do this again until you have both pieces cut out. Make sure to hand sand any rough edges you may have on the boards.
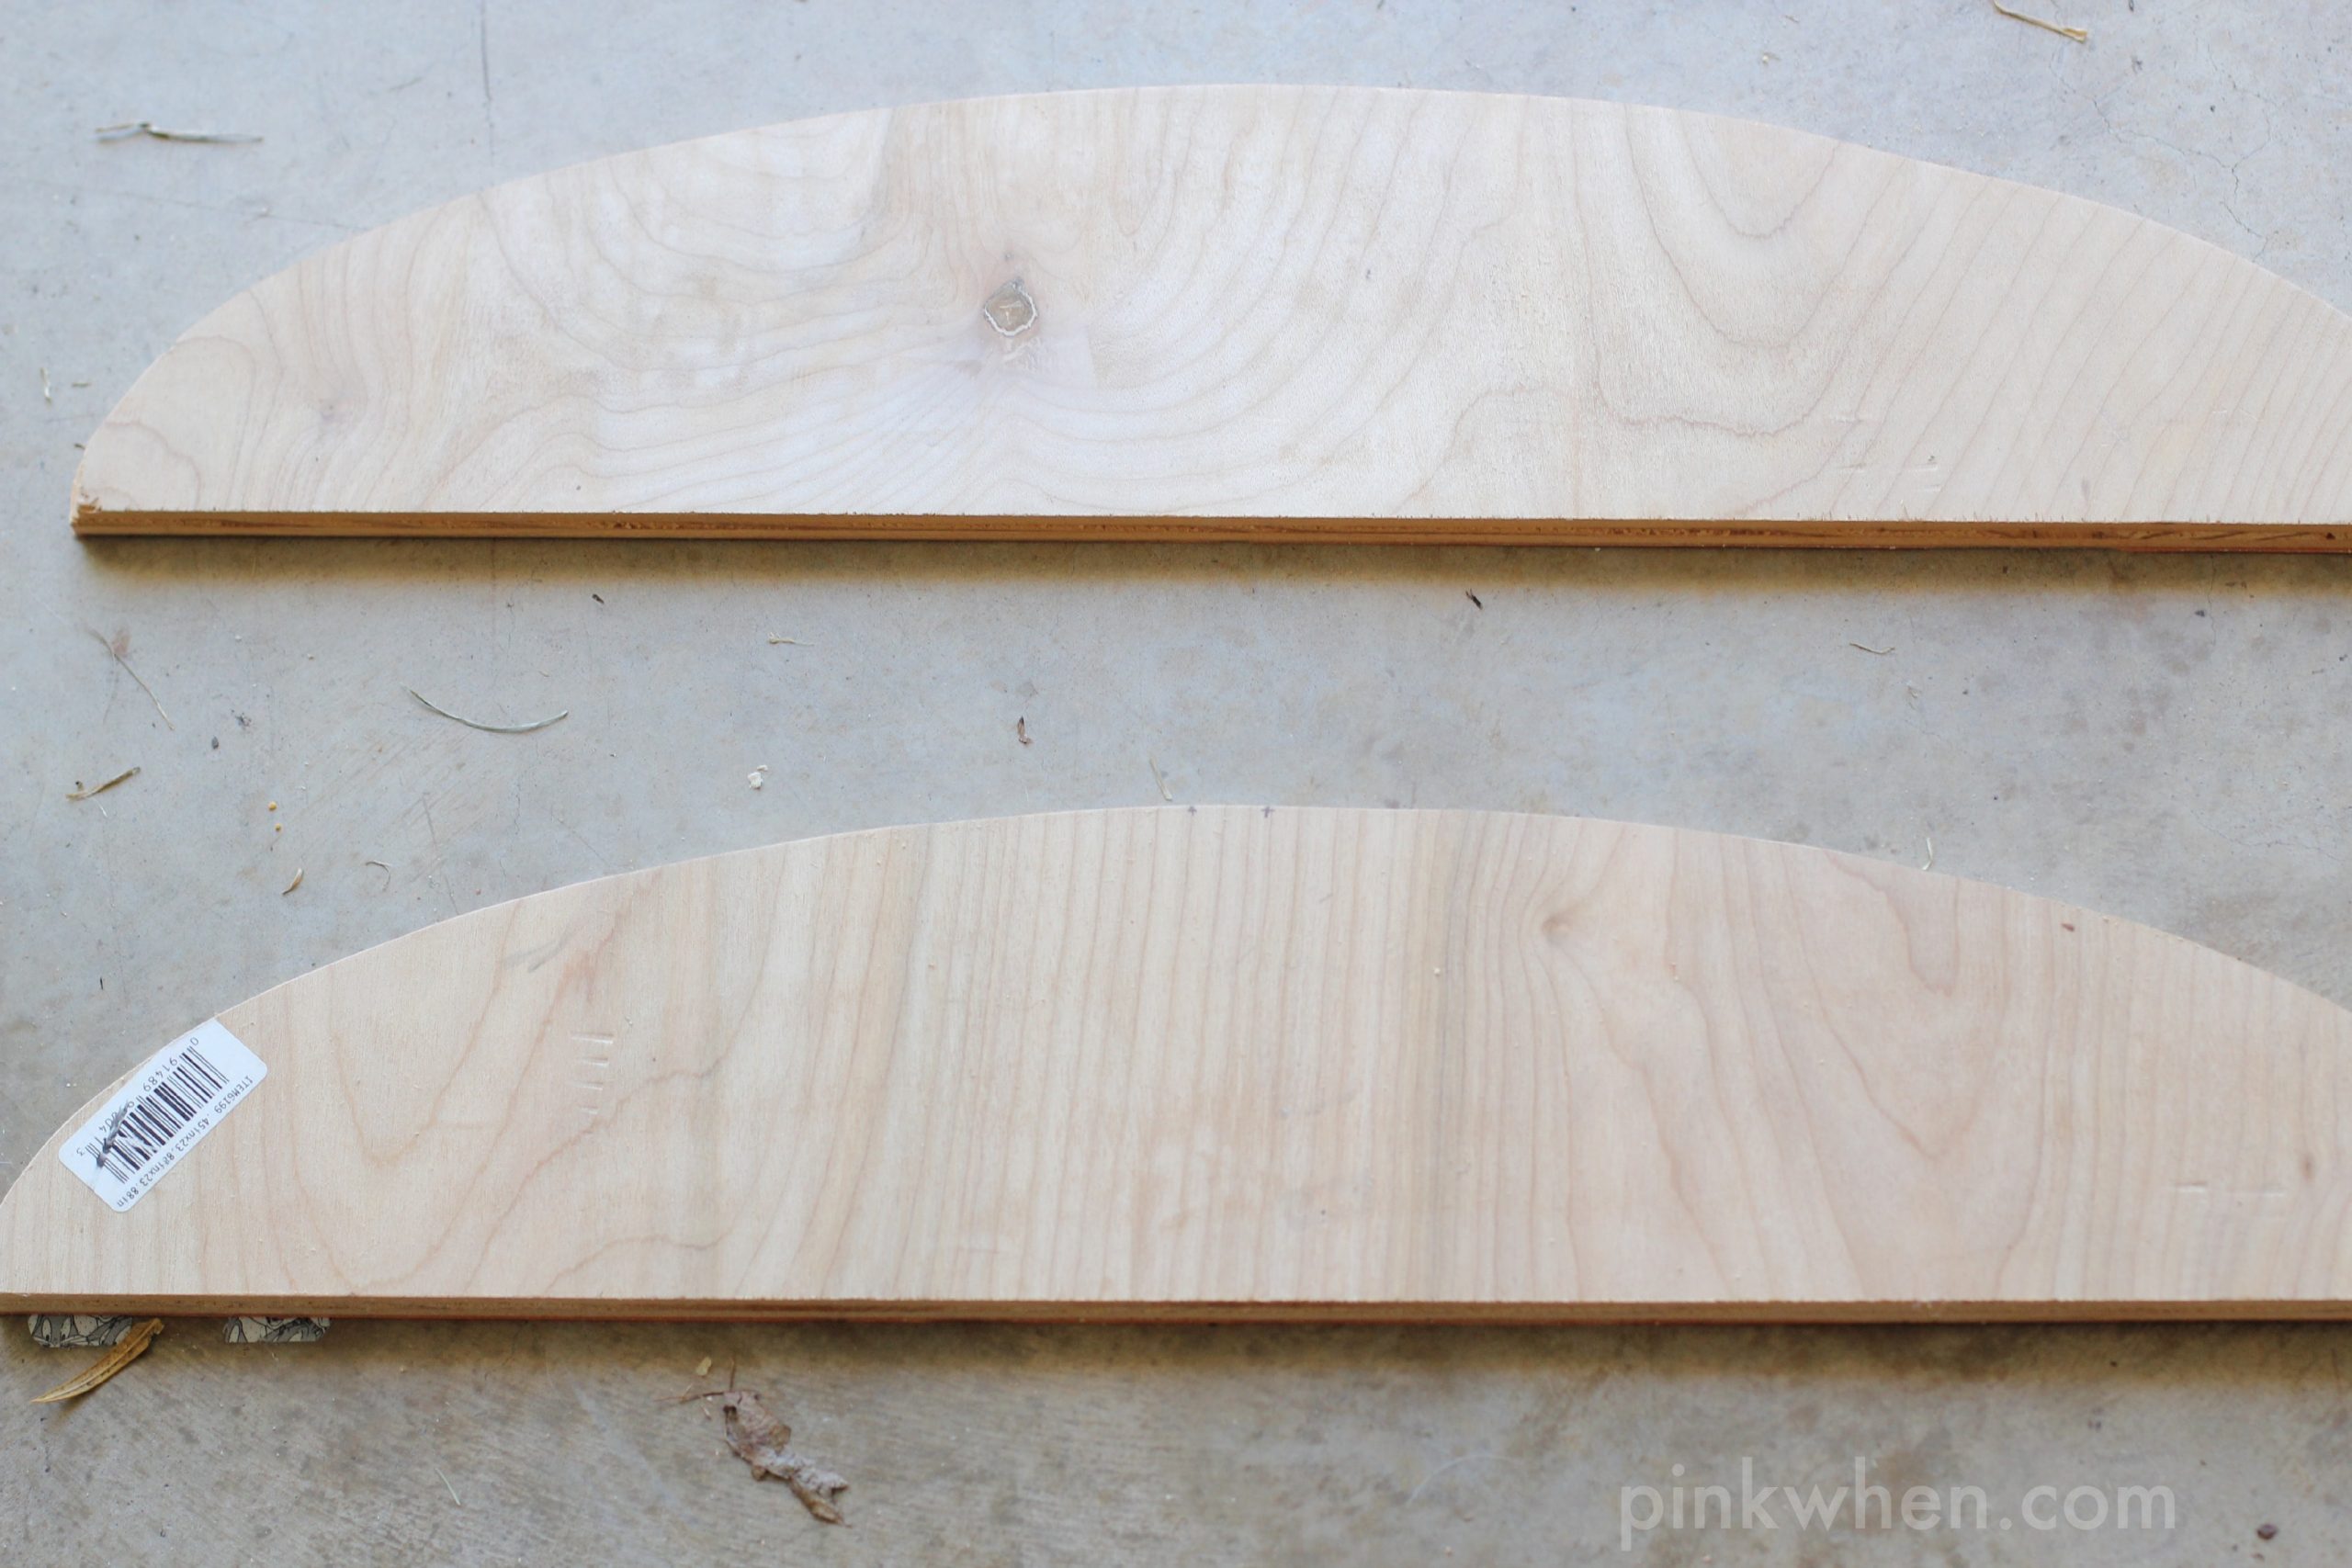
Take the 1/4 plywood piece that is 24″ x 5″ and attach the two semi circle pieces.
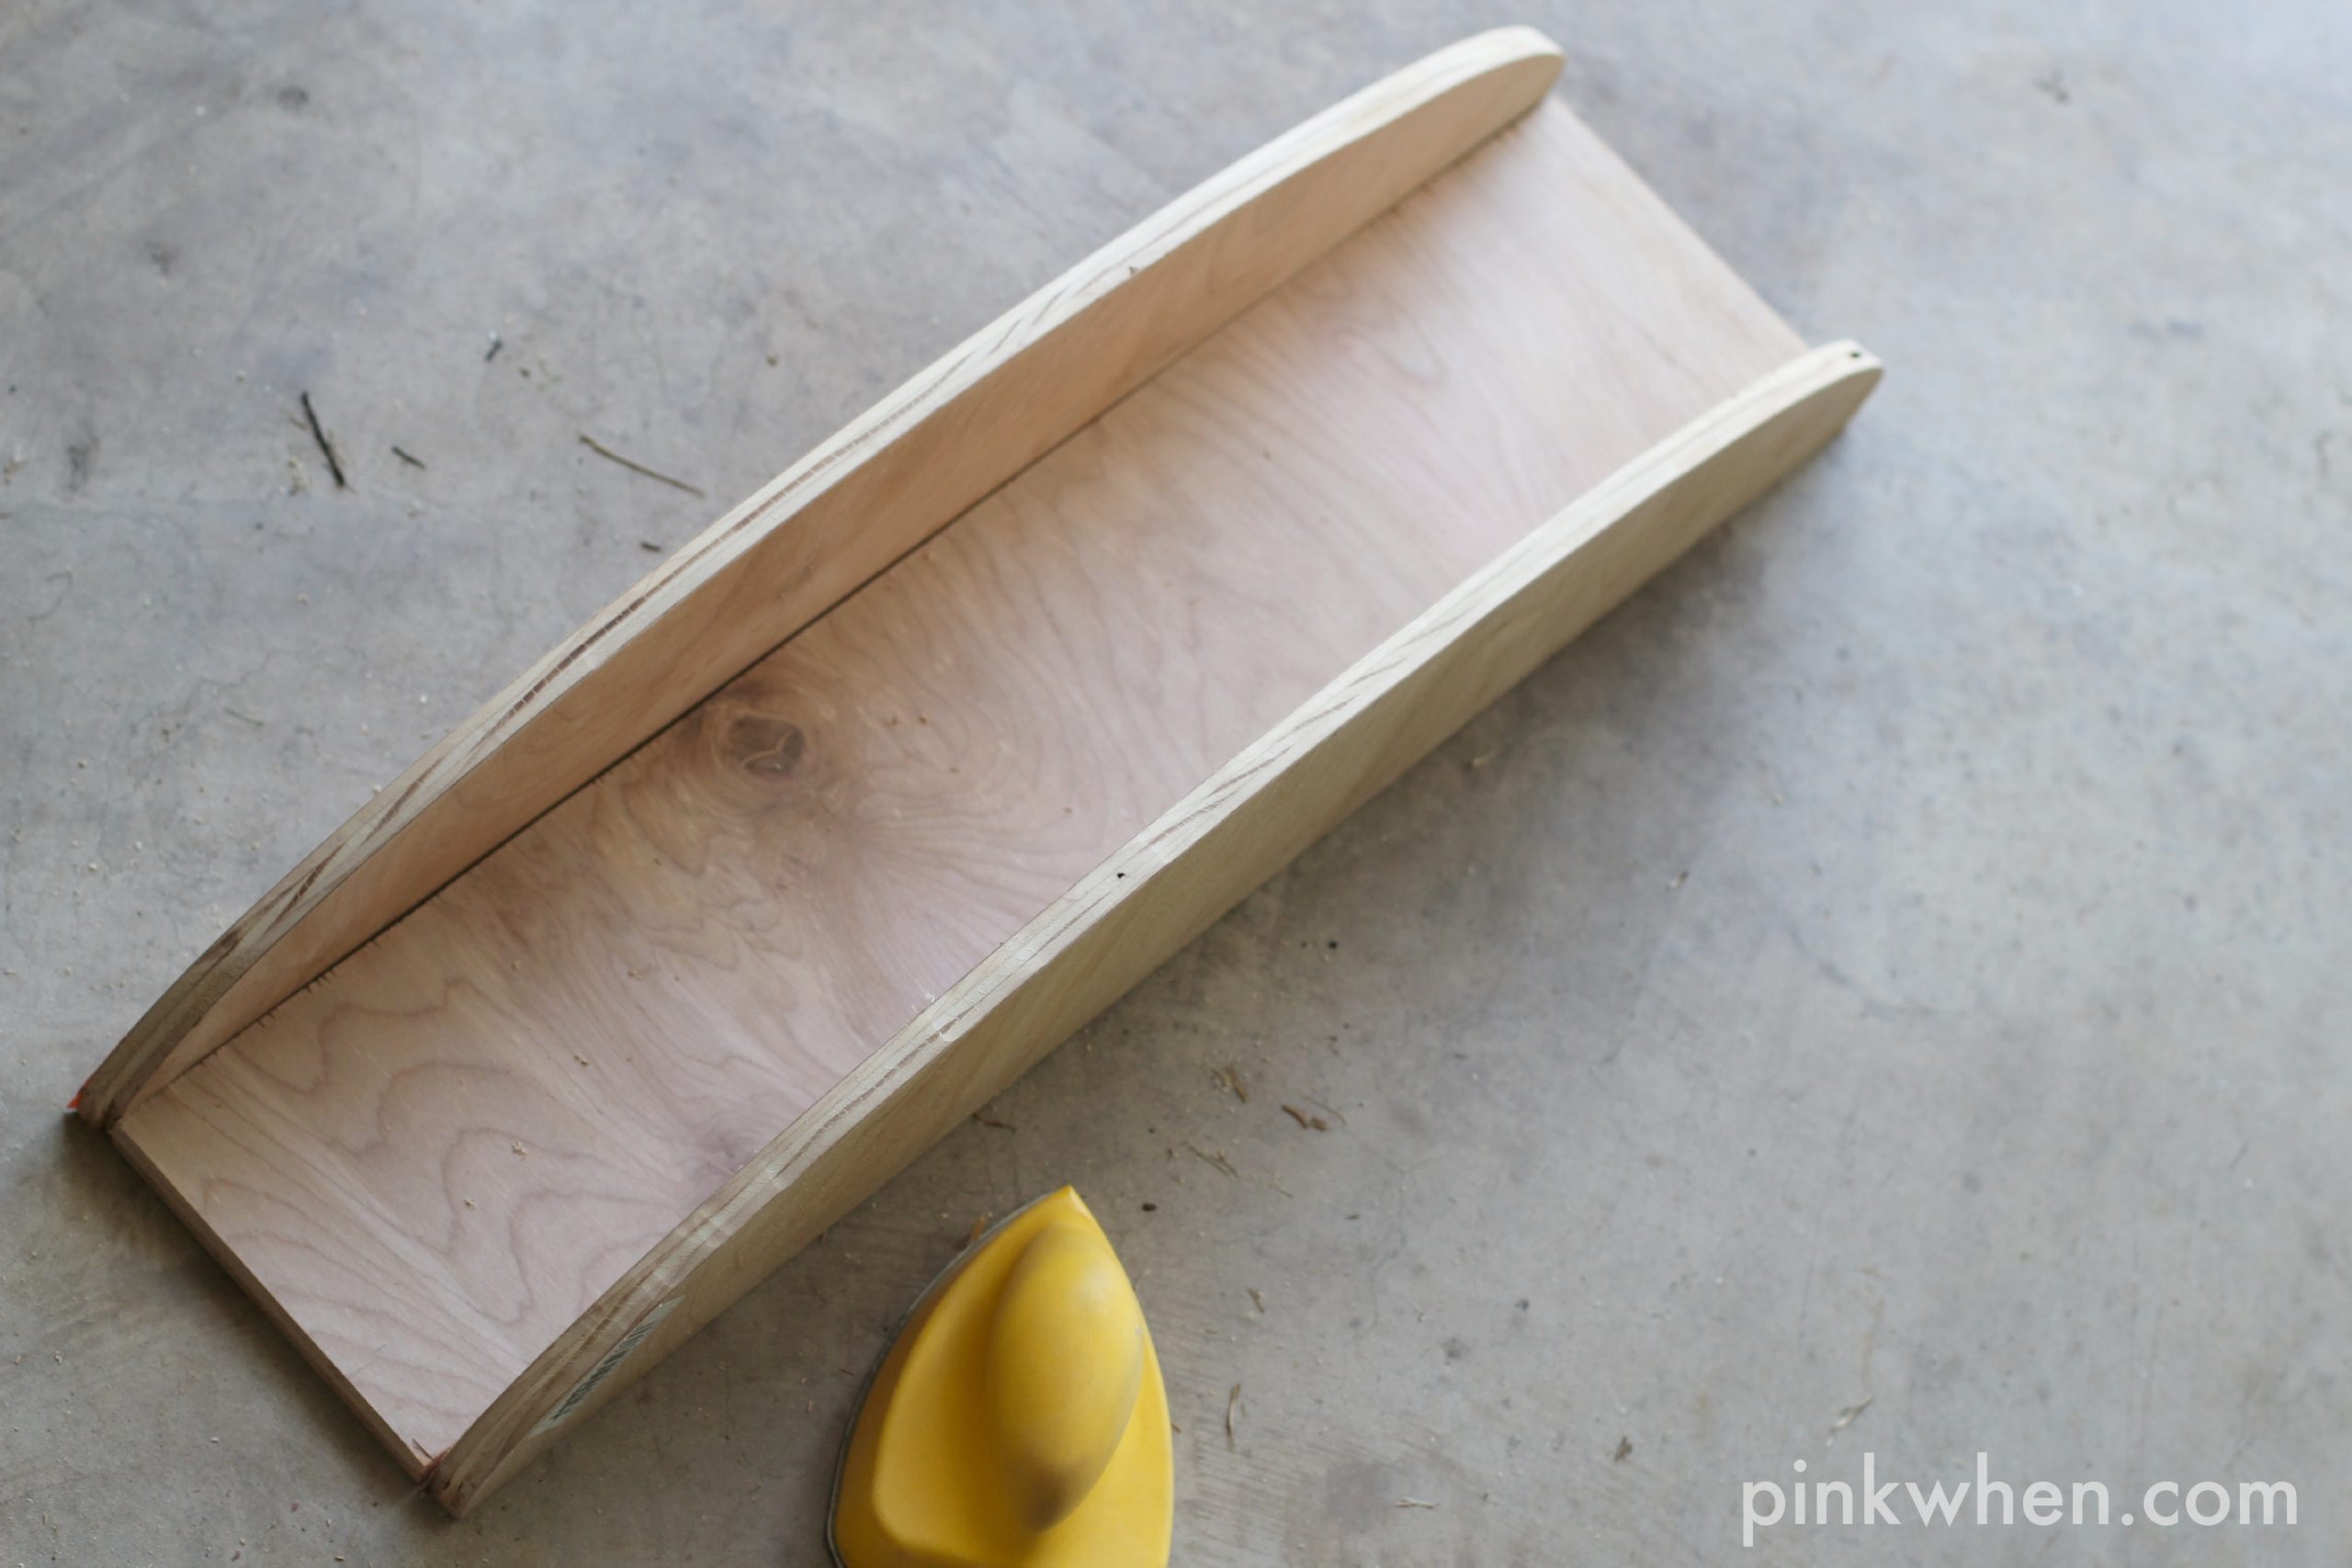
DIY Crown Cornice
Attach the (3) 5″ braces in between your semi-circles.
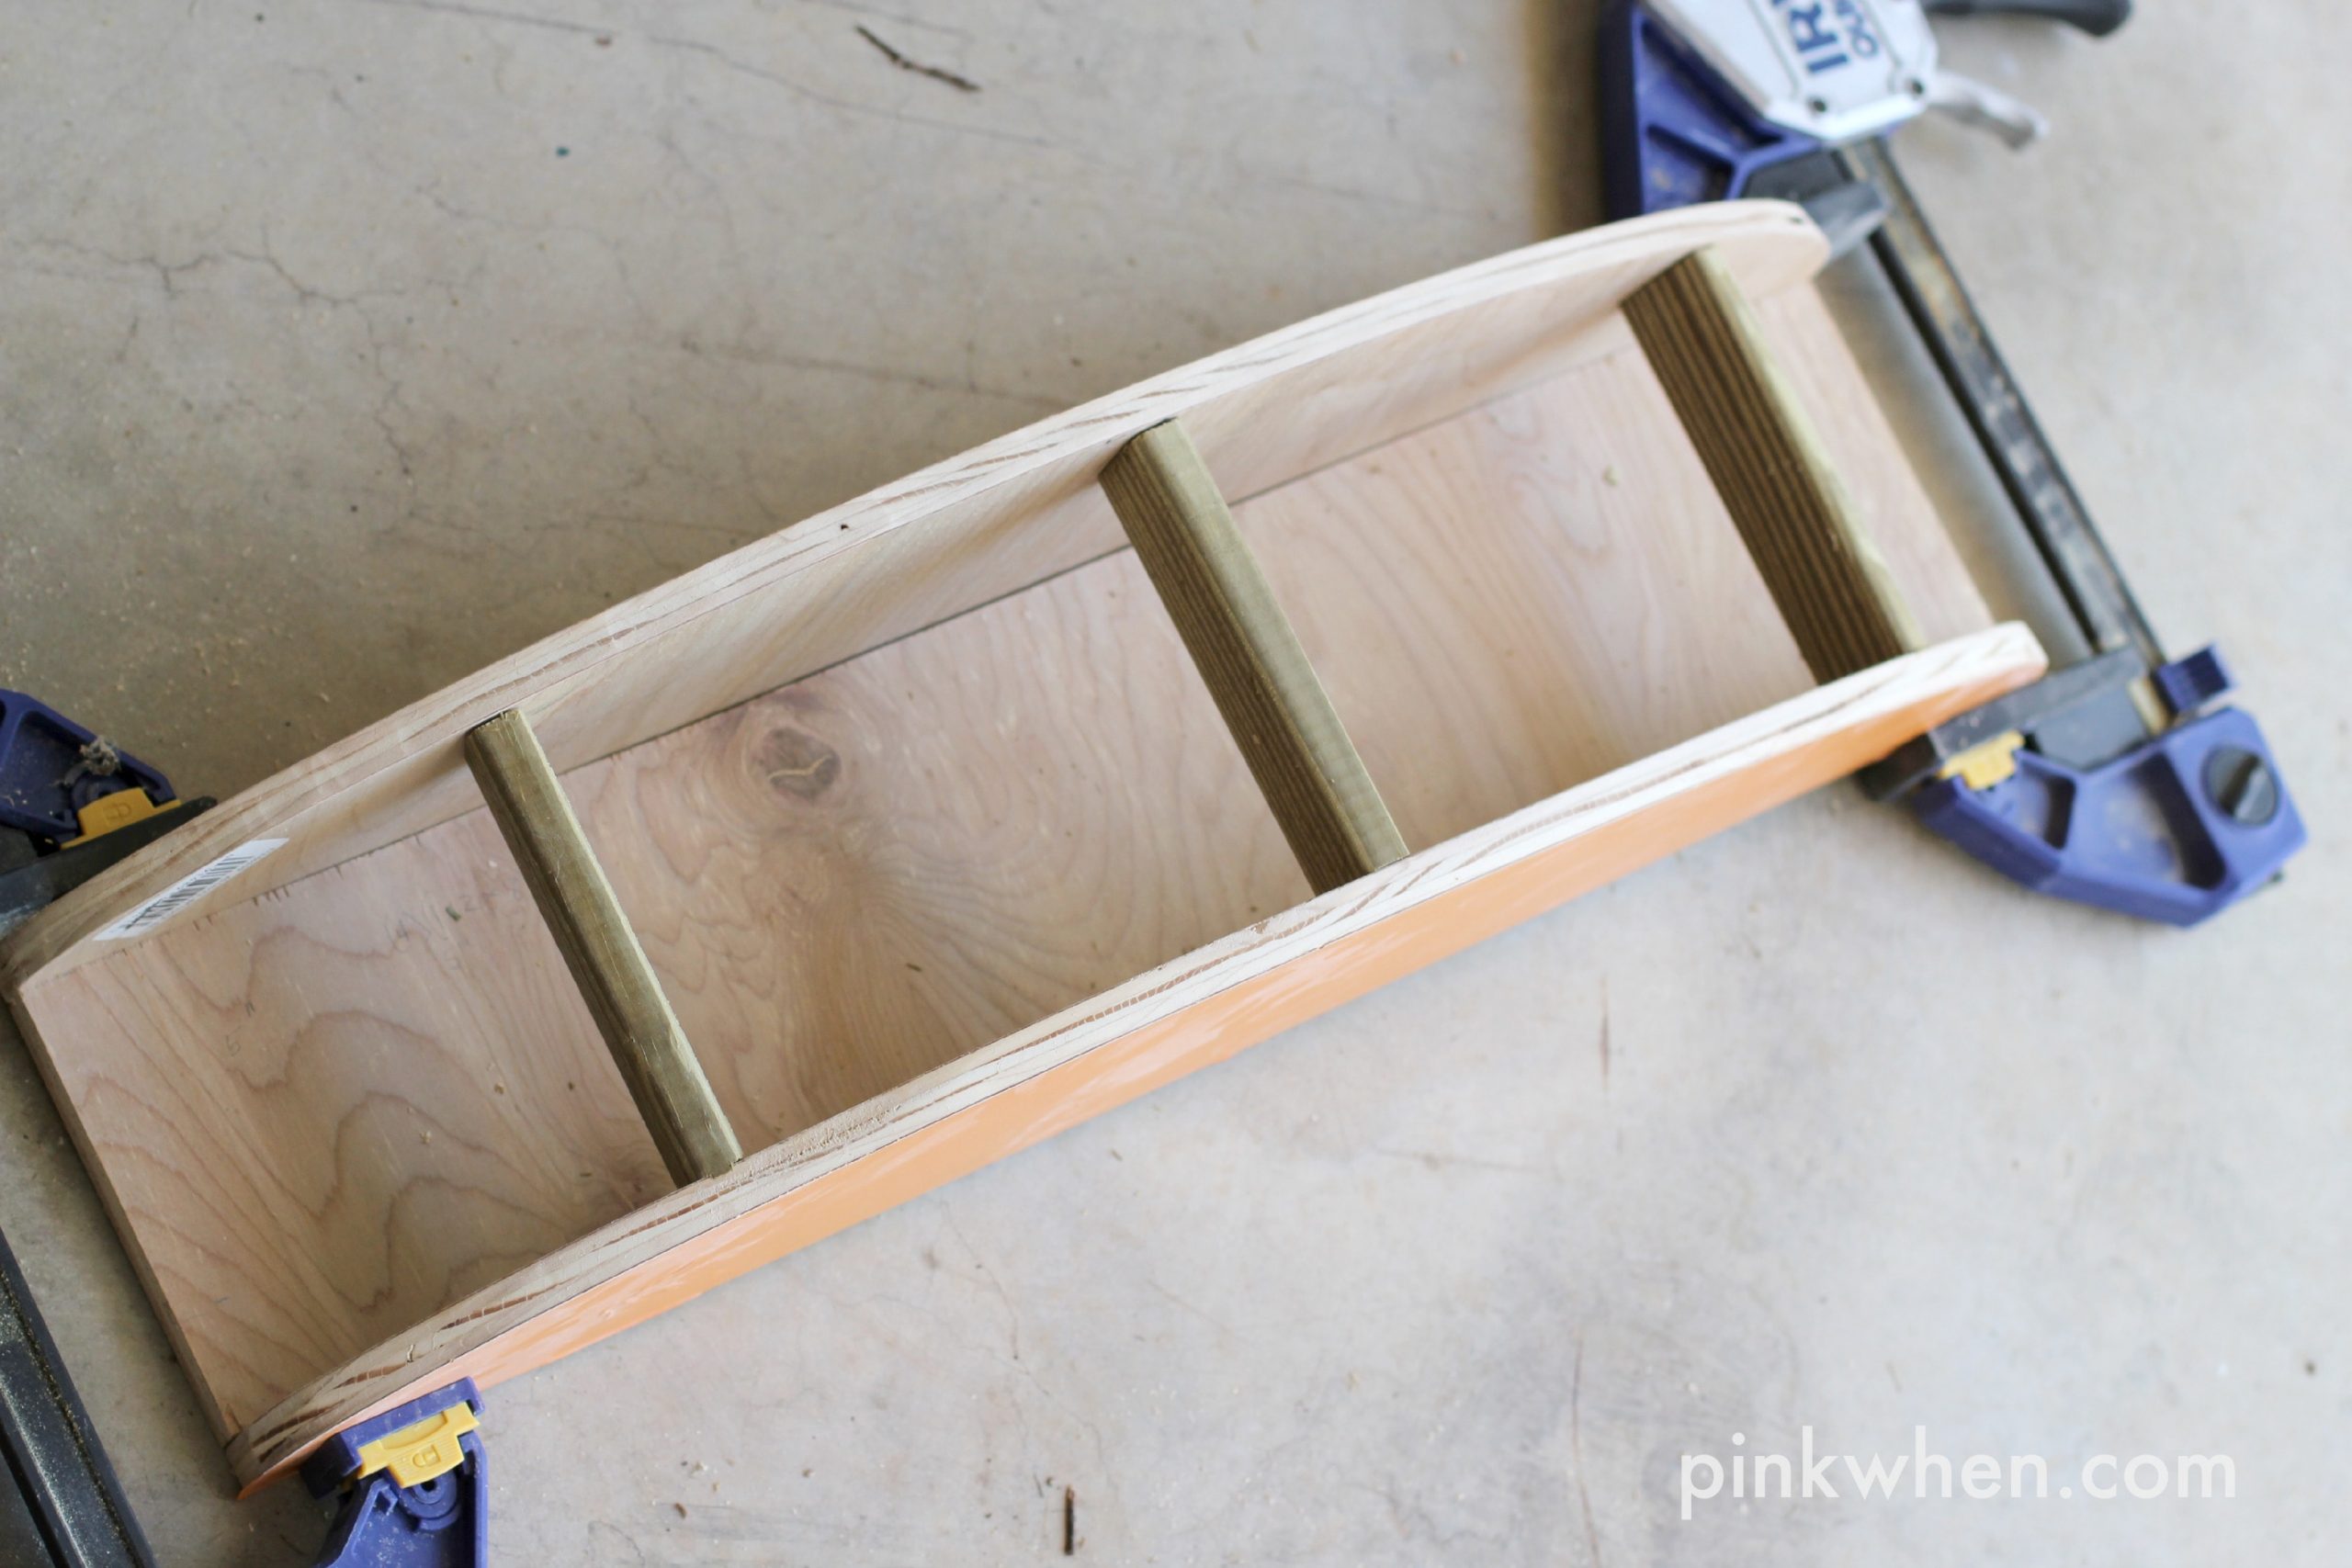
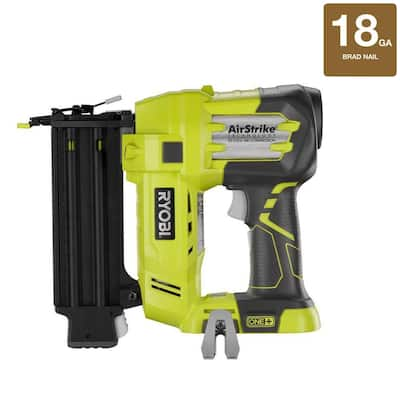
How did I put all of this together? I attached these all very seamlessly and easily using my Ryobi Airstrike Brad Nailer. This tool allowed me to attach these pieces and make it one solid piece in less than 5 minutes! If you don’t have one, borrow one. You will love life!
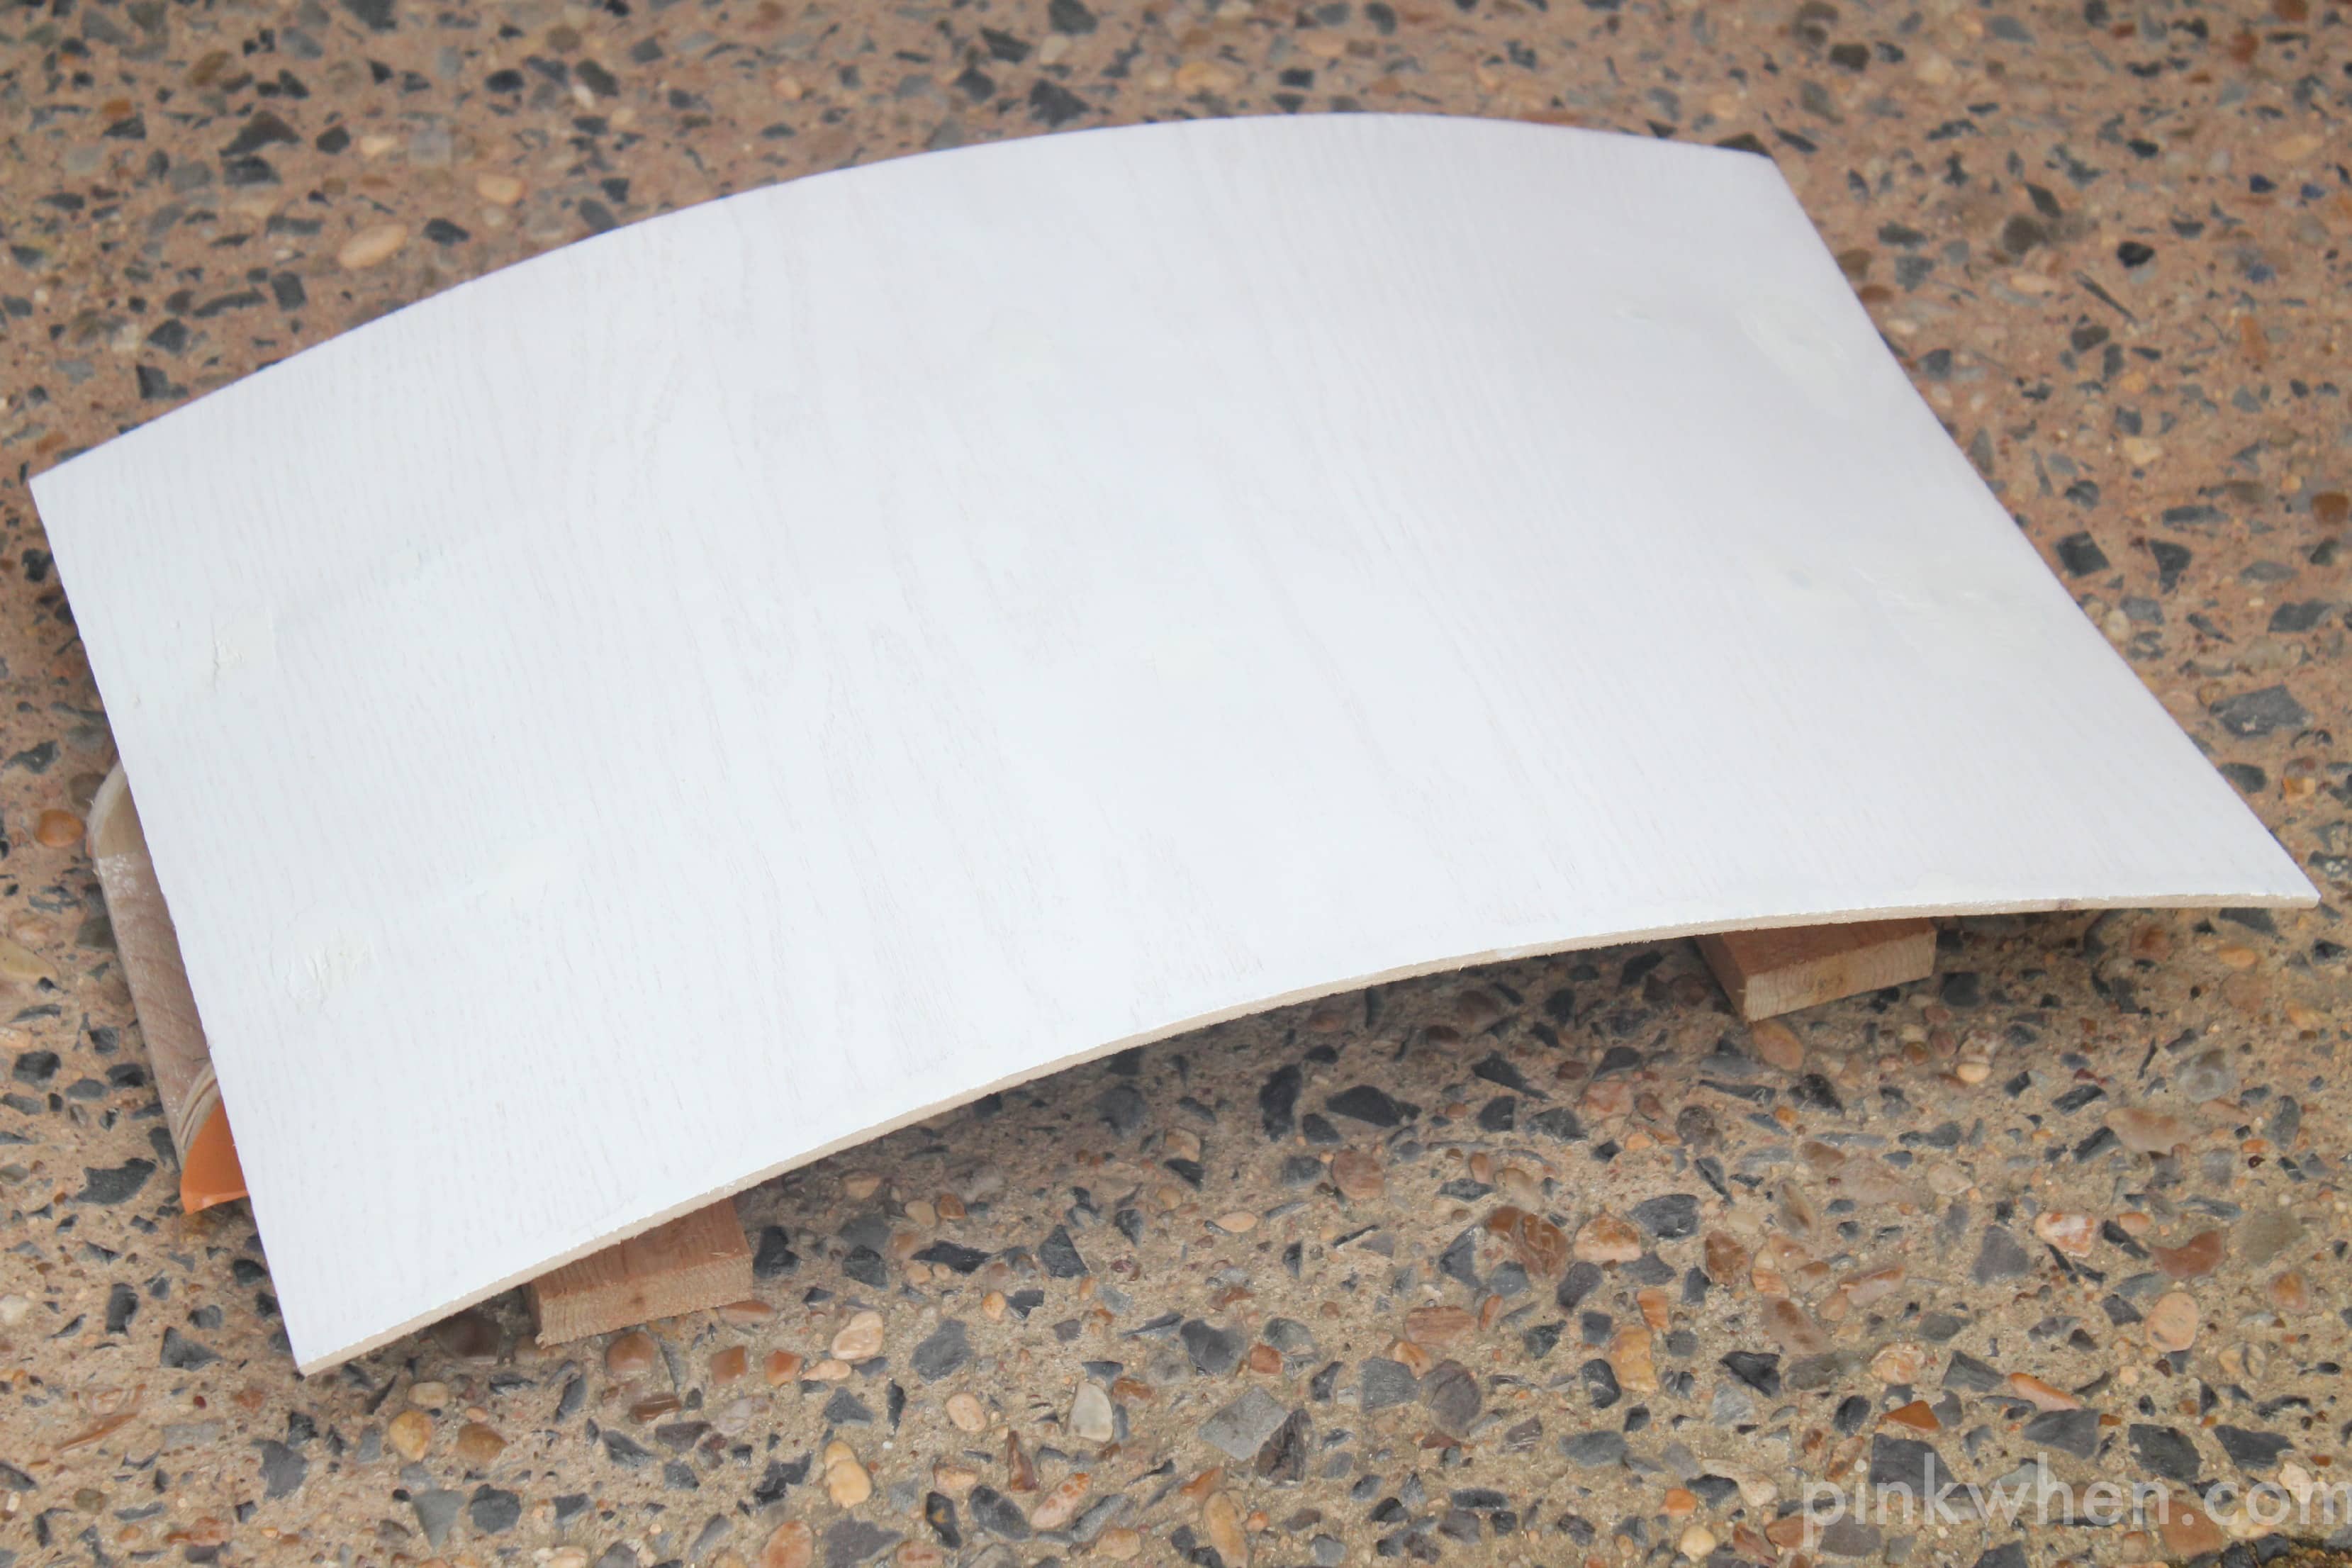
It was time to attach the curved top portion. Here is where I made a mistake. I cut my top piece at 24″. It should have been longer because the curve will take away some of the lengths. Make sure you do a better job of measuring your top piece. I would suggest 28″ versus 24″. This should be 28″ by 17″.
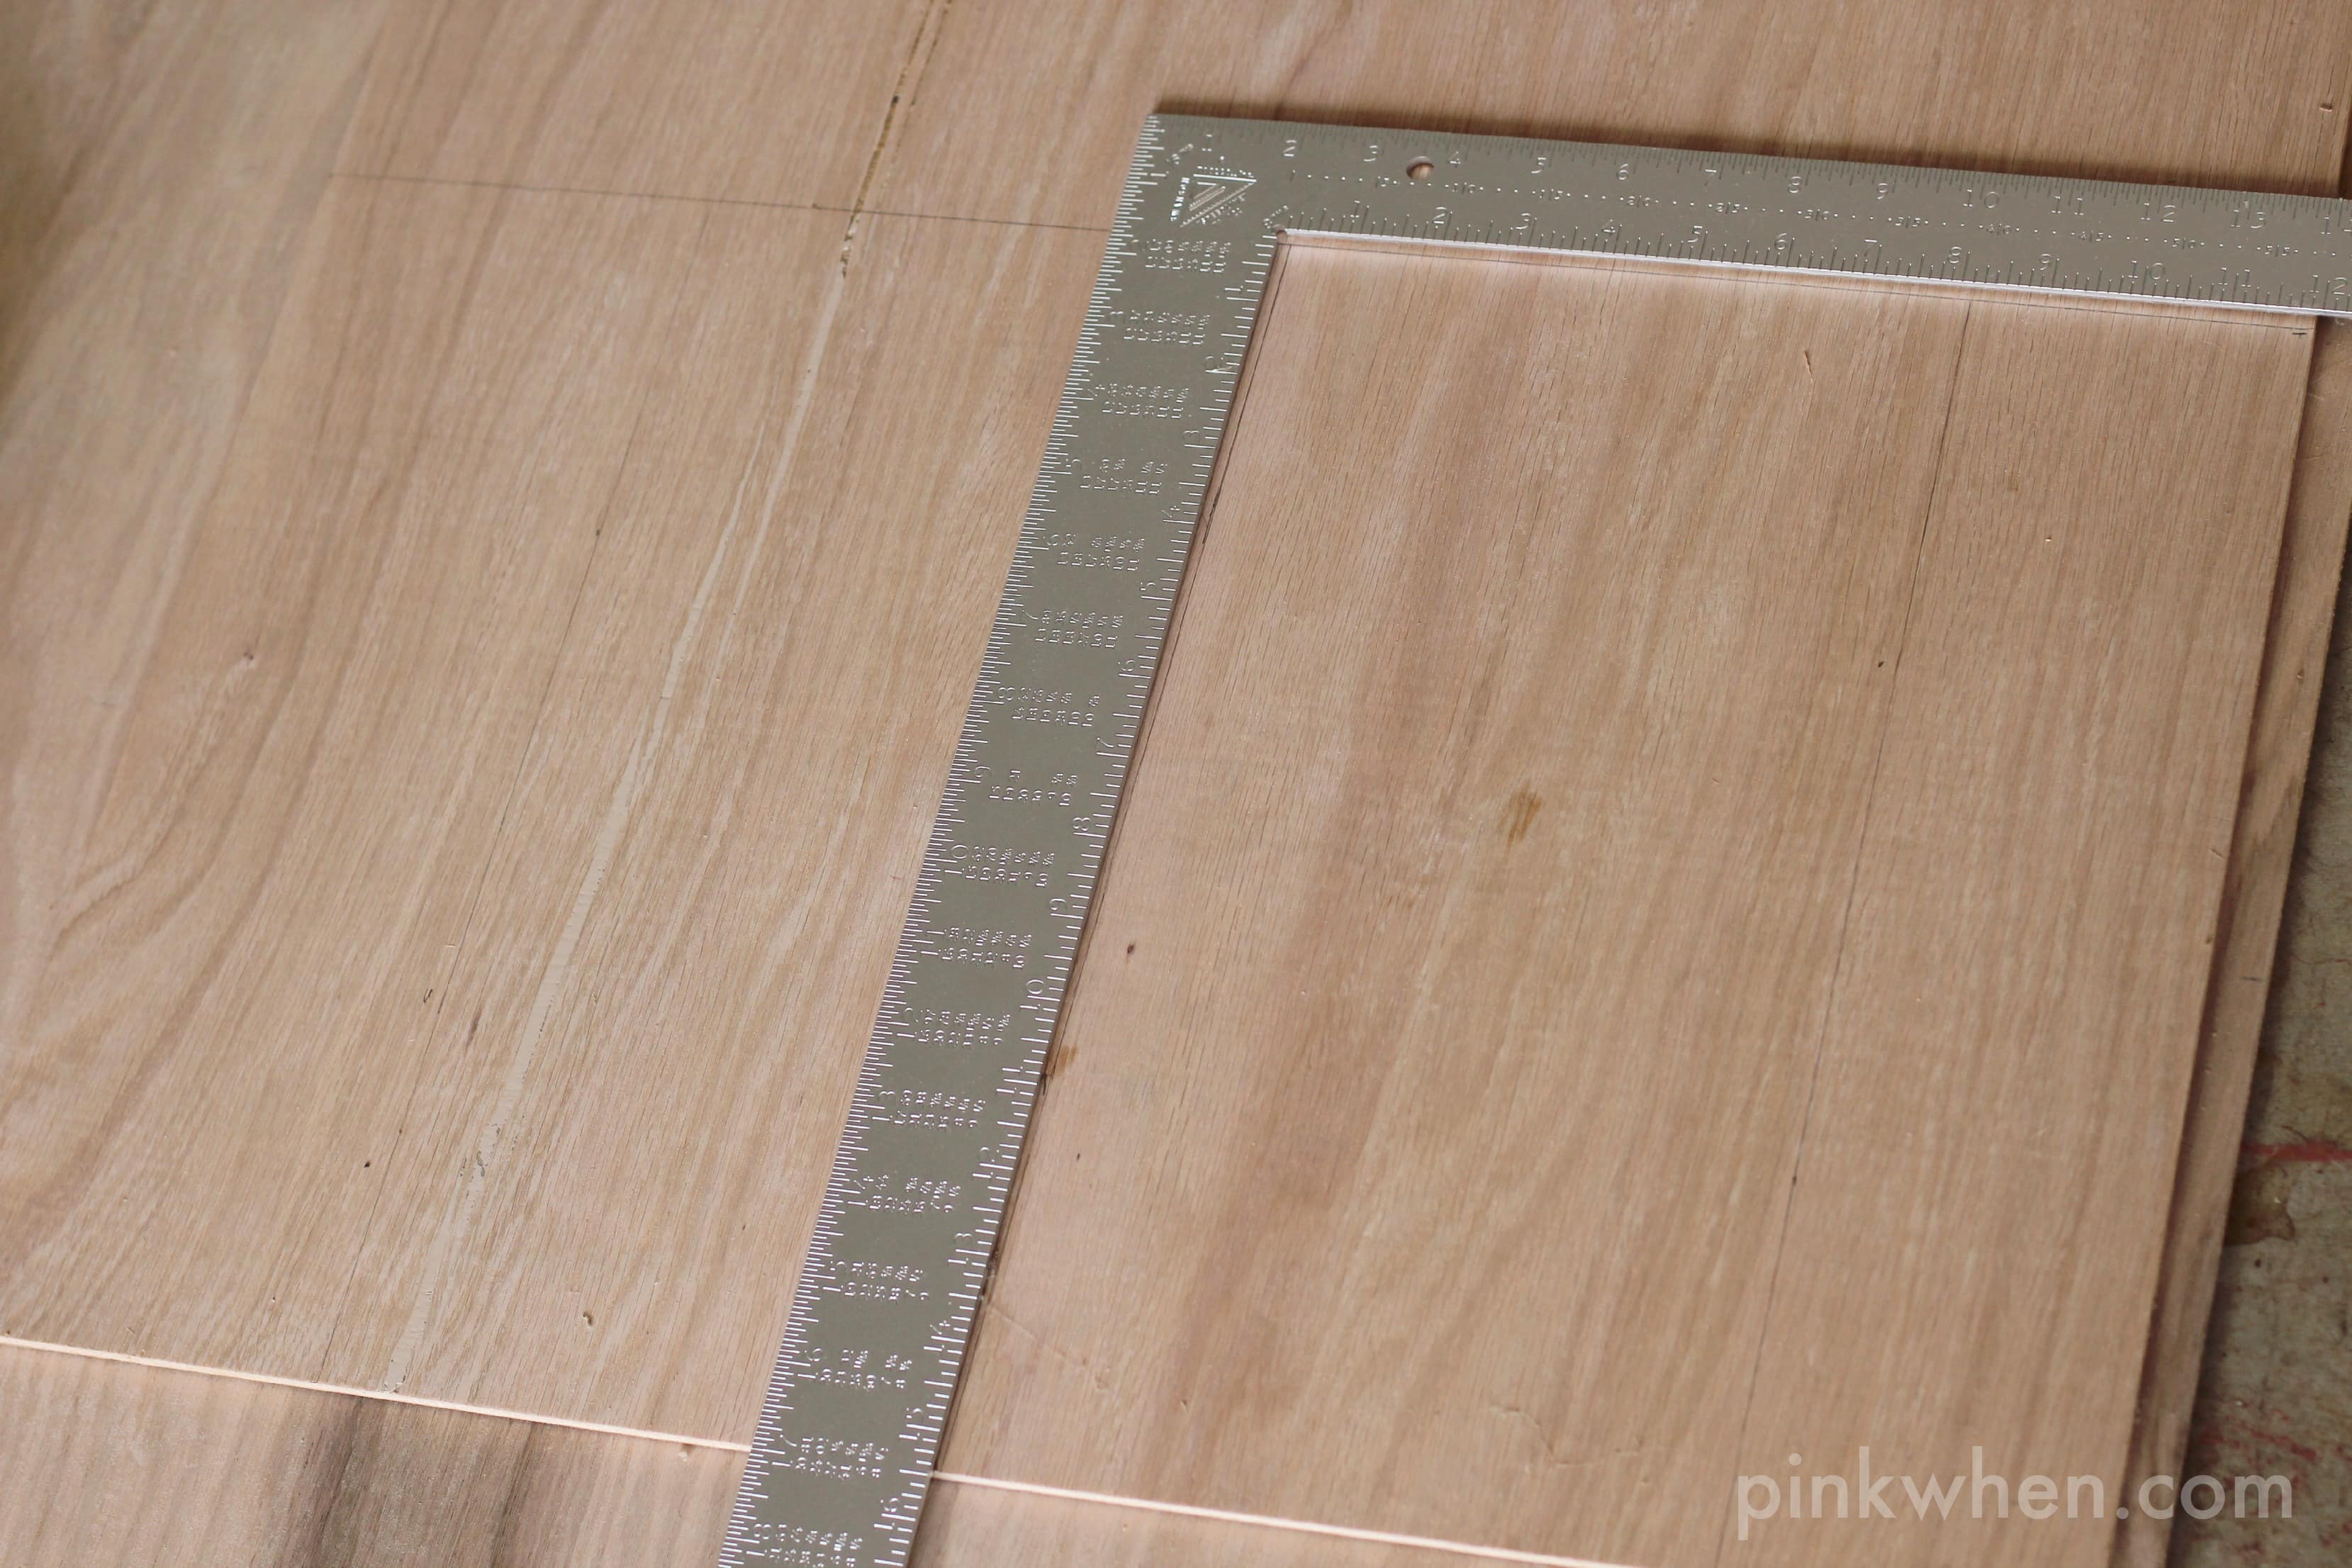
After this is cut, it is time to attach this to the curved base. Center the top piece onto your base you just built. Using your drill, place two screws attaching the top to the base.
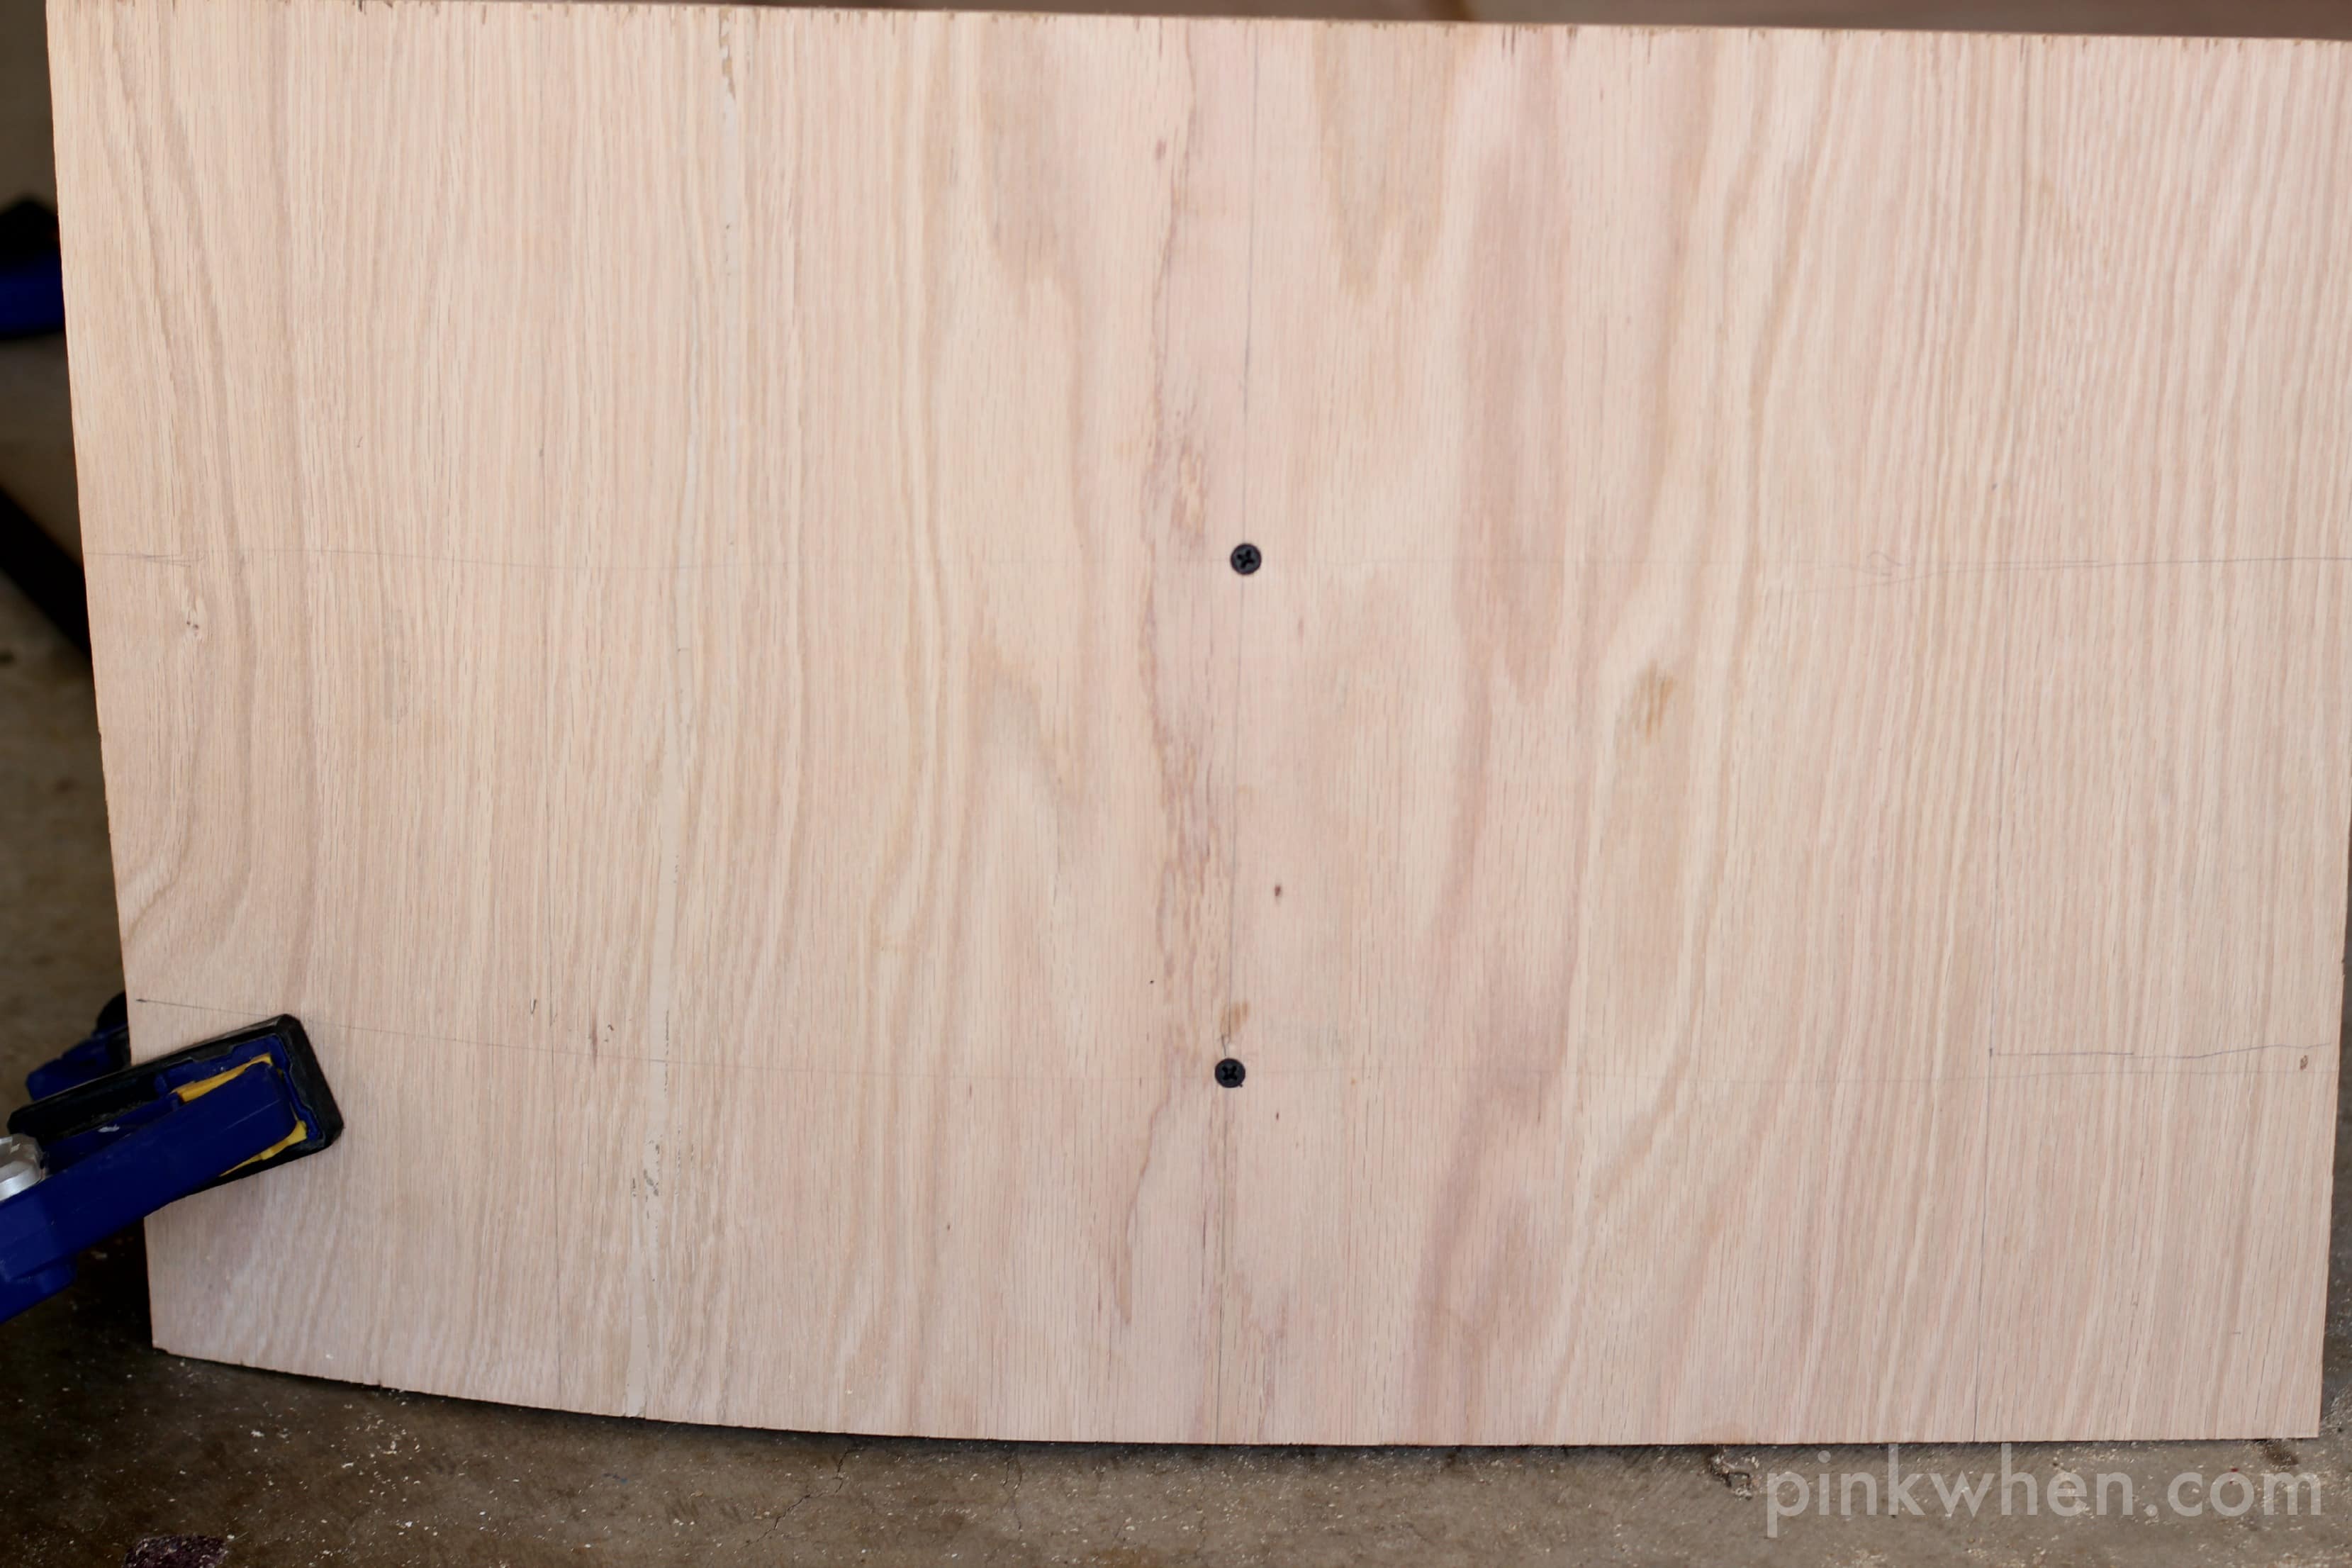
Crown Cornice Tutorial
Once you have this piece attached, use your clamps to slowly bend the board down on one end. about halfway down, place two more screws into the base frame. Then attach two more screws close to the bottom of the frame. Then do these same steps on the other side. (You can see I made a couple of booboos.)
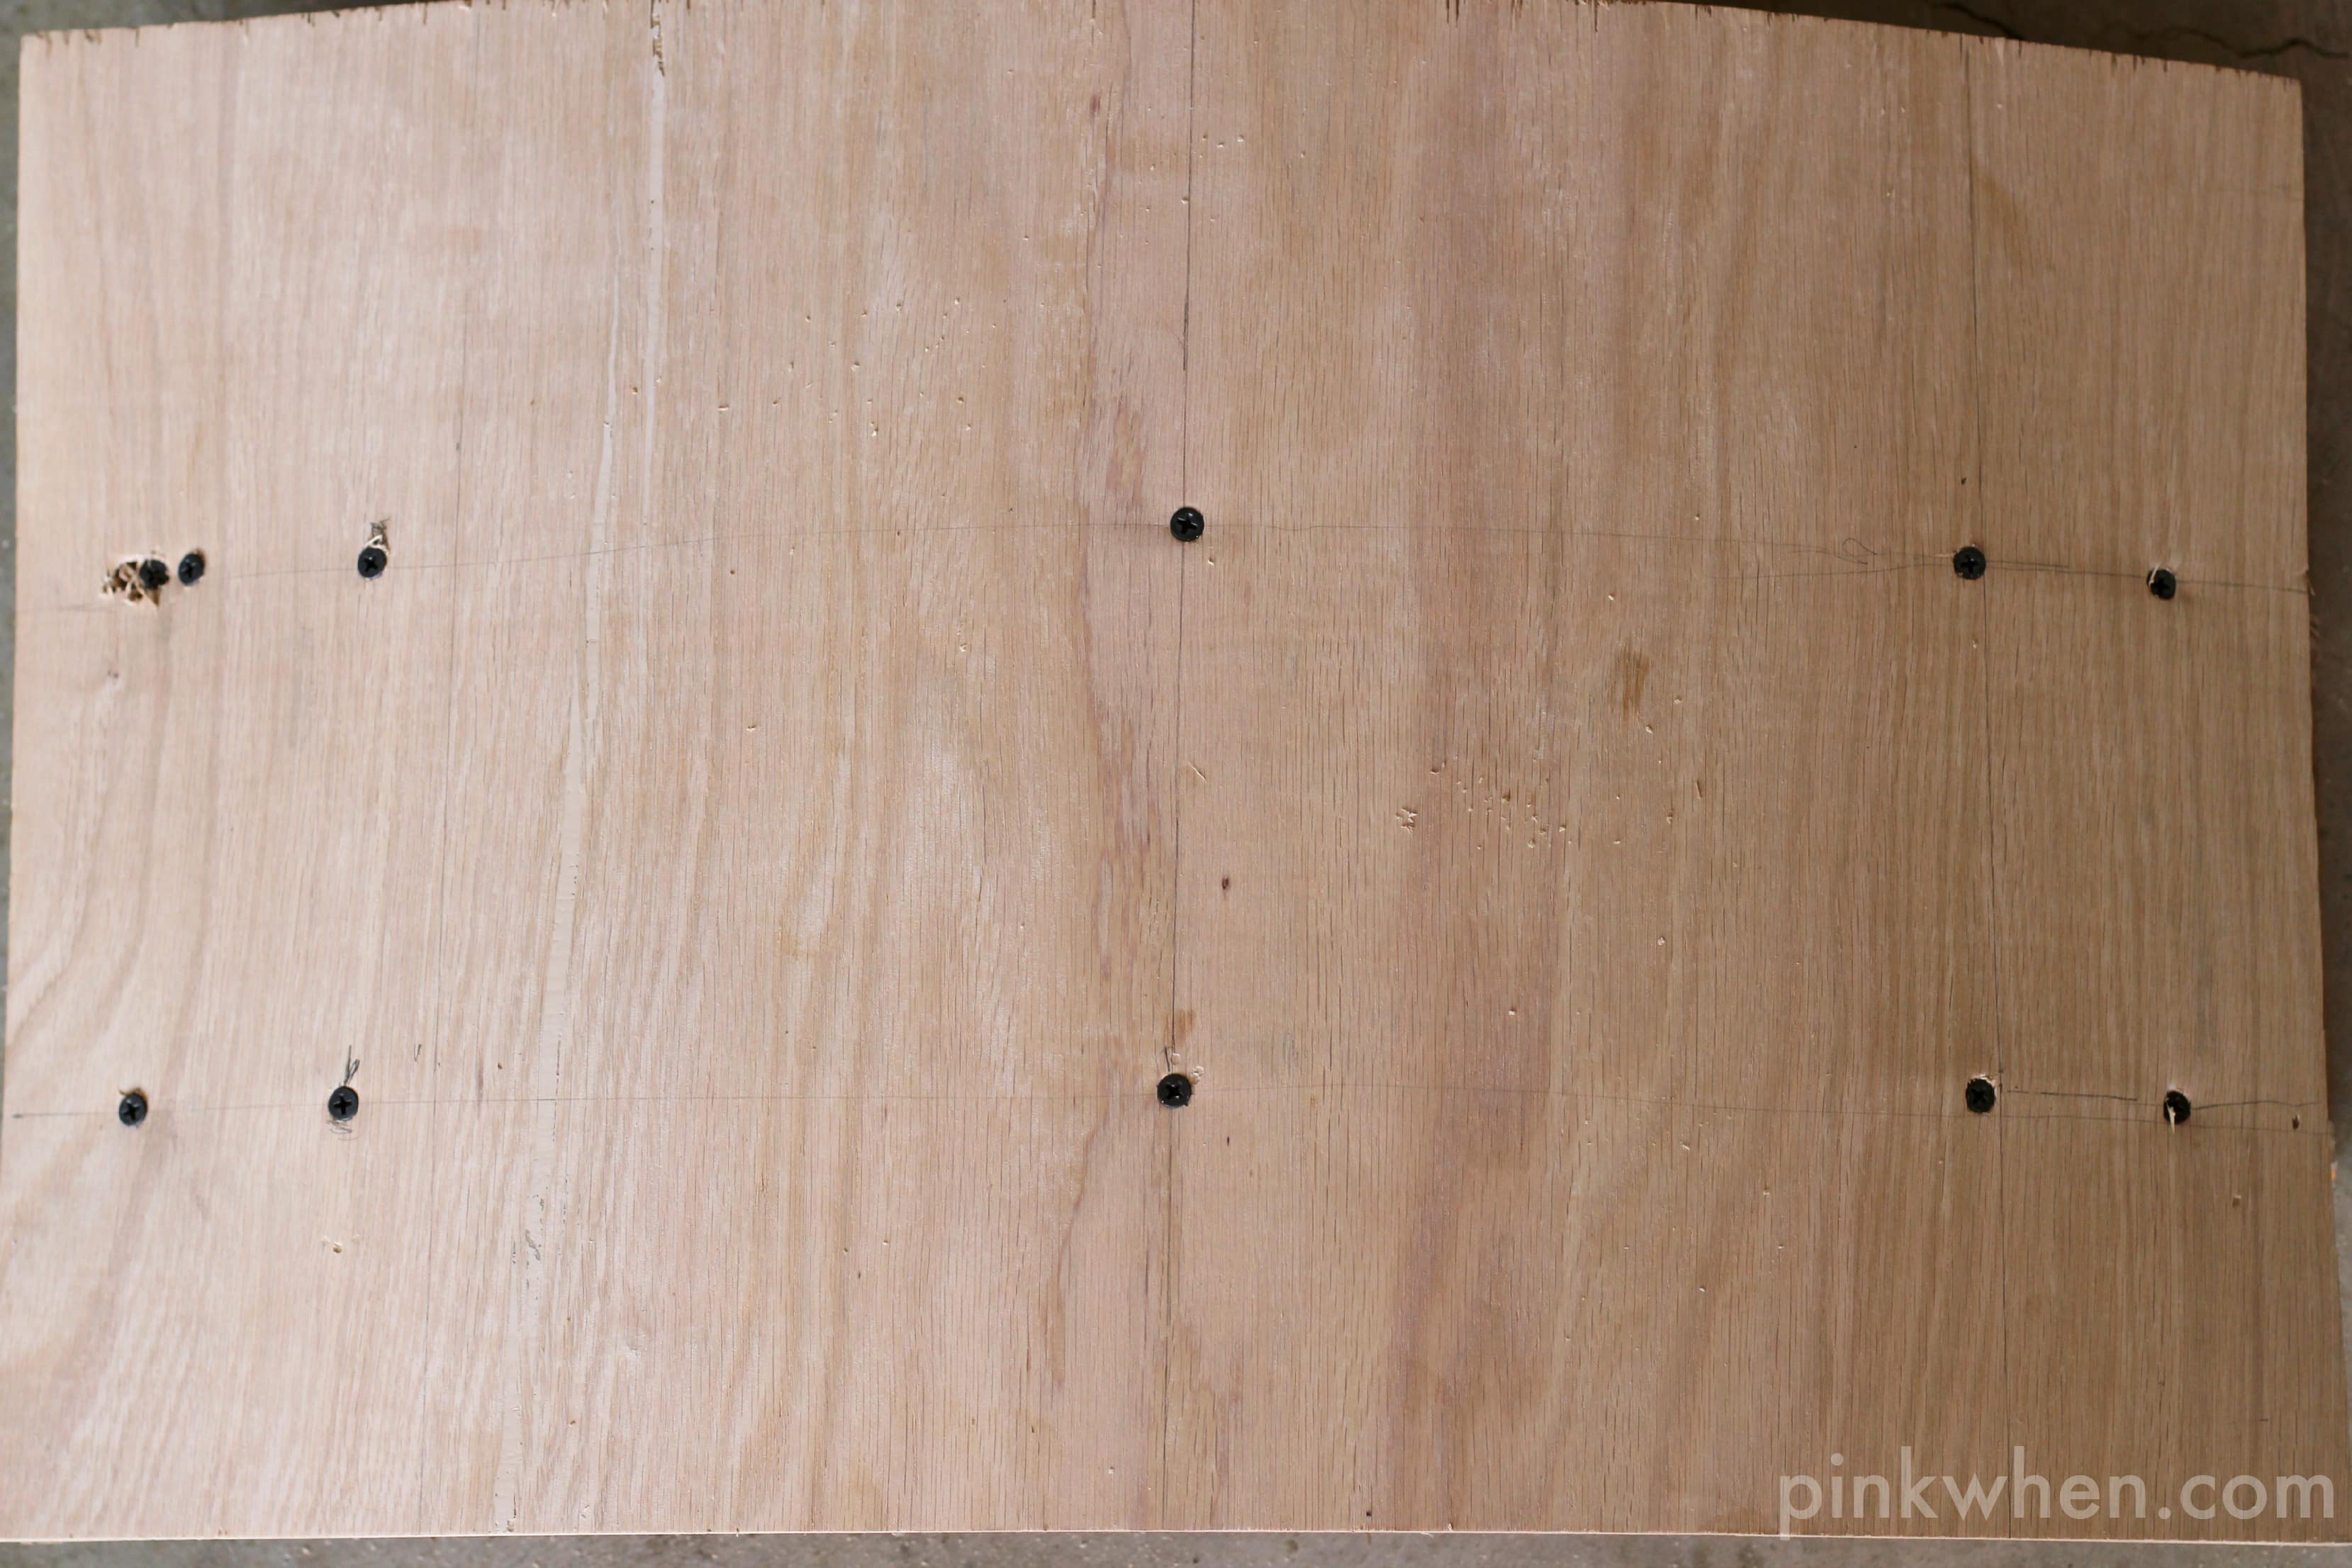
I took wood filler and primer and finished up the top. I am covering this piece, but I still wanted to make it a little better.
After I finished with this (now) full cornice piece, I attached the braces that will attach to the wall when it is hanging.
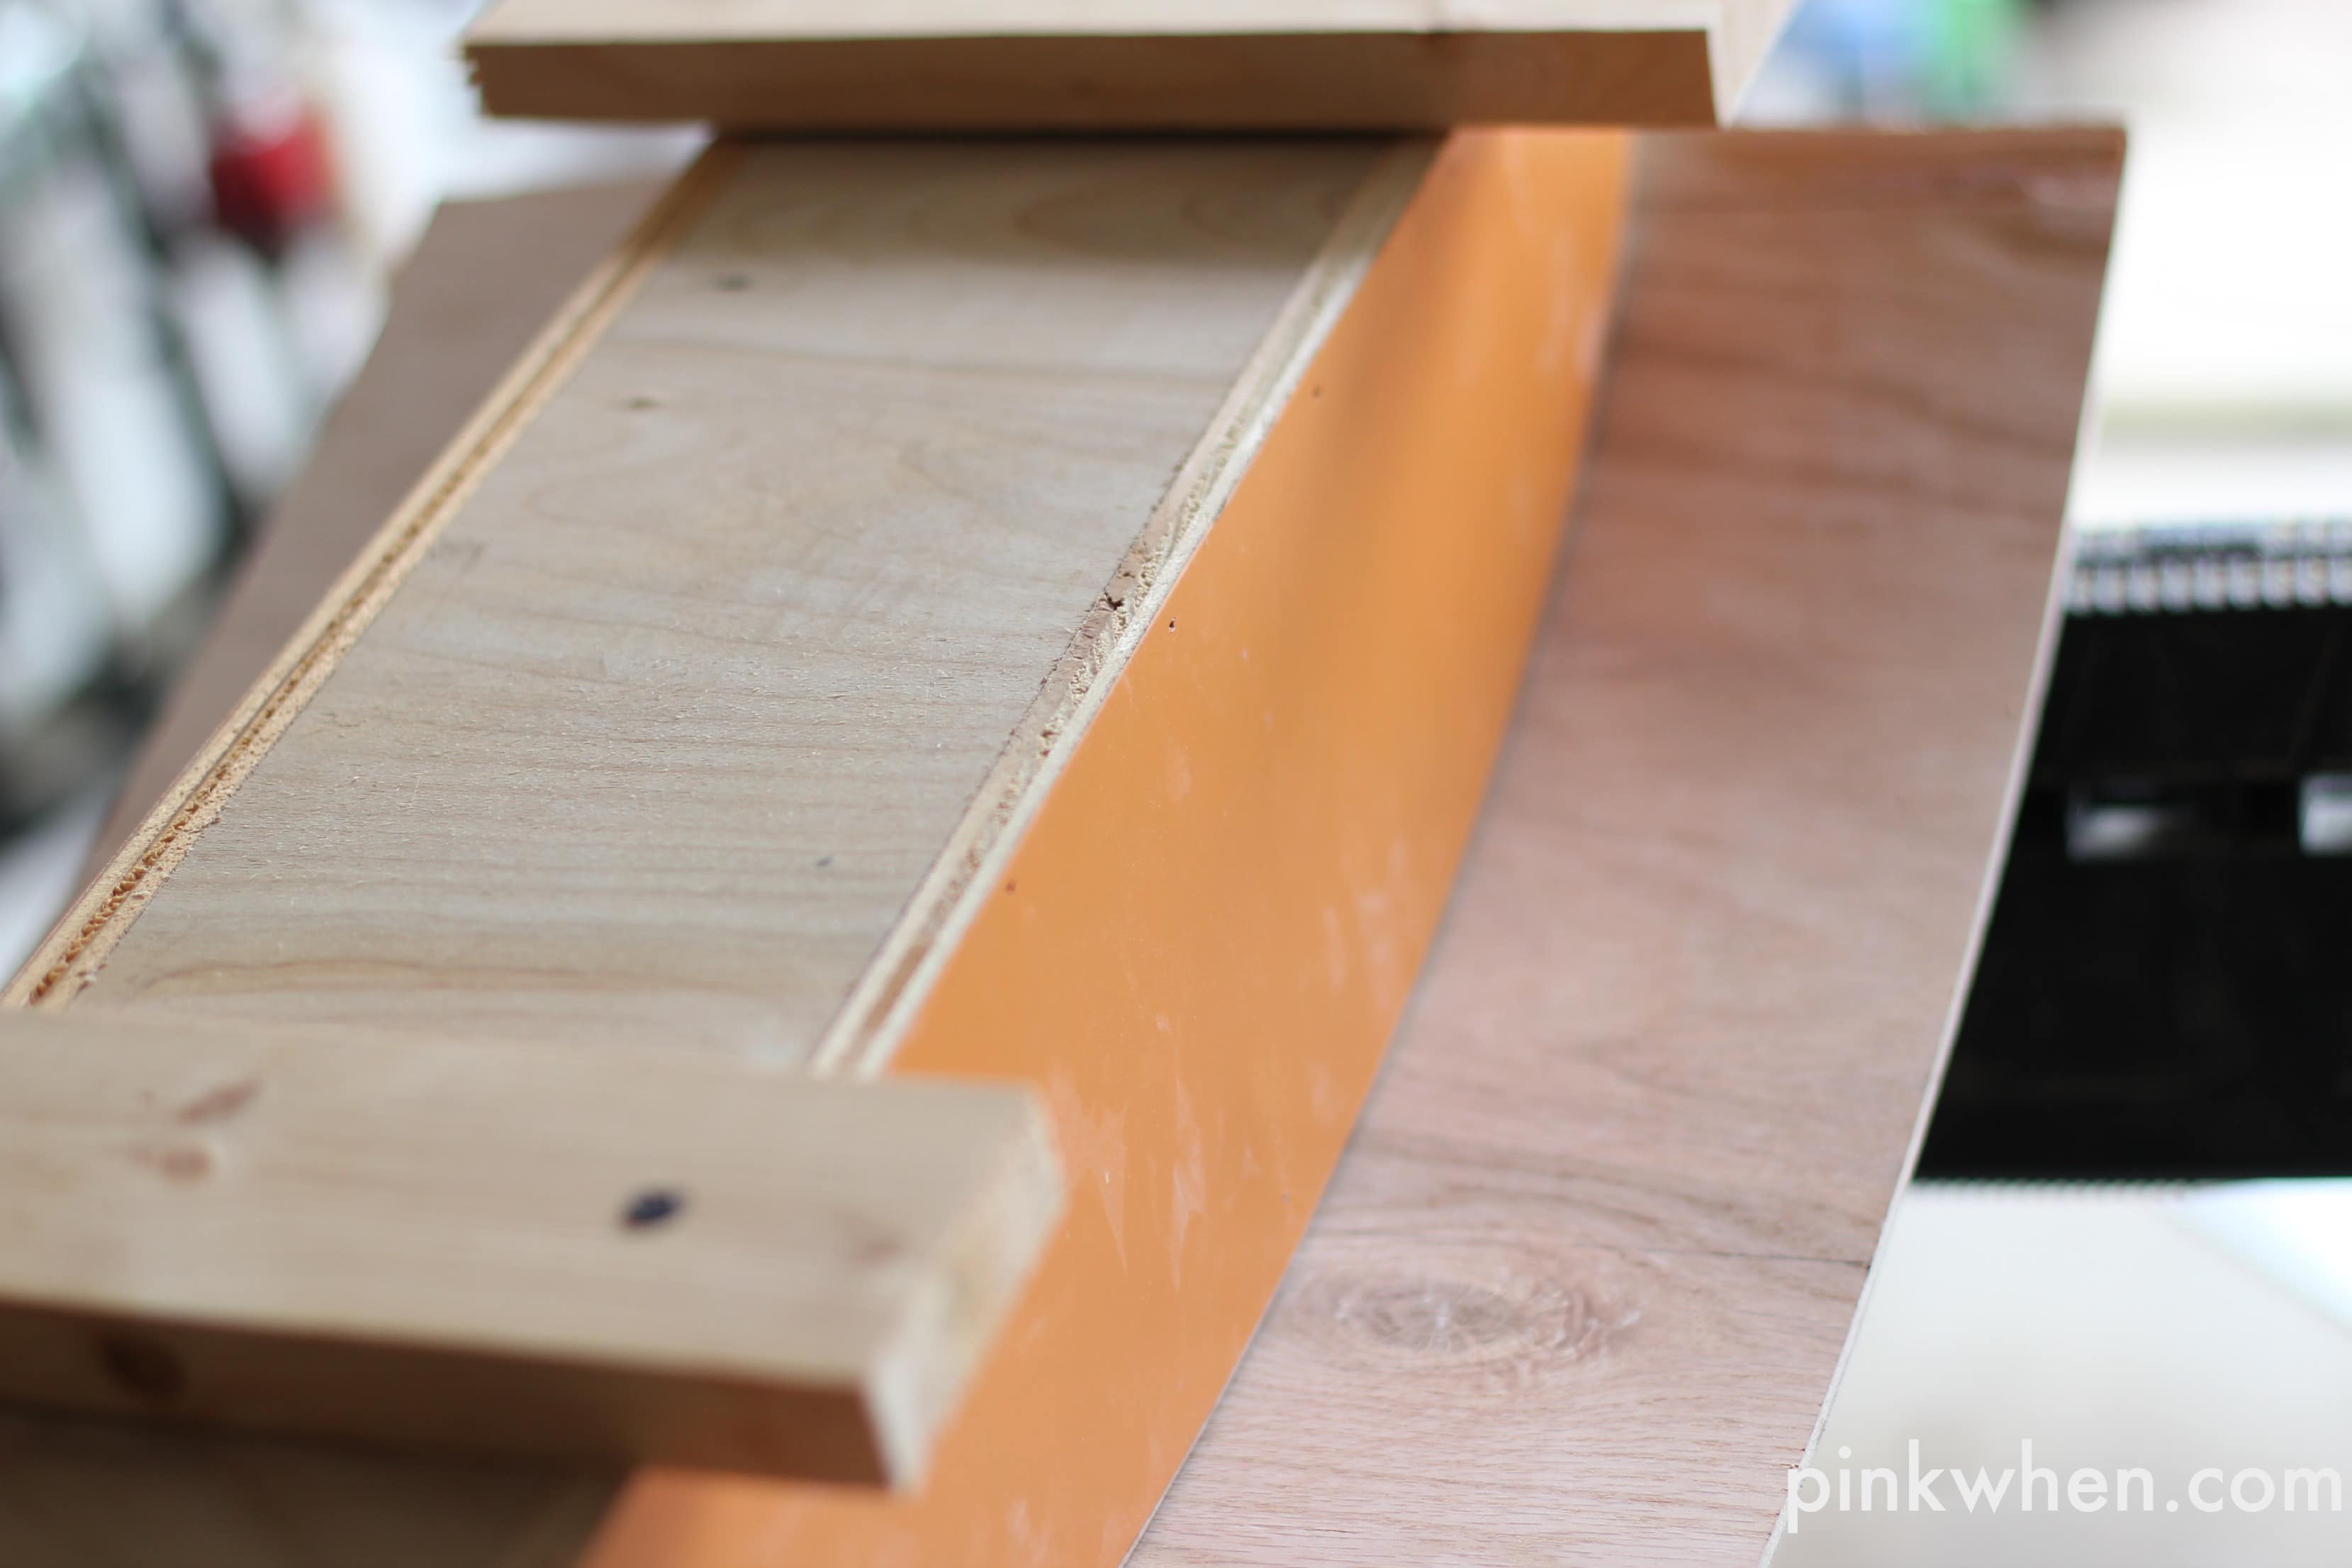
The final piece looks like this before adding all of the pretty stuff…
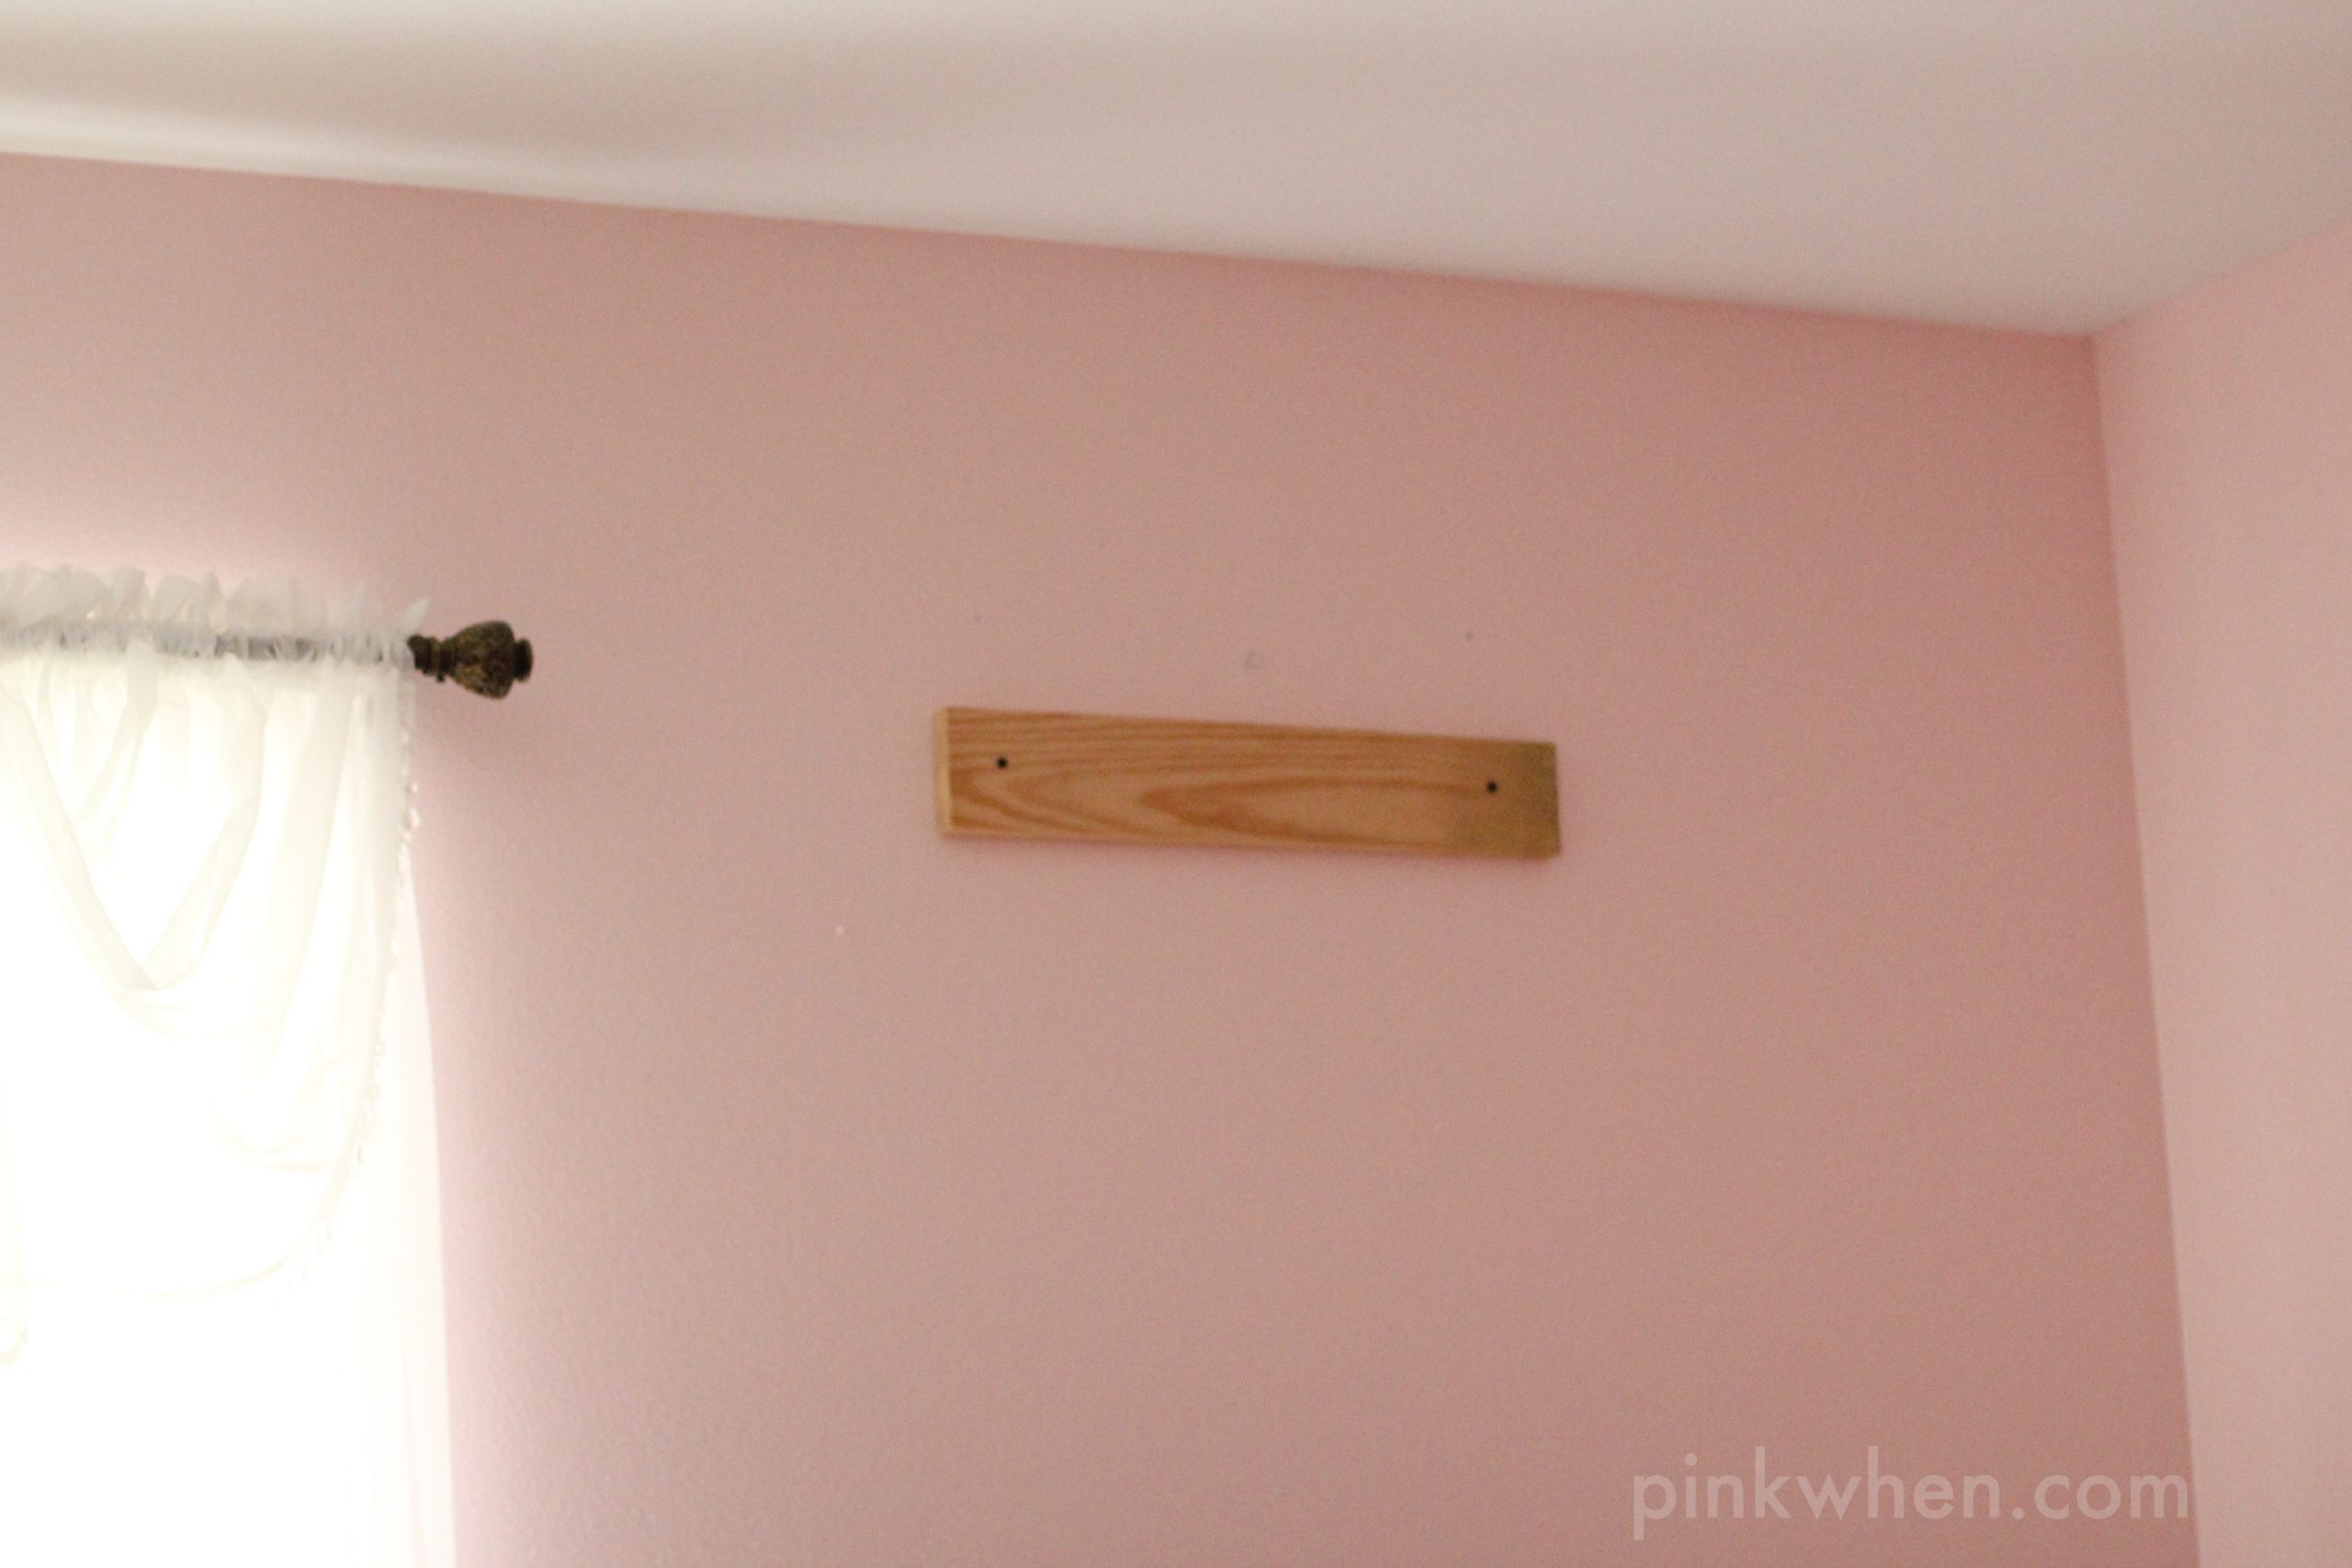
Whew! That was fun! I also have a cut board that is attached to the bedroom wall that is centered to the bed and attached to a couple of studs so it will be safe and sturdy.
Make sure to stick around and I will show you later this week how I covered the cornice. What do you think? Do you feel like you can make one of these now?
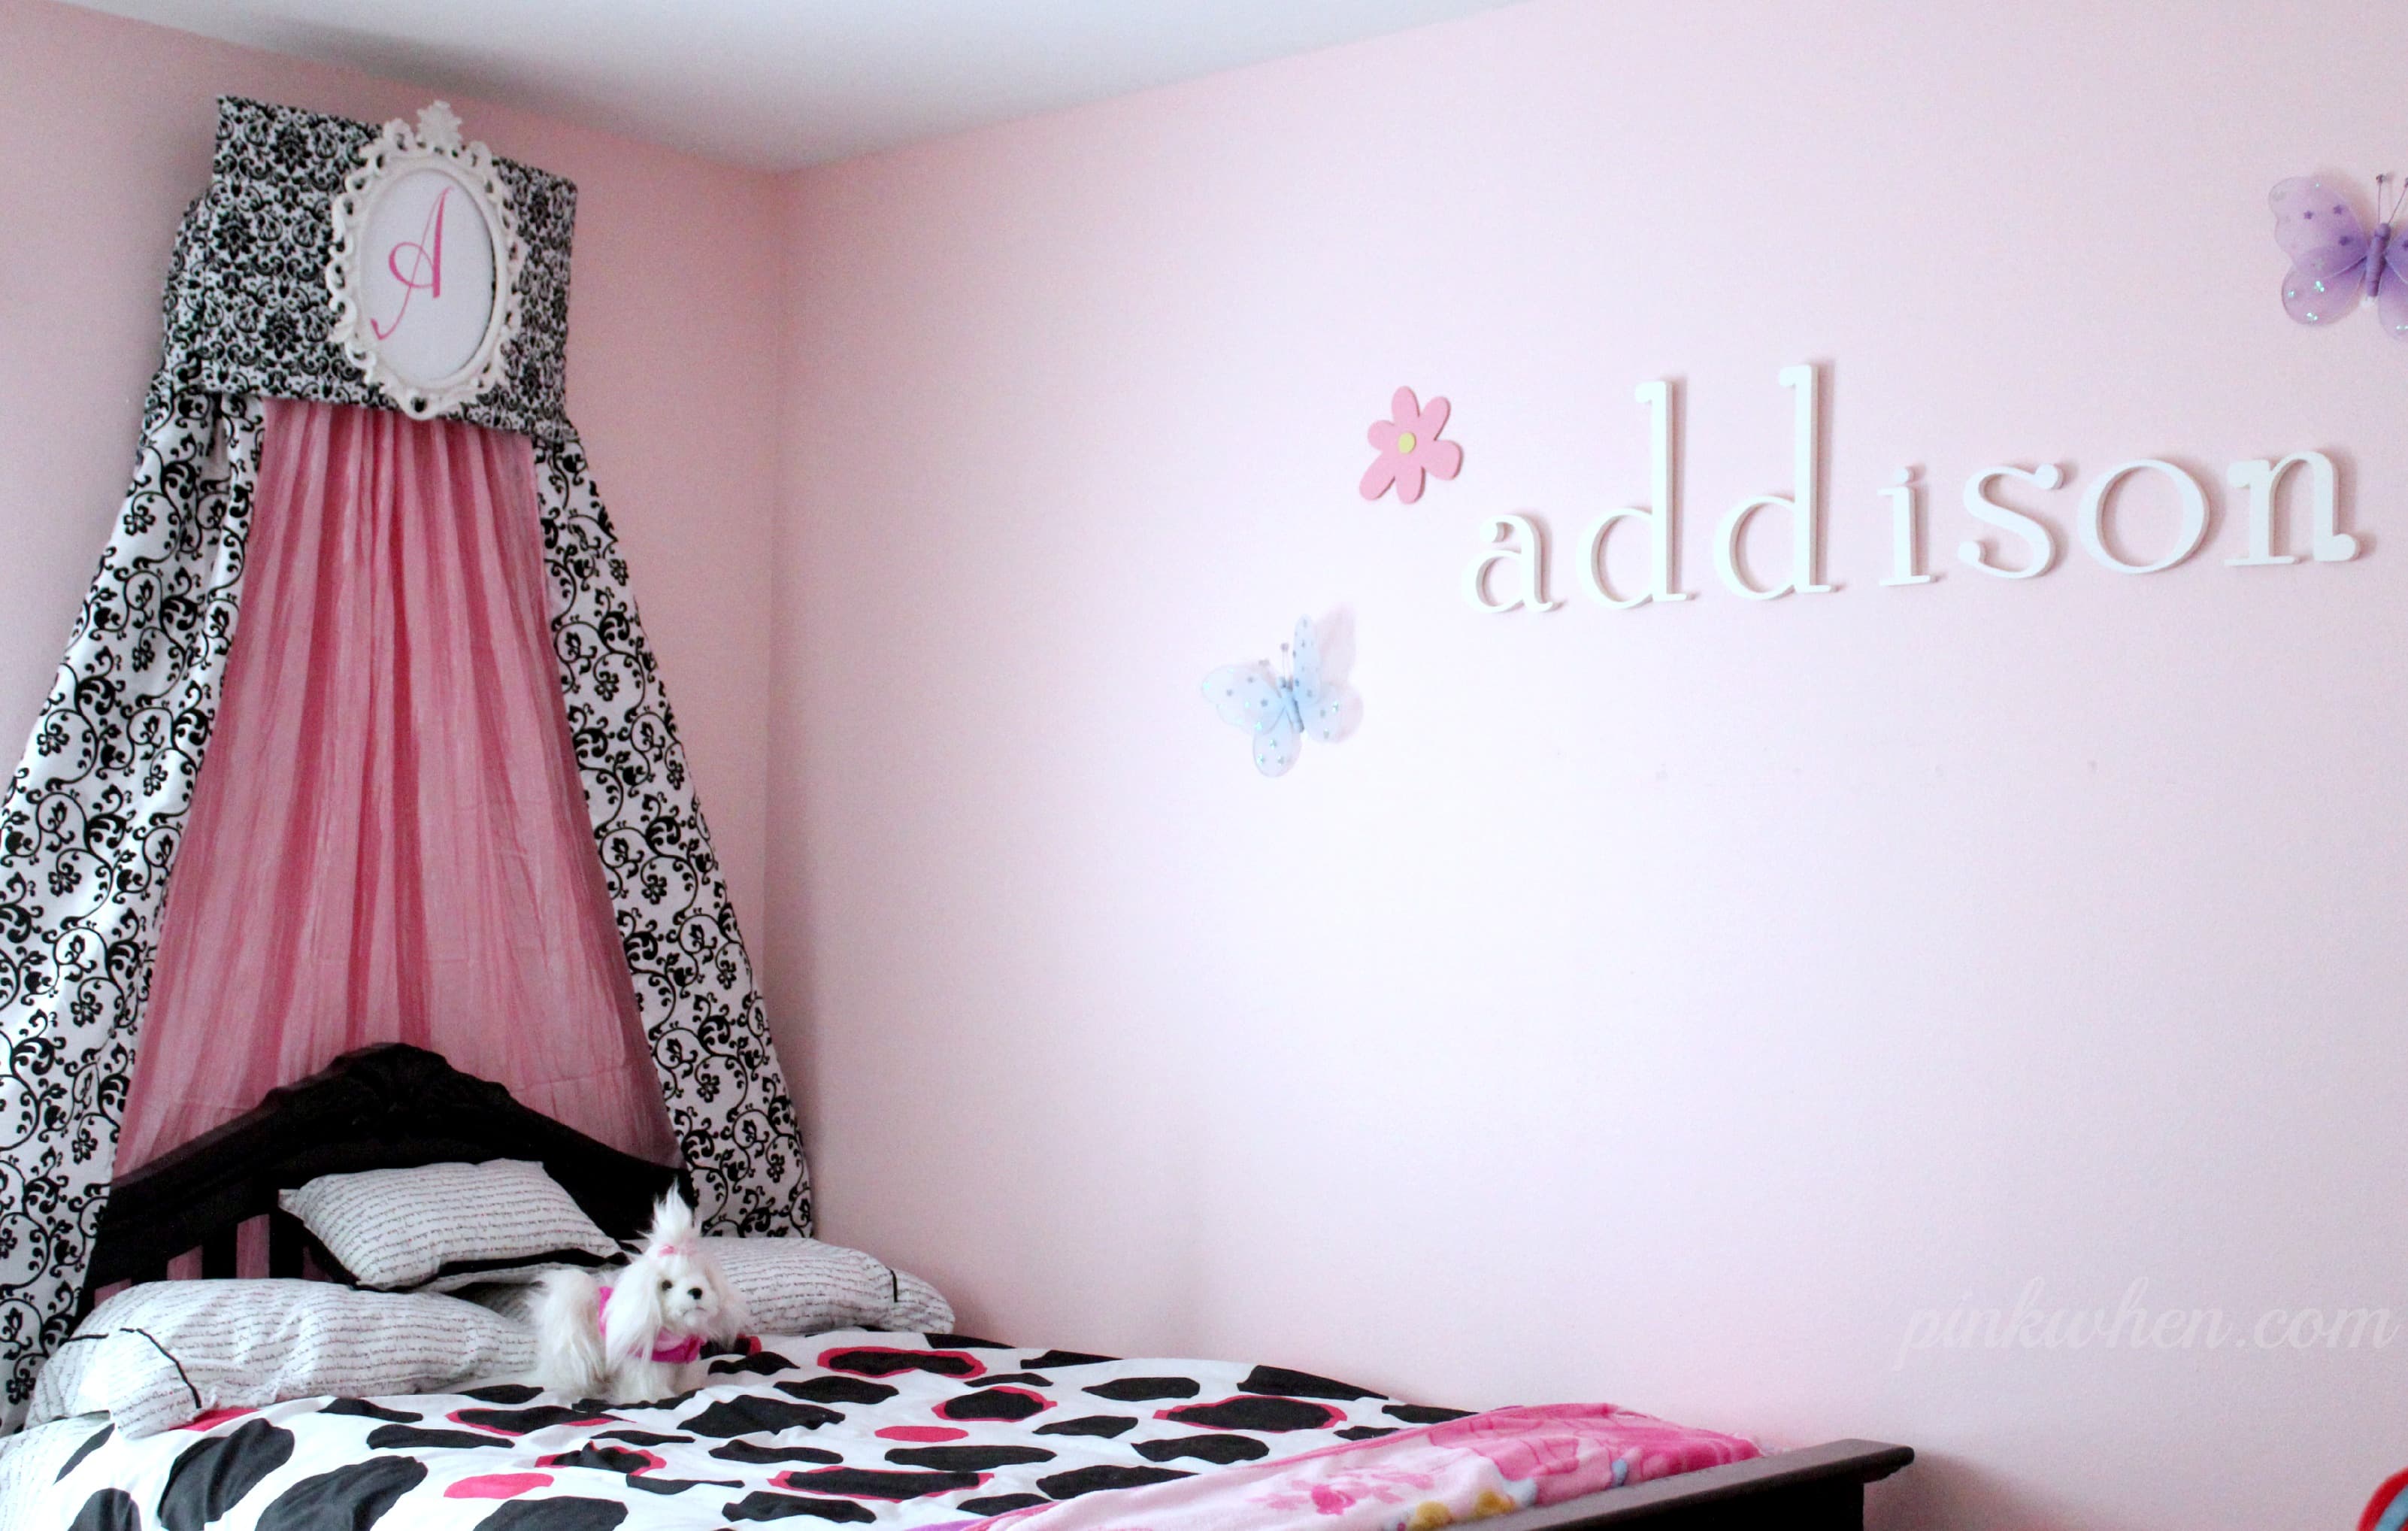
This was such a fun project, so stick around for the second half of this Easy DIY Bed Crown Cornice where I show you how to cover it and make it pretty!




Oh how cute is that. My little cousin would LOVE this. I might run this idea by my aunt and do it for her birthday. I’m sure your daughter loves it too, you did a great job.
Thanks Leslie! She does love it, it has been her favorite thing to share and show people all weekend long.
Fantastic! I would love it if you joined and contribute your awesome posts at my link party at City of Creative Dreams, starts on Fridays 😀 Hope to see you there at City of Creative Dreams Link Party.
Well, not sure if I feel I could make one now, but I sure do love it. What little girl wouldn’t want to sleep here?? If a parent could make this ahead of time, it would probably help the child move out of a crib. I love the monogram up top!
Scarlet would LOVE this. So would I. I’m with Seana – who wouldn’t want to sleep here? It’s gorgeous.
Thanks!! I know Scarlet is a princess….she totally needs one of these!
This is adorable! I love the fabric you chose. If you want to, I’d love for you to link up this project at Motivational Monday: http://thediymommy.com/motivational-monday-2/
This turned out so dang cute! Sharing on fb today!
Thank you Amy!!
I love the sheets! Where did you find them?
I picked up her bed sheets and comforter at Bed, Bath, and Beyond 🙂
Omg amazing.. My granddaughter would love this .in her bedroom. It is so beautiful.You did an amazing job love the fabric you picked fit for a princess.love it.
Let me just say. WOW. It looks great. The interior of a true princess 🙂
I love the scroll panel & the pink panel you used! I have looked all over & can’t find any that don’t cost a small fortune…where did you get yours?
Hi! I actually picked the black and white scroll and the pink out of the window panel section at Hobby Lobby. I grabbed one black and white, cut it in half, and one pink panel. Hope that helps!
the board on the wall, was it nailed? and how did you attach the cornice on to the board? or was the cornice attached to the wall directly? thanks!
Hi Beth. The board was placed into the wall with (4) 2 1/2″ screws going into STUDS. I then attached the cornice to the board on the wall with (4) 2 1/2″ inch screws. It’s not going anywhere! Hope that helps.:-)
Hello, I had my husband make the bed crown cornice for me but we are having trouble trying to figure out you attached the two boards on the back of the cornice to the board on the wall. Can you please help?
Thank you so much!!! By the way I love this project!! Wish I was this creative.
Hi Jean! So glad you are making this project. It’s one of my favorites. Attaching it to the board on the wall: I literally had my husband hold up the cornice, and I took my extended arm for my drill (so I could get UNDER the cornice) and drilled in the long screws at angles through the cornice into the board on the wall. Hopefully that helps! I wish I would have made a video of exactly how I did it, or had someone take pictures as we attached it.