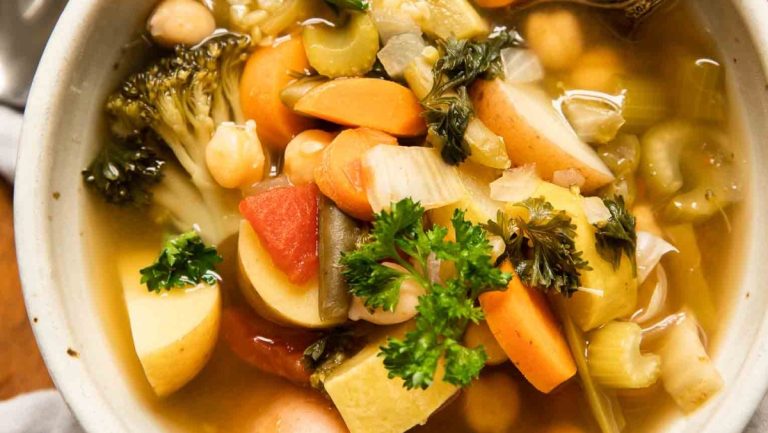


Travel through time with our compilation of soup recipes straight from the 1950s. These warm and nostalgic dishes promise a journey down memory lane, offering timeless flavors and straightforward ingredients. Whether you aim to recreate the taste of yesteryear or crave a hearty, traditional meal, these recipes are crafted to warm your soul and satiate … Read More about Classic Soup Recipes from the 1950s
Latest from the Blog
Classic Soup Recipes from the 1950s

Budget Friendly Take Out Meals
Explore these pocket-friendly takeout options that blend mouthwatering flavors with budget-conscious choices. Discover savvy tips to navigate the best deals and uncover a variety of delicious meal ideas that won’t strain your finances. Whether you’re in search of a swift and convenient dinner solution or aiming to indulge without a hefty price tag, these suggestions … Read More about Budget Friendly Take Out Meals

22 Salmon Dinners Your Family Will Love
These incredibly delicious recipes are not just for seasoned chefs; they’re tailored for anyone who wants to create an exceptional salmon dinner without breaking a sweat. From succulent grilled fillets to oven-baked perfection, our diverse assortment promises both simplicity and delectability. If you’re eager for a flavorful kitchen adventure, let’s dive into these straightforward yet … Read More about 22 Salmon Dinners Your Family Will Love

The 36 Best Muffin Recipes You’ll Ever Try
Muffins are pure happiness in a bite-sized package! The smell of them baking is incredible, and they’re even better fresh out of the oven. Craving them for breakfast? Got it! A sweet afternoon snack? Perfect! There’s a muffin recipe for every occasion. Even if you’re not an avid baker, you’ll find these muffin recipes easy … Read More about The 36 Best Muffin Recipes You’ll Ever Try

35 Irresistible Copycat Desserts and Sweet Treats Anyone Can Make
If you are in the mood for something sweet and tasty, there’s always the option of heading to a restaurant, but that isn’t the only way to satisfy those sweet cravings. Take a look at these exciting copycat desserts and sweet treats from favorite restaurants. They aren’t hard to make and they’re almost identical to … Read More about 35 Irresistible Copycat Desserts and Sweet Treats Anyone Can Make

Sweet Potato Recipes
Alright, my fellow food enthusiasts, let’s talk sweet potatoes! Whether you’re a fan of their natural sweetness or just looking to add some color to your plate, these versatile tubers are about to become your new kitchen heroes. In this article, we’re diving into the wonderful world of sweet potato recipes that go beyond the … Read More about Sweet Potato Recipes

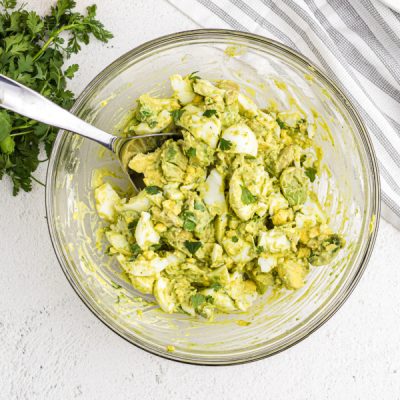
23 Recipes with Pickles for True Pickle Fans
Pickle lovers, this one’s for you! If you’re the person who sneaks extra pickles onto your burger or munches them straight from the jar, these recipes are a dream come true. Get ready for way more than just deep-fried pickles. We’ve got everything to satisfy those tangy cravings. Keep reading to pick which of these … Read More about 23 Recipes with Pickles for True Pickle Fans
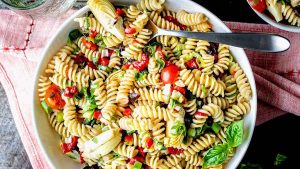
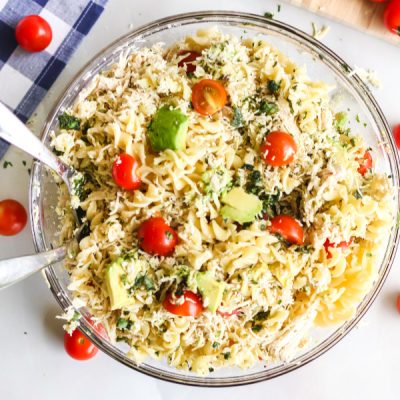
29 Italian Salad Recipes to Fall in Love With
Close your eyes and take a bite of these incredible Italian salad recipes! Fresh flavors, vibrant ingredients. It’s like a trip to Italy in a bowl. Whether you’re looking for a light appetizer, a refreshing side dish, or even a full meal, there’s a perfect Italian salad for you. We’ve got classics like caprese salad, … Read More about 29 Italian Salad Recipes to Fall in Love With