Halloween is absolutely one of my FAVORITE holidays to celebrate. Together, 110 fabulous Halloween ideas from some amazing bloggers will be shared this week! From costumes to parties, crafts and home decor, recipes and free printables, we have so many fun ideas to share! I guarantee you’ll find a project (or 10!) that you would love to incorporate into your Halloween festivities. All week (Monday through Saturday) myself and my blogging friends will be sharing our fun creations with all of you. Each day will include approximately 20 Halloween projects and you can “hop” from one blog to another to check them all out. You can find the list of every person participating at the bottom of this post. Now let’s check out this Pumpkin Mason Jar Luminary I created!
I love to decorate for Halloween, and I am addicted to making Mason Jar Luminaries. They are so cute and simple, and the ambiance they put out is spectacularly spooky! I had to share another of my favorite designs with you, this one even brighter! This super cute Pumpkin Mason Jar Luminary will be so cute on All Hallows Eve. Are you ready to try this fun DIY?
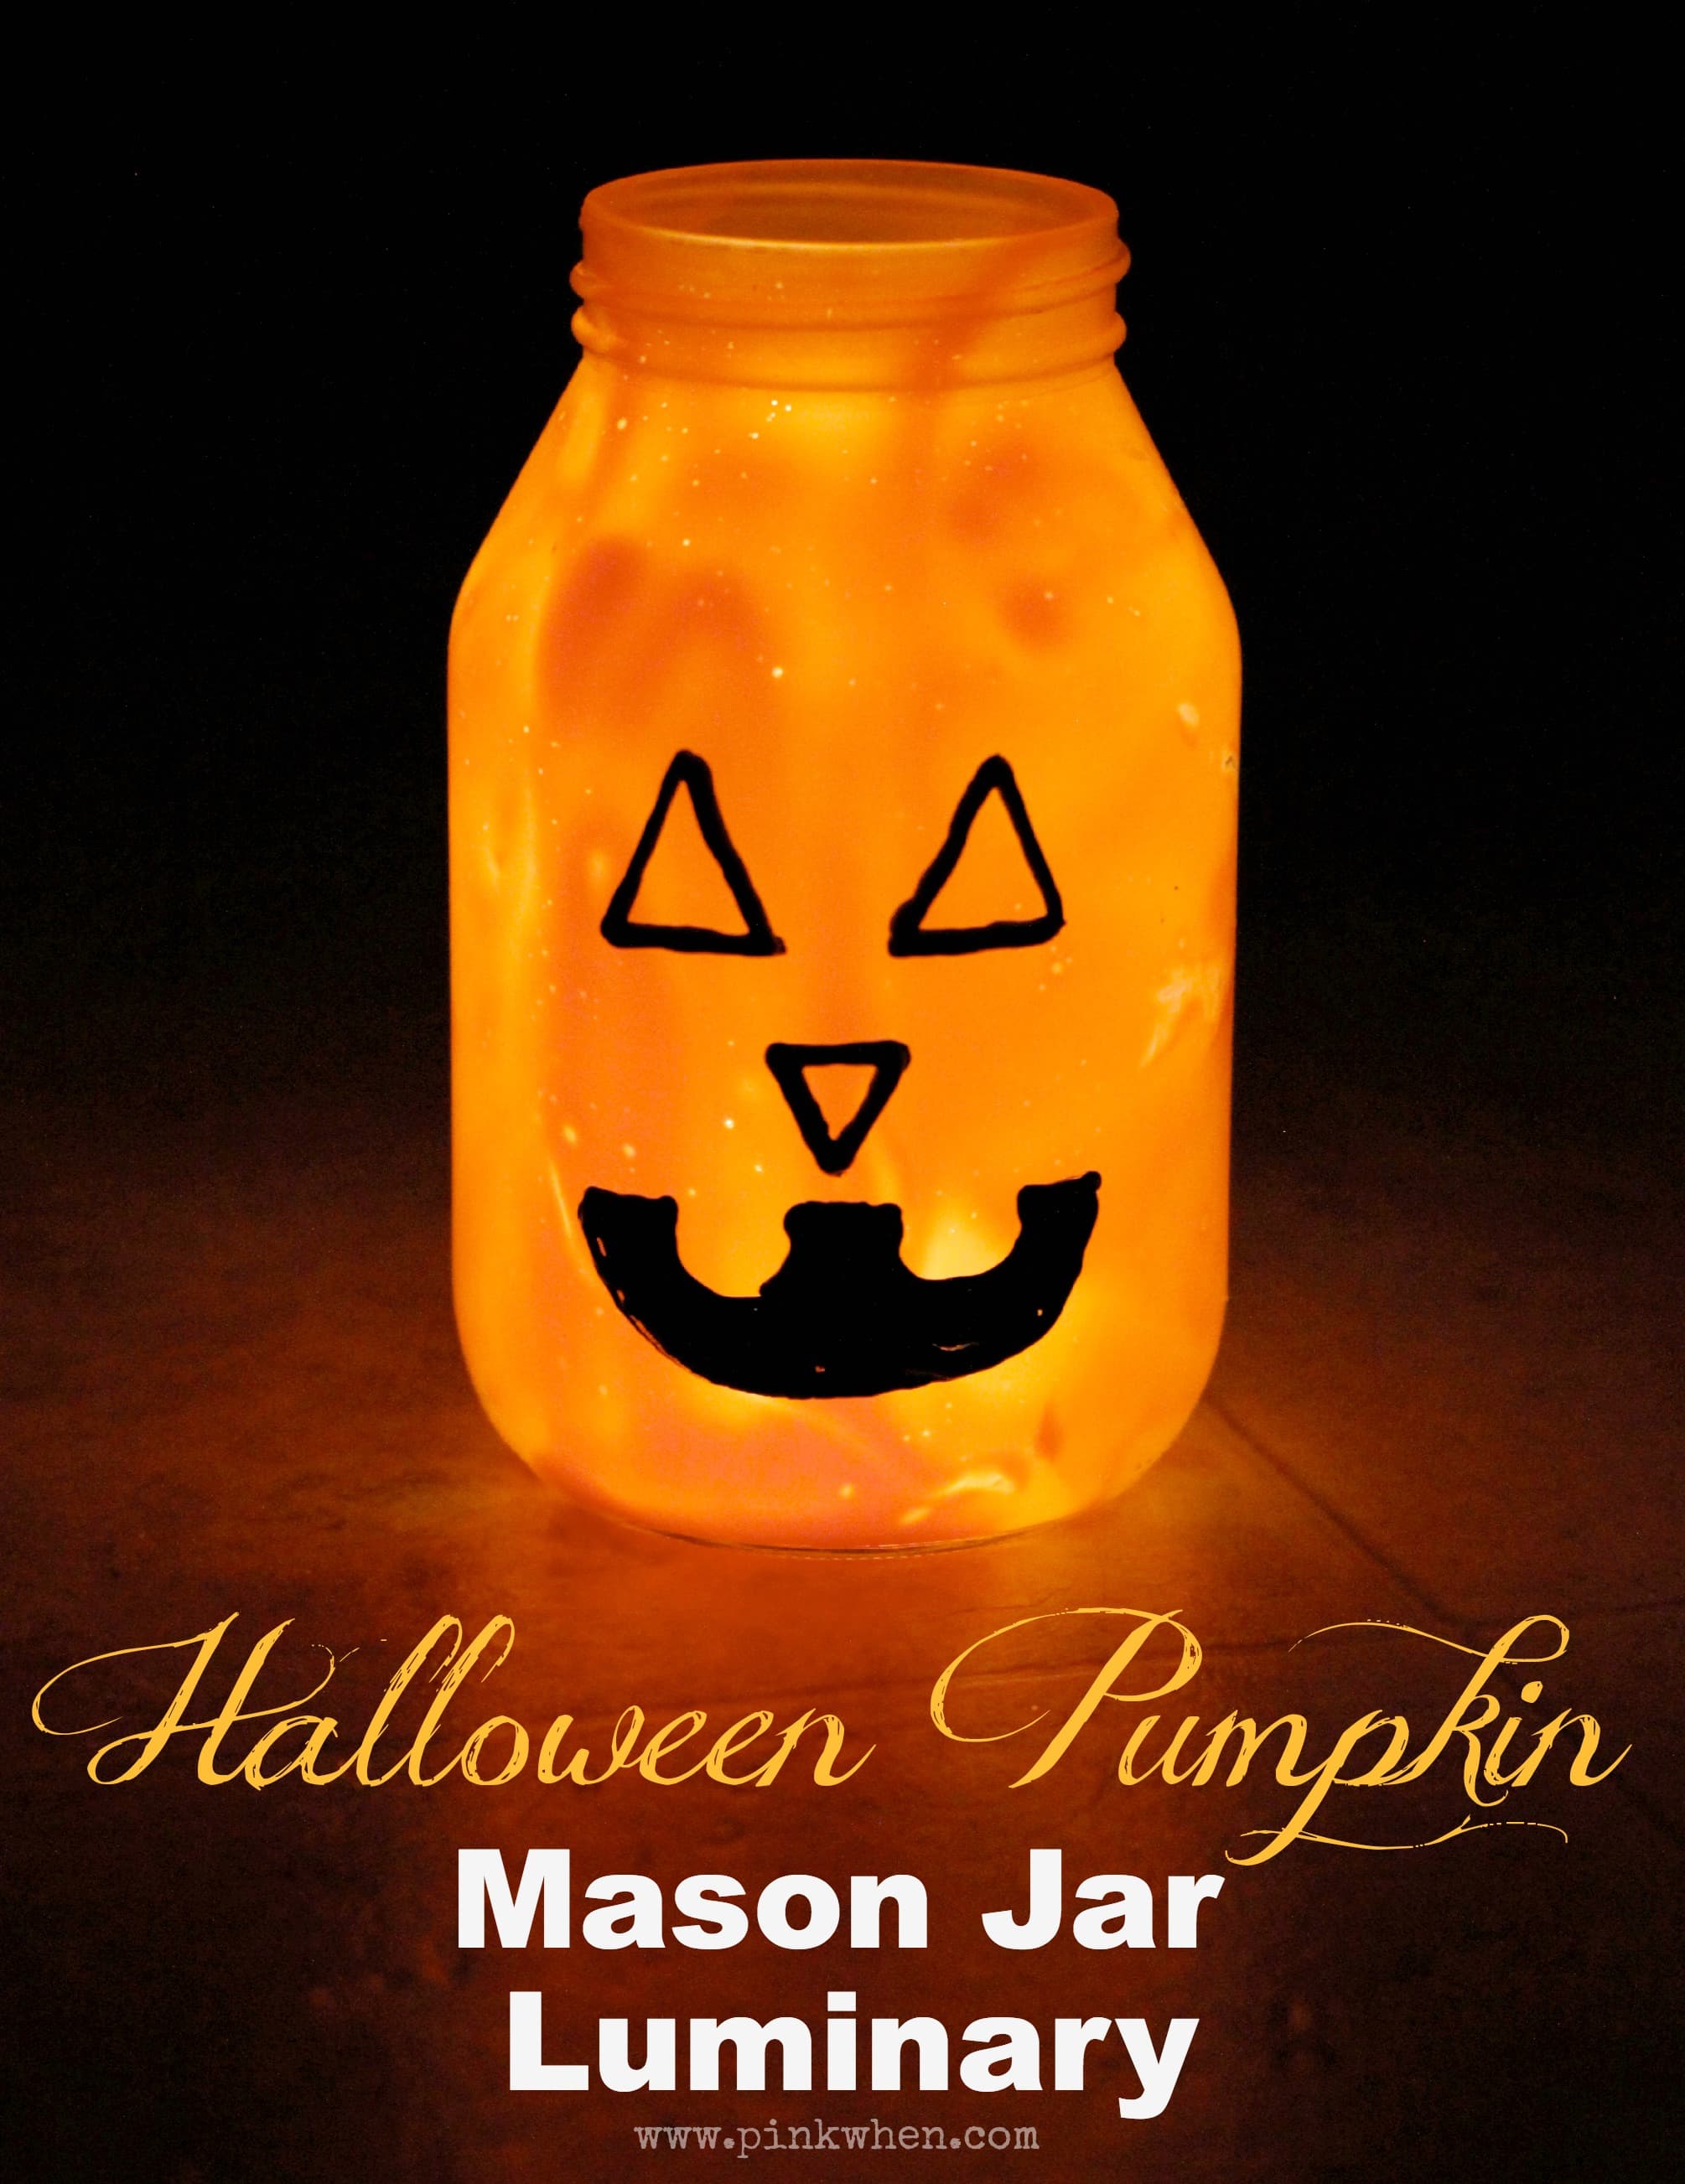
How to Make a Halloween Luminary
You will only need a few things to create your Pumpkin Mason jar Luminary.
- Large Mason Jar
- Orange Paint (I use a waterproof kid friendly paint, mostly because I’m a klutz, but also because it’s so BRIGHT!)
- 3D Opaque Black Gloss Enamel Glass Writer from Americana
- Candle (or I used a Design It:® Simple Style® LED light strand)
Pumpkin Mason Jar Luminary
The first thing you will want to do is grab your paint and Mason Jar. We will start with these first.

Next, squeeze a healthy amount of paint to cover the bottom of the Mason Jar.
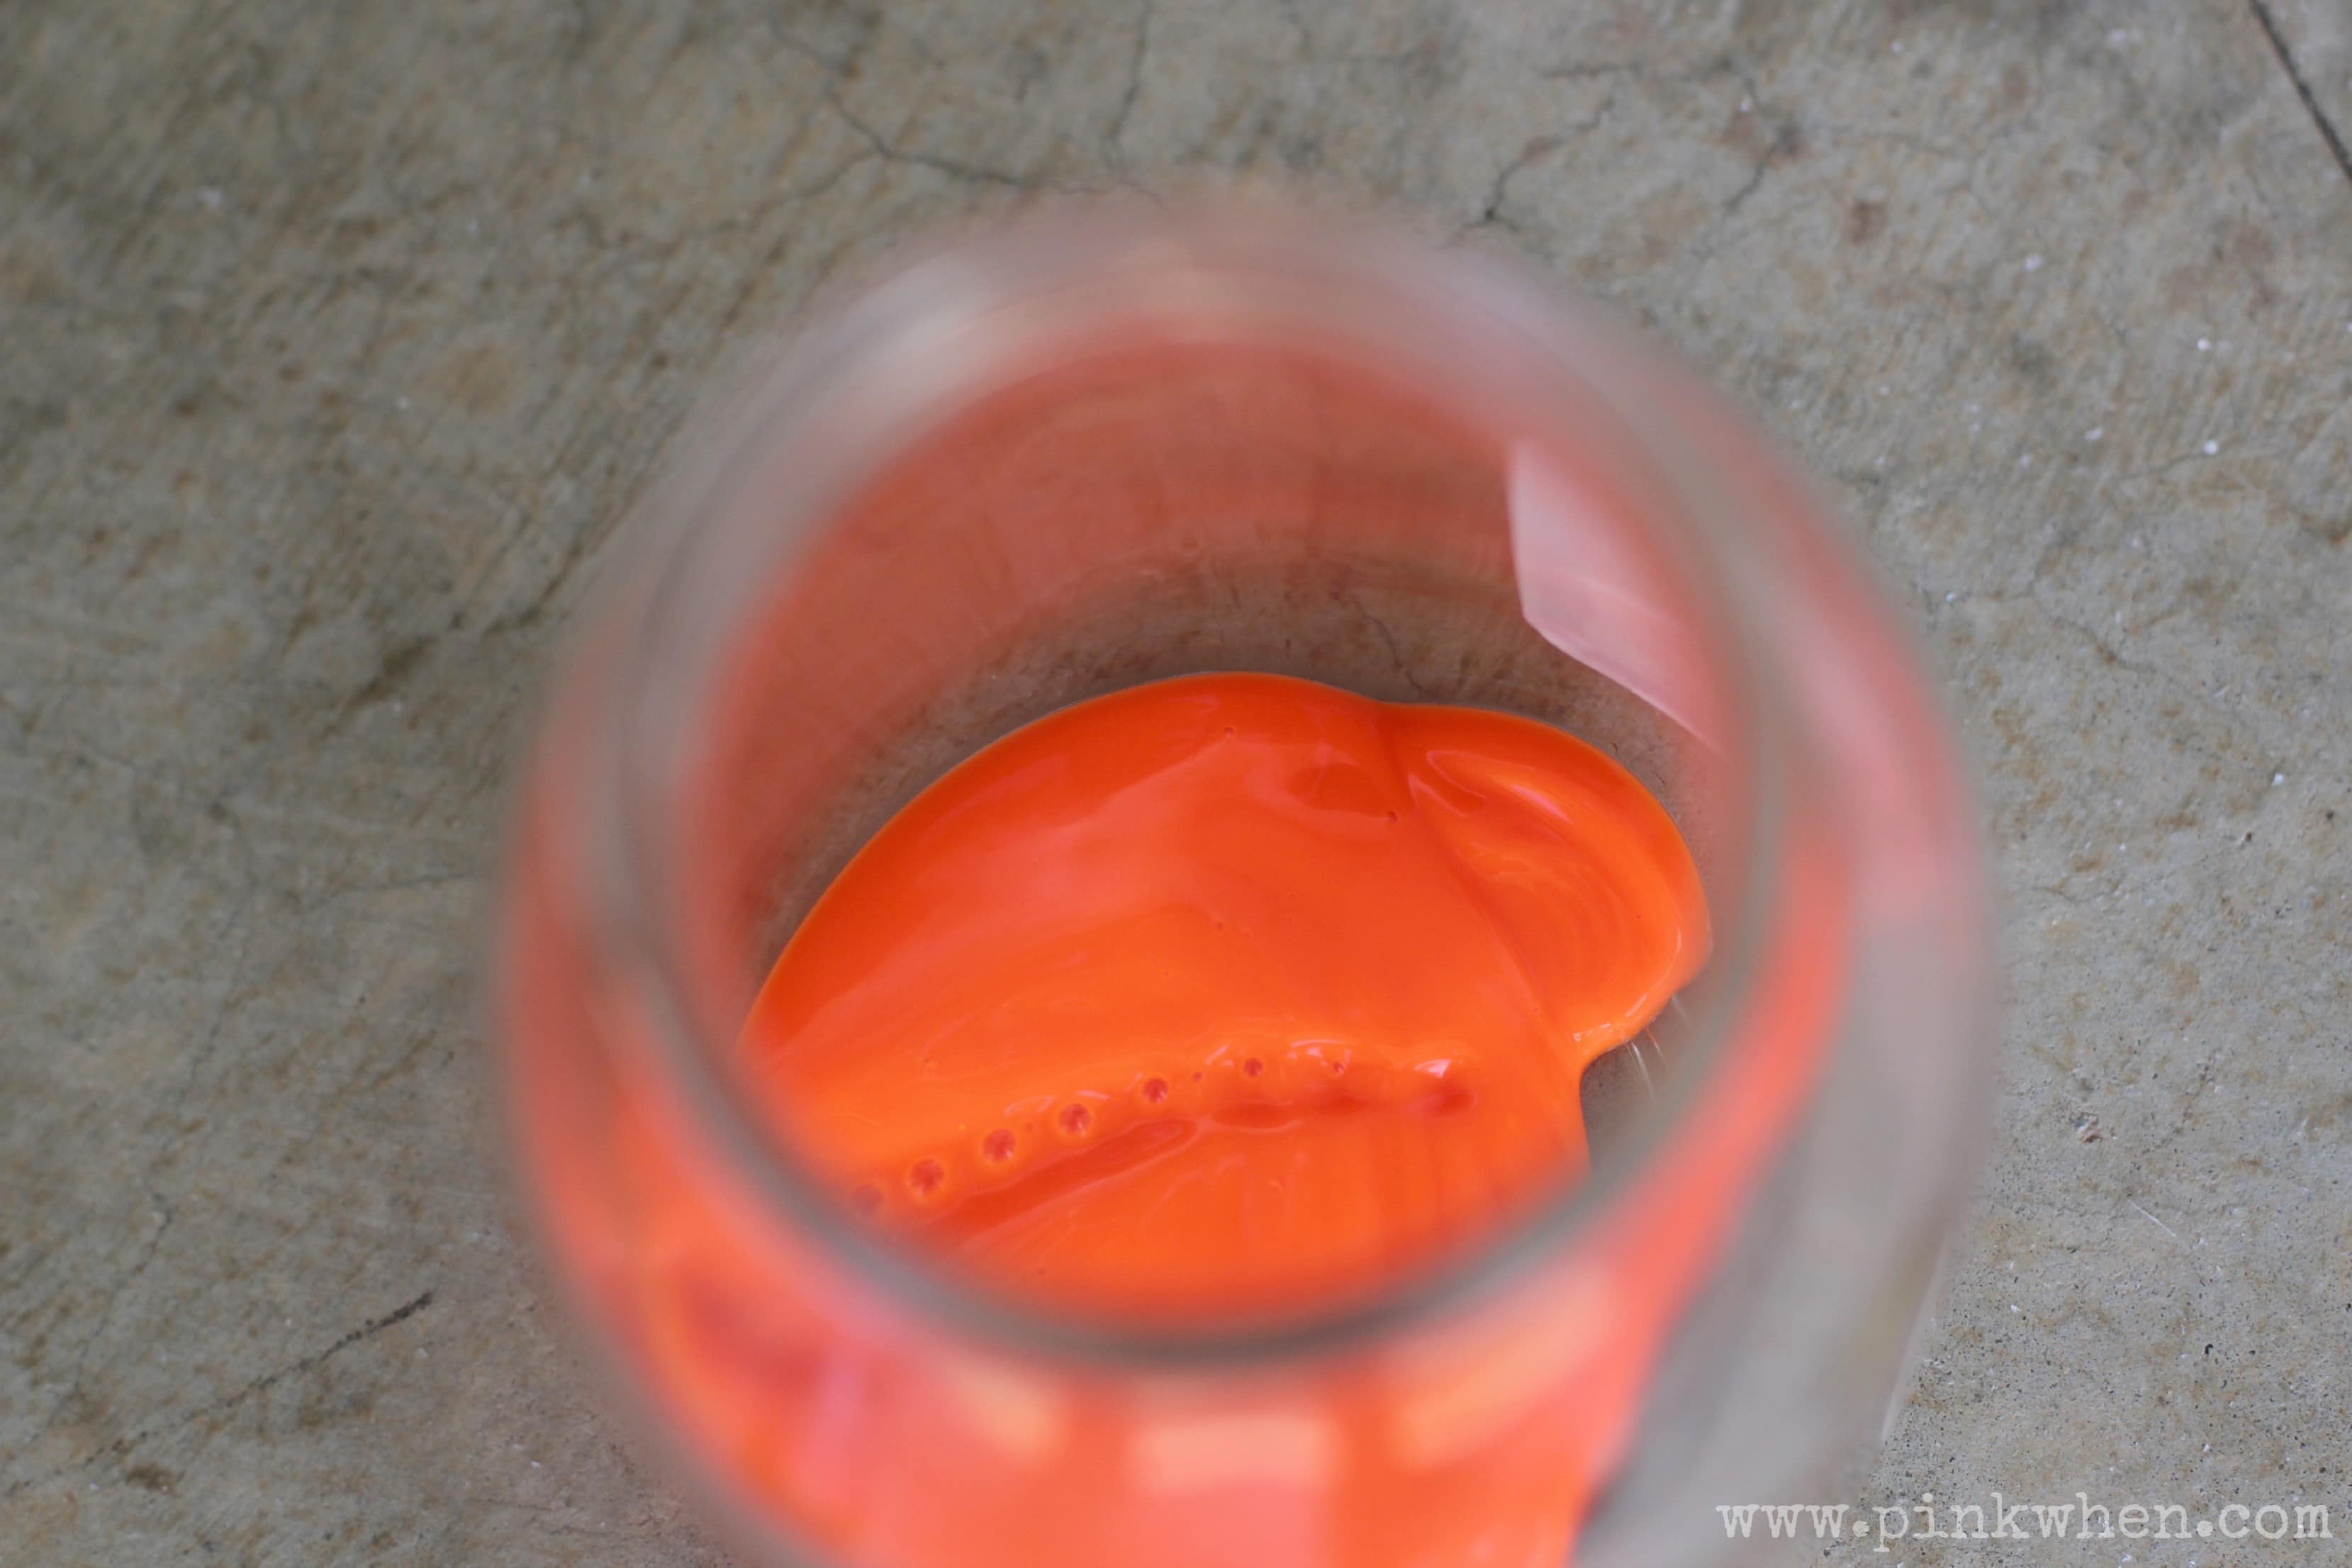
Easy Halloween Luminary
Once you have the paint on the bottom of the jar, replace the lid tightly and then shake, shake, shake your jar. Make sure you get all of the sides, top, and bottom fully covered. Don’t you love how BRIGHT this is?
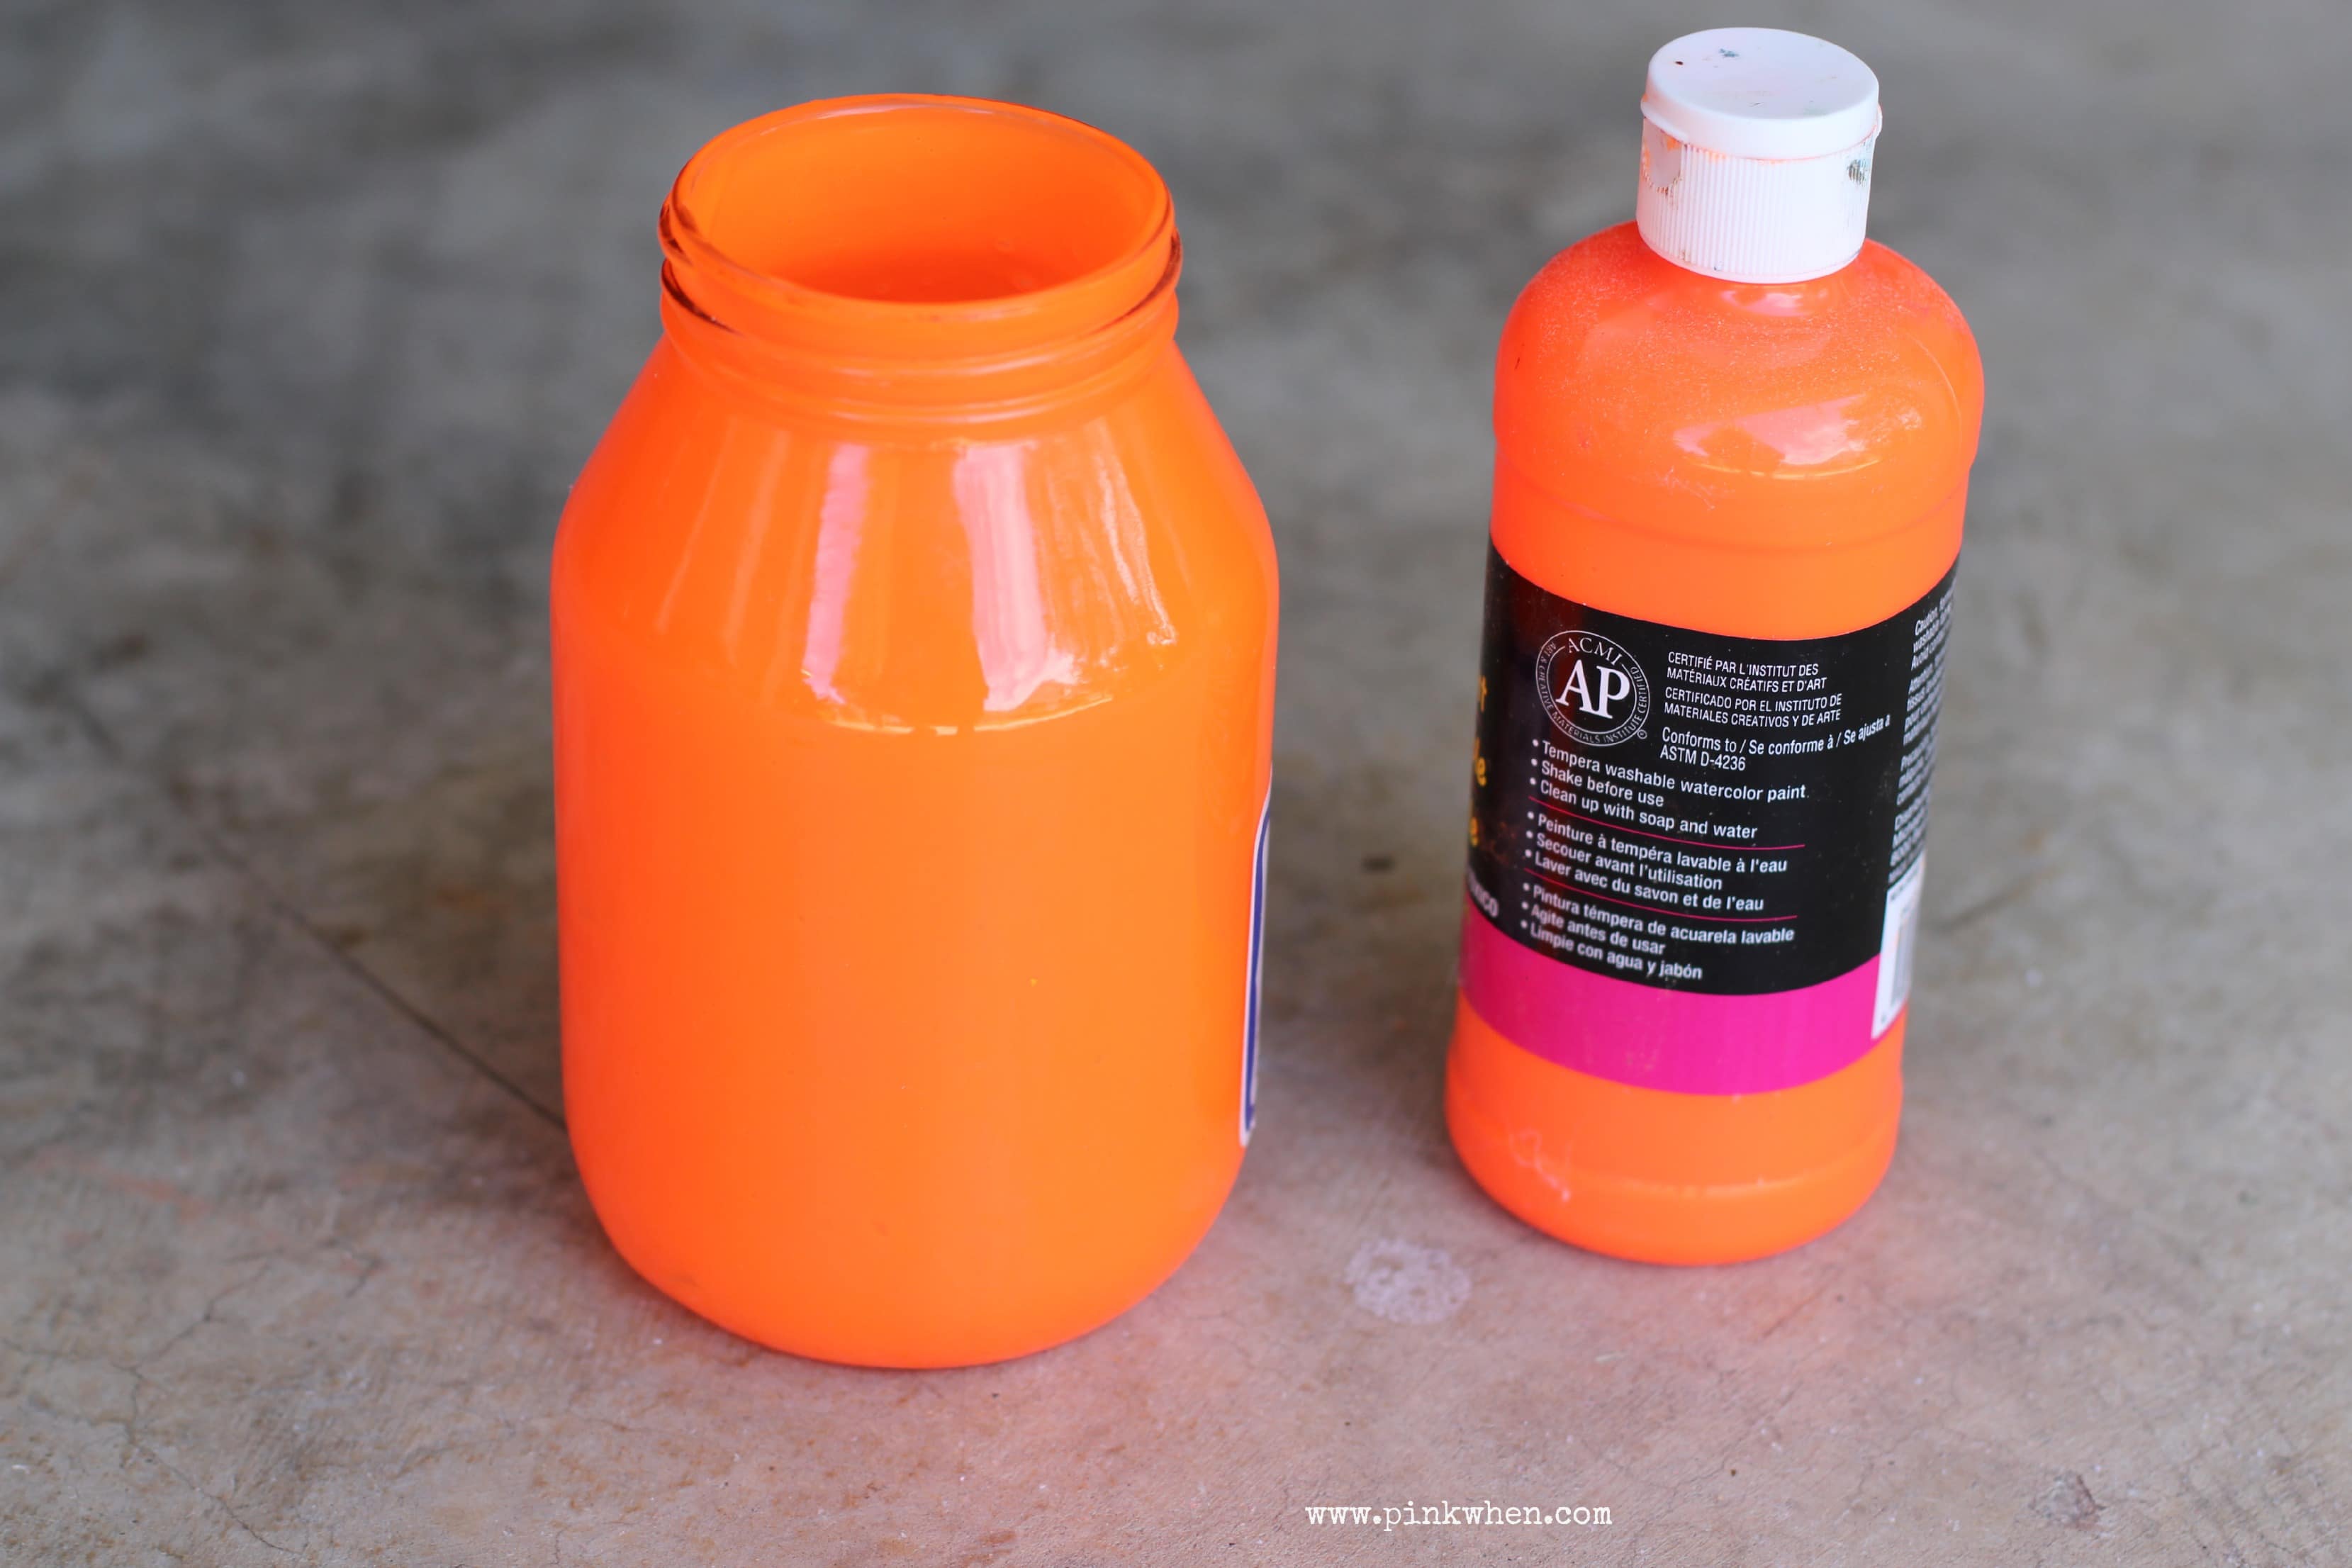
Once you have everything covered, set your Mason jar off to the side and allow it to dry for a few hours.
To create the face for the Pumpkin, you will need to grab some 3D paint. I like the Black Gloss Enamel Writer from Americana. Super easy to use and easily found at your local craft store.
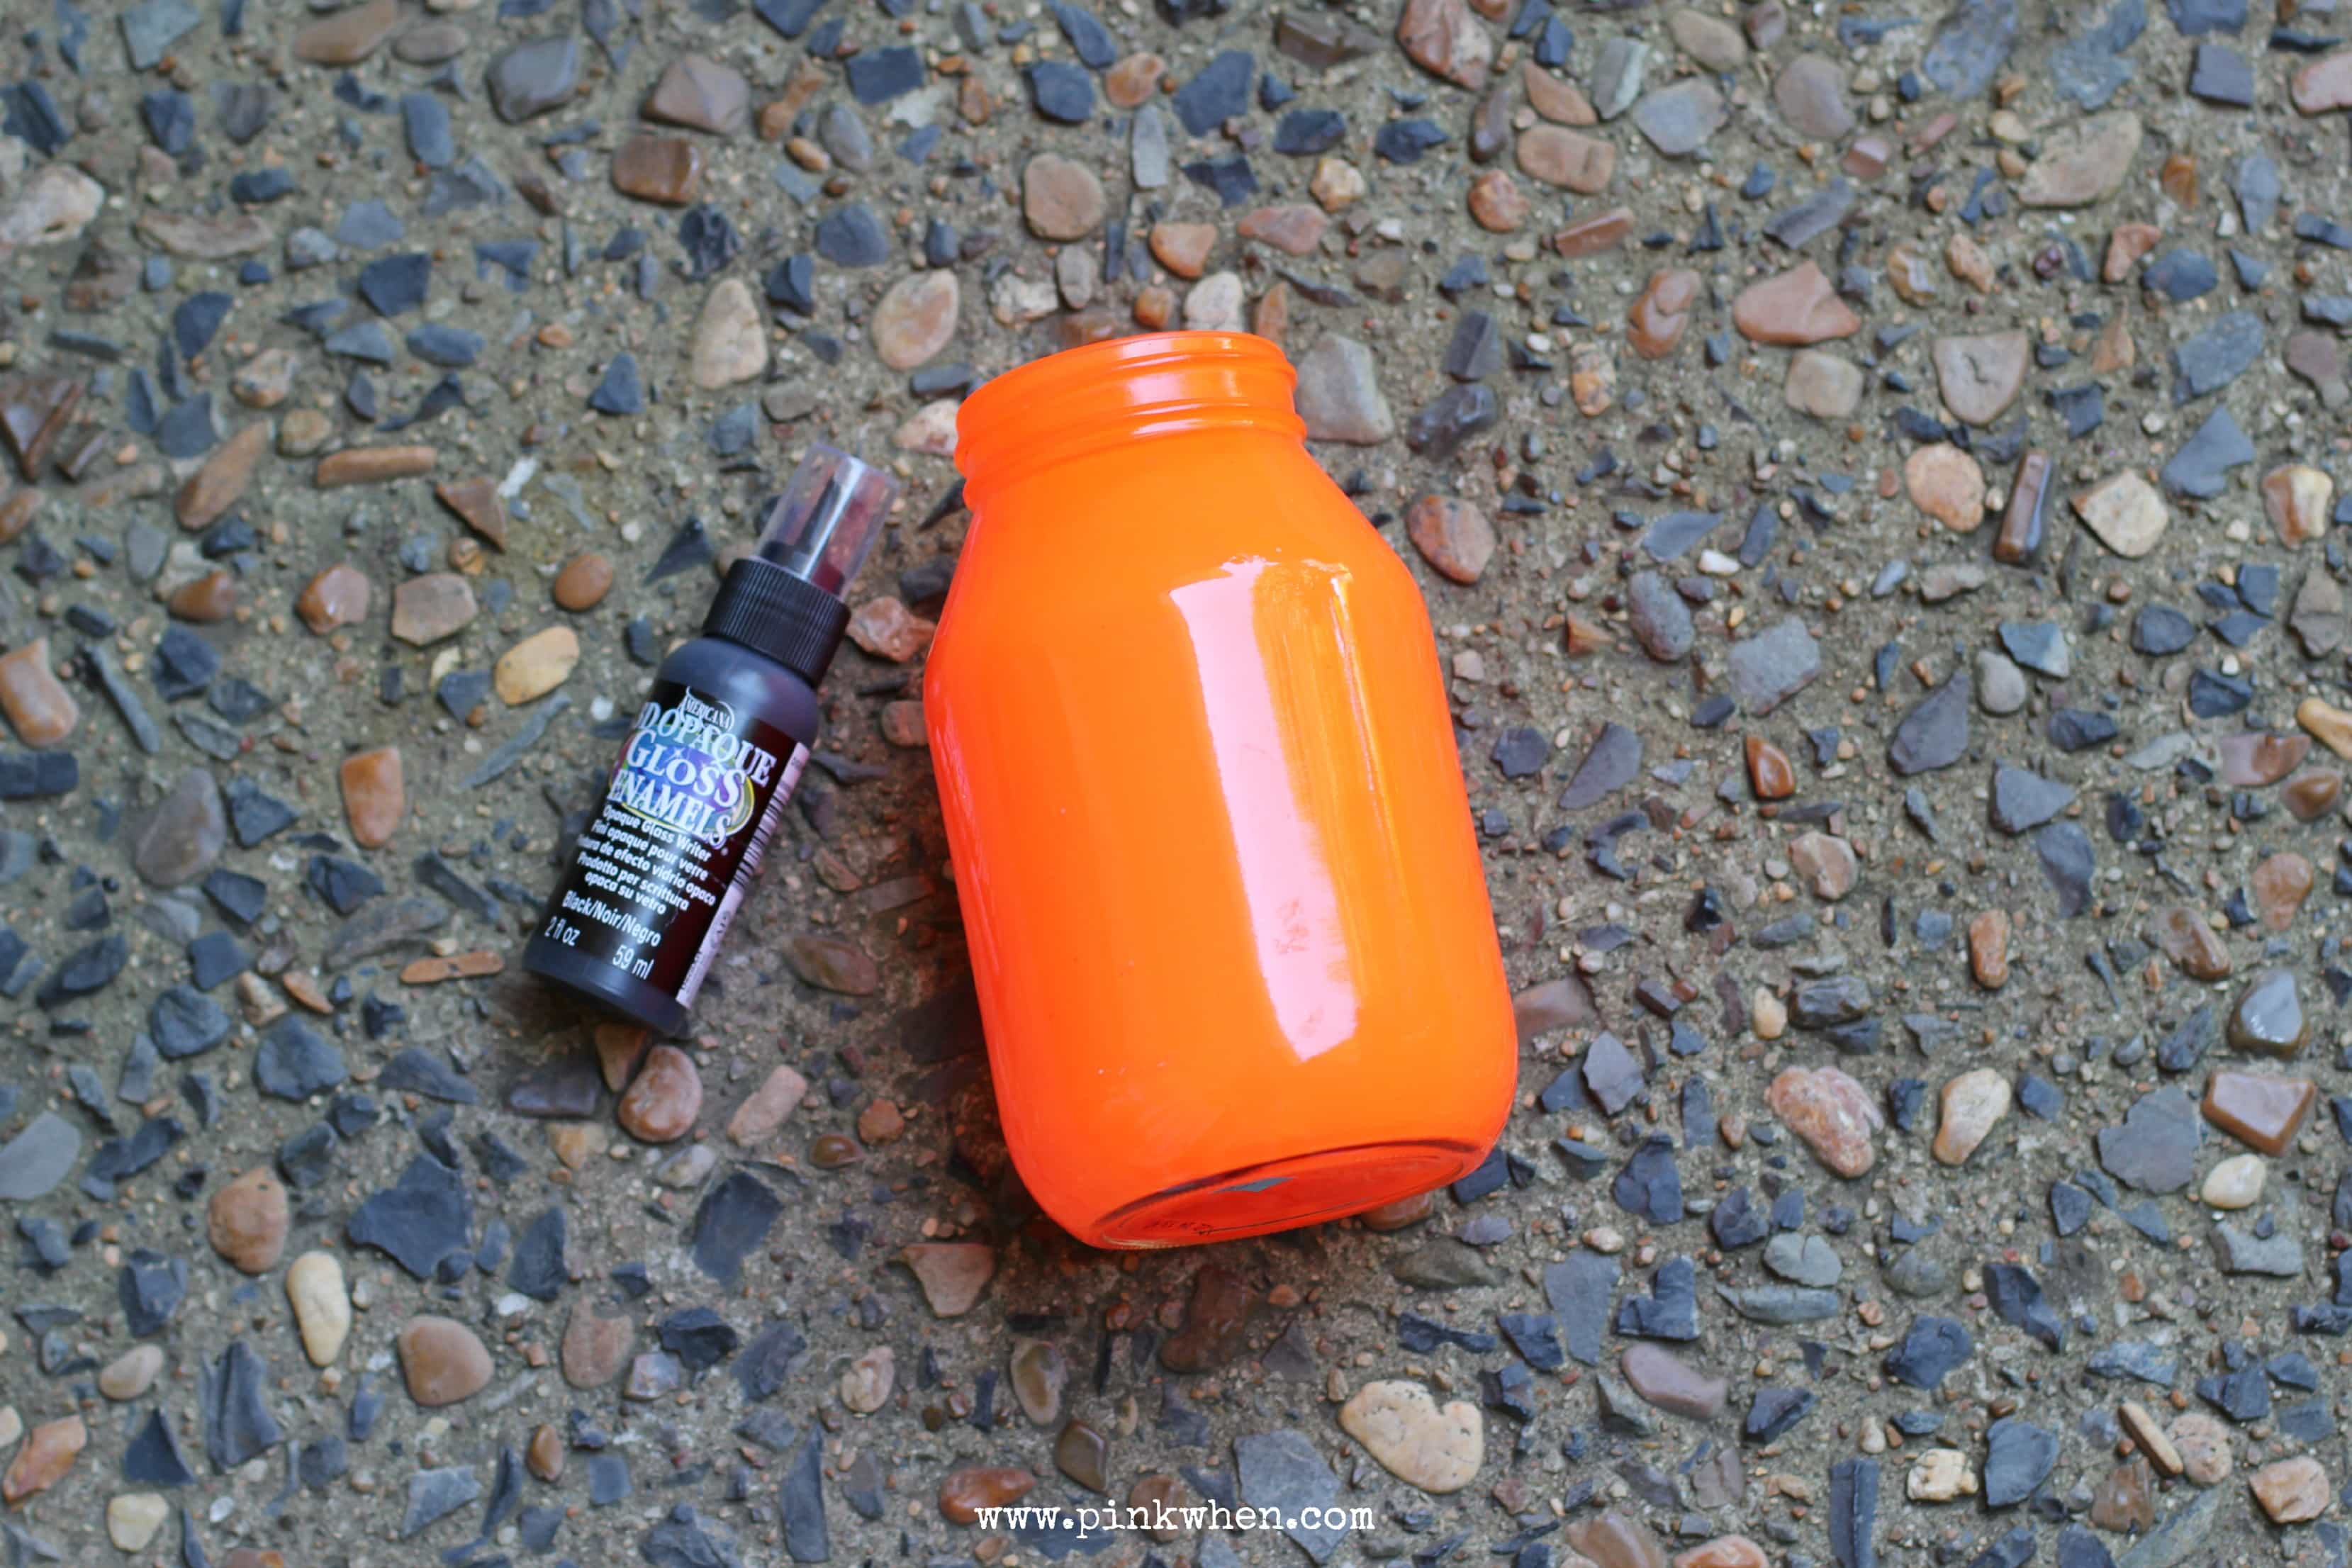
It only takes a couple of minutes to draw your face. Then just allow it to set and dry.
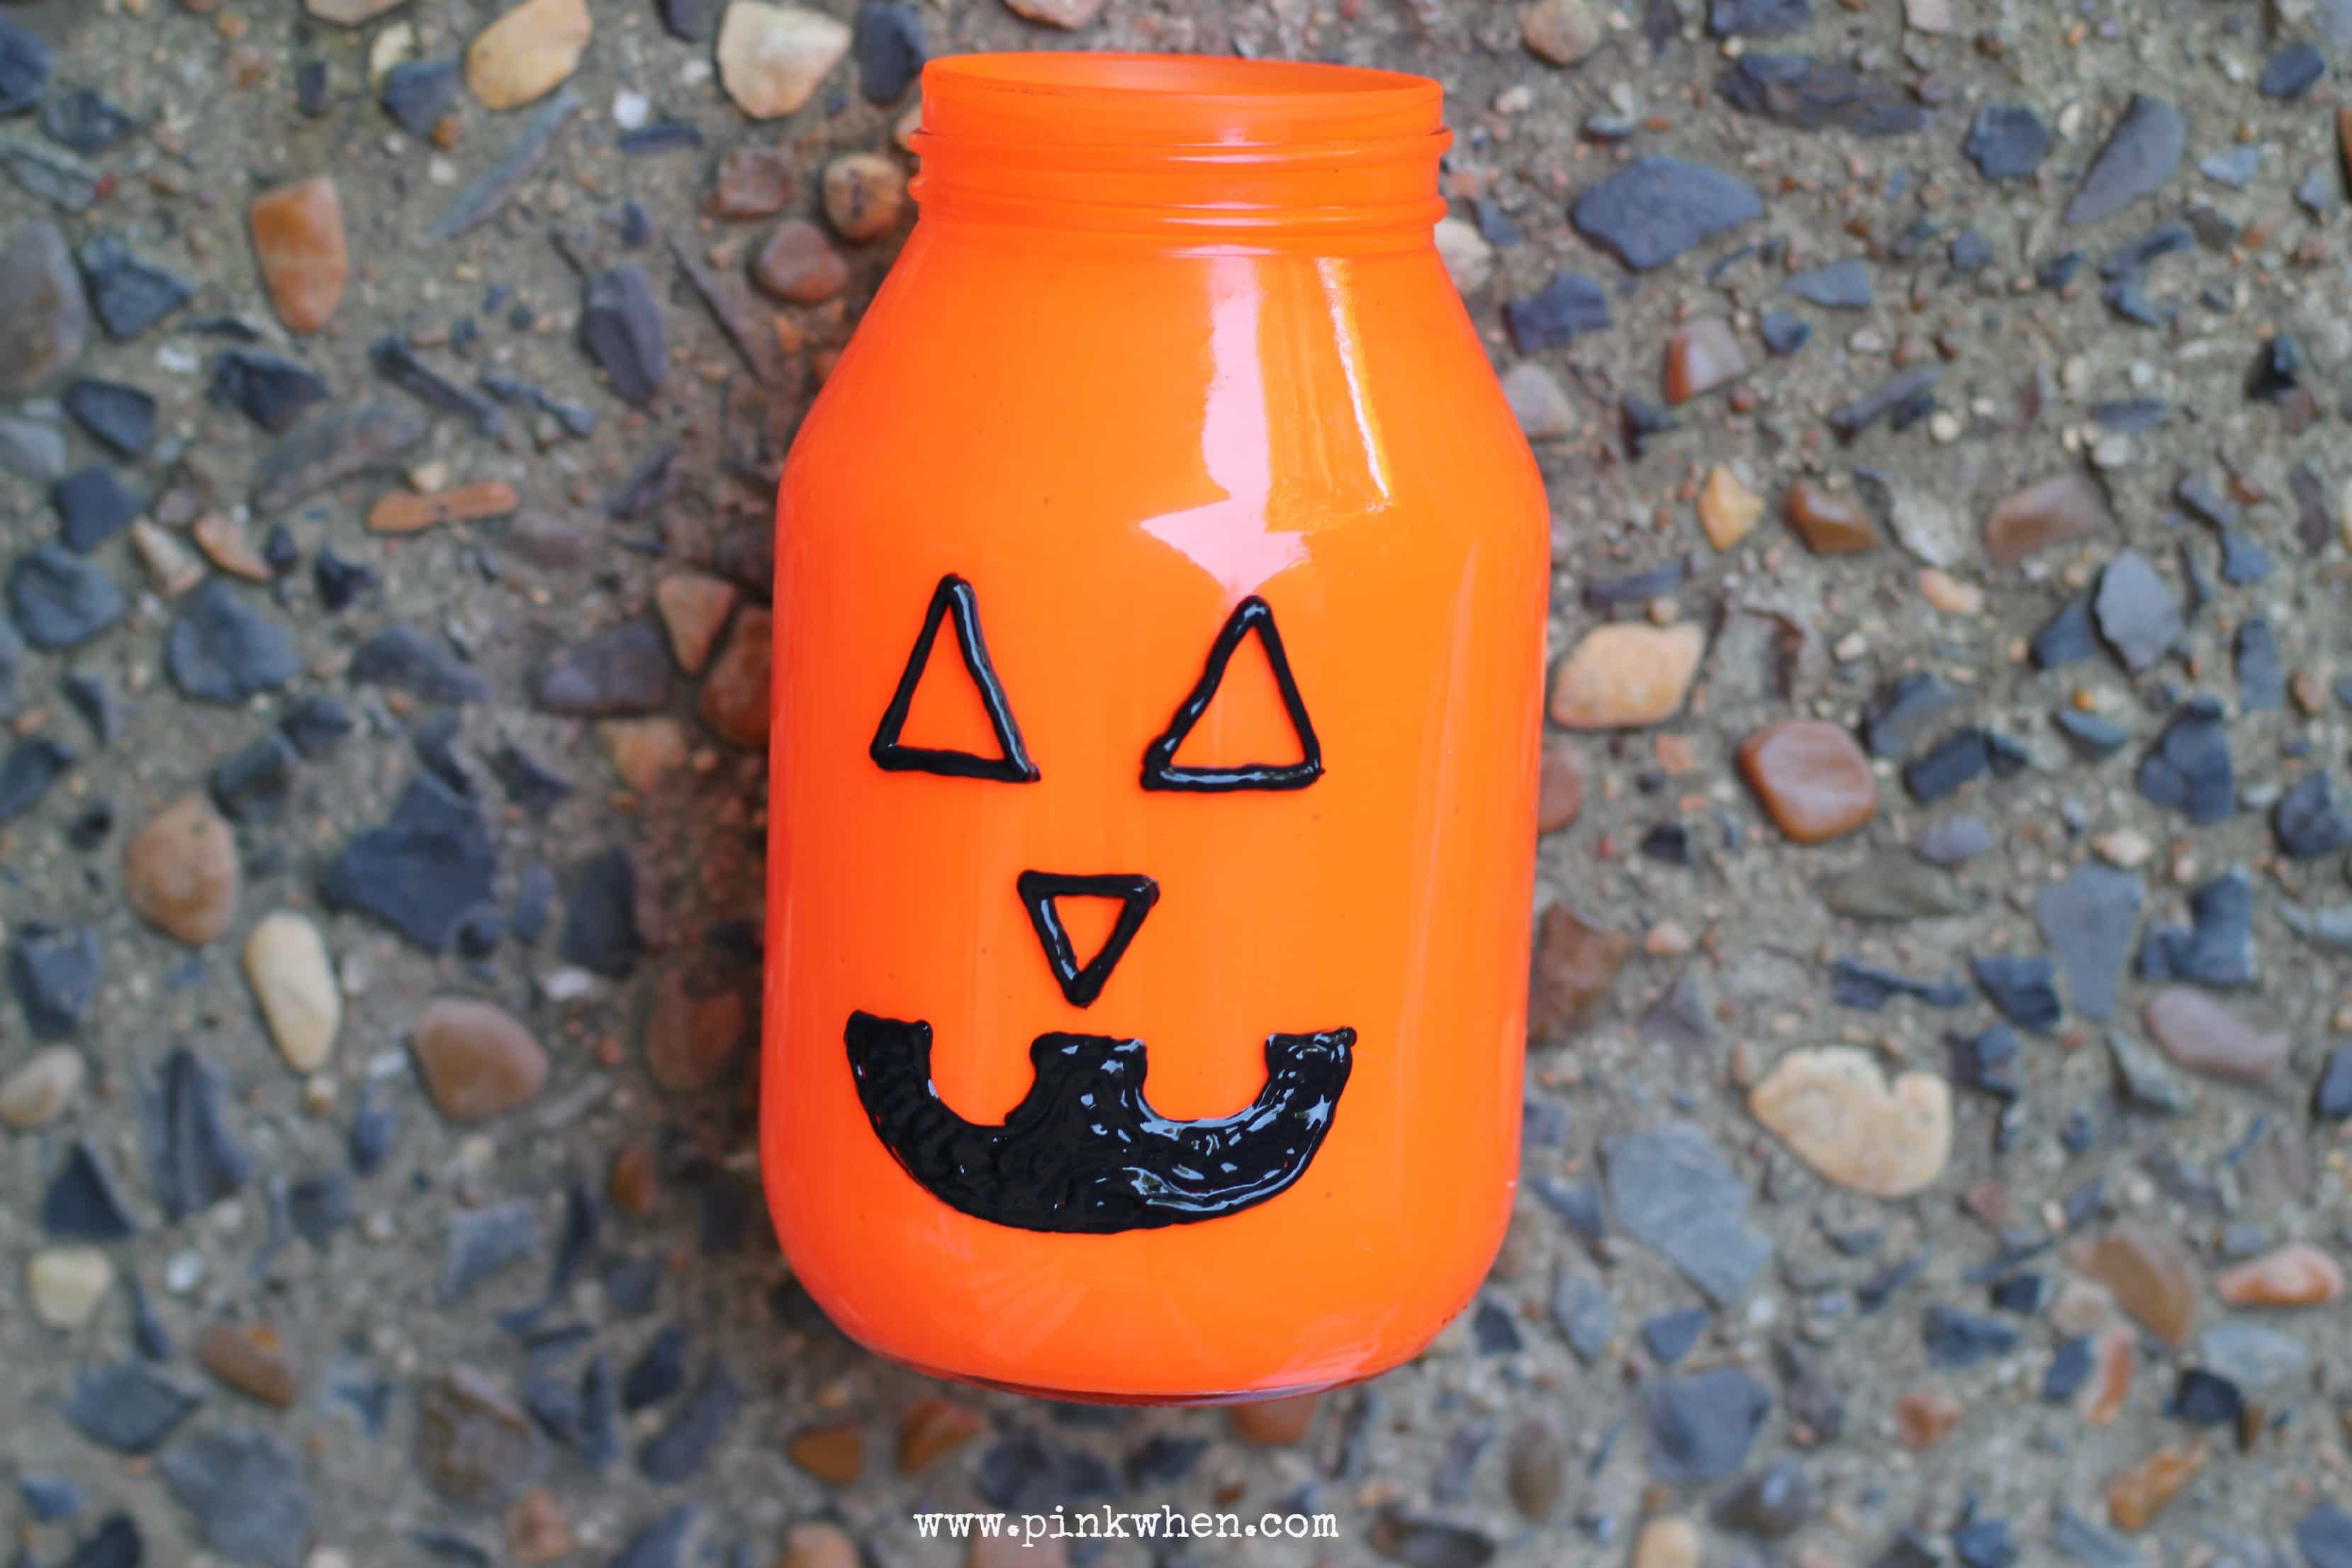
Once dry, you are all set with your luminary. I picked up a Design It:® Simple Style® LED light strand because the lights are super bright. Just twist the bottom to turn the lights on, add it to the Mason Jar and you are all set!
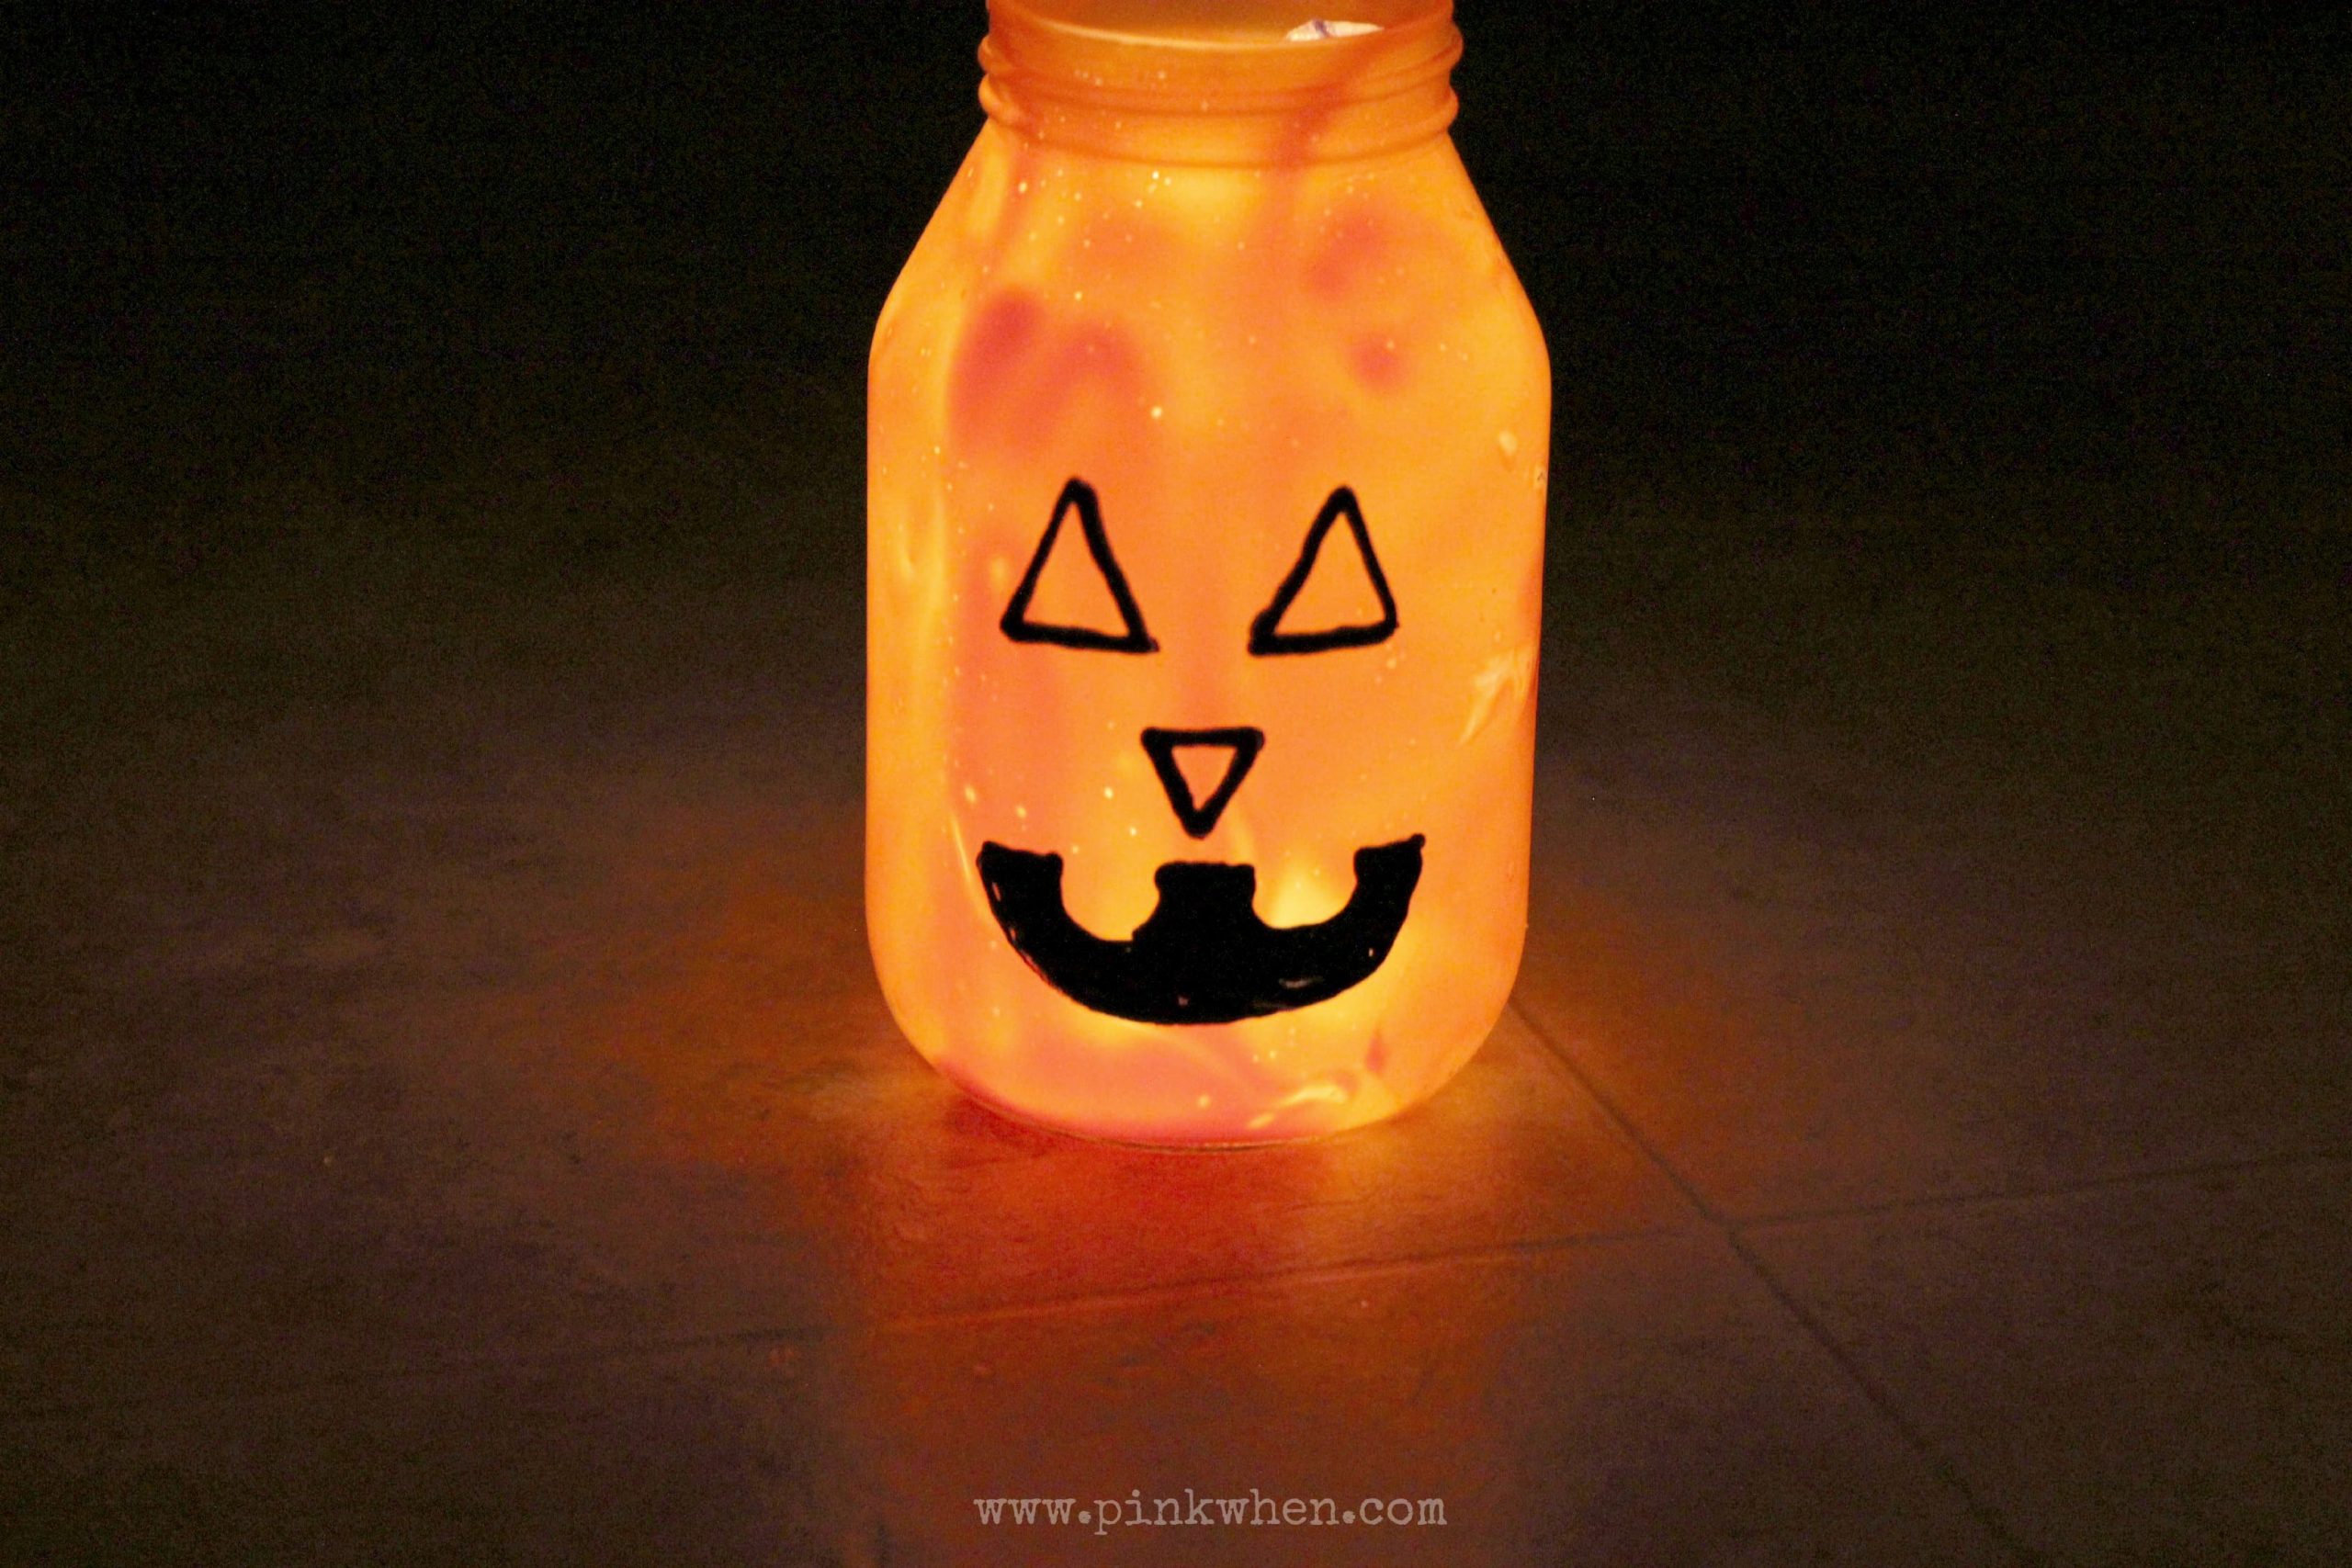
How fun will it be to have the walkway lit with these awesome bright luminaries!?

I hope you enjoyed this simple DIY, and try your hand at the Pumpkin Mason Jar Luminary craft.
Are you ready for lots more creative Halloween ideas and projects??
Come participate in our blog hop! Simply click on each of the links below, for the Halloween projects you’d like to see in more detail and it’ll take you right to that post with additional information and photos on how to create it. Have fun and pin away!
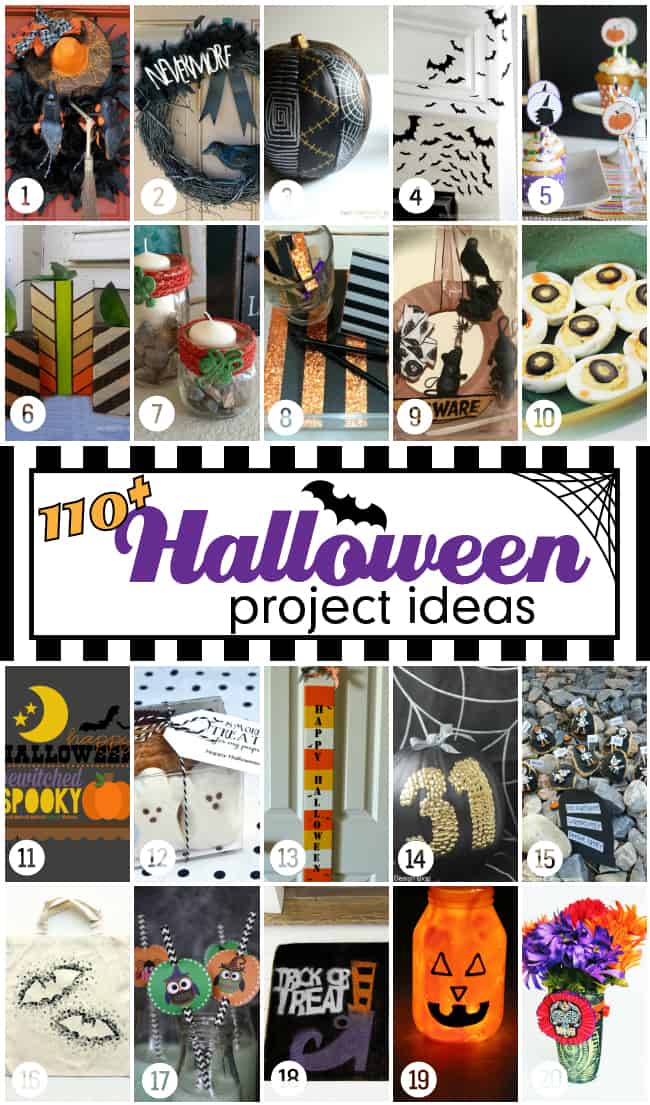
1. Halloween Witch Crashing Decoration
2. Quoth the Raven, “Nevermore” Wreath
3. DIY Sharpie Pumpkin
4. Flying Bat Silhouettes
5. Halloween Cupcake Wrappers & Toppers
6. Easy Geometric Wooden Pumpkins
7. DIY and DYE Autumn Burlap Jar Candles
8. Easy DIY Halloween Tray
9. CreepyCritter Halloween Wreath
10. Blood Shot Paleo Deviled Eggs Eyeballs
11. Free Halloween Subway Art Printable
12. S’more Treats
13. Candy Corn Halloween Sign
14. Thumb Tack Pumpkin
15. Halloween Fun Decorating Sugar Cookies
16. Eraser-Stamped Trick-or-Treat Bag
17. Free Printable – Halloween Gift Tags
18. DIY Halloween Trick or Treat Door Mat
19. Pumpkin Mason Jar Luminary
20. Dia De Los Muertos Flower Vase
Follow our Fabulous Halloween Ideas Pinterest board for even more inspiration!
Follow Design Dazzle’s board Fabulous Halloween Ideas on Pinterest.






I love this project!! I may try to do it with my daughter this weekend – it will look so nice on our stairs!
That’s awesome! 🙂
This is so cool, Jennifer! The strand of lights really makes it shine in your pictures.
Totally pinned! It’s gorgeous. You did a great job with it. I’m curious as to what Scarlet will do with hers!
This is the cutest idea! I am so pinning this now. I can’t wait to try this and I think the boys will even like making these today. I am excited to see what my kids come up with for the faces.
This is so cool, and much less messy than a traditional pumpkin 🙂