Hi everyone and Happy Valentine’s Day… just a bit early!
Laura here again from Pet Scribbles, and today I’m sharing how to make a shabby-style Valentine pillow. You can easily adapt this pillow to work for other holidays or themes – you are only limited by your imagination!
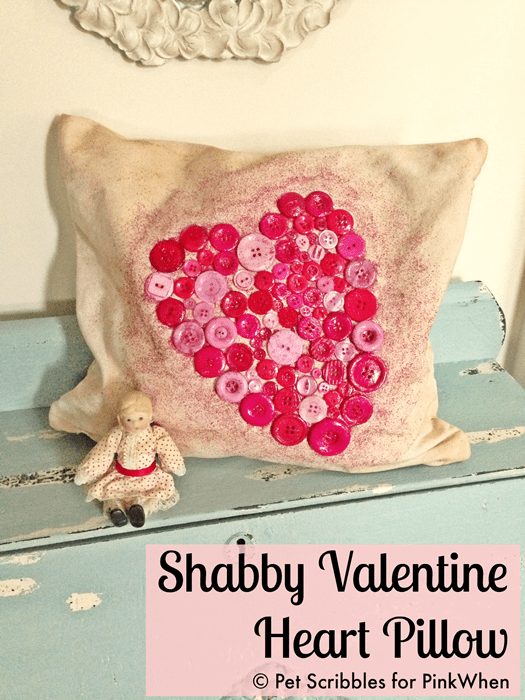
How to Make a Valentine Heart Pillow
I started out with this 100% cotton pillow cover from the craft store. It comes as you see in the left image, and the right image shows what it looks like unfolded.
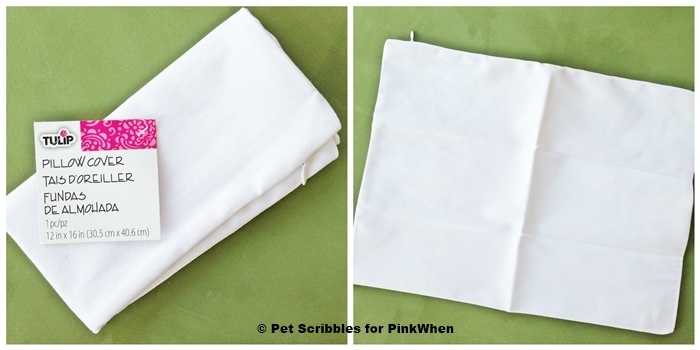
What are the Steps to Make a Shabby Valentine Heart Pillow
The first thing I wanted to do was grunge up the pillow cover – make it look time-worn and shabby. I decided to try dying the fabric with coffee. I’ve seen many different tutorials all over the internet on how to do this. After reading (what felt like) all of them, I decided to sort of wing it.
First, I made super-strong black coffee, and poured it into a bowl. Next – wearing rubber gloves to protect my fingers from getting coffee-stained – I added in the pillow cover. I used a large spoon to submerge the fabric into the coffee dye.
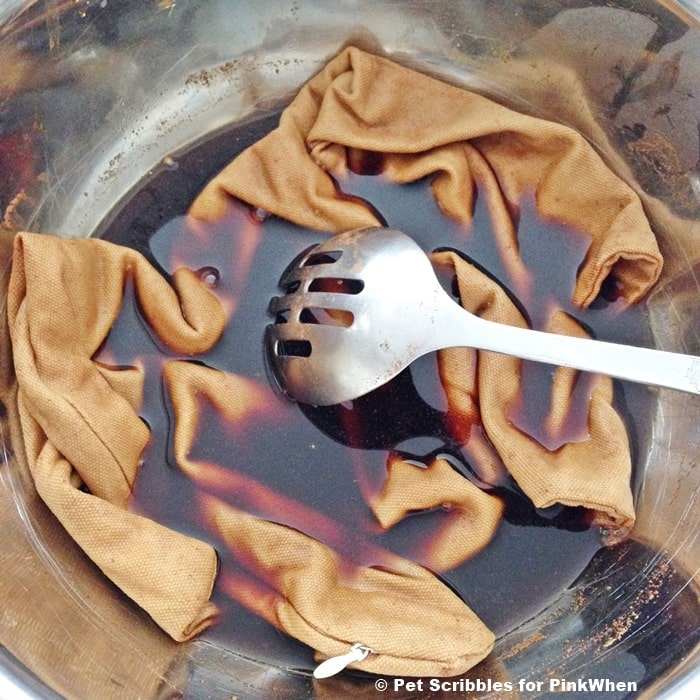
I also tossed in some cinnamon, as several tutorials mentioned adding it in and smooshing it onto the fabric.
After about 20 minutes, I removed the pillow cover and placed it on a plastic bag to protect the counter. Then I rubbed coffee grounds into it. (I was SO excited about how this was going to look, let me tell you.)
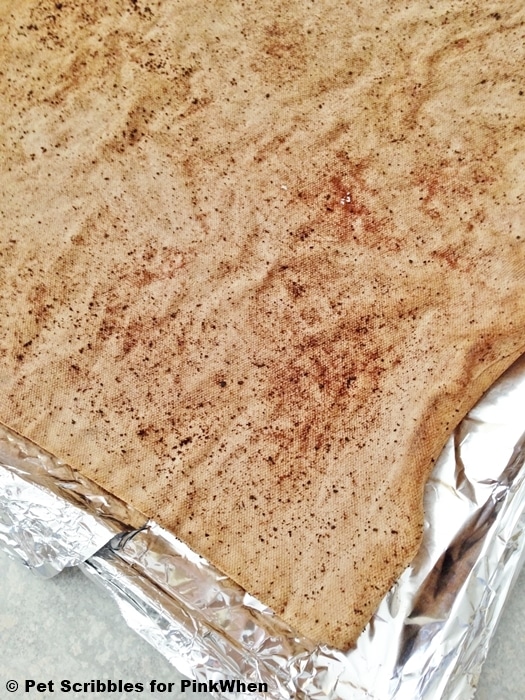
Next it was time to bake in the oven. After covering a cookie sheet with tin foil, I placed the pillow cover on the foil and cooked it on low (about 200 degrees) for about 40 minutes. Every 10 minutes I flipped the pillow cover over, to make sure both sides were aging equally well.
After 40 minutes, I couldn’t wait any longer. Like I said, I was very excited about this! I took the pillow cover outside and brushed off the coffee grounds and cinnamon bits and shook it out.
It was still a bit damp so I hung it to dry. I realized that even though I brushed off all of the cinnamon and coffee grounds, somehow this pillow might still end up staining my couch or chair or anywhere I set the pillow down.
And that’s when reality came smashing into my dream: I decided to wash the pillow cover. And you guessed it: most of the awesome-looking, grunge and distress simply washed away. (So much for me winging it!)
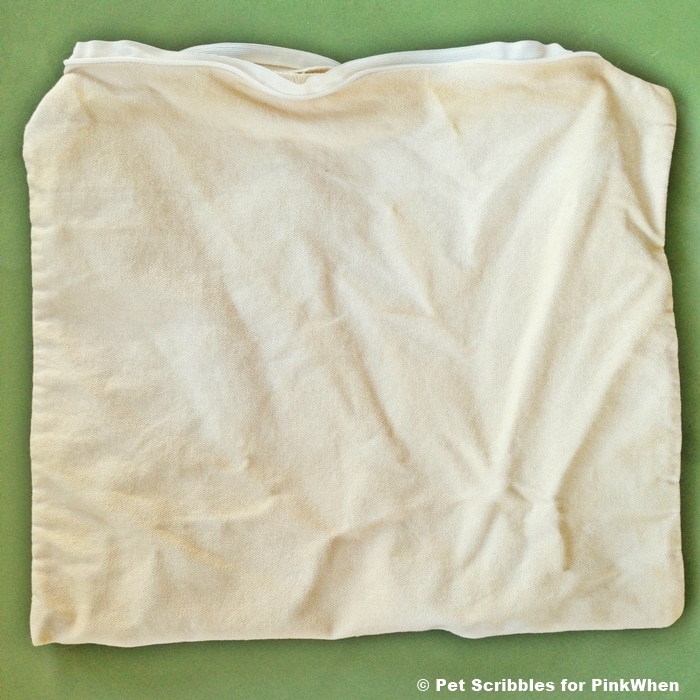
But, it still had a nice khaki shade to it, and there were definitely some “stains” here and there from the coffee dye and cinnamon. You just had to look closely to see it. 😉
Onward!
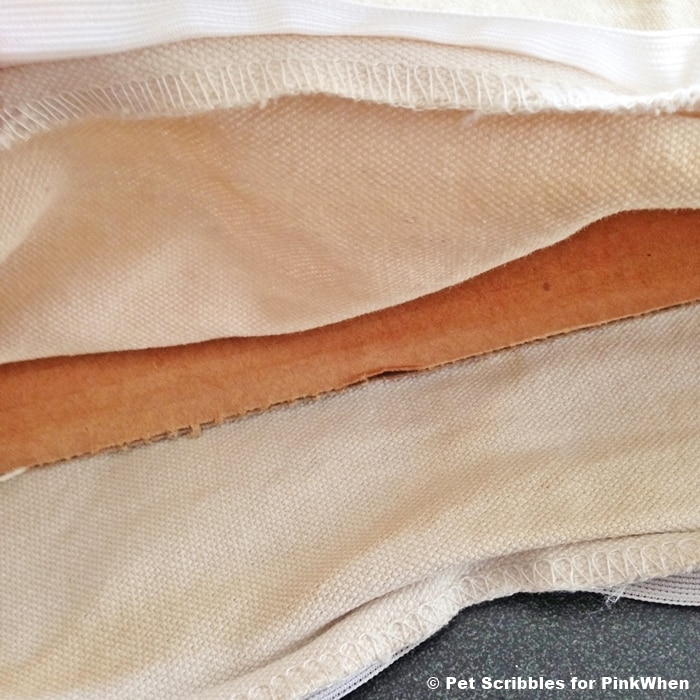
Because I was about to play with fabric paint and didn’t want it to seep through onto the back of the pillow cover, I inserted a piece of cardboard into the cover.
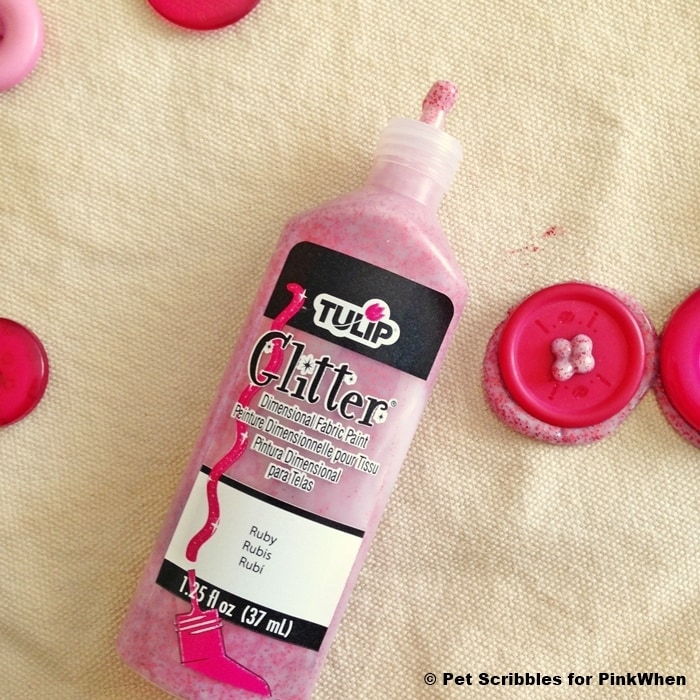
I love to add glitter to shabby things, as I like the contrast in textures and finishes. So I used some glitter fabric dimensional paint to make a heart with buttons. You can use dimensional fabric paint as a glue, if you want to adhere embellishments to fabric. And that’s what I did.
First I made an outline of my heart with buttons.
Next, I squirted some dimensional fabric paint onto the bottom of each button, then pressed it down onto the pillow.
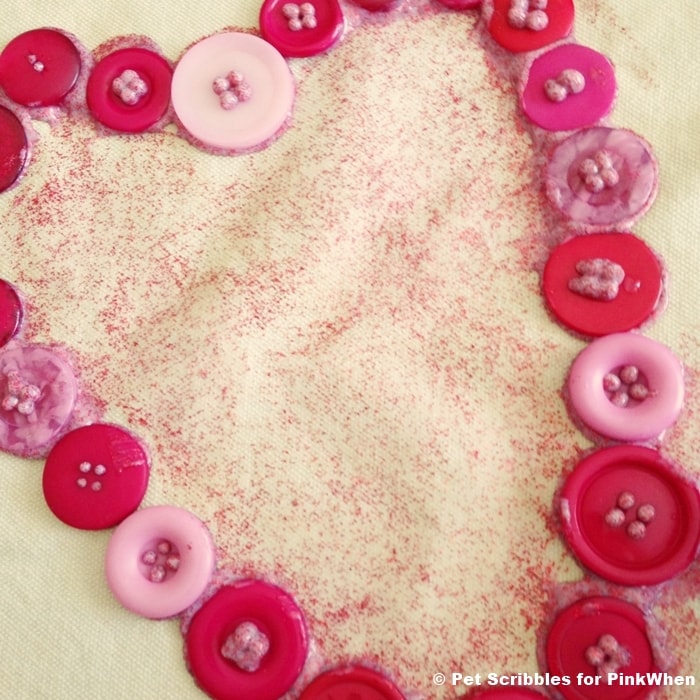
See how the fabric paint just came right through the button holes? And see how gobbed on it looks? I wasn’t worried. Yes, I had a plan. (Wasn’t going to wing it for this part!)
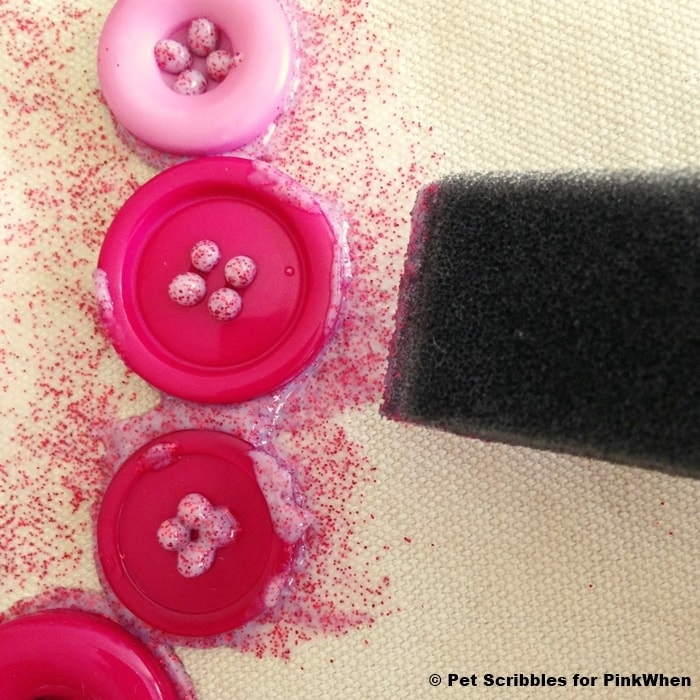
Once the button outline was in place, I used the tip of a foam sponge brush and gently pulled the glitter fabric paint away from the buttons to create a glitter border around the heart. I used extra glitter fabric paint to lightly cover the inside of the heart with glitter.
Then I took the glitter paint that had seeped through the buttons and rubbed it around so that each button that outlined the heart was coated with glitter.
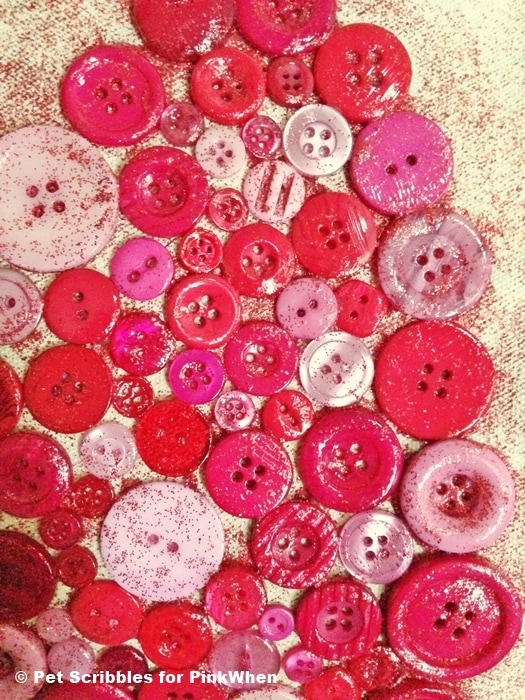
I filled in the heart with more buttons – this time using tacky glue. Once dry, I squirted more glitter fabric paint over the buttons and used the foam brush to wipe it all over the buttons. I left everything to dry overnight.
And this is the result!
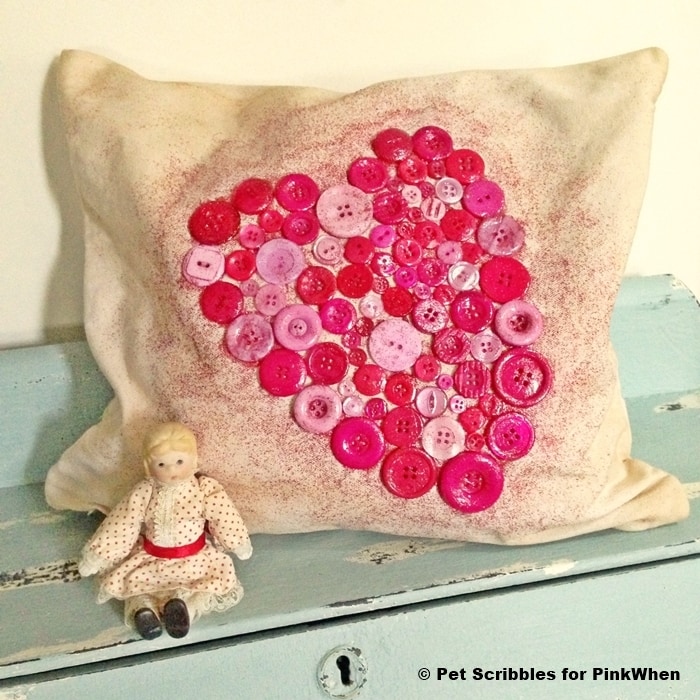
I love how it turned out. A shabby and sweet Valentine pillow!
No, you can’t rest your head on it, but it’s a fun accent pillow to enjoy!
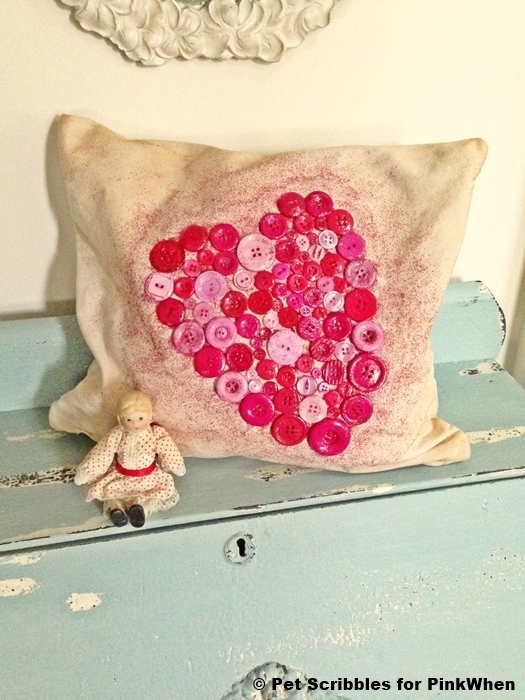
Happy crafting!
~Laura
You might also like this Glitter Heart Mug or this Chalkboard Table Runner.






Gorgeous, Laura! Honestly, I think that the pillow cover looks better than it would have if you hadn’t washed out most of the effects of the coffee grounds and cinnamon! The pink glitter paint border around the heart adds its own sweet, grungy look that would have been lost amid the dark, brooding (hehehe!) grunginess of the coffee grounds and cinnamon.
I’m happy that you are excited about how the pillow cover turned out, even though it wasn’t exactly what you had hoped for. Sometimes less is more!
xoxo
Hi, Jennifer! I’m happy to have found your delightful blog through Laura… isn’t she amazing?!
By the way, you have a gorgeous family!
xoxo
Thanks so much! Yes, Laura is quite amazing. She always creates the coolest things to share.
Thank you Pat and Jennifer both! 🙂