A couple of weeks ago I visited my friends in Colorado. This was such an awesome trip, and a different Summer vacation in the mountains versus what we normally do at the beach. They had just moved into their house and my friend was wanting to do a few things while I was there. One of those projects was this Simple No Sew Roman Shades Tutorial. I saw this project on Pinterest a while back and had it on my To Do list of things to try. While I did a few extra steps (mostly for my sanity) the inspiration came from her post.
It was such a quick and easy project, and I was able to knock out 4 of these in about an hour and a half! Talk about a quick project! You can follow the directions easy in this post, or you can always skip to the end and watch the quick 5 minutes video I put together showing you exactly how I created the Roman Shades.
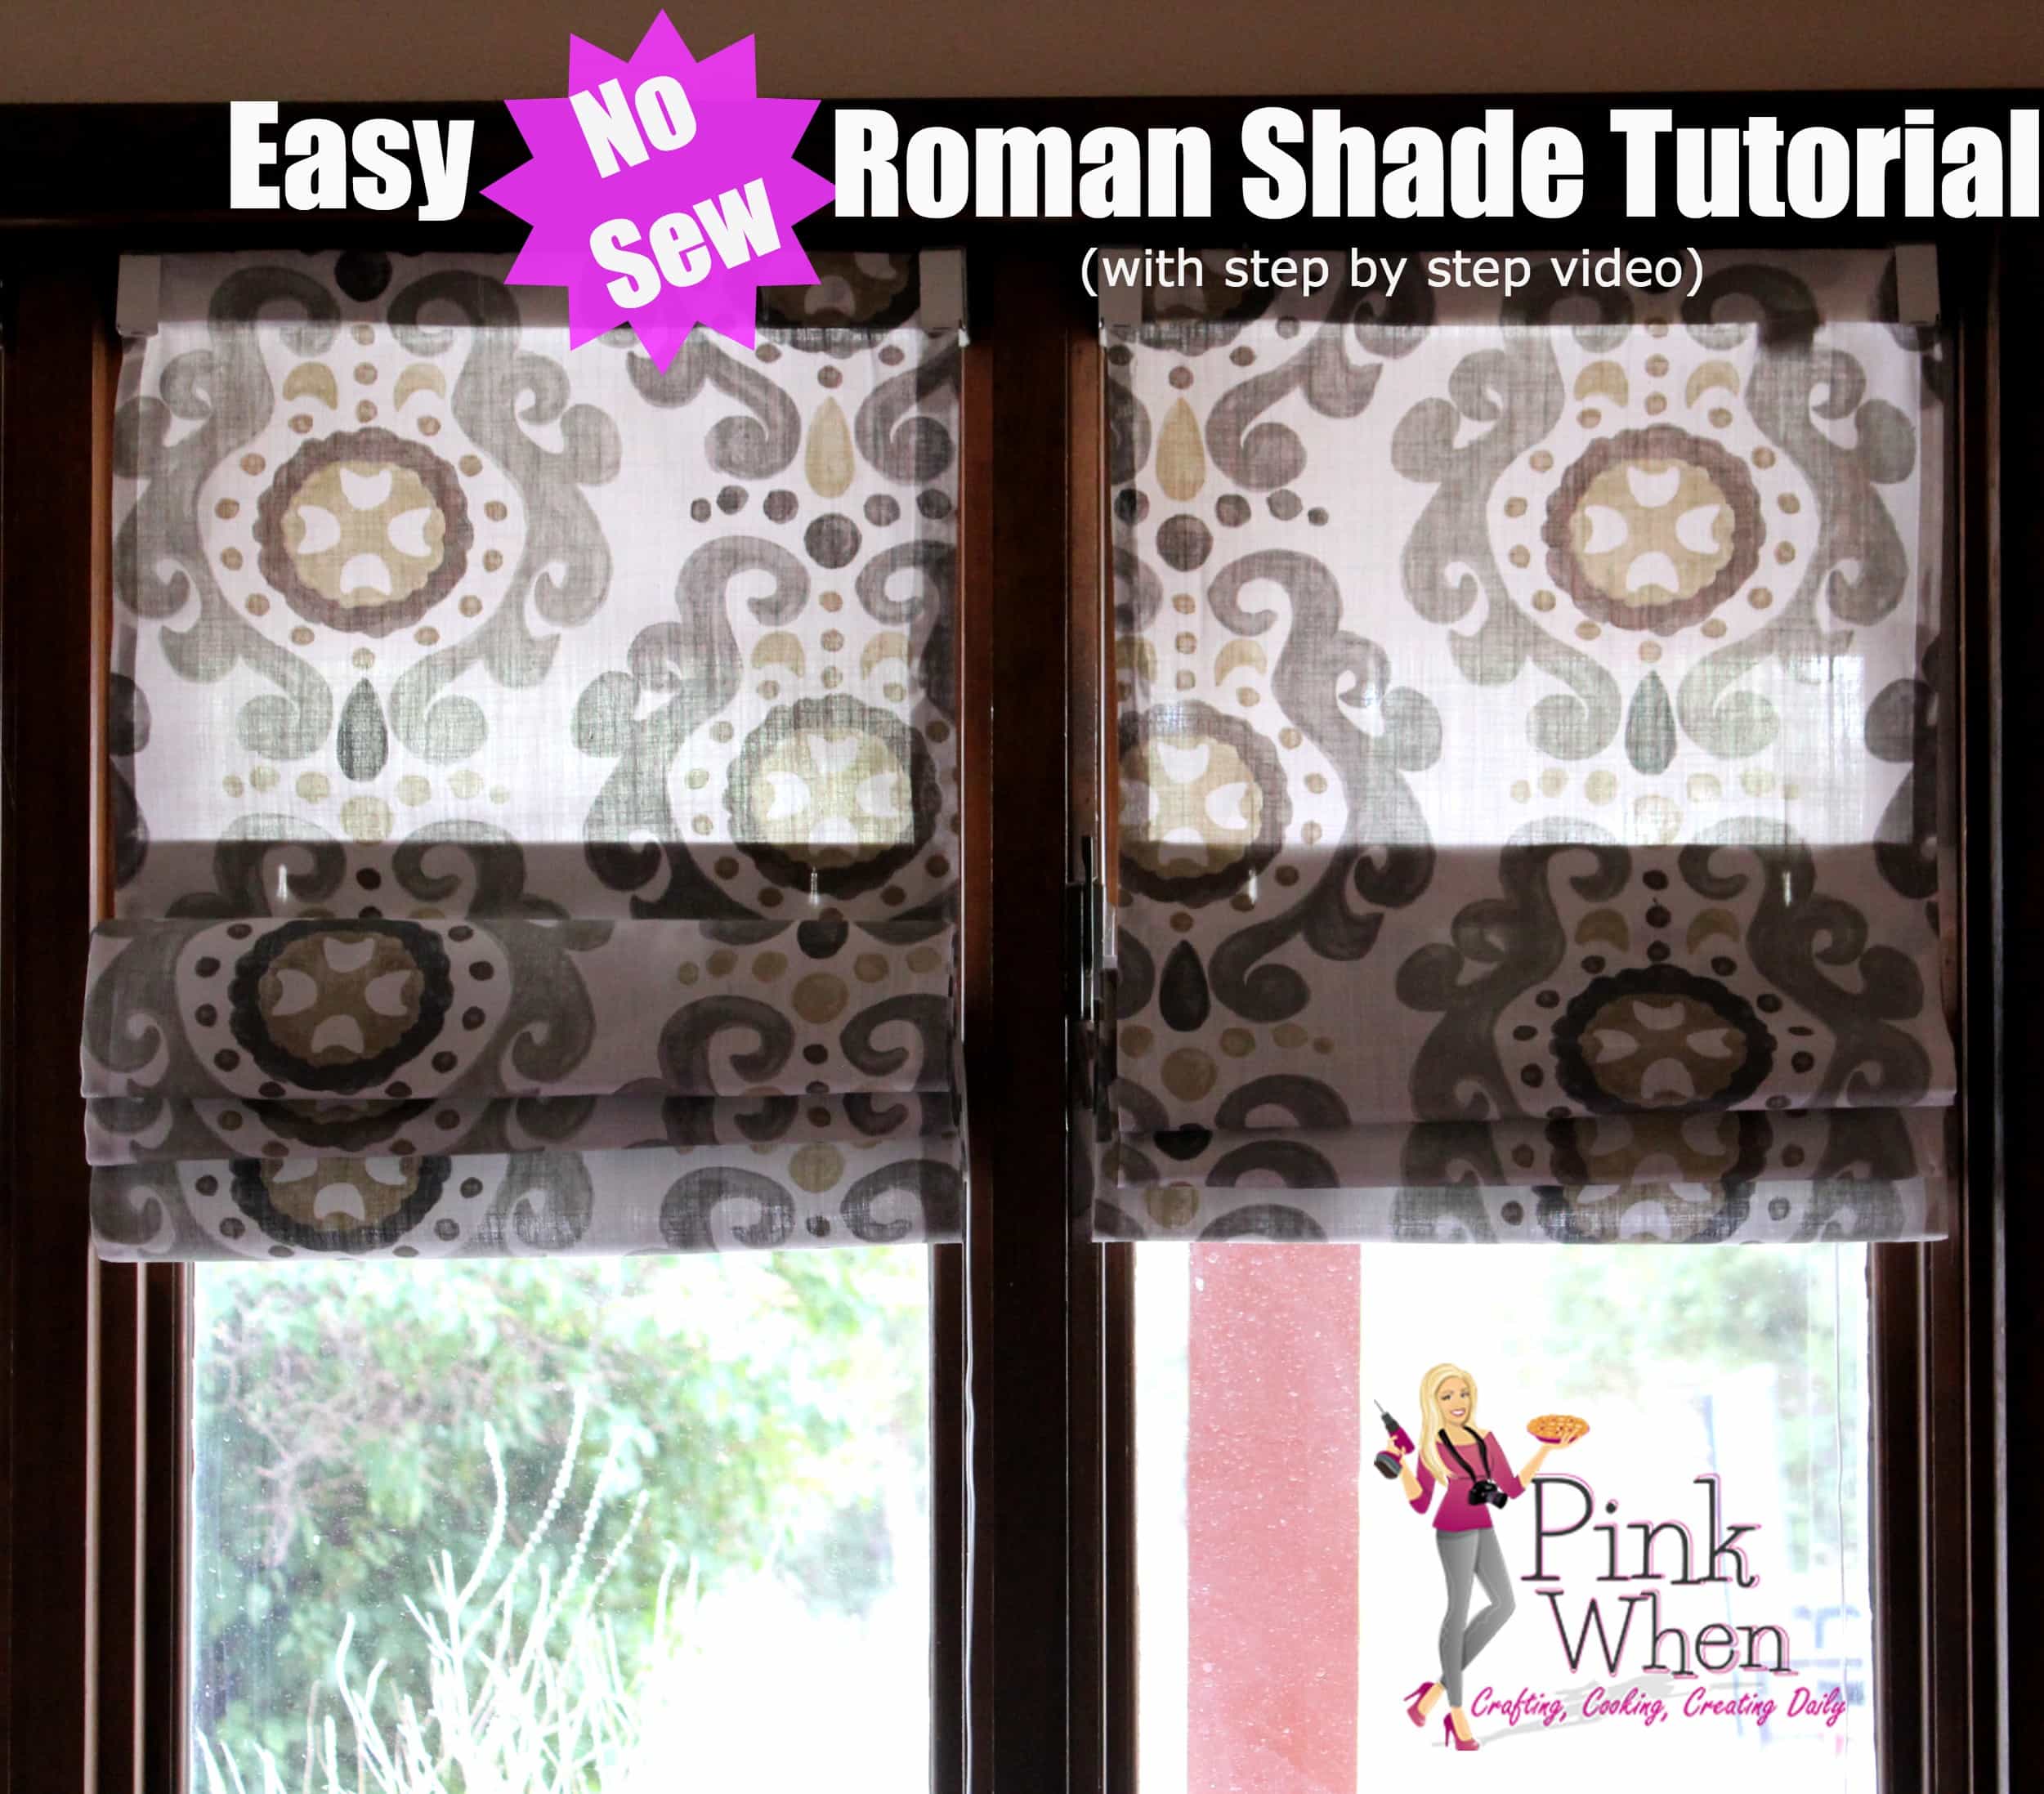
While this room is a little on the dark side, the light see-through shades allow cover, and also allow light in to the room without over darkening.
Here is a beautiful shade I made for my bedroom. This one has a lining to help keep the sun out in the bright early morning!
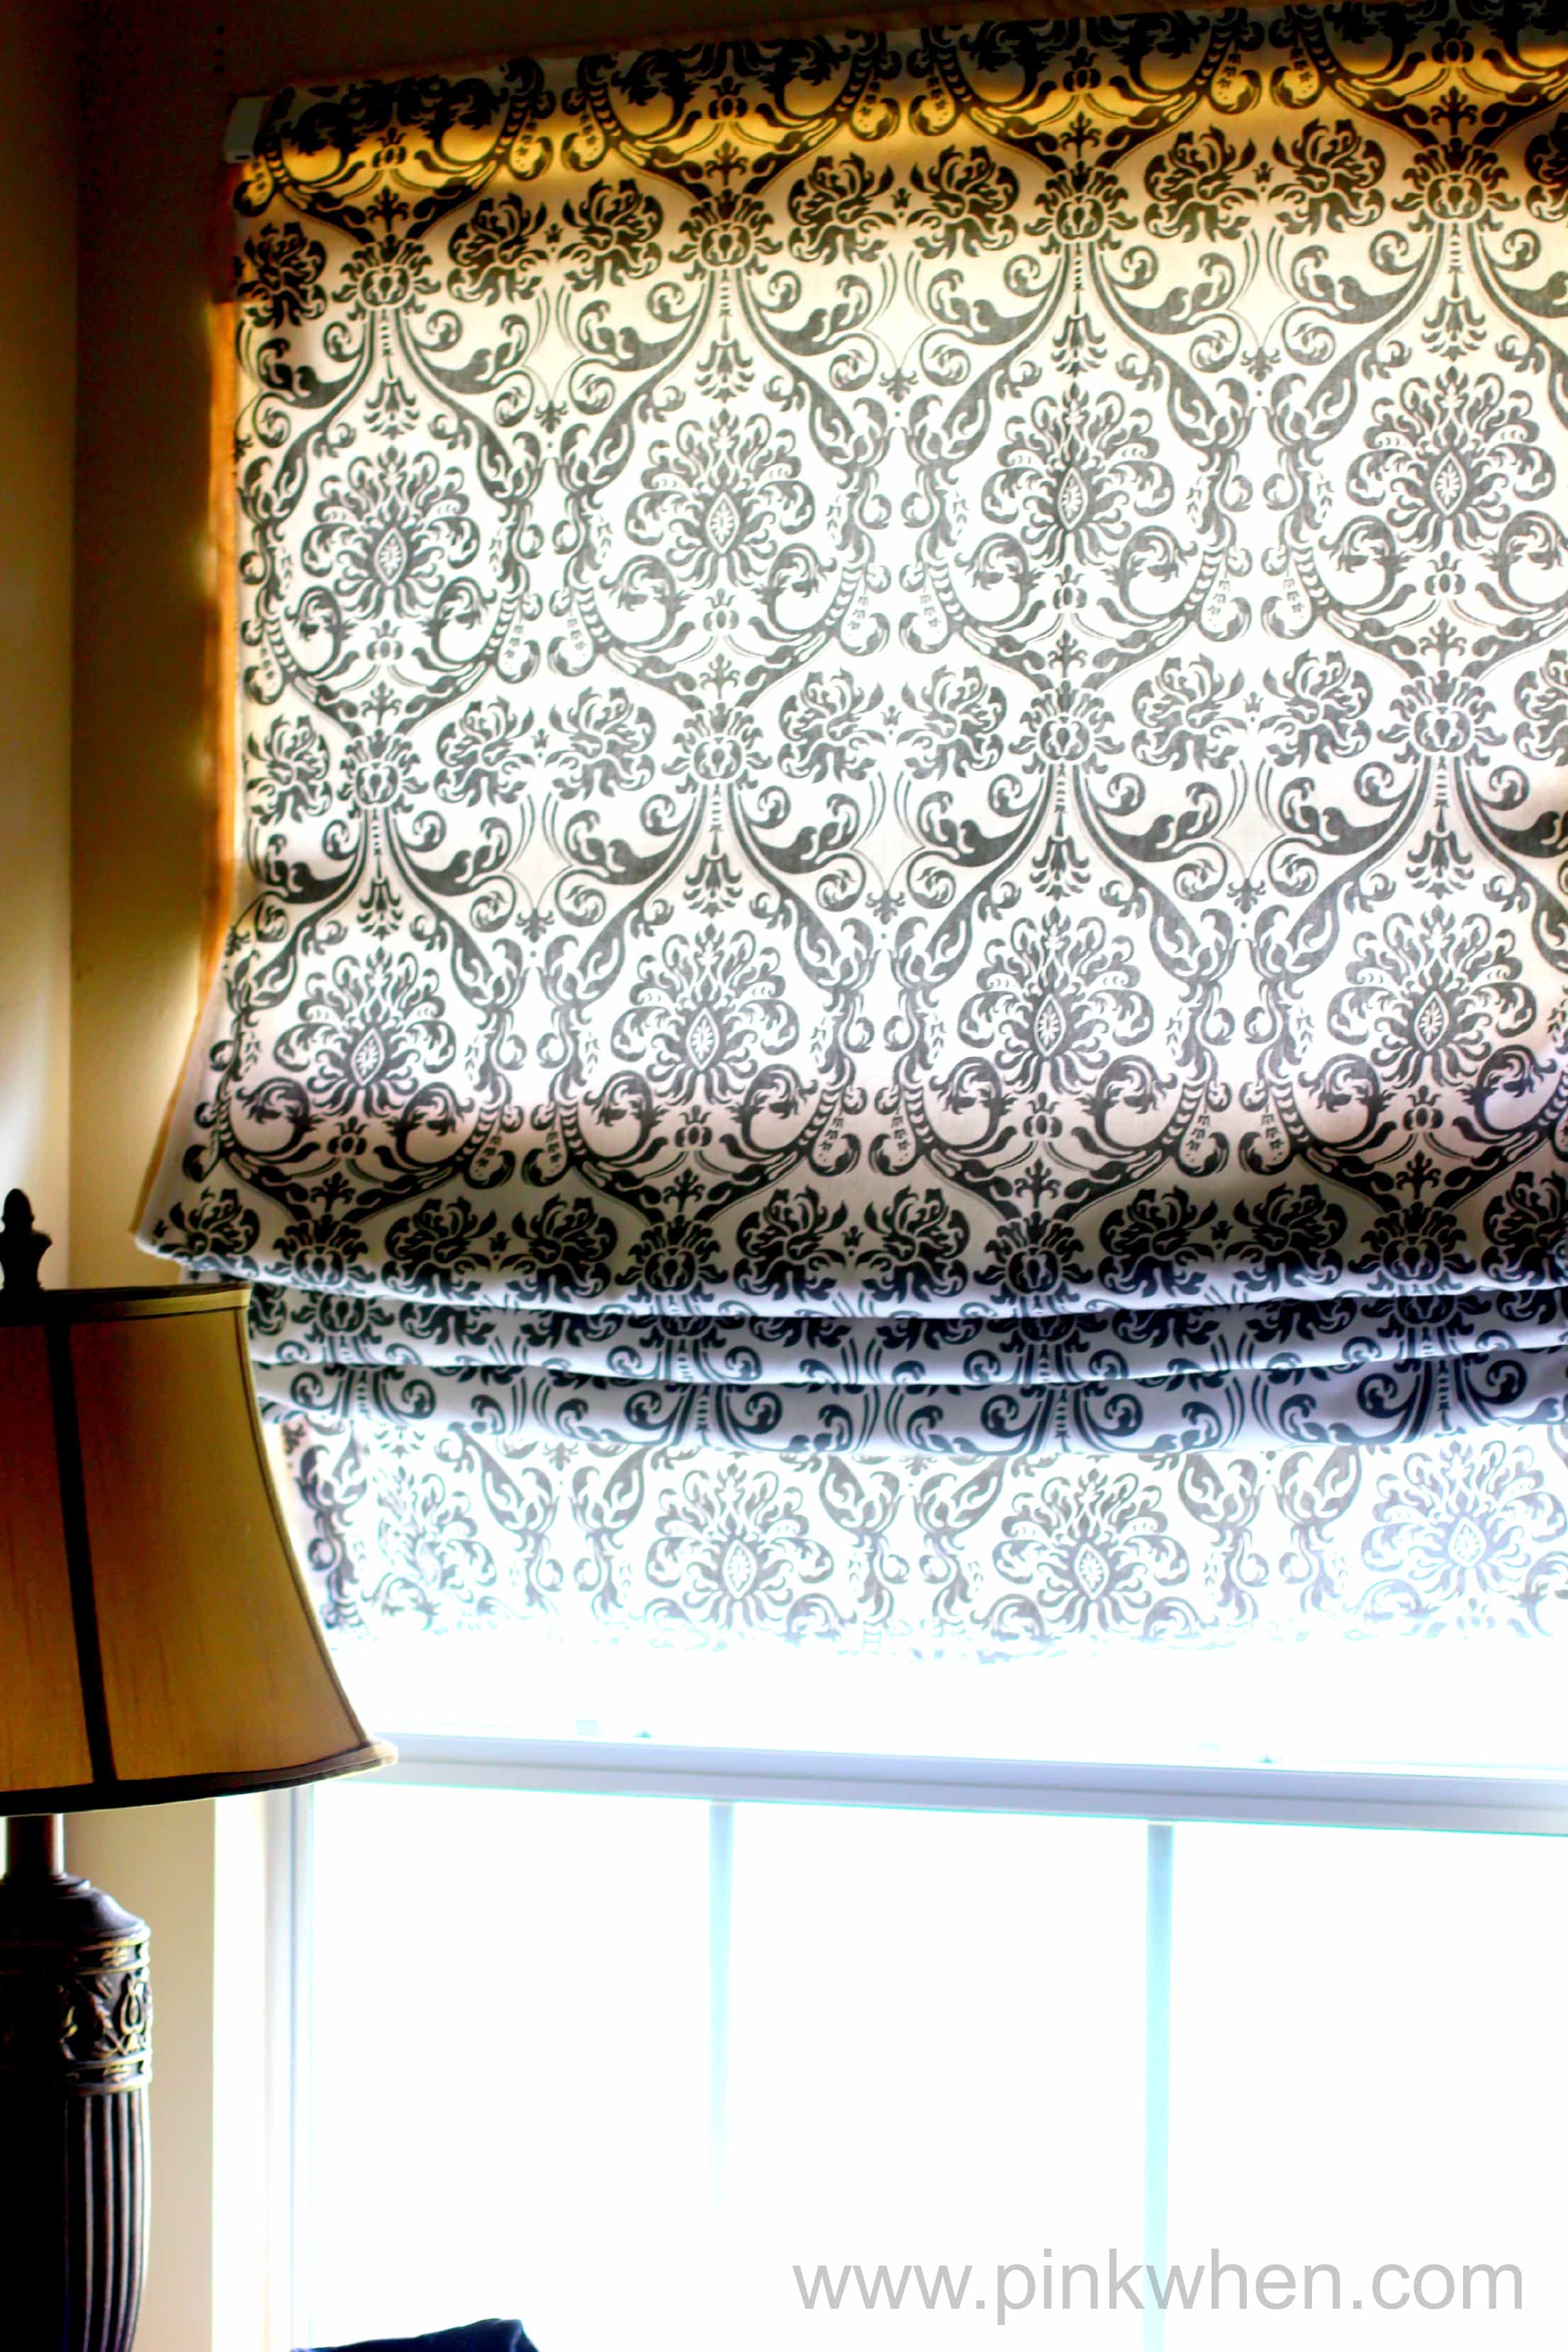
Easy No Sew Roman Shades
You will need a few supplies for this project:
- blinds
- fabric (or in our case, we used a shower curtain she had!)
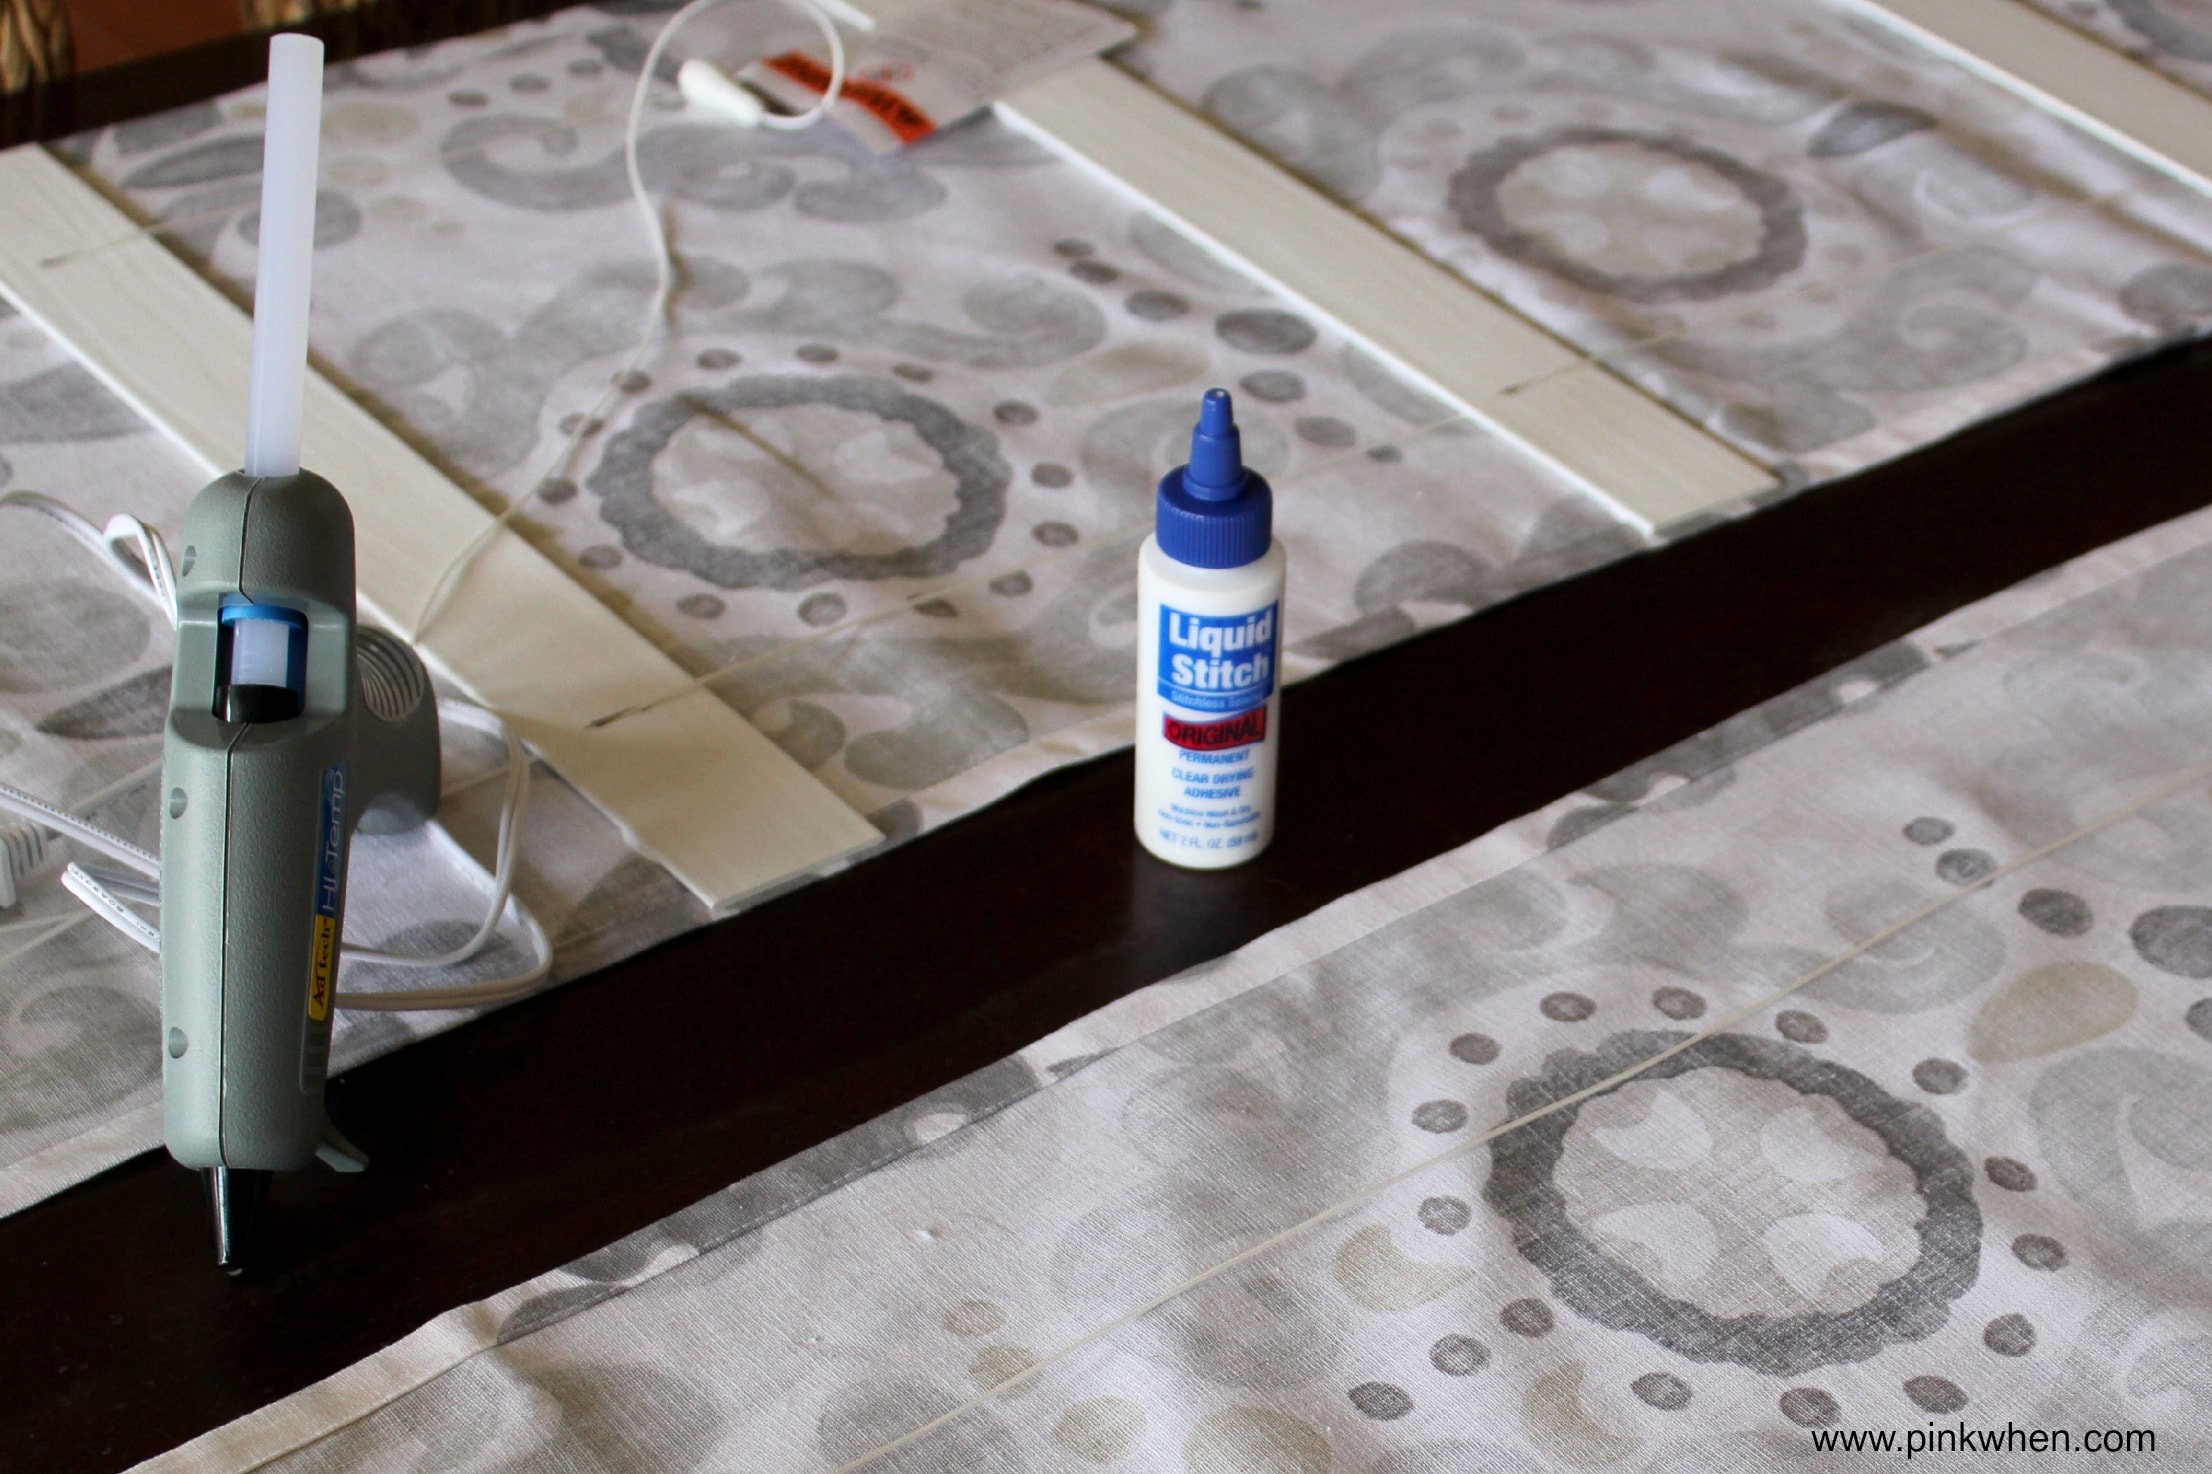
- hot glue gun
- liquid stitch
- stitch witch
- scissors
- iron
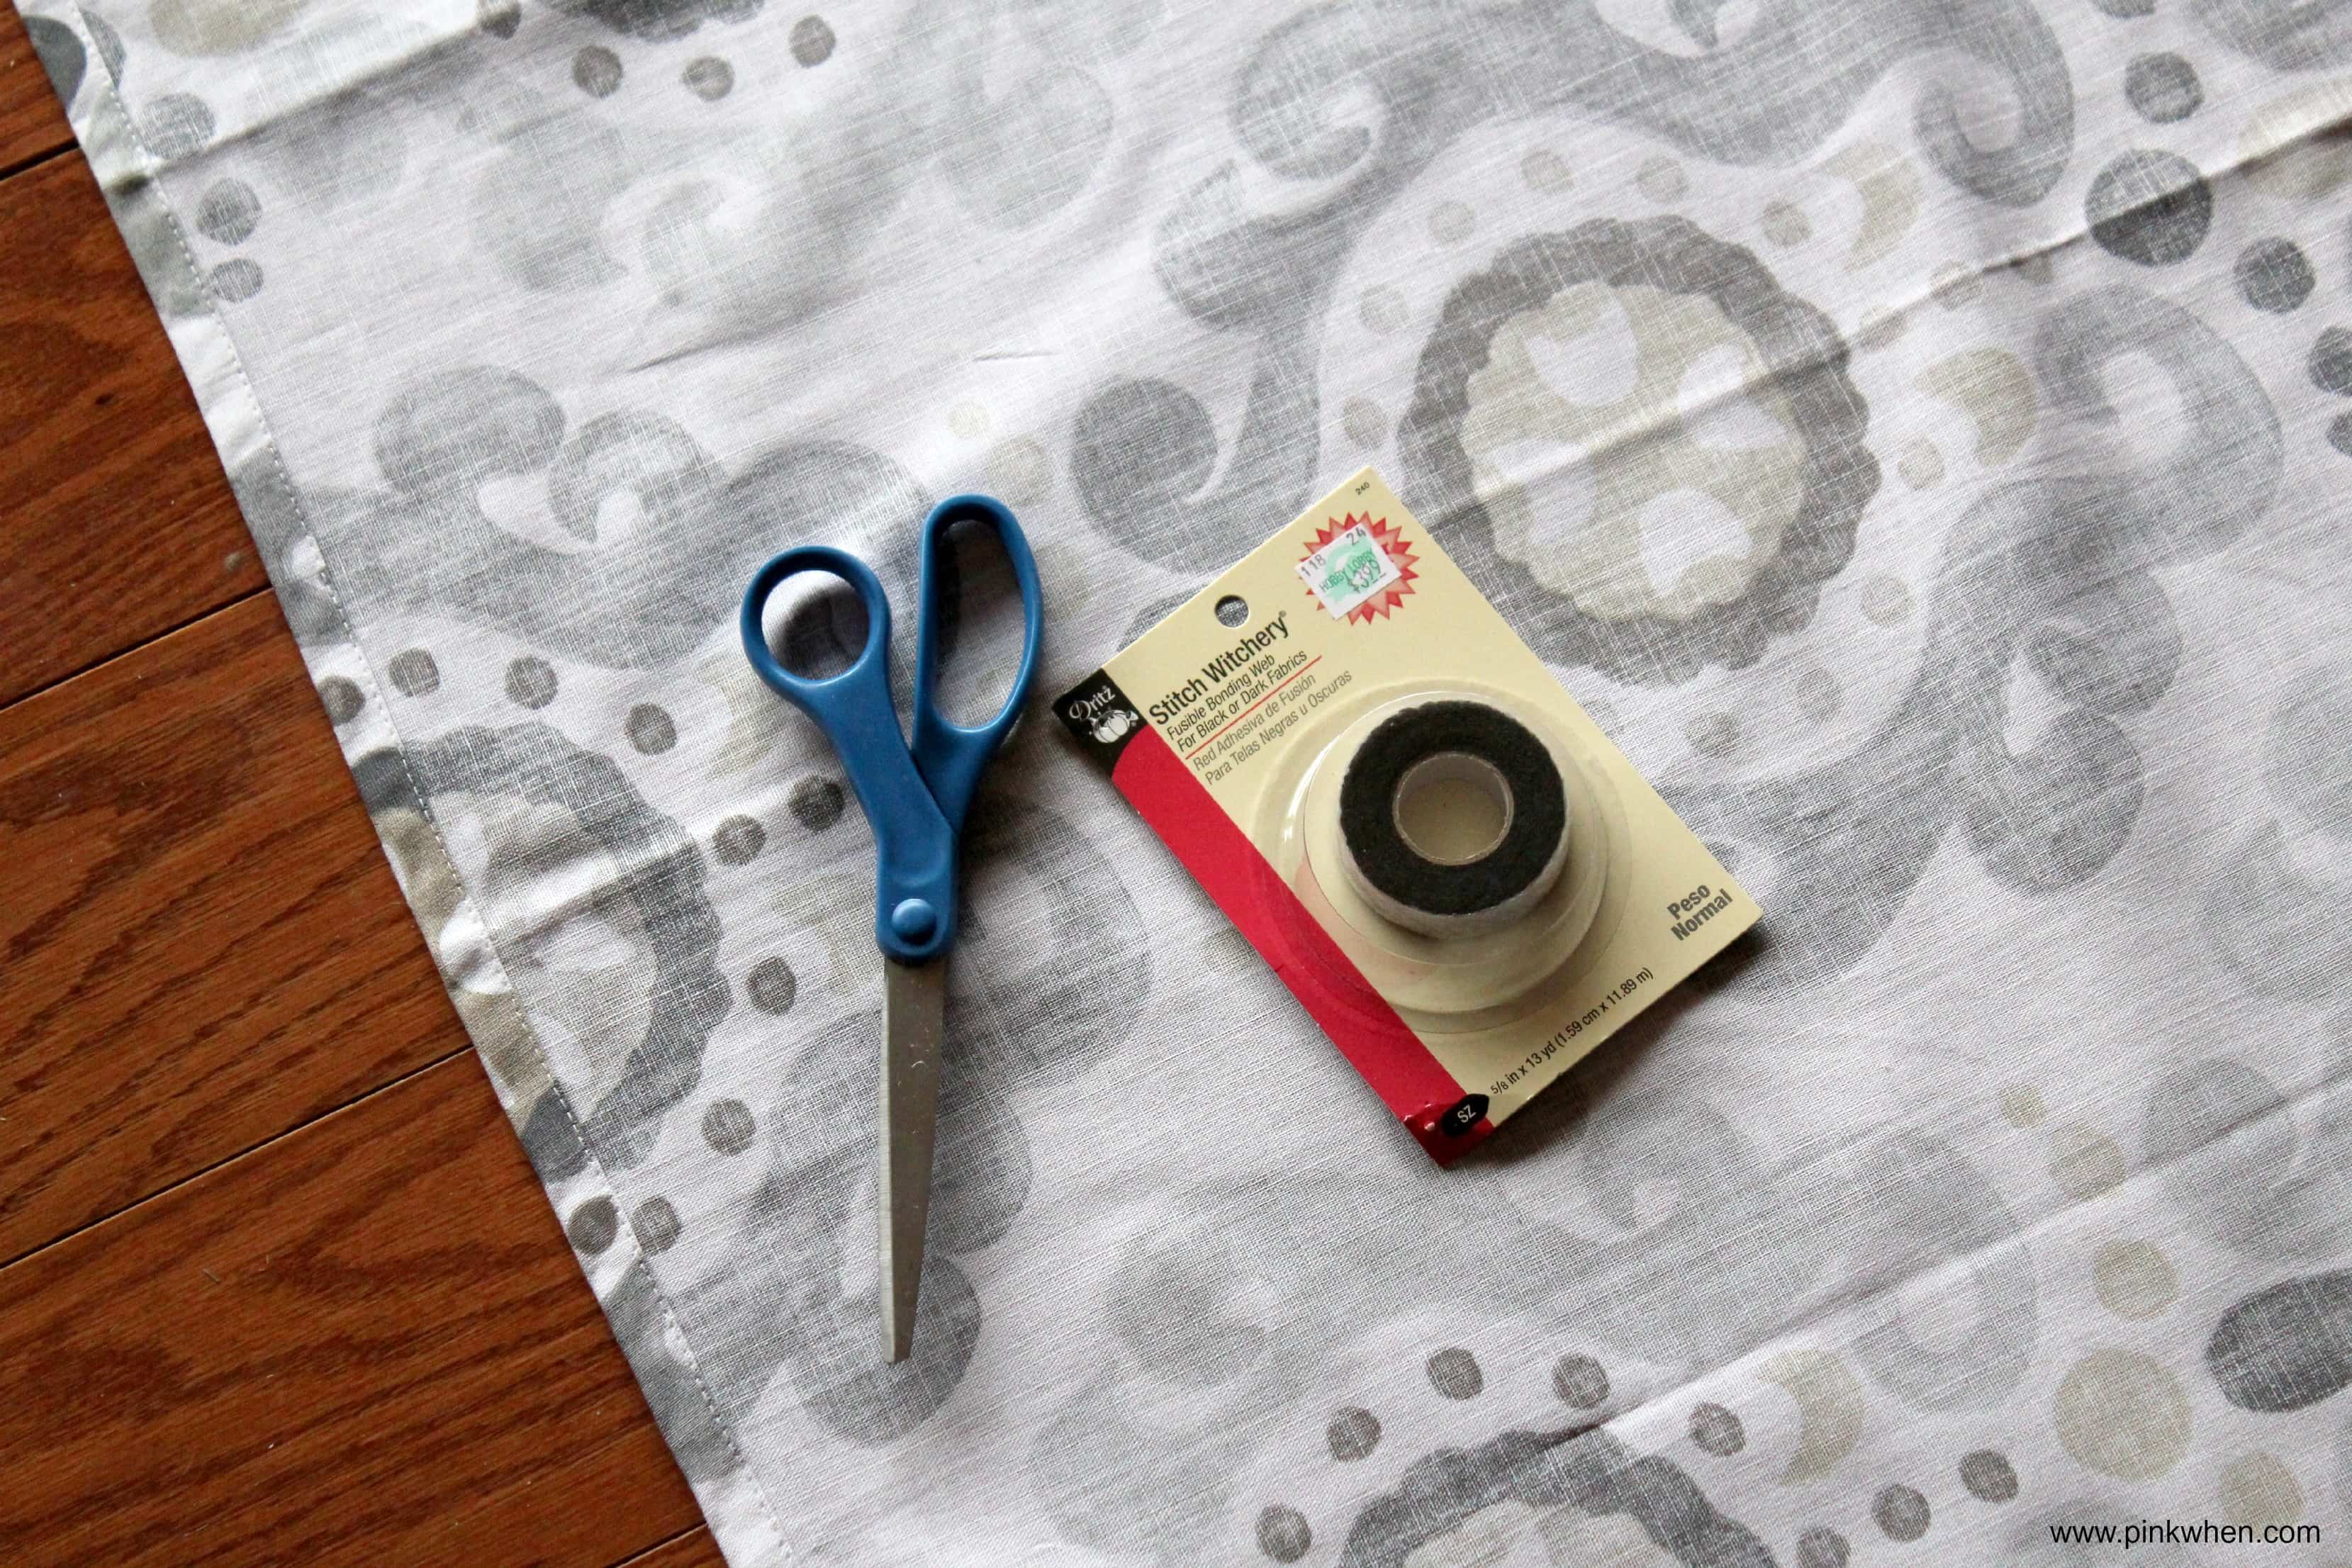
The first thing you want to do is measure the width and length of your blinds. Once you have that, add 2″ to each of those measurements. For example, our blinds were 18″ x 60″, so the fabric was cut 20″ x 62″. This is so you can create the seams in your fabric.
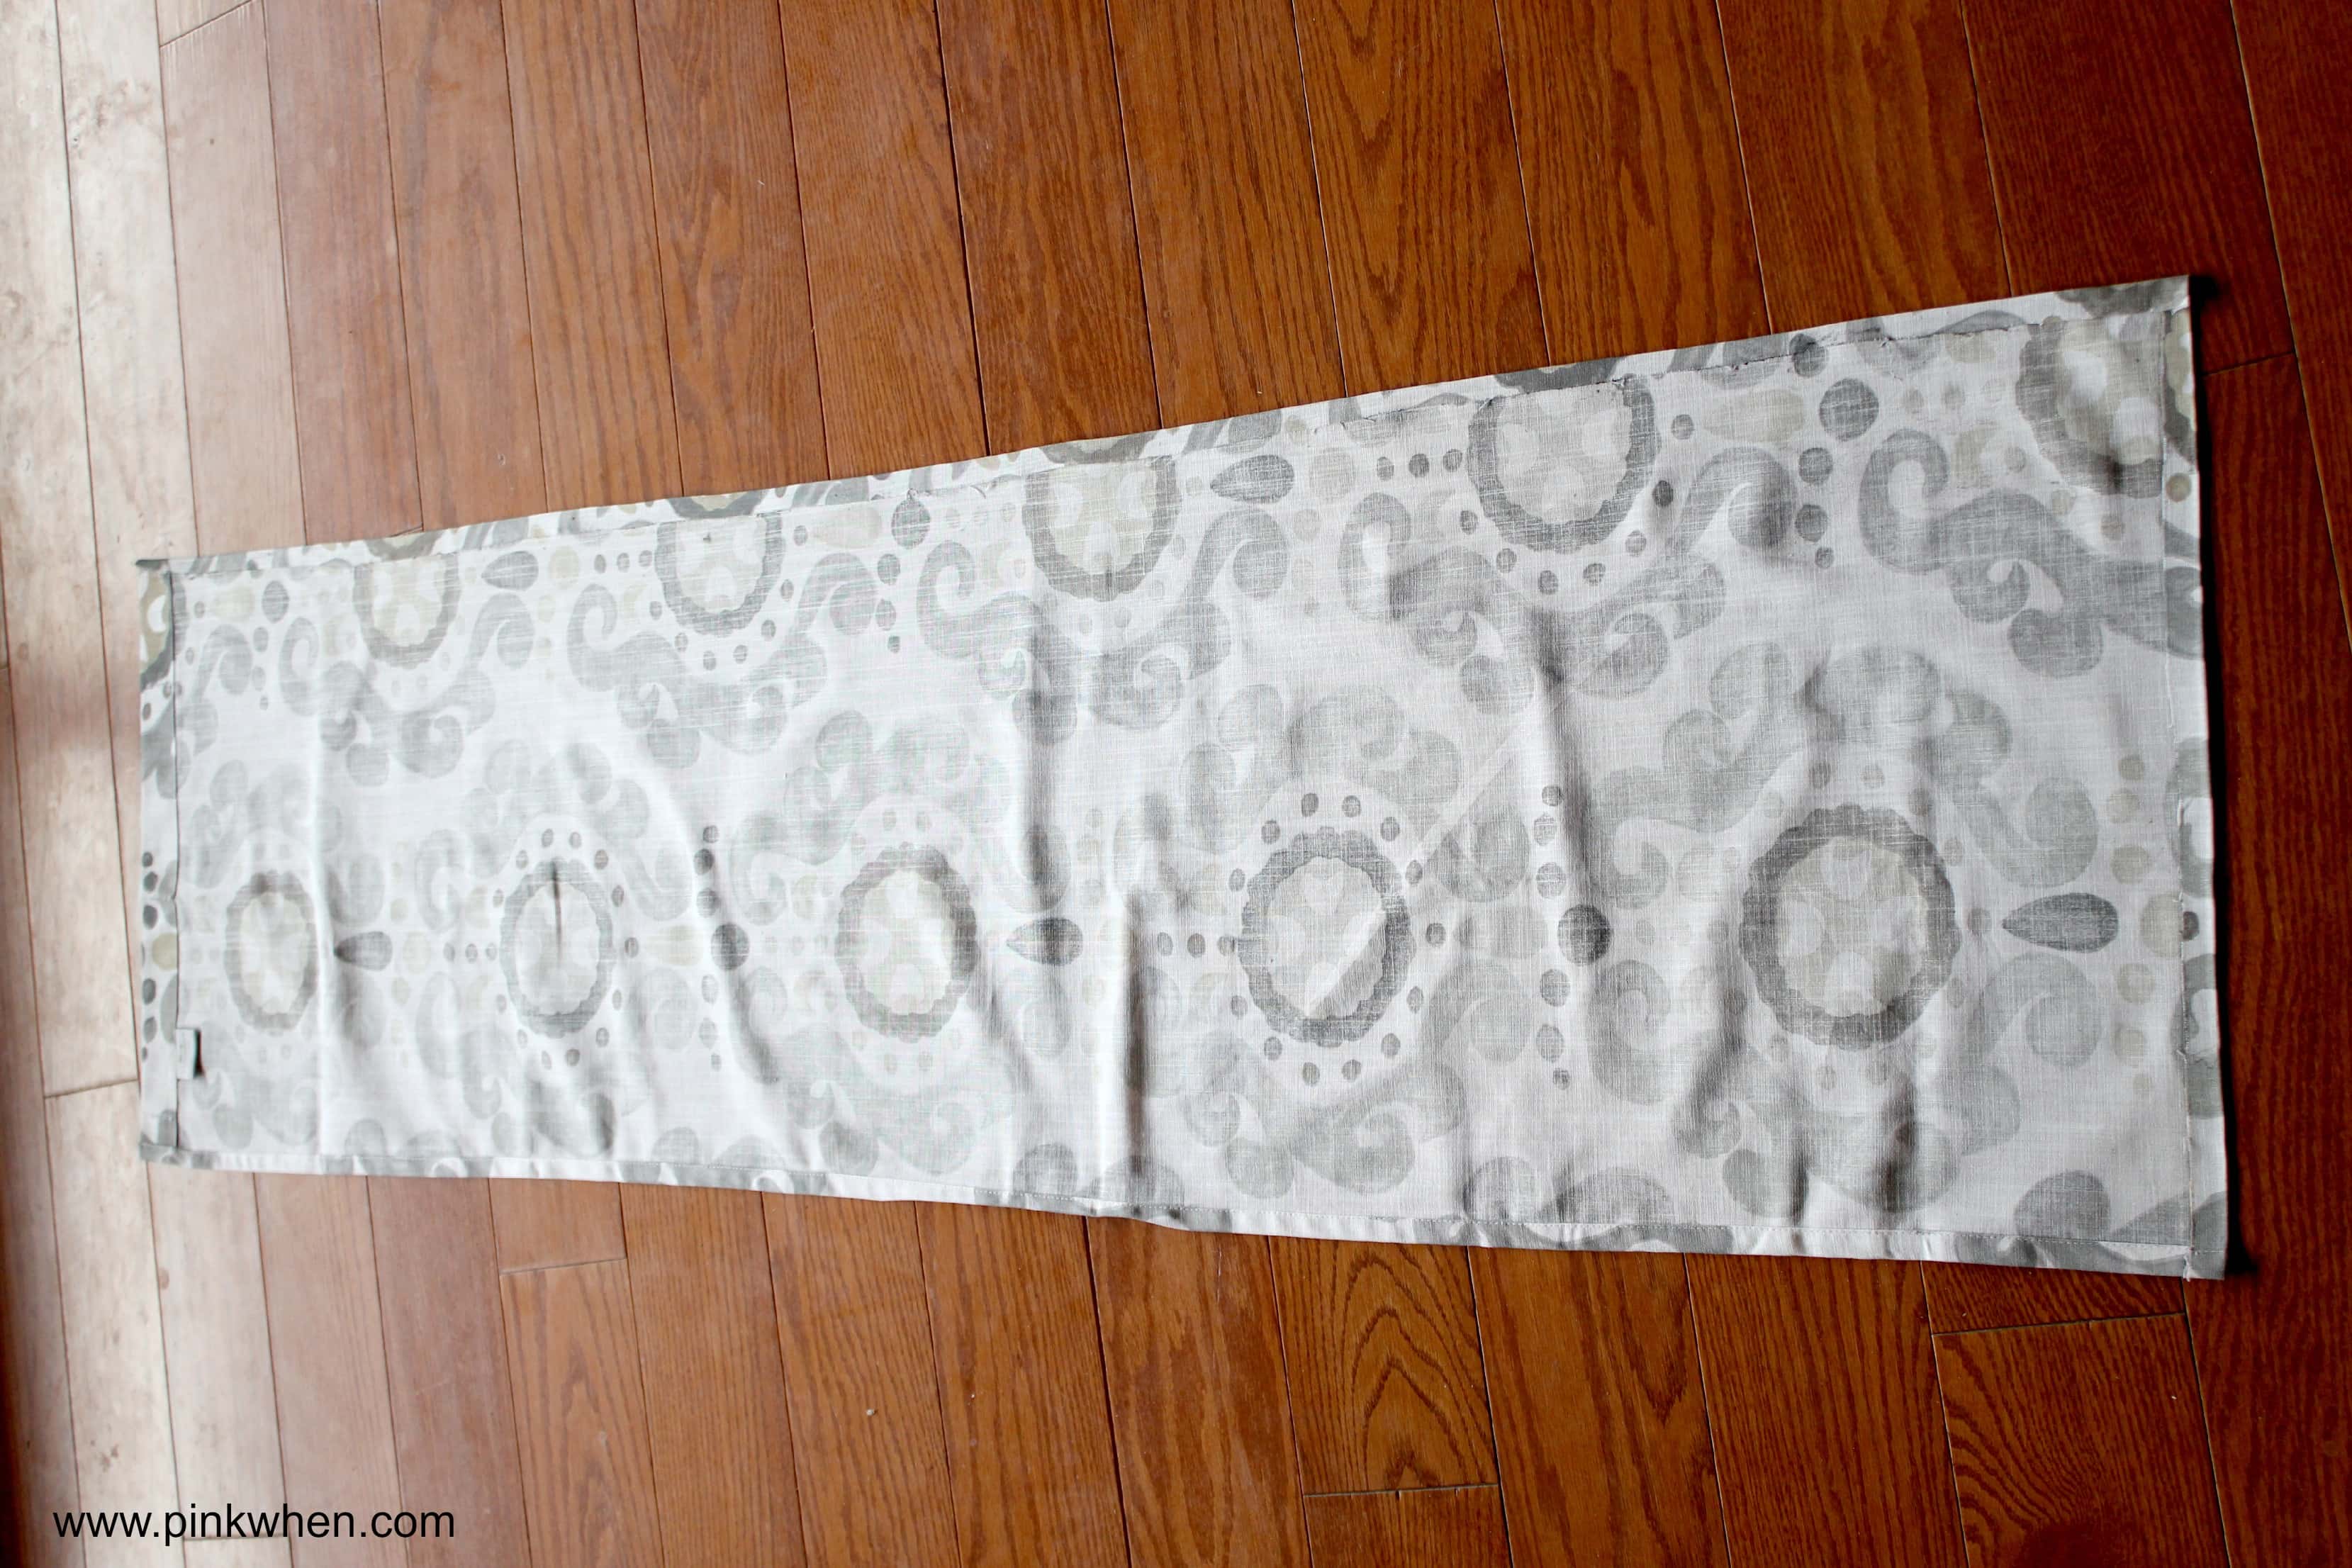
To create the seams, fold the fabric in one inch and iron. Add the the stitch witch and iron. You should now have a seam.
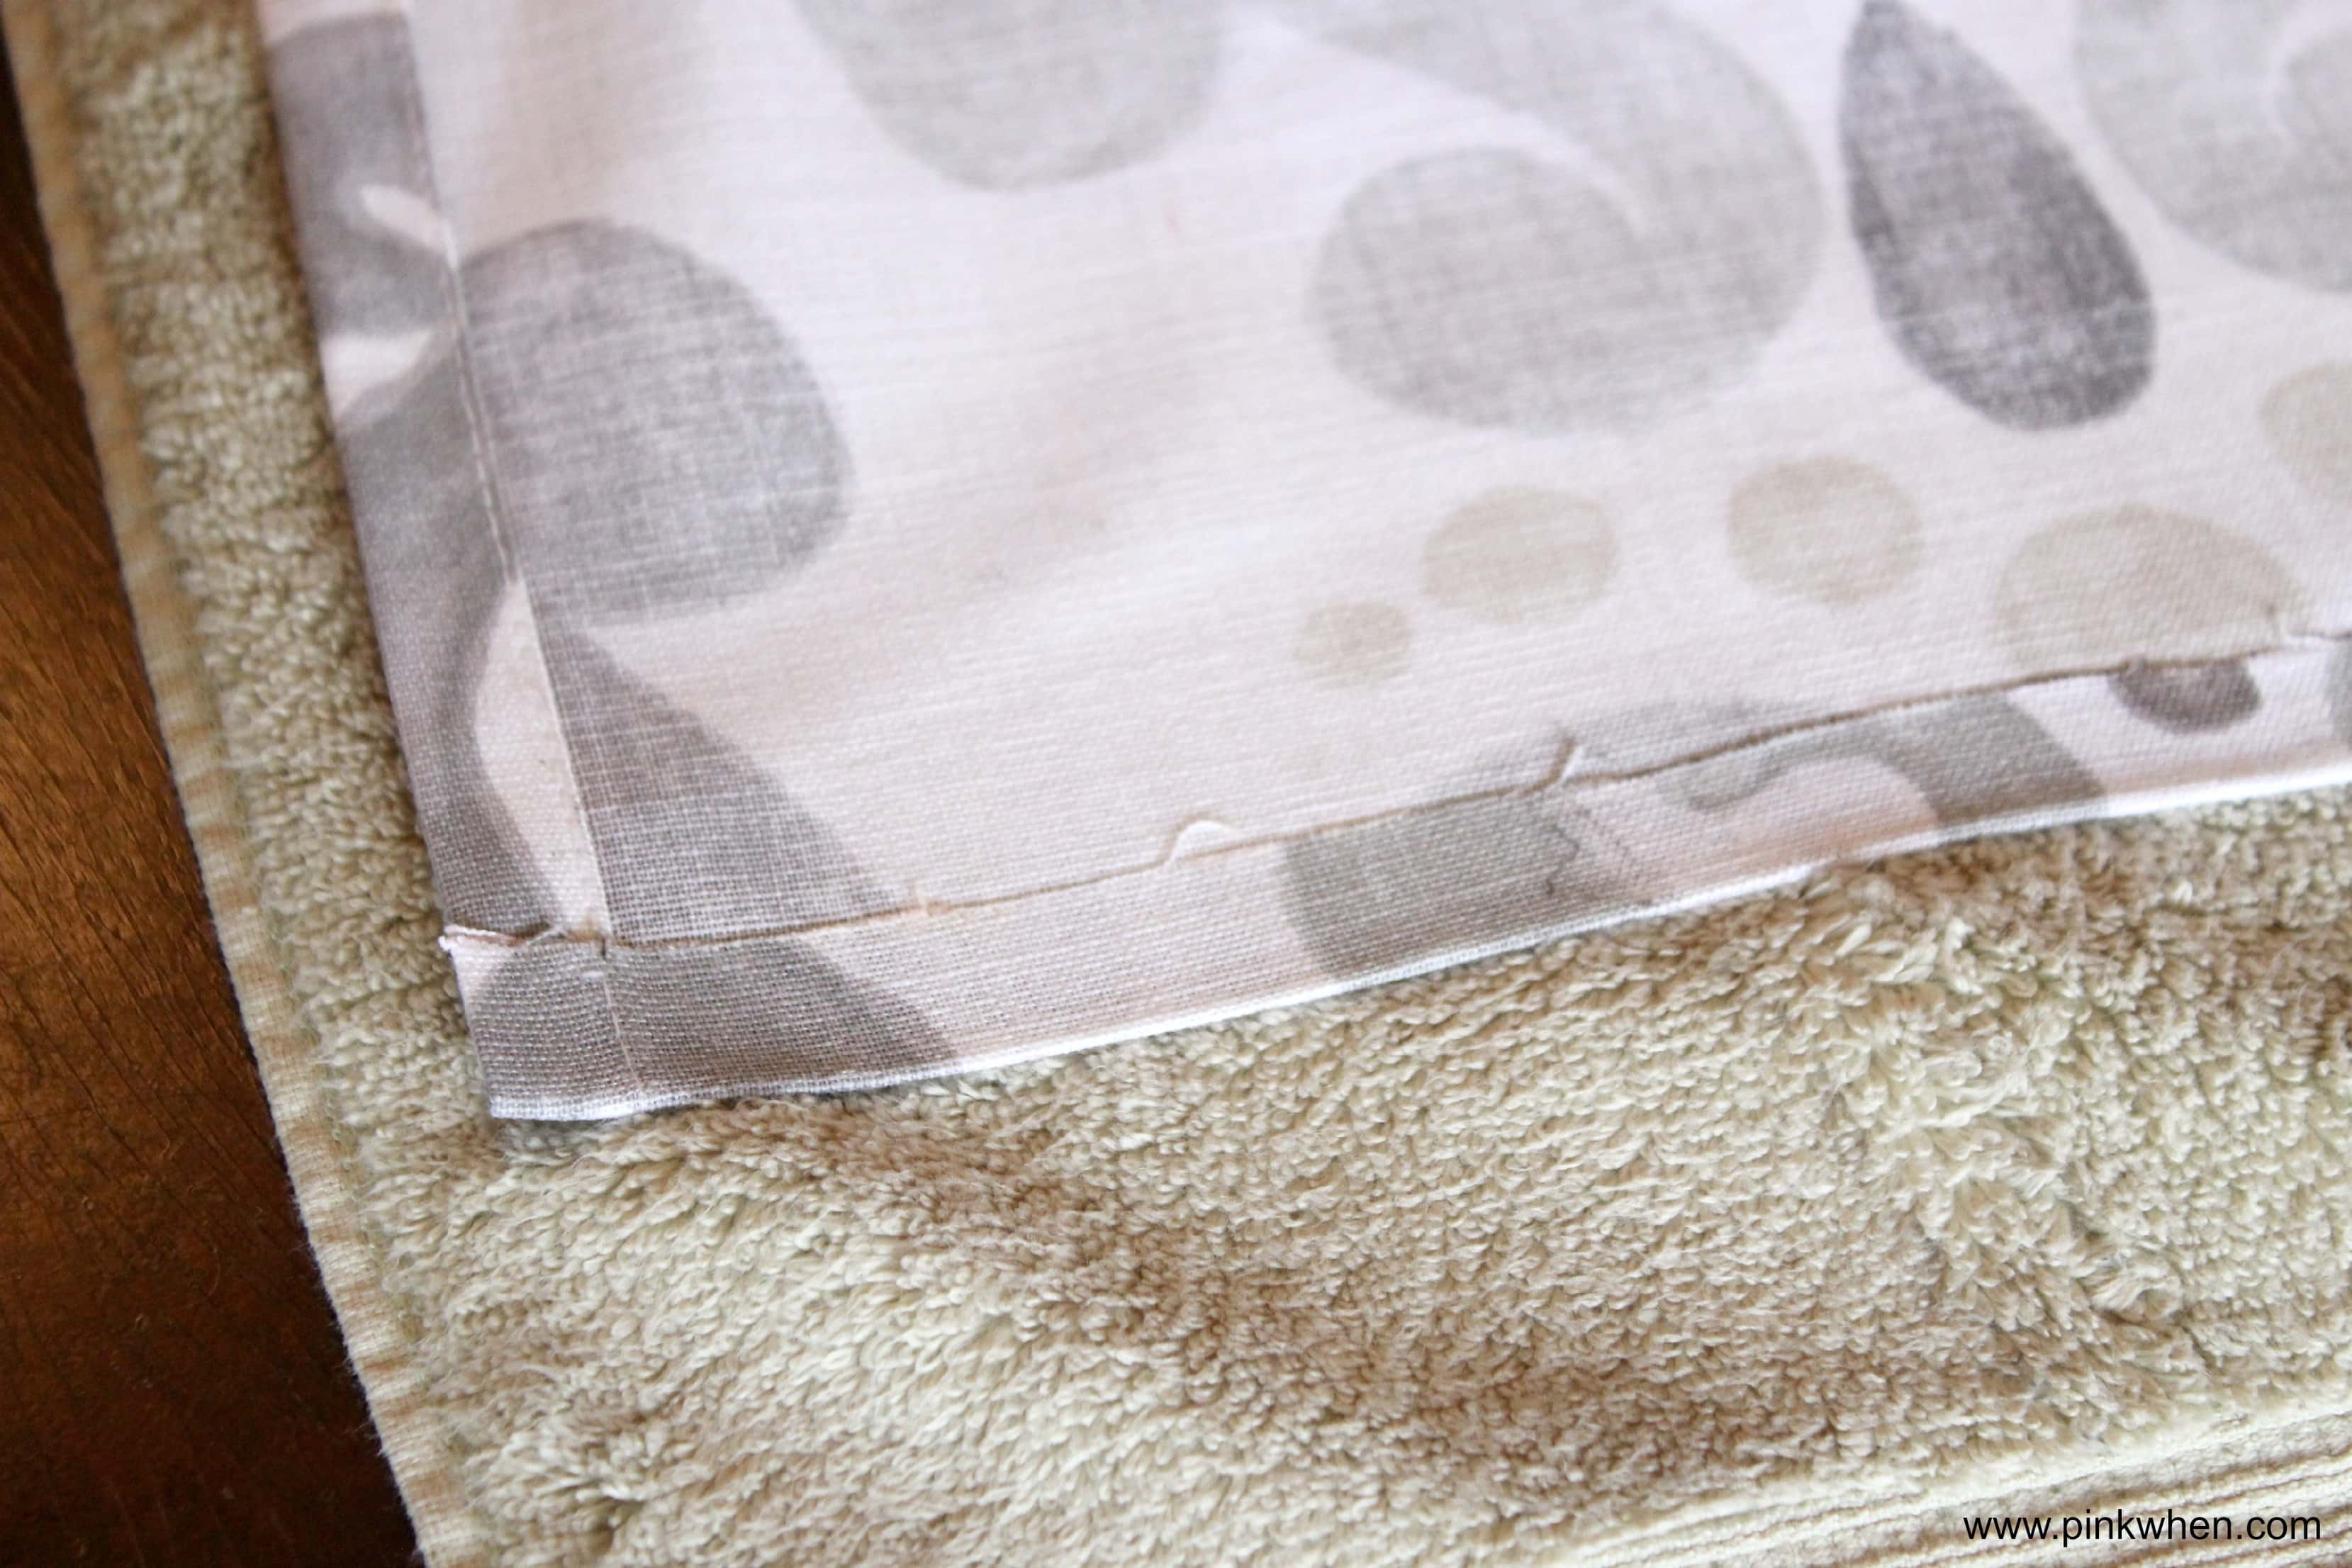
Do this all the way around your fabric until you have all of your seams completed.
Once that is done, you will want to cut the ladder cord from the blinds you will be using.
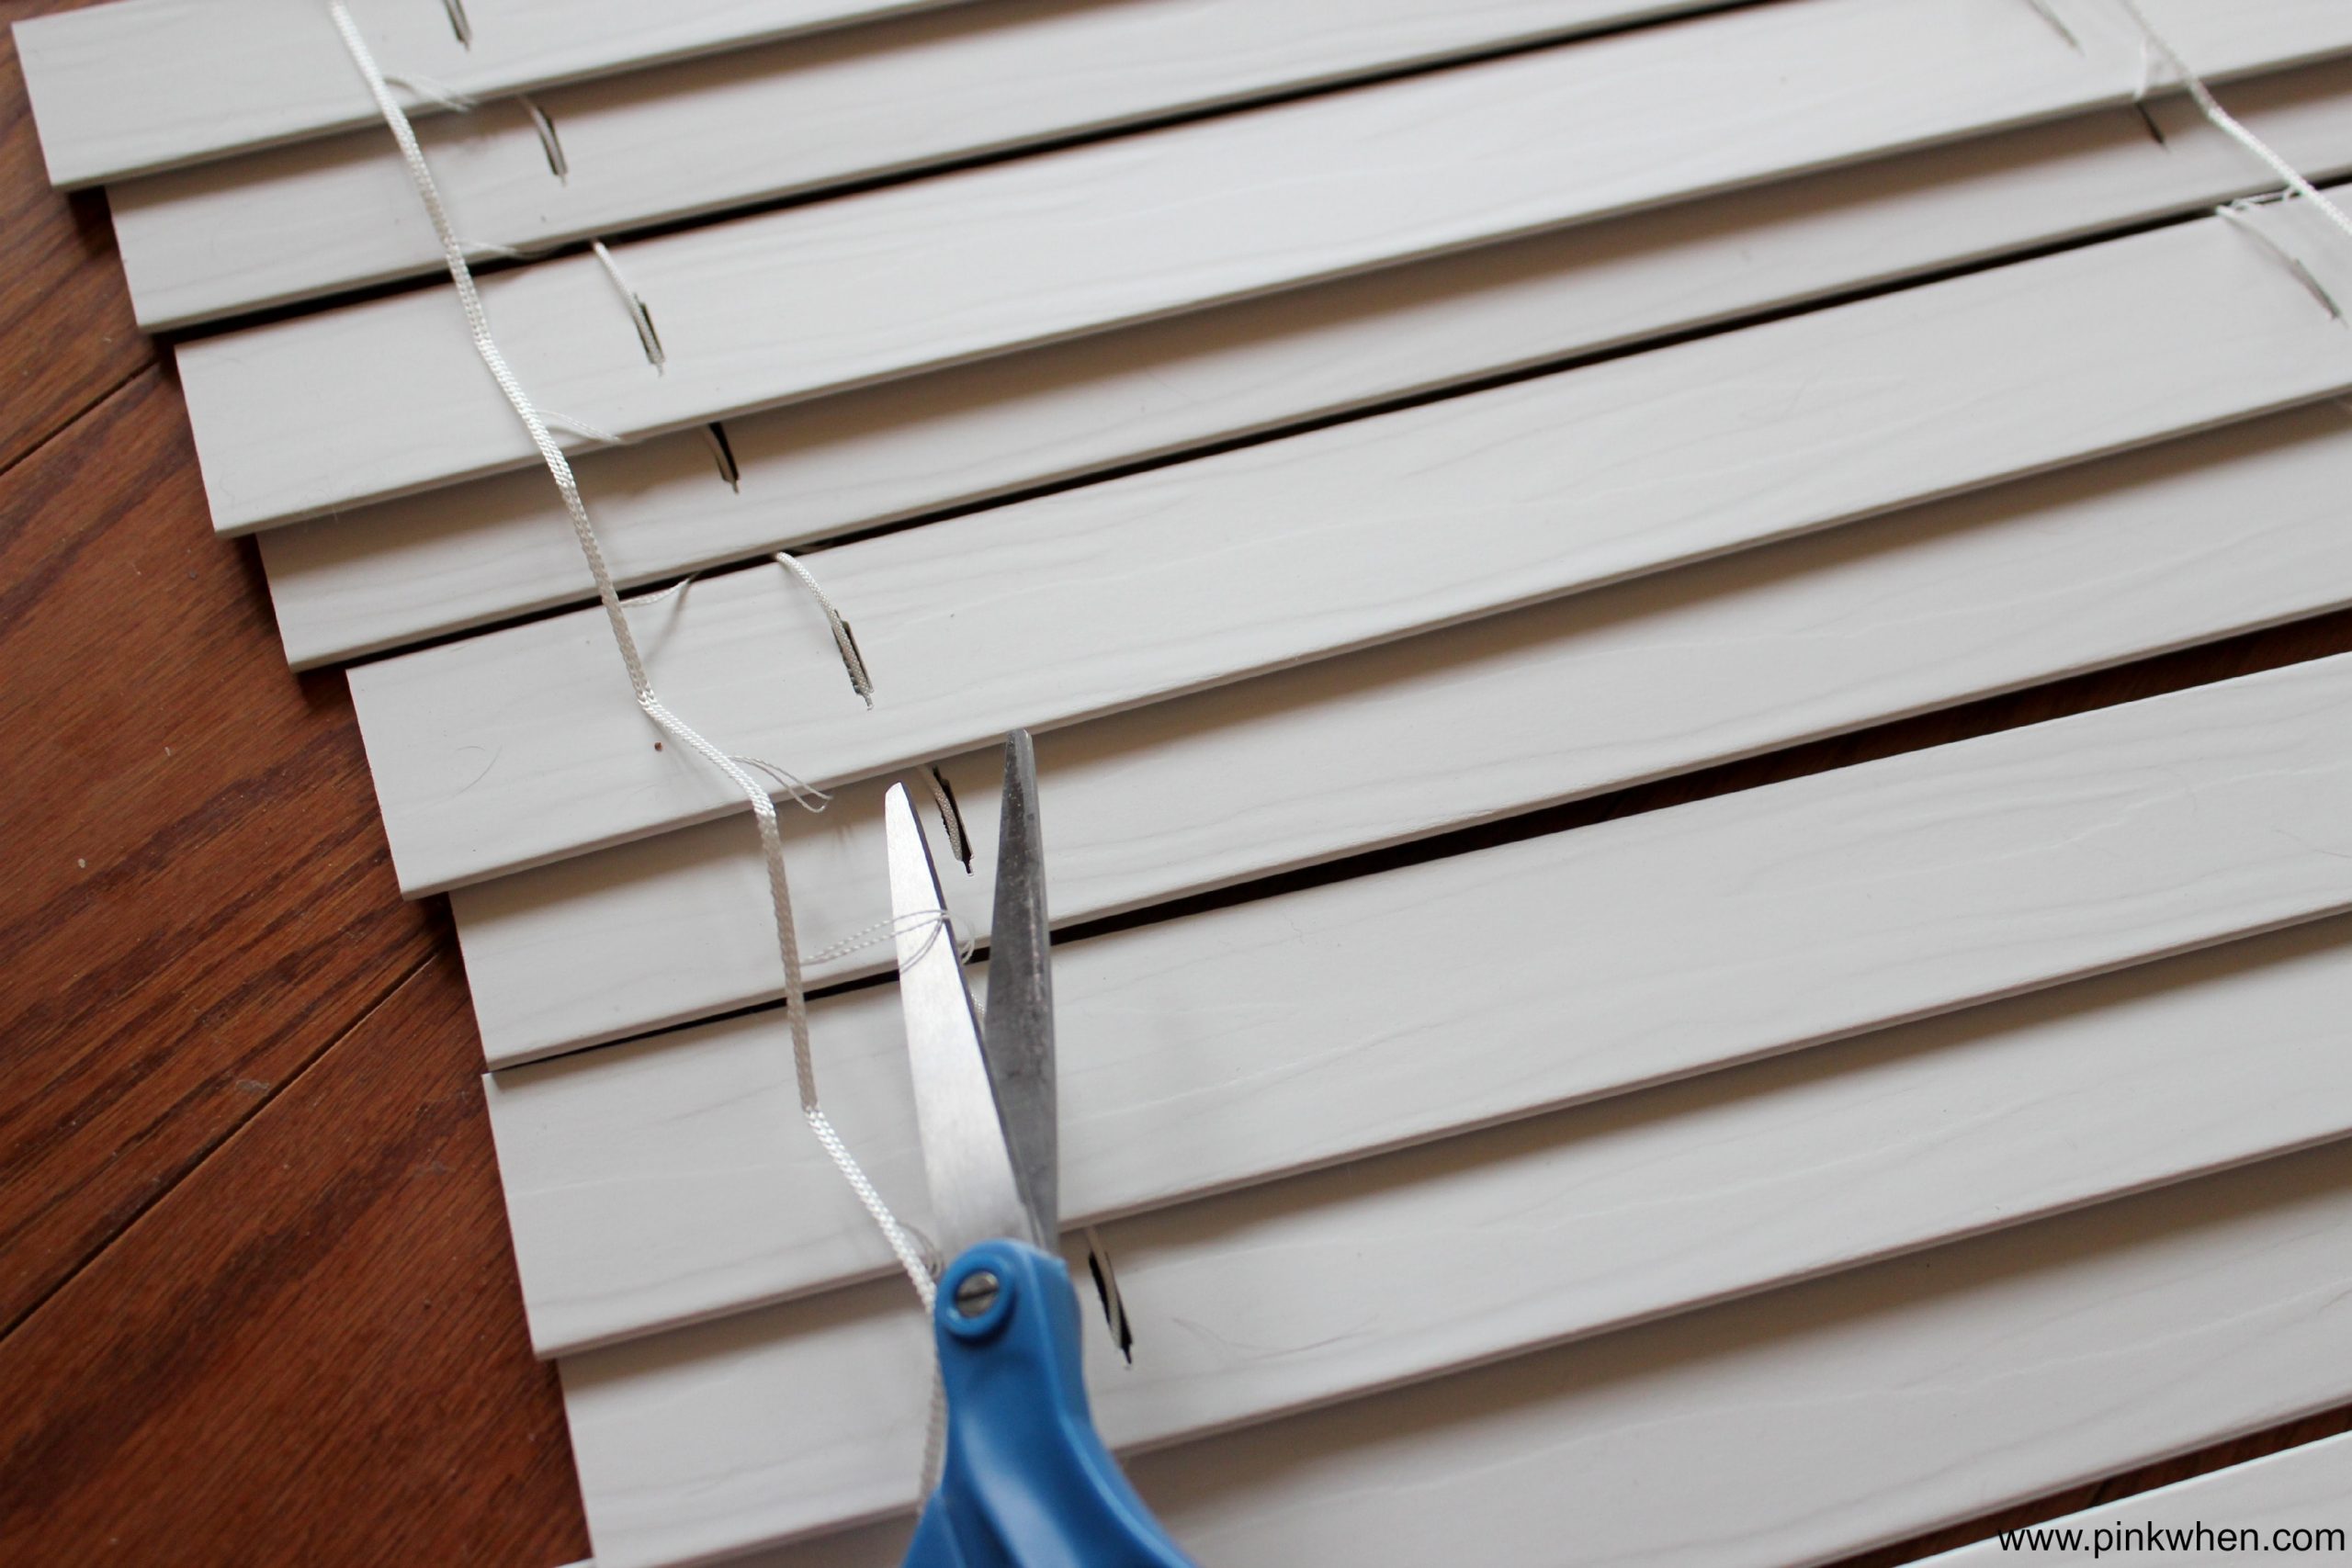
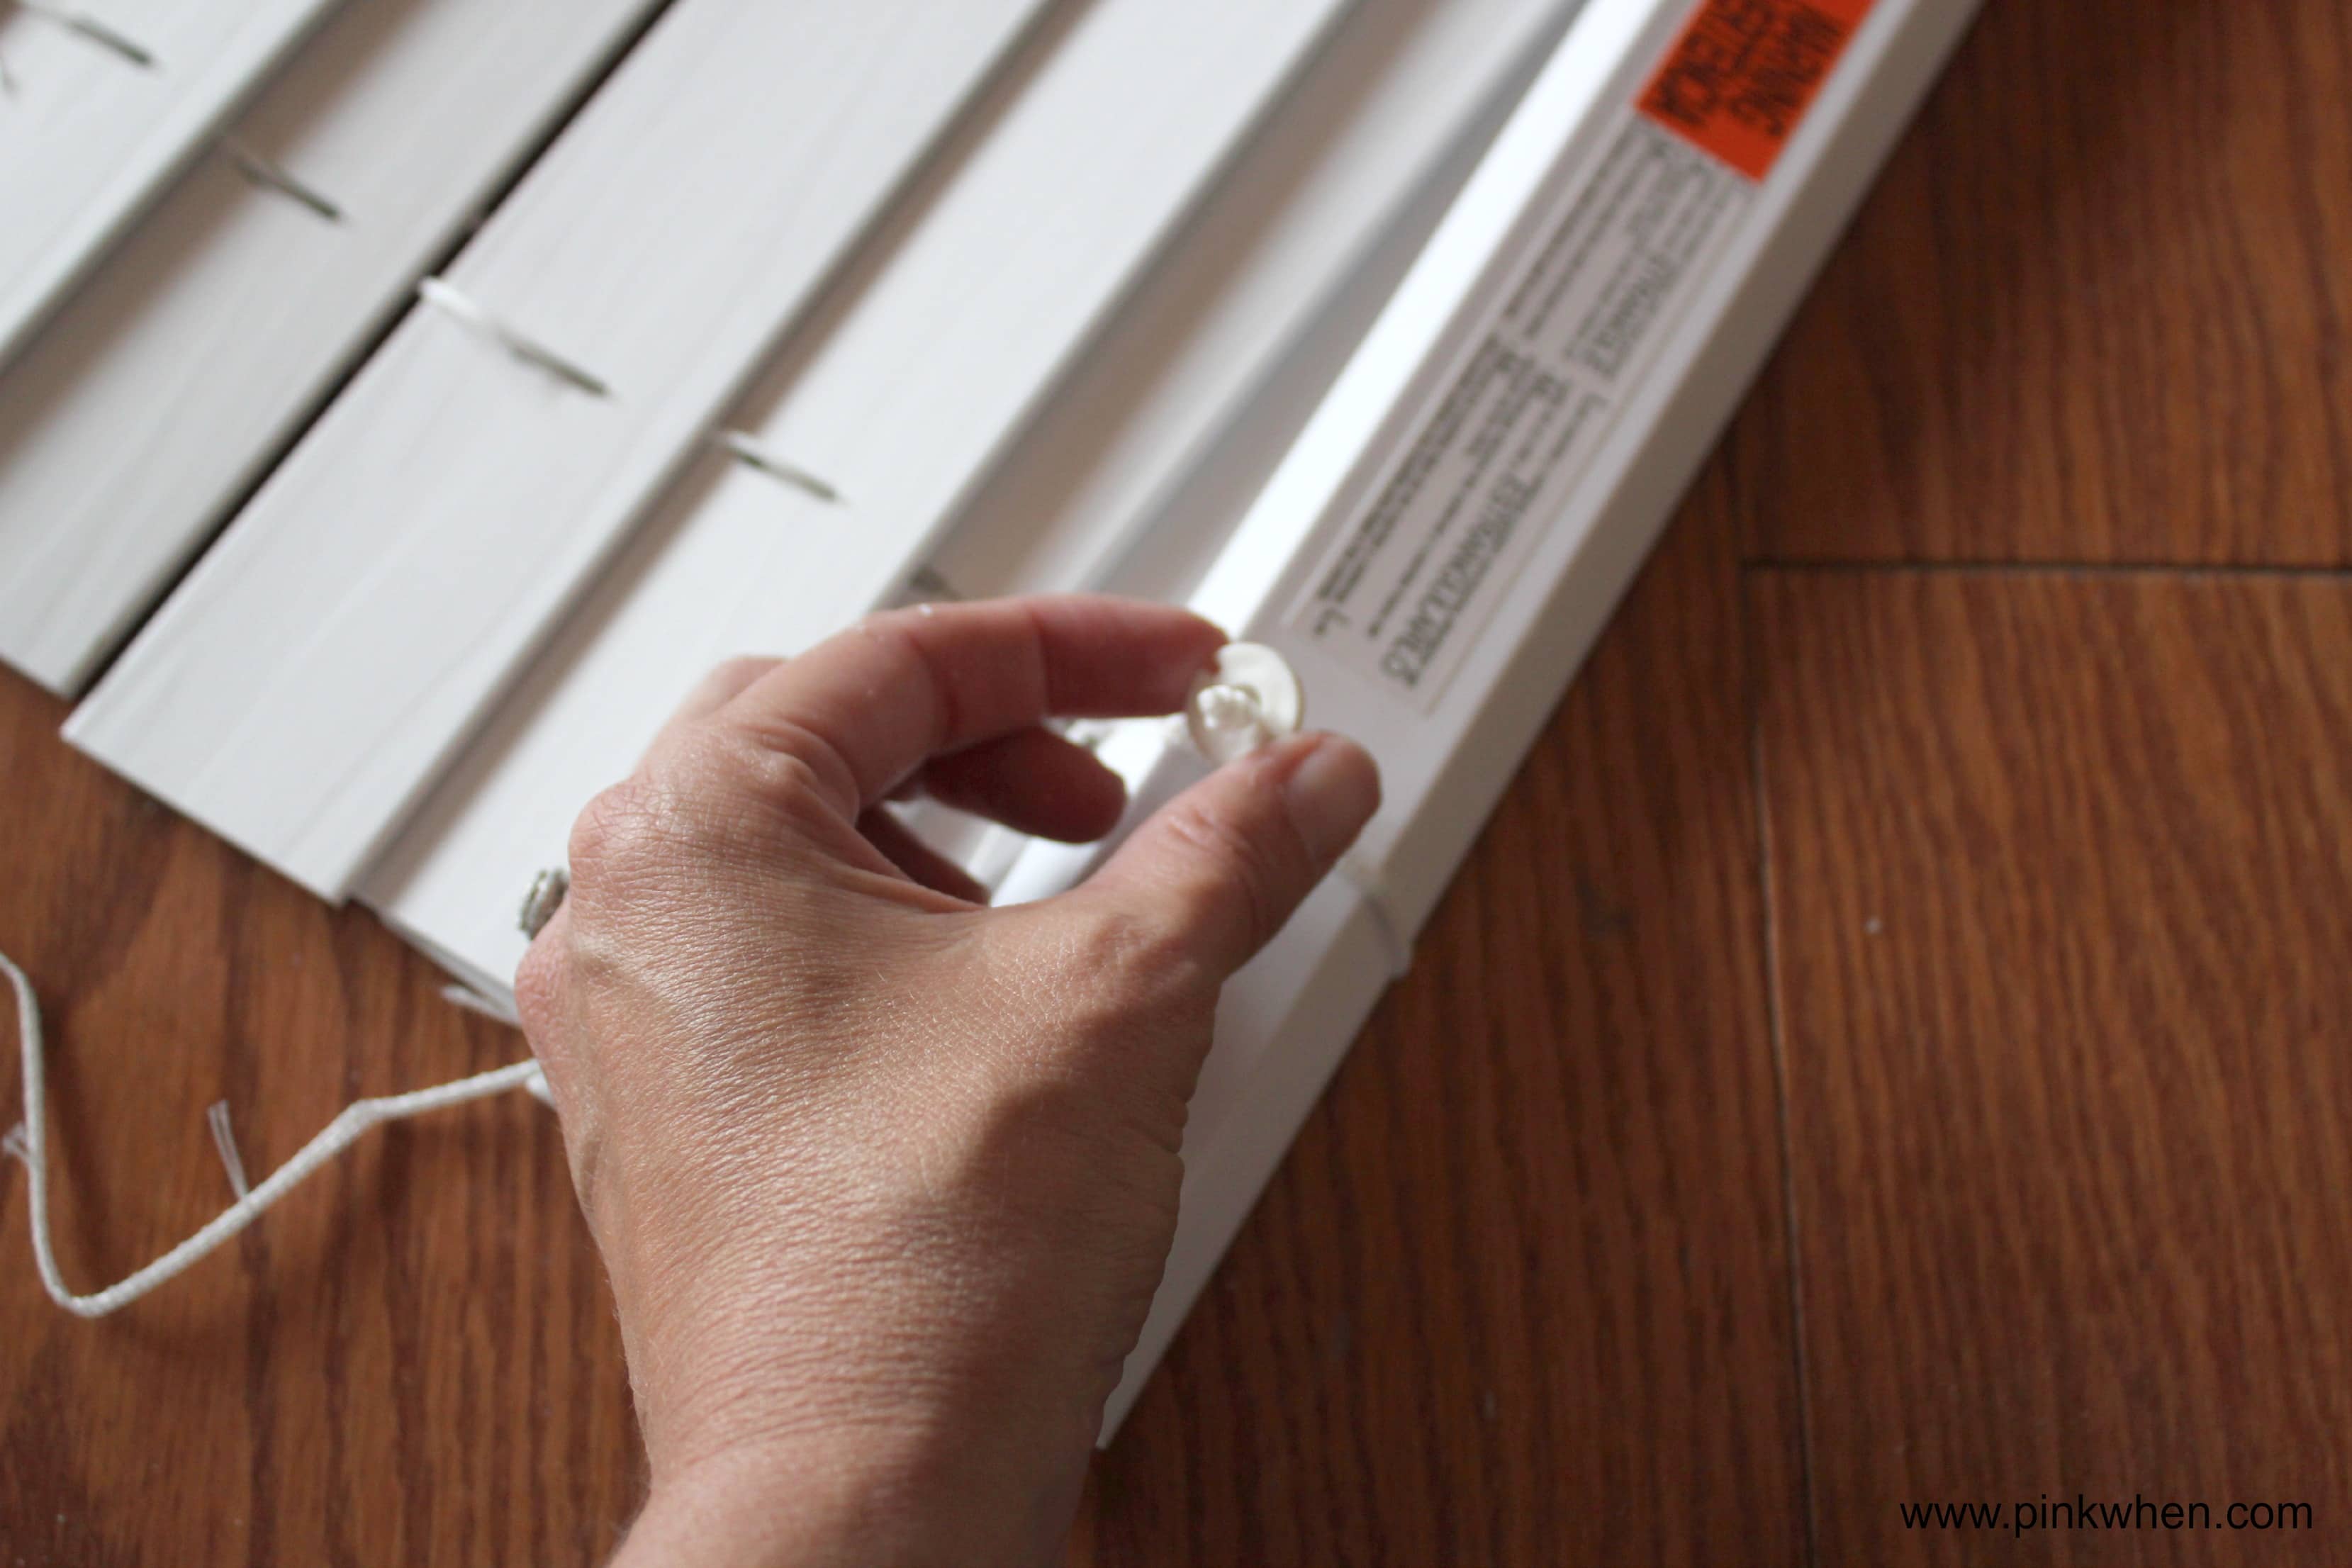
Take off the bottom caps from the bottom piece on the blinds and then remove that, and the extra slats.
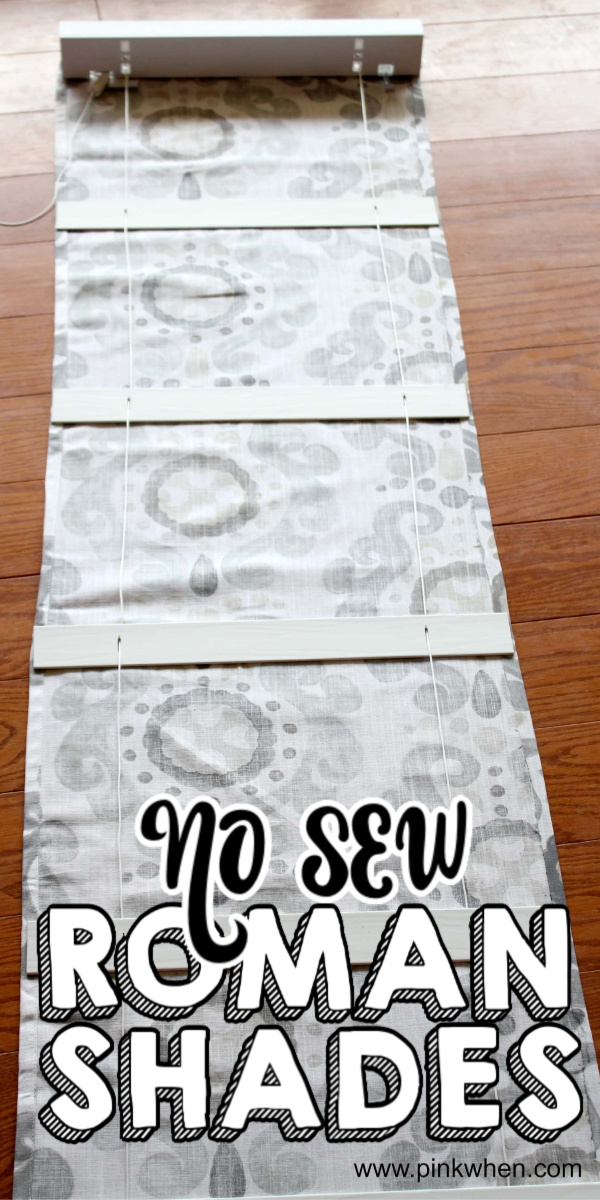
Grab the blinds and place them on top of the fabric. You can space out the slats as you need, and ours here are spaced out at 10.5″.
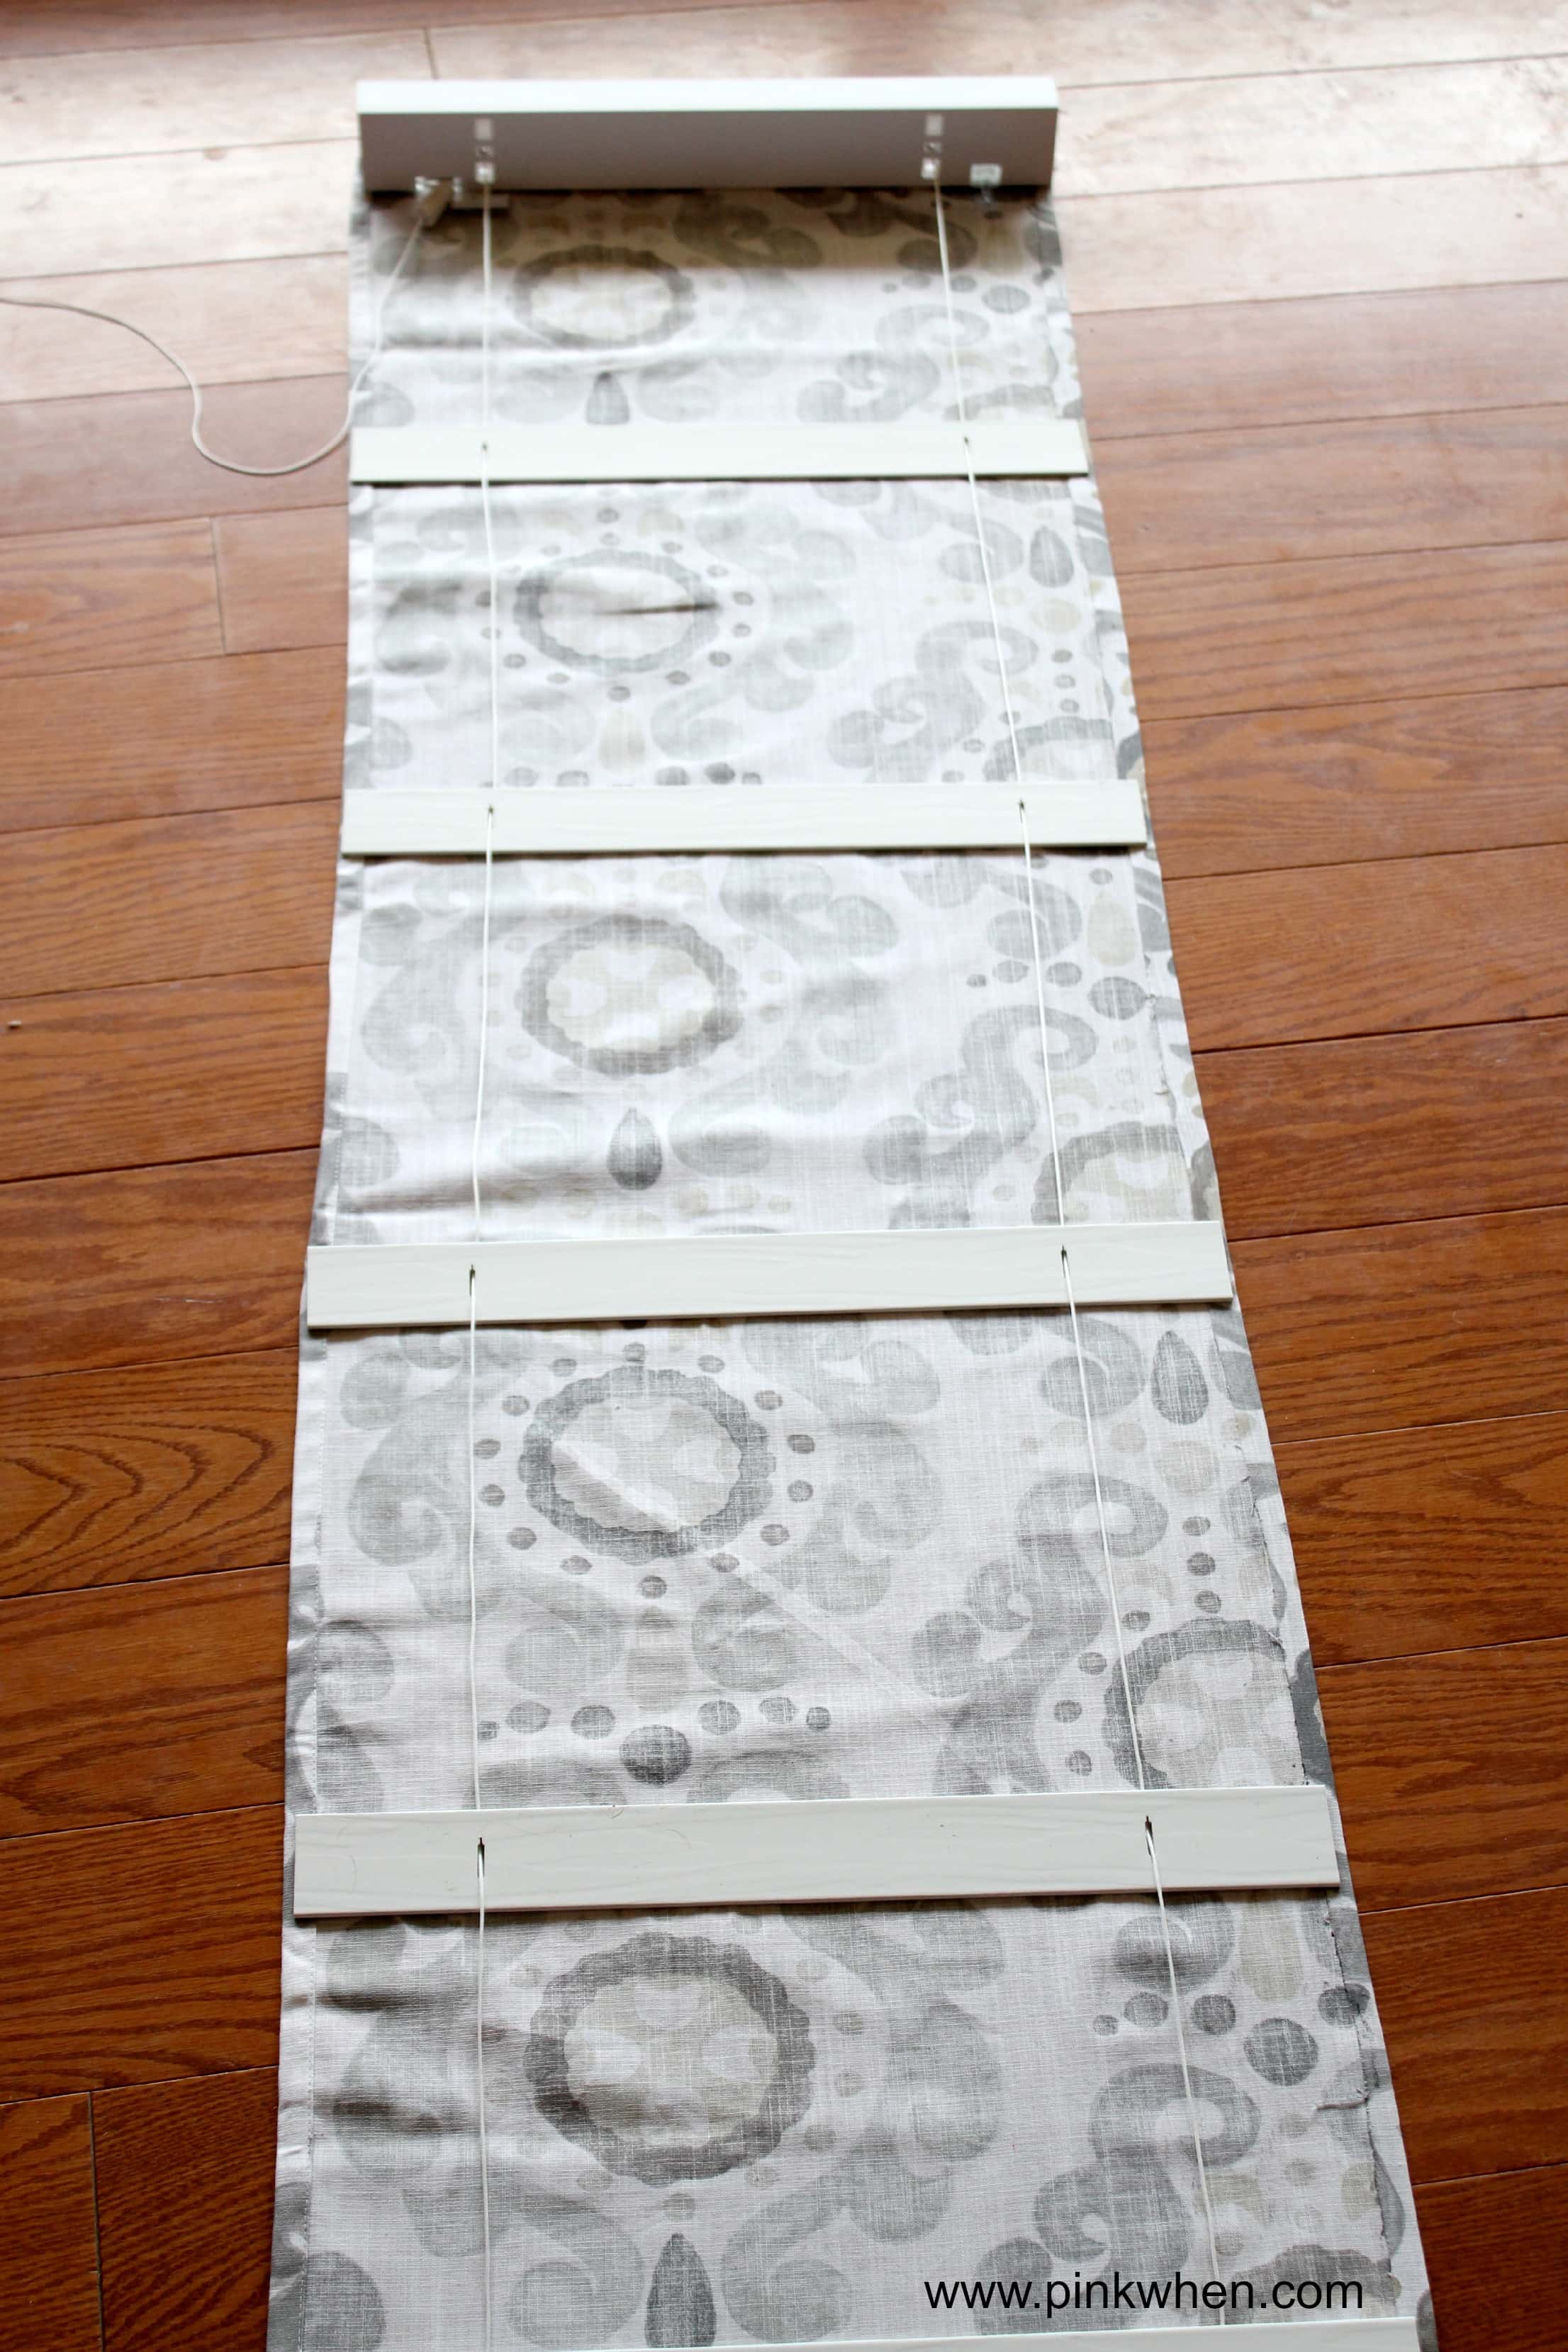
Next, take your hotglue and liquid stitch to secure the blinds and fabric together. Then allow them to dry for a few hours before hanging.
It is so easy I created a video so you could follow these step by step instructions on how to create these shades. Make sure to click below and follow the 5 minute video showing you exactly how I created these No Sew Roman Shades from Mini Blinds.






I love this. I’d love to do this for my bedroom. I hope your having a great Friday.
I need to make this for my kitchen!
Come link up with me today!!
http://thediaryofarealhousewife.blogspot.com
Awesome tutorial, Jennifer! Thank you bunches for linking up and partying with us this week! Pinning this!
What an awesome idea – they look GREAT!
What a helpful tutorial for non-sewers. Using Stitch Witchery for the hem and side folds makes it so easy. Steam-A-Seam is a great product that would work well too. I think the only thing that might be a little confusing in your instructions is you use of the word ‘seam’. A ‘seam’ technically joins two pieces of fabric together, generally by sewing, whereas a ‘hem’ would be the correct term to use for the fabric edge that has been folded under and sewn or adhered. Jena used the term ‘hem’ in her tutorial so it might be confusing to anyone using both sets of instructions to attempt this project. I know it’s super important for bloggers who provide their readers with helpful tutorials like you do to be really clear, so that’s why I mention it.
Thank you Heather, and if they happen to be confused by the words, they could also always watch the 5 minute video if the words and pictures seem confusing.
Great idea! Thank you for posting a tutorial. Where do you buy this type of window blind? Also, did you space the slats out 10.5 on center or edge to edge? Thanks
I measured them out edge to edge. Hope that helps!
I love your tutorial- I made one Roman blind for my bedroom and plan to make more for the rest of my windows. What kind of lining did you use for yours? I am thinking fusible interfacing might work but I’m concerned that it would separate from the fabric…
Hi Barbara! I did not use a lining for the 4 I did with my friend, she wanted to keep the room light and transparent. With my bedroom, we needed a lining! I actually had sun blocking panels in that were not hanging. I did place a straight stitch around the edge of those because the fabric was a little heavier and I was attaching both fabrics together. Then I did the steps the exact same as in the tutorial. I hope that helps!
Could this be done with regular plastic type blinds?
Hi Michelle, I believe you can do it with the regular plastic blinds, but I have only worked with the faux wood blinds personally.
I wonder if the plastic type blinds would be heavy enough to make the Roman shades work properly? If you are wanting to recycle a set you already have on the window, you might have to weight the slats evenly.
That’s true! Great point Dottie.
My question do you leave the blinds showing facing the outside or is it covered also. I might of missed this step. But I love this. Need something over my kitchen window
You can see the blinds on the outside window, but you could probably just as easily cover that side as well 🙂
Do you control the shade by pulling the cord that extends from the bottom pieces you reattached? Does it catch and operate like a normal shade? Love the idea!
Hi Gail! It does work like a normal shade as far as pulling up and down. However, you will want to make sure you add the larger bottom piece of the shade so it has the weight to go up and down. Because I used the slats only, I have to help it down with my hand. It’s a non issue for me, but that could be an inconvenience to someone who wants to use them on a daily basis. If you want them on your kitchen for instance, and you are going to be raising and shutting constantly, I would reattach the heavier piece that comes on the bottom of the shade, unless you don’t mind using your hands. Hope that helps!
Jennifer, your shades turned out great! Love the fabric!
Thanks so much!
Where did you get the fabric from?
I picked up the fabric at Hobby Lobby. 🙂
Huh. This is a neat project. Thanks for posting. Hello from Treasure Box Tuesday.
I’m considering getting the nerve to do this on a problem poolside bathroom window. The blinds are metal and have little dents. But they are just under a 1/2 inch wide and very thin, so very light weight, and they bend when separated. It doesn’t sound like this would work…and yet…I once sewed Roman shades from scratch, using only weights. I wasn’t that impressed in general, with the ease of using Roman shades. I wonder if I used a light weight fabric, along with weights where the string fits through the metal slats on each side…and weights along the bottom…if I might create the structure and ease I’m looking for? Or maybe its a bad idea for my metal blinds?
My shades seem slimmer and not wide like these, is their a special kind of blind? I keep watching so afraid I’m going to cut the wrong thing. I love these
I believe these are just faux wood shades, but you can probably do a quick google search and find many different shades being used.
Hi PinkWhen!!
This is the first Diy project I have ever wanted to do. Only problem is I have very expensive BLINDS. BORING WHITE BLINDS. Any suggestions.
Thanks,
HEATHER
I would find some cheap blinds someone wants to get rid of and play with that with a super cheap material. I found it relatively easy, but the first time is always the hardest!
I don’t see where I click to watch the tutorial on Roman Shades
You can find the full video on my YouTube channel. https://www.youtube.com/watch?v=r7QVylIWx3c&t=21s
I can’t seem to find the video. Has it been removed?
Oh no! Look in the comments, I have a link that directs you to it. It’s on YouTube.
Do you use the cords to pull them up and down?
Yes! I use the cords. 🙂