We bought our first house last December, and customizing it to our liking has been a tedious process. I have two kids, both under 2 years old, so finding the time to paint or re-tile can be next to impossible.
I’m moving from room to room, and am now focusing my attention on my toddler’s room. 2 of the walls are a hideous dark purple (why would you choose that for a room with one tiny window?!) and the other two are baby blue. I don’t know when the next time I can get the kids out of the house to repaint her room, so in the meantime, I’ve been coming up with some easy, quick DIY projects to make it look more like her space.
I’ve seen a lot of canvas dropcloth projects lately in the DIY community, so I thought I’d give it a go. After all, you can’t spend too much money on a toddler’s room; it gets destroyed, cleaned, and re-destroyed in a matter of hours.
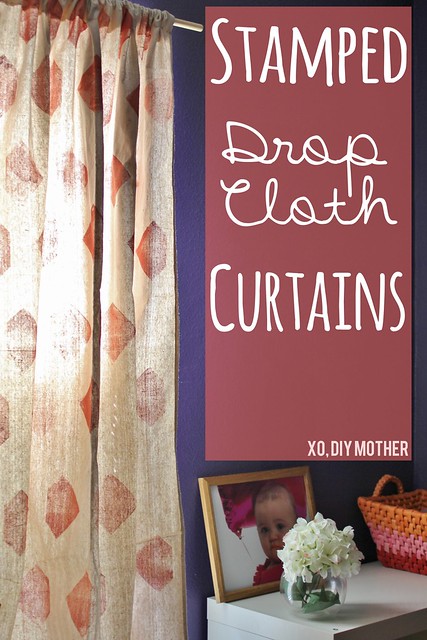
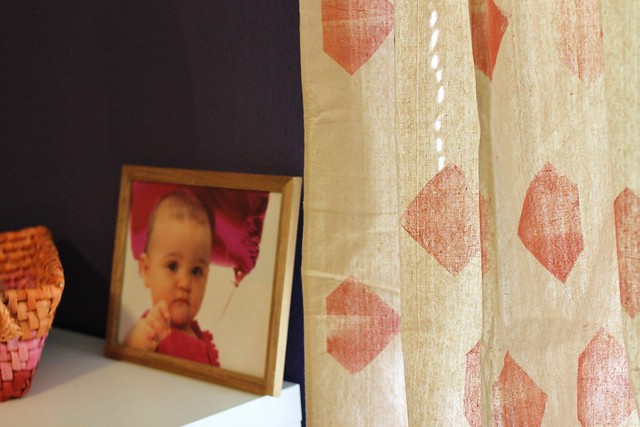
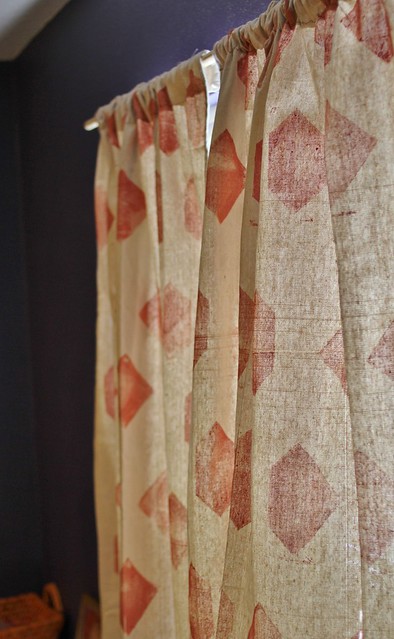
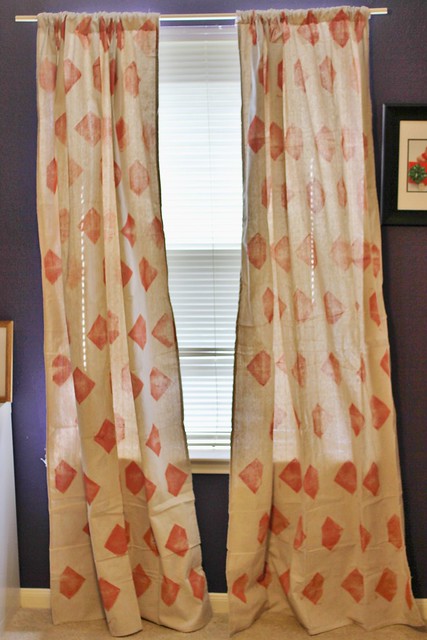
The total cost of this project was just under 20 dollars, and I’m so in love with how it looks. The pictures really don’t do it justice. And I know once I’m able to paint her room all one color, the curtains will look even better.
Materials:
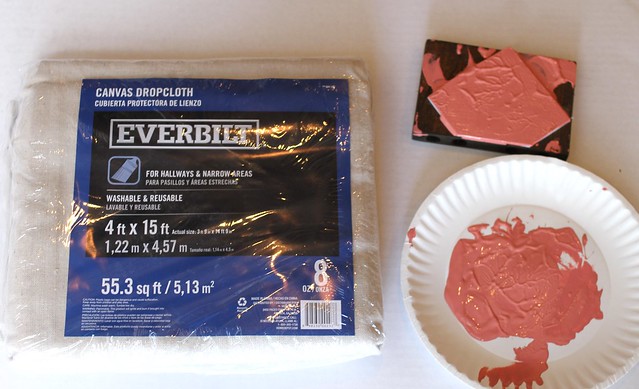
*Canvas dropcloth
Stamp (DIY or bought)
Paint
Kneepads (optional)
*I bought Everbilt 4 ft. x 15 ft. for hallways, and it fit from the top of the window perfectly. It was actually 4 dollars cheaper than what it was listed for online.
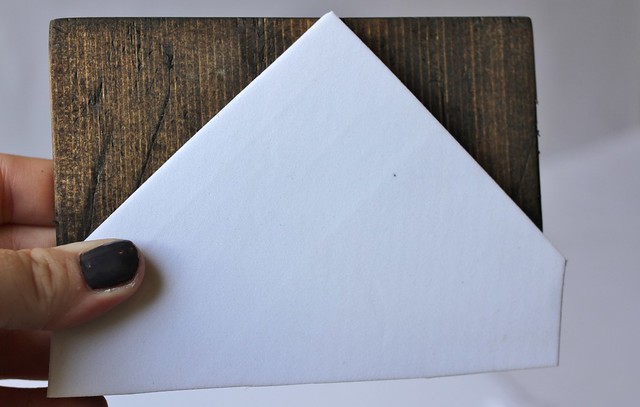
1. I wanted my pattern to be geometric and repetitive, so I chose a vintage diamond design. I had some scrap wood laying around the house, so I cut the shape out of a foam sheet and stuck it on the piece of wood. It ended up working pretty well. If you’re super curious as to how I did it, just look at my stamp tutorial.
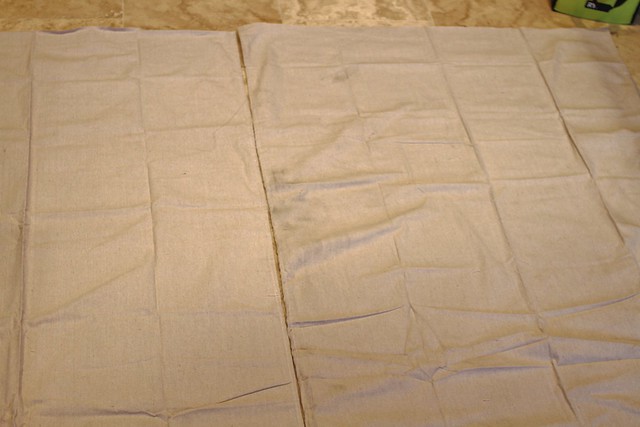
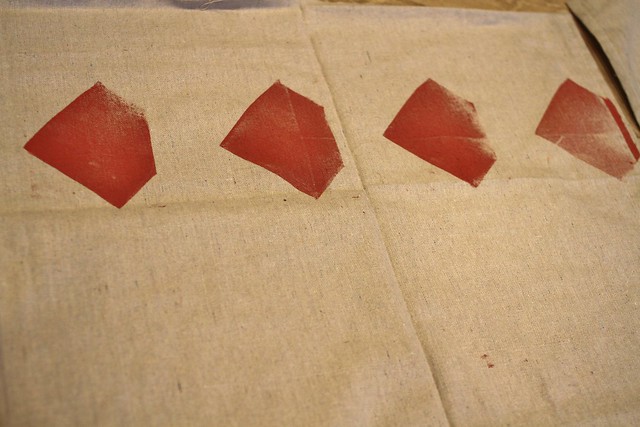
2. Lay out the dropcloths on the floor; there should be grids based on the way it was folded. That’s how I measure my pattern, but you can be more precise than me and use a tape measure. I wanted to have more of a random look, so I went by the folds in the fabric.
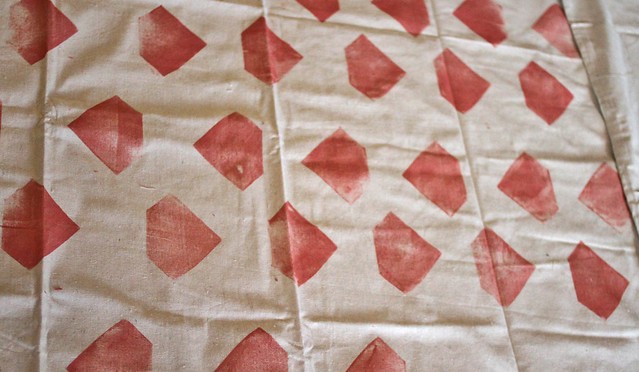
3. If you have kneepads, use them, because you’ll be on the floor for quite a while. Start stamping! I used almost the whole bottle of paint for both pieces of dropcloth. I wanted it to look worn, so I used varied pressure on each stamp. If I messed up, I kept going. I actually like the mess-ups.
I switched the direction of the diamond for each row because I didn’t want to worry about which way the arrows were facing when I hung them up. I try to make my life easier, not more difficult.
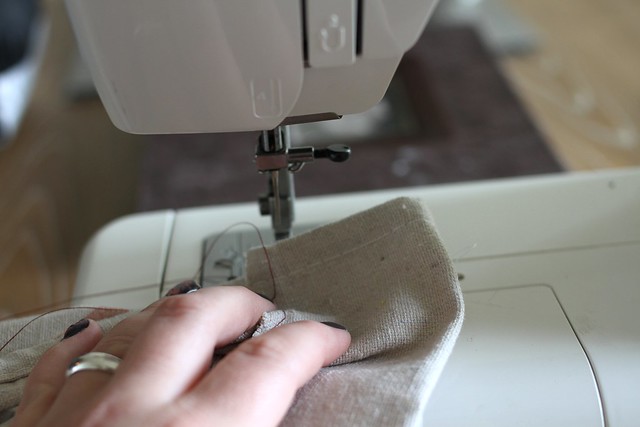
4. Sew some panels on the top of the dropcloths for the curtain rod to go through. My sewing machine broke when I was halfway done with the second cloth, so I had to finish the rest by hand. It didn’t take too long, so don’t worry if you don’t have a sewing machine.
And there you have it, folks! A super easy, 2-hour long project for under 20 bucks. There are so many things you can do with these things; have you done any dropcloth projects?
Thank you to Olivia G. from DIY Mother for such an inexpensive and cool project.




It’s pretty!
I would love if you come link up tomorrow at the Monday party!
Xo
Isabelle
http://www.lechateaudesfleurs.com