Learn how to make a charm bracelet out of t-shirts. This t-shirt charm bracelet craft is fun and easy. You can never have too many bracelets, and my daughter LOVES to stack these up. Let’s get going!
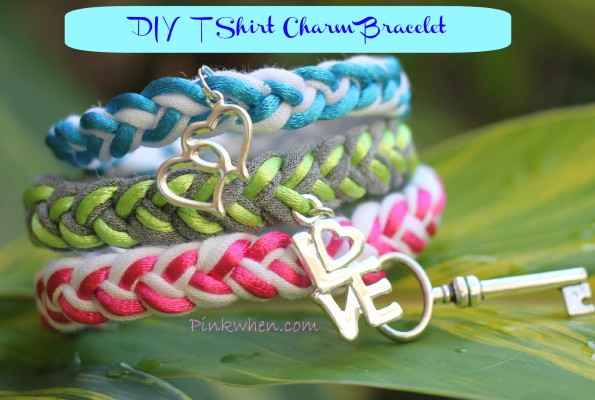
T-Shirt Charm Bracelet Tutorial
How to Make a T-shirt Charm Bracelet
You will need a few supplies on hand to make these cute t-shirt charm bracelets.
You can easily grab all of your supplies from the local craft store:
- knit jersey T-shirt scraps (from your closet)
- satin rattail cord (2mm size)
- charms of your choice (link to heart charms)
- (2) 1/2″ x 1/8″ disk neodymium magnets for each bracelet
- scissors
- hairband (aka ponytail holder or rubber band)
- hot glue gun
Follow the simple step by step instructions below.
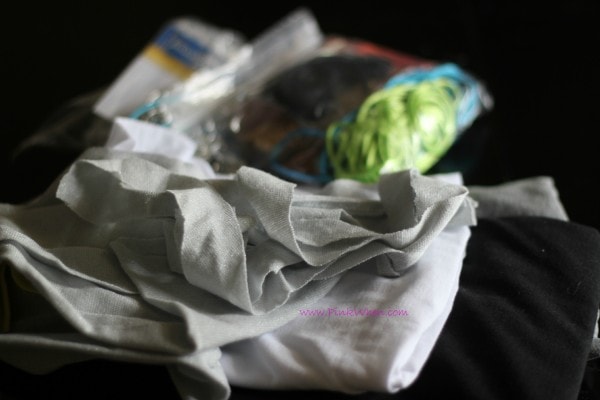
Charm Bracelet Supplies
1. Cut your knit jersey T Shirt lengths to be about 1 inch wide by 12 inches long.
2. Cut your satin rattail cord to 10 inches long
3. Attach your hair band to the strands for your bracelet
4. Separate your strands, one knit jersey/one rattail cord into three sections
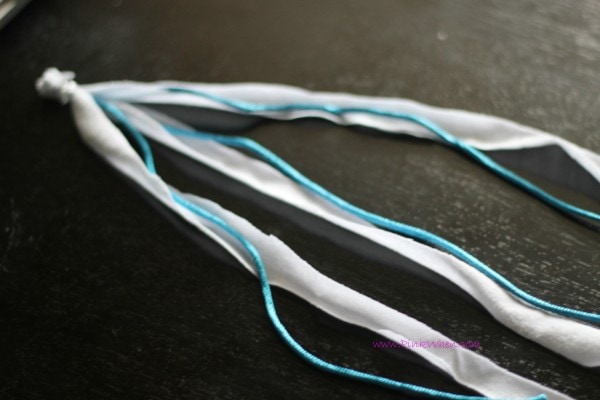
Separate your strands
Start braiding your strands. (It makes things easy if you place a book or something heavy on top of the starting point.)
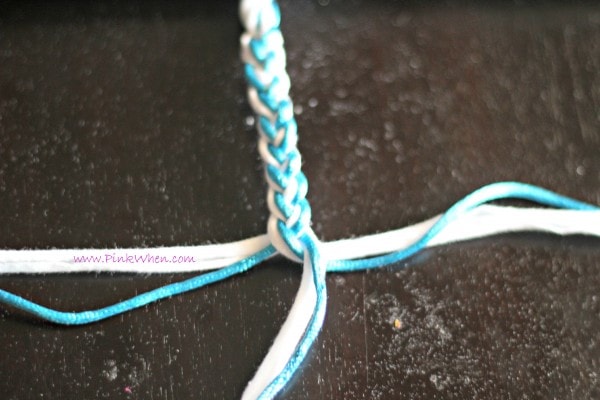
Braid Strands
When you have accomplished about half of your braid, take the charm of your choice and add that to the satin rattail cord.
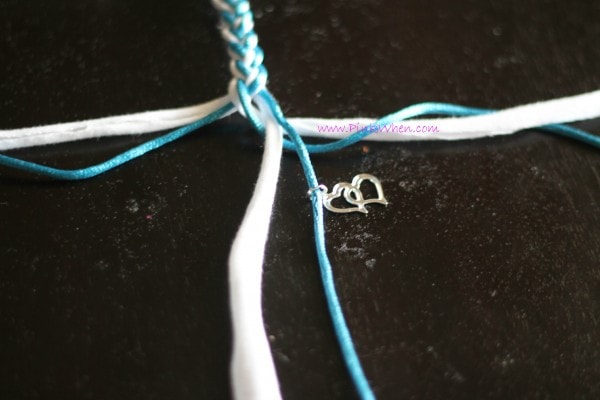
Add the charm
When you are done braiding, your bracelet should look something like this…
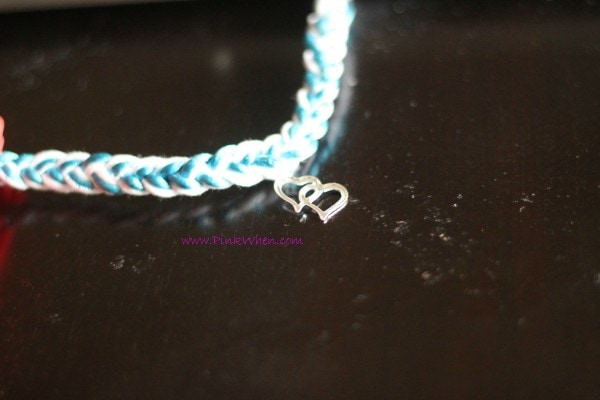
Charm Bracelet so far
Grab those pesky magnets.
(I call them pesky because they drove me crazy today, and that could be a whole other blog post all by itself.)
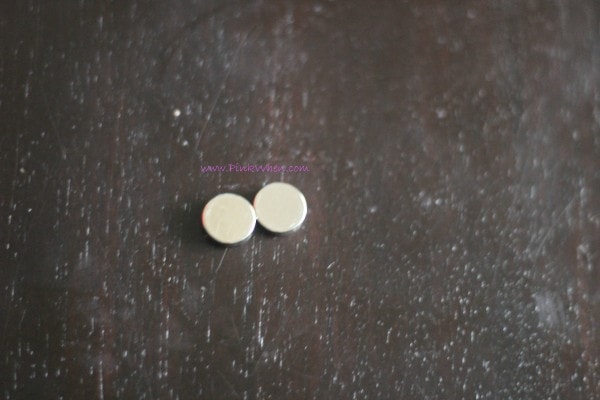
Magnets
I did not take a picture of this part, but pinch the end of your braid and cut it off the remaining strands to make them even, then add glue to the magnet while it is flat on your work station, once you have added the glue to the magnet, place the ends of the bracelet onto the magnet.
I think made an additional small bead of glue around the bottom of the bracelet cord after it was attached just to give it extra staying power. Then so the same to the other end.
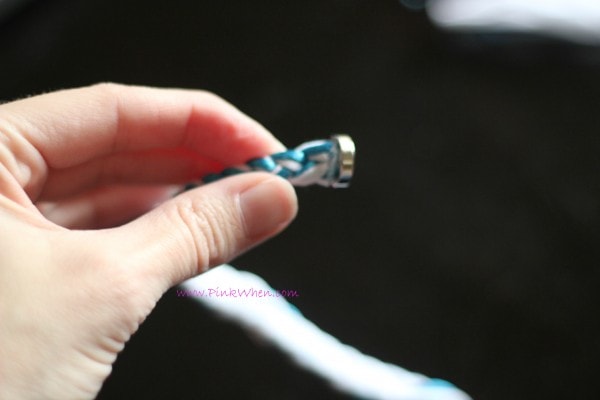
Attaching Magnets
There you have it! Simple, easy, and fun to do with your little one.
Just make sure you are controlling the glue gun!
What do you think of this tutorial? Let me know by leaving a comment!

DIY T-Shirt Charm Bracelets
If you enjoyed this project, you might also like:





What a great project! Granddaughter-friendly.
I’m wondering about the hair band. In the pictures above I didn’t see it added and wondering if it’s needed or if the tshirts and rat tail would be enough? Where do u add headband? And what kind of head band sorry confused
A ponytail holder 🙂 You gather all of the strands together and use a ponytail holder to help keep them all together while you braid. You could also SKIP the ponytail holder and just use a clip board or something strong like that to hold your strands while you are making the braids. Hope that helps!!
This is such a creative idea!! My daughter is going to love this & I finally have a use for all those t-shirts I have laying around that no one wears! Thank you!
This is so cute! What width satin rattail did you use?
It was the 2mm cord. I will add that and an affiliate link to the exact cording I used to the post, just in case anyone else is wondering.
Thanks for replying and thanks for the post!
You are very welcome 🙂
What a fun idea! I’m
excited. I’ll probably find a different way to attach it because the tiny magnets aren’t too safe around little ones. Thanks for the inspiration!