I am always thinking of things to do with all of my wine corks. While I haven’t done many, I did do this cute little Wine Cork Christmas Tree tutorial last year. I have been thinking up what do to since then, and then I found some CUTE coasters on Etsy, and I had a feeling I could re-create them! Check out this cute DIY Wine Cork Drink Coaster Tutorial, it’s a bit easier than you think!
DIY Wine Cork Drink Coaster Tutorial
Here are the supplies that you will need:
- 6 wine corks (for each coaster)
- a very sharp box cutter
- medium sand paper
- hot clue gun
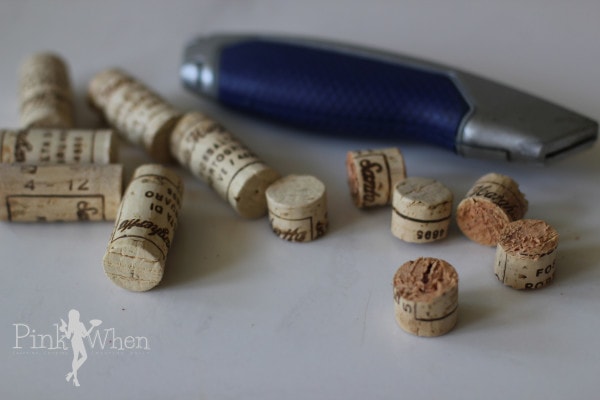
Step 1: Measure out your wine corks to be cut into thirds.
Step 2: VERY CAREFULLY cut your wine corks with the box cutter. If you have a super sharp knife you can use that as well. Just BE CAREFUL and go SLOW.
Step 3: Once you have all of your wine corks cut, take your medium sand paper and carefully sand the rough edges of your corks. This will help even them out.
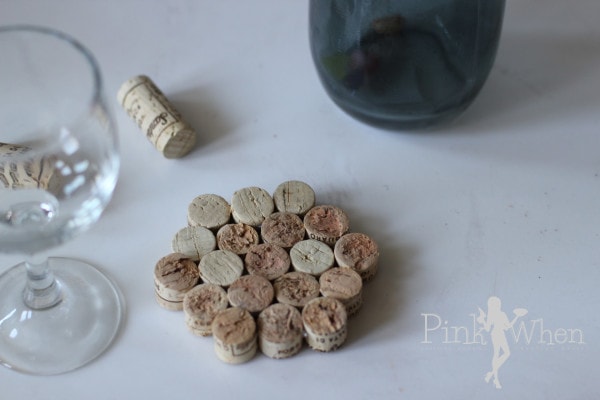
Step 4: After you have them sanded, go ahead and start placing them together. Once you have them in the shape you prefer, take your hot glue gun and glue these together.
I LOVE my new wine cork coasters! These are super cute, and I can see a fun dinner party in my future and these being on full display.
Are you a big fan of coasters? There are other ways you can make coasters, and last year I shared a cute tutorial on how to make drink coasters out of bathroom tiles. You should totally check that one out, too!
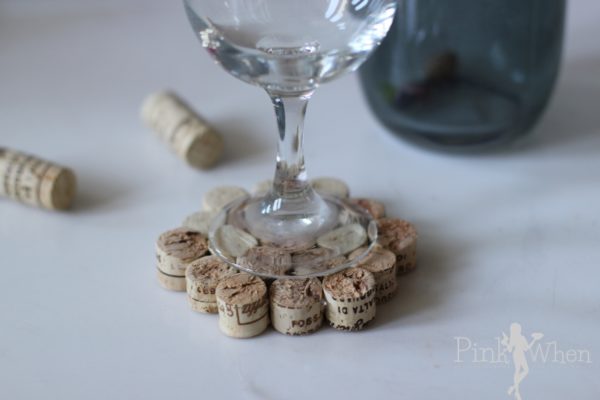
Give this cool DIY Wine Cork Drink Coaster Tutorial a try and impress your friends at your next dinner party. Once again, if you like this, make sure you SHARE it! Cheers!









I love it! I have never seen anything like this. Perfect coaster.
Thanks Tamara!
I like the idea, however they should be thinner to prevent spilled wine.
Glasses sit too high and can easily topple over if not set squarely on the coaster.
My brother made his girlfriend a couple of these. They turned out really good.
Cute way to repurpose those wine corks!
I know, isn’t it cool!! I LOVE them!
Love this idea. This would make a cute trivet too.