Hey PinkWhen friends! It’s Dee from Meatloaf and Melodrama, and I’m here again this month with an easy craft that just screams fall. This DIY lighted potpourri jar takes only a few minutes to make, and not only does it add a bit of sparkle to your room, but it also makes your home smell ah-MAY-zing. Really! And with the holidays coming up, this little jar also makes a wonderful gift for family or friends.
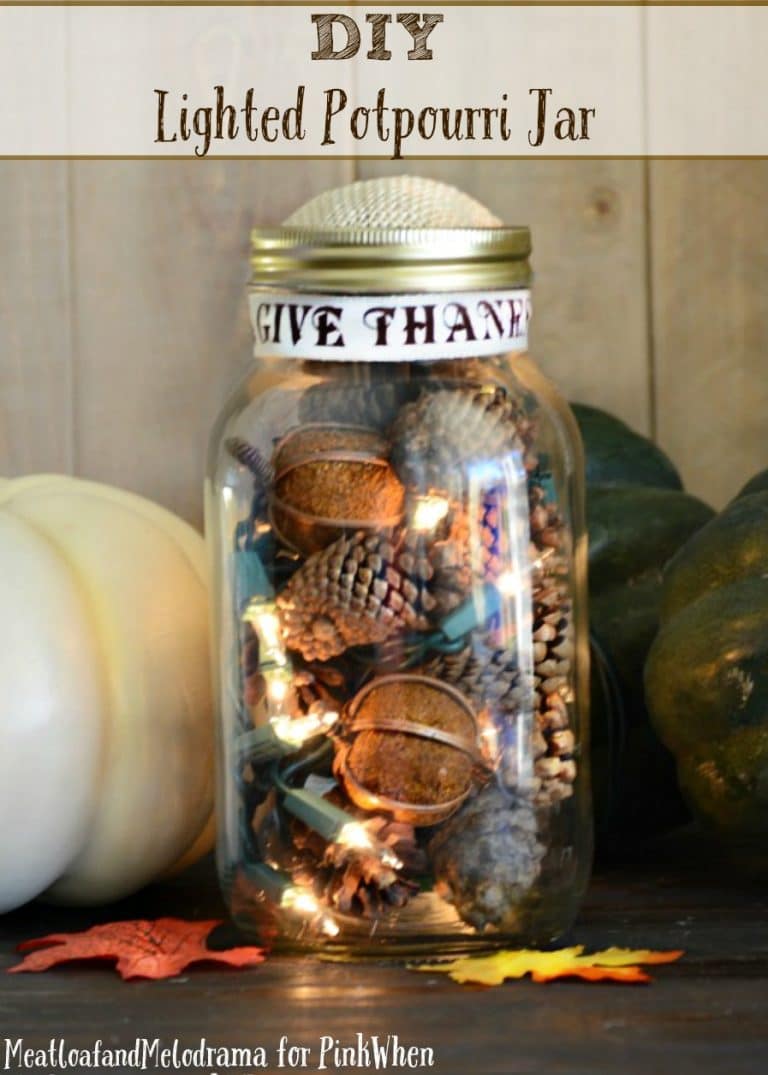
As the days grow shorter, and it gets cooler outside, I love to create a warm, inviting atmosphere inside my home, and that includes adding some fabulous fall scents. I love candles, but they make my allergies flare up, so I like to use different ways add fragrance inside the house. With this potpourri jar, you get a nice light scent and a soft warm glow. Plus, there’s no flame to worry about. I’ve got some rambuctious kiddos, and I’m always cautious whenever there are candles around.
DIY Lighted Potpourri Jar
For this craft, you can buy potpourri or make your own. The idea is that the warmth from the lights will enhance the scent from the dried mix. I used vase filler, and then I just added fragrance to the filler before adding it to the jar. You can also buy cheap potpourri and add your own fragrance oil or essential oils — whatever you like!
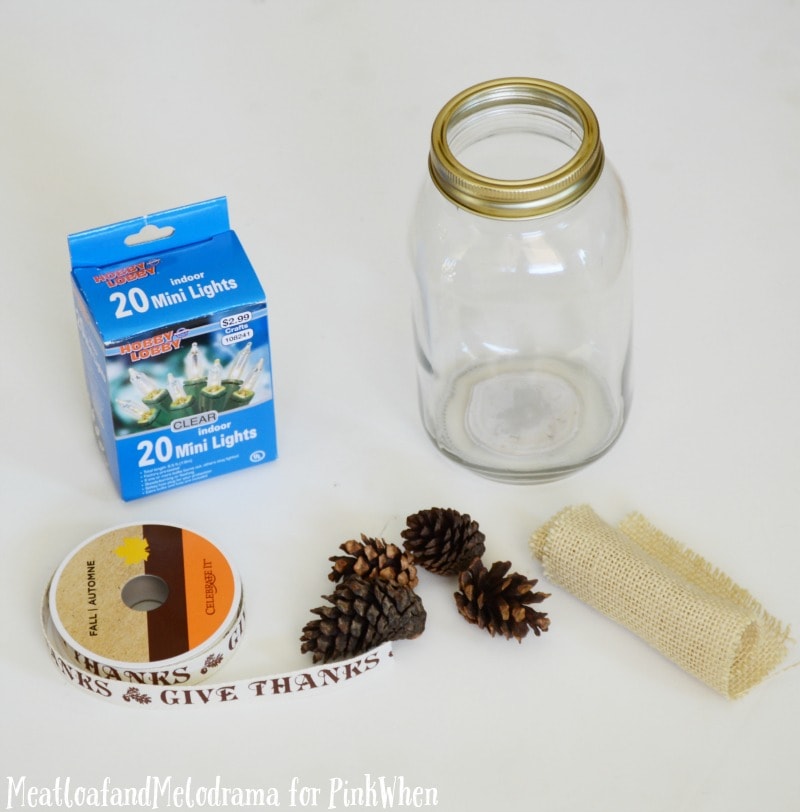
Supplies Needed
- Large mason jar
- Vase filler or potpourri
- Essential oil or fragrance oil in your favorite fall scent
- Small, clear lights ( I used a pack of 20 small ones)
- Burlap
- Fall ribbon
- Glue
- Scissors
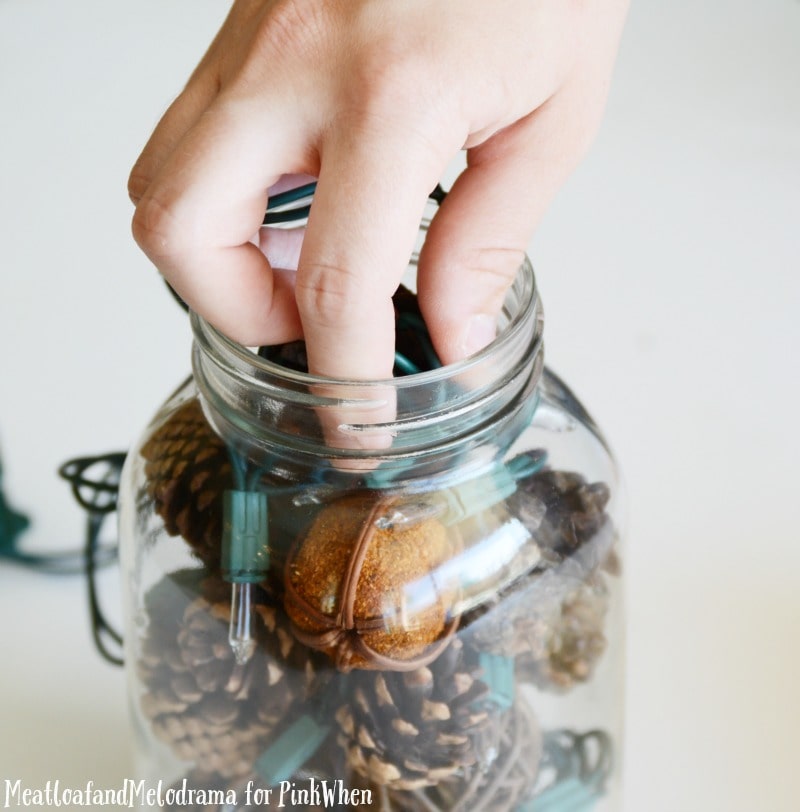
First, I added a few drops of oil to the vase filler and let it dry. Then, I added the filler and the lights to the inside of the jar. Just make sure that the lights are mixed in with the vase filler and not just underneath it or on top of it. Then, I packed the strand in as tightly as I could and left the cord hanging over the top of the jar.
Next, I glued some pretty Thanksgiving ribbon to the neck of the jar, and then, I cut a circle out of the burlap and glued it to the outside ring.
I made a small cut in the burlap, and then I threaded the cord through the slit.
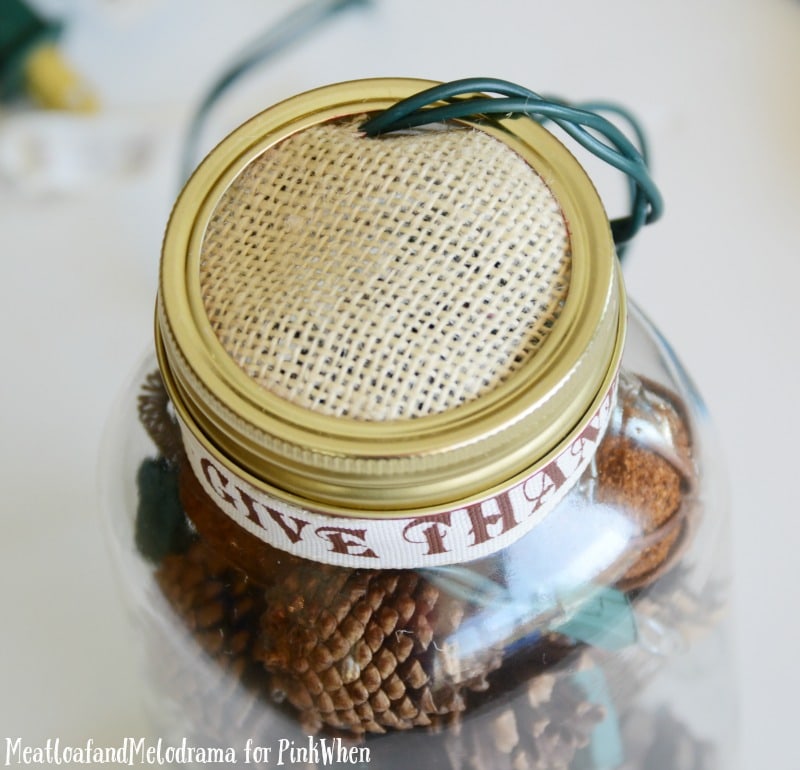
You can screw the ring around the jar’s neck, and the cord hangs out the back so that you can’t see it.
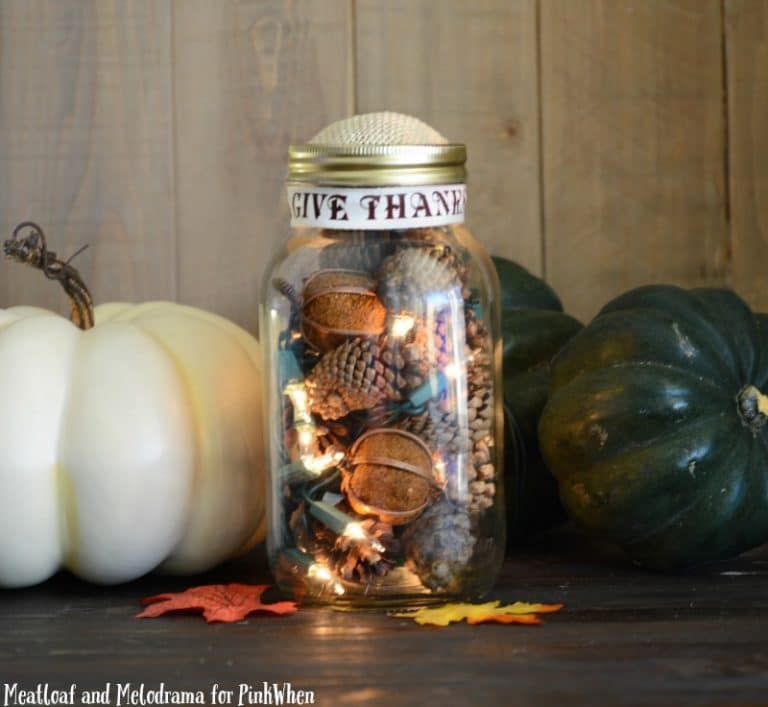
The cord isn’t long, so you may have to place it on your kitchen counter next to an outlet or use an extension cord if you want to place somewhere else. You could also make some for hostess gifts, as well!
Thanks for reading, and have a super day!
If you enjoyed this fall craft, you might also like these:




Hi, Dee ~ This looks so cute and festive! I love how creative it is. Thanks for sharing with us at the Merry Monday Link Party! Hope to see you again on Sunday night!