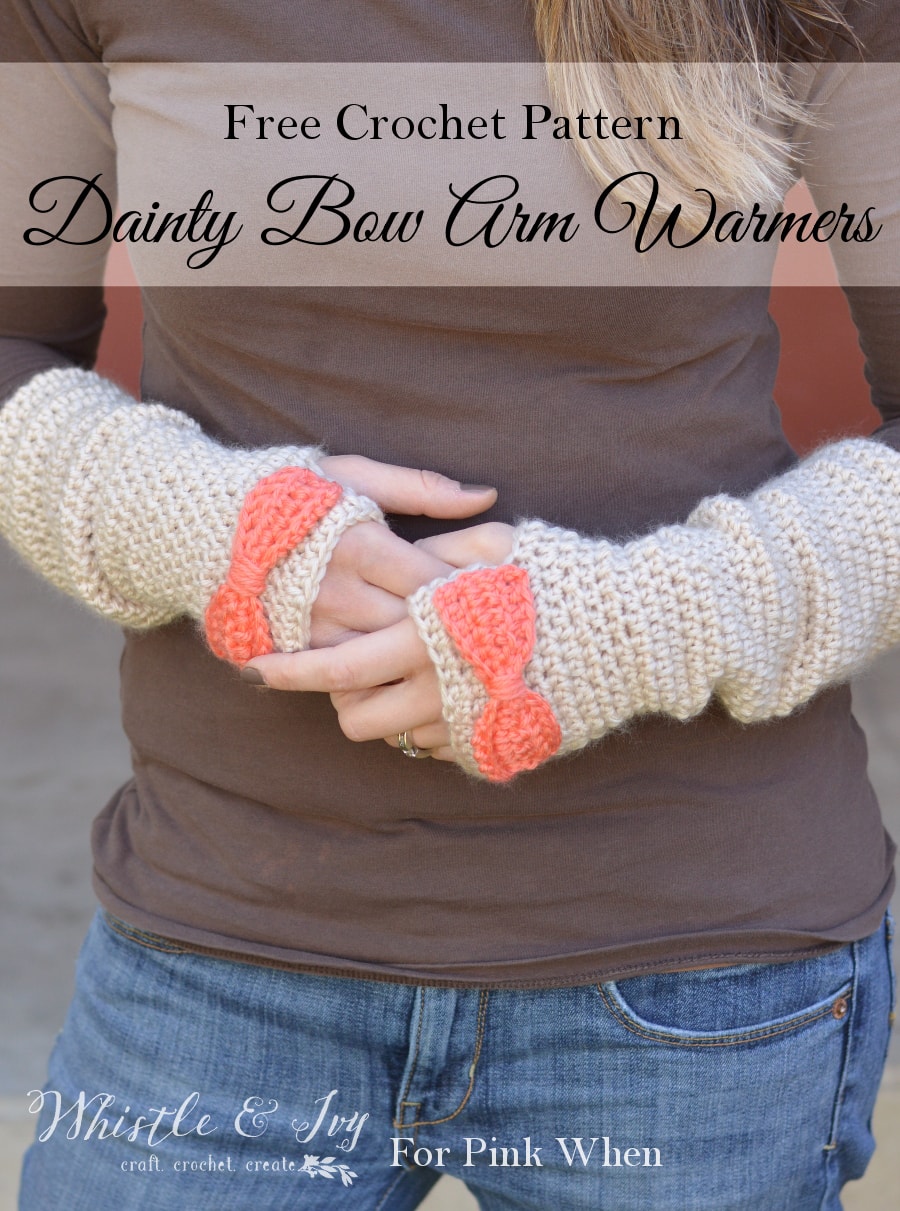
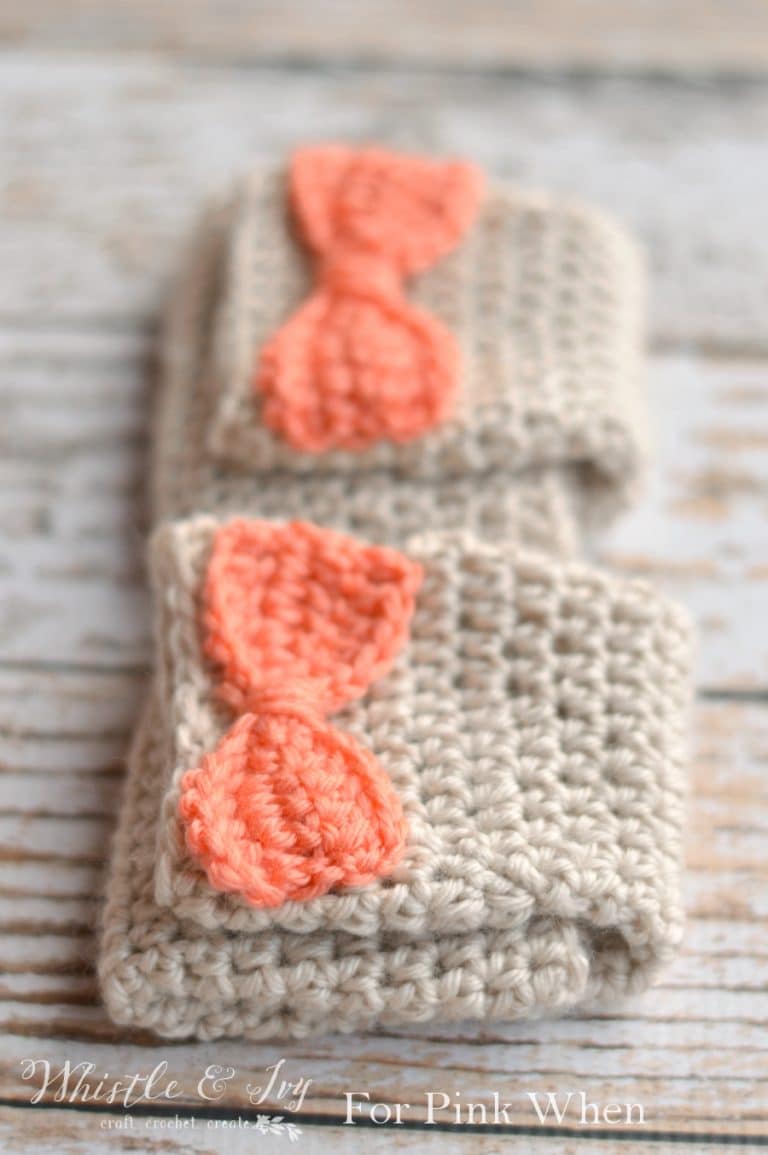
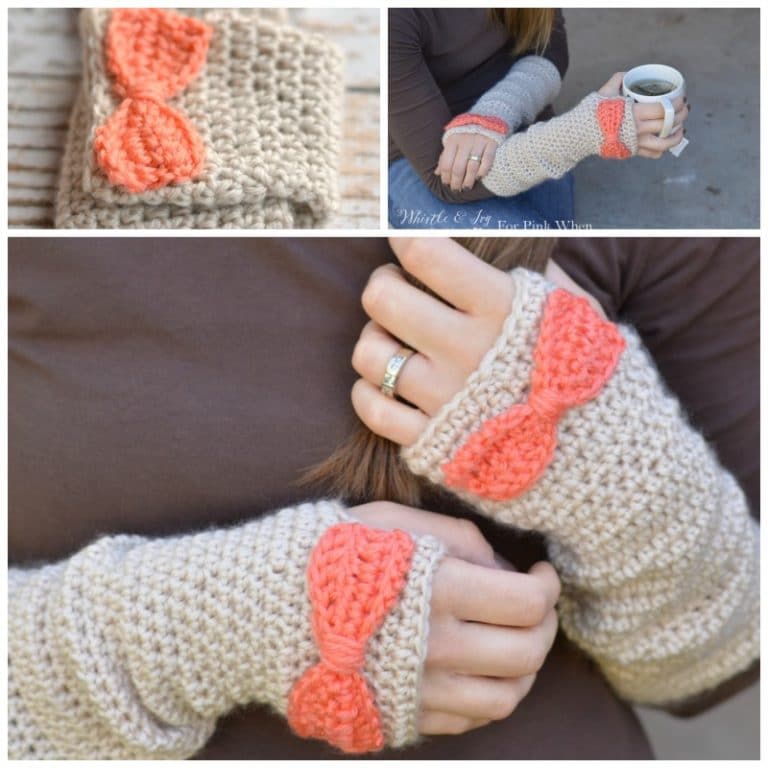
Hello Pink When readers! I am Bethany and I blog at Whistle and Ivy. I hope you are enjoying the fall season and have been able to spend some time outdoors. We have had a beautiful fall in Northern Utah. This morning had a lovely bite in the air, and I am digging out my hats, scarves and gloves in preparation for the cold weather that is coming. Each fall I get very inspired to create warm weather accessories, and these Dainty Bow Crochet Armwarmers turned out so cute and so cozy.
Stay Up to Date with NEW POSTS and grab two free downloads that are ONLY AVAILABLE to my new subscribers! You can subscribe here.

Dainty Bow Crochet Arm Warmers
What you need:
- Size G hook (4.25 mm)
- Medium Weight Yarn (2 colors)
- Yarn Needle
Arm Warmers: (make 2)
Begin by chaining a length that fits around the widest part of your forearm.
(ch 32) Make sure it’s snug. It will loosen up.
Sl st into the first ch, forming a loop.
1. – 11.
Ch 1. Hdc in same st. Hdc in each st around your loop. Join with a sl st. (32 sts)
Important: Hdc stitches tend to make a diagonal seam when joined. To counteract this, ch 1, hdc in next st, skipping the same st(ch 1 does NOT count at first st). Work 1 hdc in each st around, work 2 hdc in last st, and join with the first hdc (not the chain.). Work two rounds this way, and the third round normally by ch 1, hdc in same st and working a hdc in each st around, joining in the first hdc. Repeat this 3-round sequence in rounds 1- 11.
12. – 23.
You will begin working one decrease at the beginning of each round. Ch 1. Sk same st, hdc in next st. Hdc in each st around. Join with the first hdc.
Your arm warmers will gradually taper down, as they reach your wrist.
24. – 26.
Ch 1. Hdc in same st. Hdc in each st around (use the same method as above, to avoid the slanted seam.) Join with first hdc.
27.
Ch 1. Hdc in same st. Hdc in next st. Hdc 2 in the next st. *hdc 2, hdc 2 in next st* – work all around your arm warmers. Join with first hdc.
28. – 29.
Ch 1. Hdc in same st. Hdc in each st around. Join with first hdc.
30.
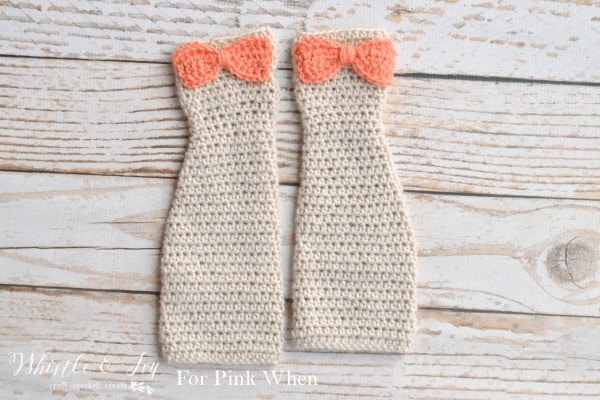
Ch 1. Hdc in same st. Hdc in each st, almost halfway around your arm warmers (where your right thumb would come through, with the seam on the underside of the arm warmers). Ch 5. Sk 5 sts, hdc in next st. Finished the row by hdc in each remaining st. Join with first hdc.
For Left arm warmer, hdc a few more stitches around that with the right. It doesn’t need to be exact, use your arm to estimate a good place to put the thumb hole so the seam is on the underside.
31. – 34.
Ch 1. Hdc in same st. Hdc in each st around. Join with beginning hdc(use the method above to avoid slanted seam). Tie off and weave in ends.
Click here for the bow pattern.
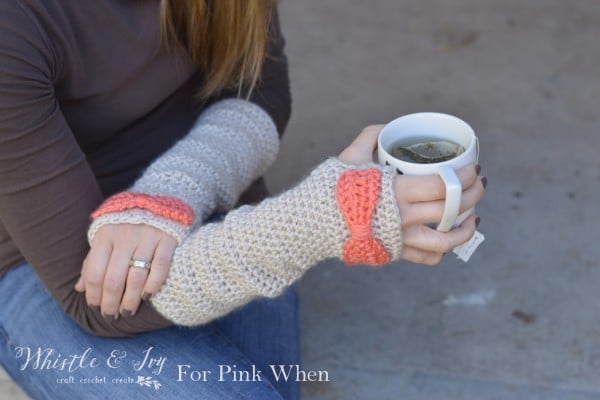
Sew the bow in place on the sides only, so your arm warmers can stretch properly. Using a yarn needle, go in and out down each side. Tie off.
What cozy project are you working on this fall?
Want more free patterns? Subscribe to Whistle and Ivy, or follow on Facebook and Instagram.
You might also like this Ribbed Crochet Cowl, Chunky Fringe Scarf, these Vintage-Inspired Arm Warmers, or this African Flower Head Warmer.
Happy crocheting!



I was wondering what yarn you used for these adorable warmers?
Terribly sorry for the delay! I used Mighty Stitch by Knit Picks, its a gorgeous and soft acrylic and wool blend – medium weight.
These are really cute. If I could crochet then I would so many many pairs
This is a little off topic but I’m curious as to where in Northern Utah you are at? I used to live in Tremonton/Garland.
For row 27…I’m a little confused.
Where you said HDC2 in next st. Does that mean you are putting 2 hdc in the next st?
Also the part in the * says hdc2, hdc2 in next st…not sure how to work that. In my head that means 2hdc in all of the stitches?
I really love this pattern!!
So i just did my own thing since i was angry and wanted to finish it. I did 1 HDC in stitch, then 2 in next all the way around for 27. it looks like it worked. 🙂
Here’s what I did. 1 Hdc in 2 stitches and then 2 hdc in next stitch. Repeated for entire row. It worked nicely. Hope this helps. Hard to put directions in writing.
Yes the pattern means hdc in the next two stitches, then do 2 hdc into the next stitch. Also, would you allow anyone to sell these, with pattern credit given to you?
I am not sure if I did it right, but after several attempts I decided it was HDC (one stitch), HDC (second stitch), 2 HDC in the same stitch (third stitch)
I’m confused by row 27 as well. It doesn’t say repeat sts between * to end of row so it’s not clear exactly what is meant by that instruction. Not sure if I’m to repeat the whole line of instructions or just part of it. I googled the hdc2 and decided that I was to yo etc til there were 5 loops on the hook. Then pull thru all 5 loops. So that’s what I did.
I only did the 5 loops on one stitch til I could get more info. I see there has been no answer on the previous questions about this that were posted a year ago so I may have to wing it as some of you have done. I’ll try some of the other suggestions.
Hello I really want to make these but I keep getting confused with the pattern do you have pictures or videos of some of the steps???
I’m confused with round 27. Where it says *hdc2, hdc 2 in next st* does that mean hdc in next 2 stitches & then 2 hdc in next st? I’m in the middle of making these & would like to finish them soon. Thank you for your time!
so are rows 1-11 working an increase then?
Has there been any clarification on row 27?
Ciera asked a question about row 27. I would like some clarification about this row too. Thanks! So far I am enjoying making these. It’s been a few years since I have picked up a crochet hook. I’m usually a knitter. Thank you for this sweet idea. I’m working these up for my daughters Christmas presents in black and neon pink. She adores bows!
I am so confused. I know how to read patterns but with this one I’m a little lost. Help!!
PICTURES PLEASE ??????
Do you make these to purchase maybe?
Just finished a set for my four year old and she absolutely adores them!!! Sooooo cute. This pattern is so versatile. I’d post a pic if i could lol. Thank you so much for posting!!
I made these for my Granddaughter and she loved them ????
Bethany, I wanted to thank you for this bow pattern. I made these for a friend that is having dialysis 3 times a week and she was telling me how cold she is during treatment. I was hoping these would help her and she loves them and says that they help a lot. Now her dialysis friends are wanting the pattern so I have posted this site to my facebook. I may have to make a few more. Thanks again for the cute idea.
Finally! An arm warmer pattern that fits my needs and crochet ability!
1st – LOVE the directions for keeping the HDC row join straight! Thank you, thank you, thank you!
2nd – like many others, I had difficulty understanding the directions as given for row 27, so based on others’ advice, I did the following:
Row 27:
Ch 1. Hdc in same st. *Hdc in next st. Hdc 2 in the next st.* Repeat between the * & * all the way around. Join with first hdc.
3rd – I did modify the pattern slightly in a couple areas:
A) The pattern starts with 32 stitches around, and after the decreases in rows 12-23 it ends up with 20 stitches around. I don’t have large wrists, but that was too tight for me. I stopped decreasing at row 21 (instead of 23), giving me 22 stitches around. I then followed the directions as given for rows 24-26 on my rows 22-26 so I would keep the same length – which I adore.
B) At row 27, with my increase as I gave above, I was back to 32 stitches around – a happy accident as I did not plan it that way!
I also had some minor issues with rows 30 -34:
C) At row 30, I placed it on my arm and found that, with the joining seam centered at my inner arm, I only needed to go 5 stitches before beginning the opening for the thumb! (This means going 22 stitches before starting the opening for the left one.)
D) After working rows 30-34 as given in the pattern, I found a problem: the width needed for the hand just below the thumb is too wide for the hand above the thumb – causing it to gape open. It needed to decrease again. Here is my modification:
Row 30:
Ch 1. Hdc in same st. Hdc in next 4 sts – to where your right thumb would come through, with the seam on the center of the underside of your arm. Ch 5. Sk 5 sts, hdc in next st. *HDC 2 together using the next 2 sts (your decrease stitch), HDC in the next 2 sts.* Repeat between the * & * 4 times (5 times total). HDC in each remaining st. Join with first HDC. (27 sts)
Row 31-32:
Repeat row 12. (Decrease 1 st at first st on each row.) (row 32: 25 sts)
Rows 33-35:
Follow directions given for rows 31-34.
Row 36:
Finish with 1 row of shells. (SC in same st, *sk st, 4 DC in next st, sk st, SC in next st.* Repeat between the * & * all the way around. (6 shells) Join with first SC.
The two extra rows (35-36) I added so the warmers stop just above the middle knuckles on my fingers for a little added warmth.
is there a way to attach the bows so that you could change them to other color bows.