• Start Here
    • Recipe Index
      • Instant Pot Recipes
      • Air Fryer Recipes
      • Soups & Chilis
      • Desserts
      • Ingredients
        • Beef
        • Chicken
        • Pork
        • Seafood
        • Vegetables
      • Meals
        • Appetizers
        • Breakfast
        • Dinner
        • Lunch
        • Side Dish
      • Popular
        • 30 Minute Meals
        • Casseroles
        • Simple Fit Forty
        • Slow Cooker Meals
        • Soups & Chili
        • 30 Minute Meals
        • Weekly Meal Plan
        • Crafts & DIY
          • How to Use Essential Oils
          • Essential Oil Uses
          • Silhouette Crafts
          • DIY Furniture
          • Knitting and Sewing Projects
          • DIY Gift Ideas
          • Free Printables
          • Holiday Crafts
          • No Sew Projects
  • Air Fryer Recipes
  • Slow Cooker Meals
  • Instant Pot Recipes
  • Desserts
  • Nav Social Menu

    • Facebook
    • Instagram
    • Pinterest
    • Twitter
    • YouTube
Header logo for homepage

PinkWhen

Easy Recipes for Everyone

DIY Stackable Slatted Fruit Crates

Home » Crafts & DIY » Crafts » DIY Stackable Slatted Fruit Crates

Published November 17, 2014 by Jennifer. 26 Comments.
This post may contain affiliate links. Your cost is the same but it helps support this site and the fun freebies we share. See our full disclosures here.

Share
Pin
Share
Share

Today I am sharing with you these fun and easy DIY Stackable Slatted Fruit Crates.  It is the perfect DIY Christmas Kitchen Decor present for anyone who loves that wooden rustic look. It can be hard to find wooden kitchen accessories, but these are easy to make. They are also great to store other things besides fruit. (Seriously, my toddler has one in her room right now and she is using it for a baby bed for one of her toys.) I love the chalkboard labels and the Walnut coloring. Check out how easy this project was to make.

Stackable Fruit Crate

I love working in my kitchen, and I love shopping for decor. Sometimes you just find something you love and think to yourself, “I can make that!” When I found a similar group of crates online I wanted to make them. So today I am going to share with you exactly how I made these stackable slatted fruit crates and added some wooden accessories to my kitchen.
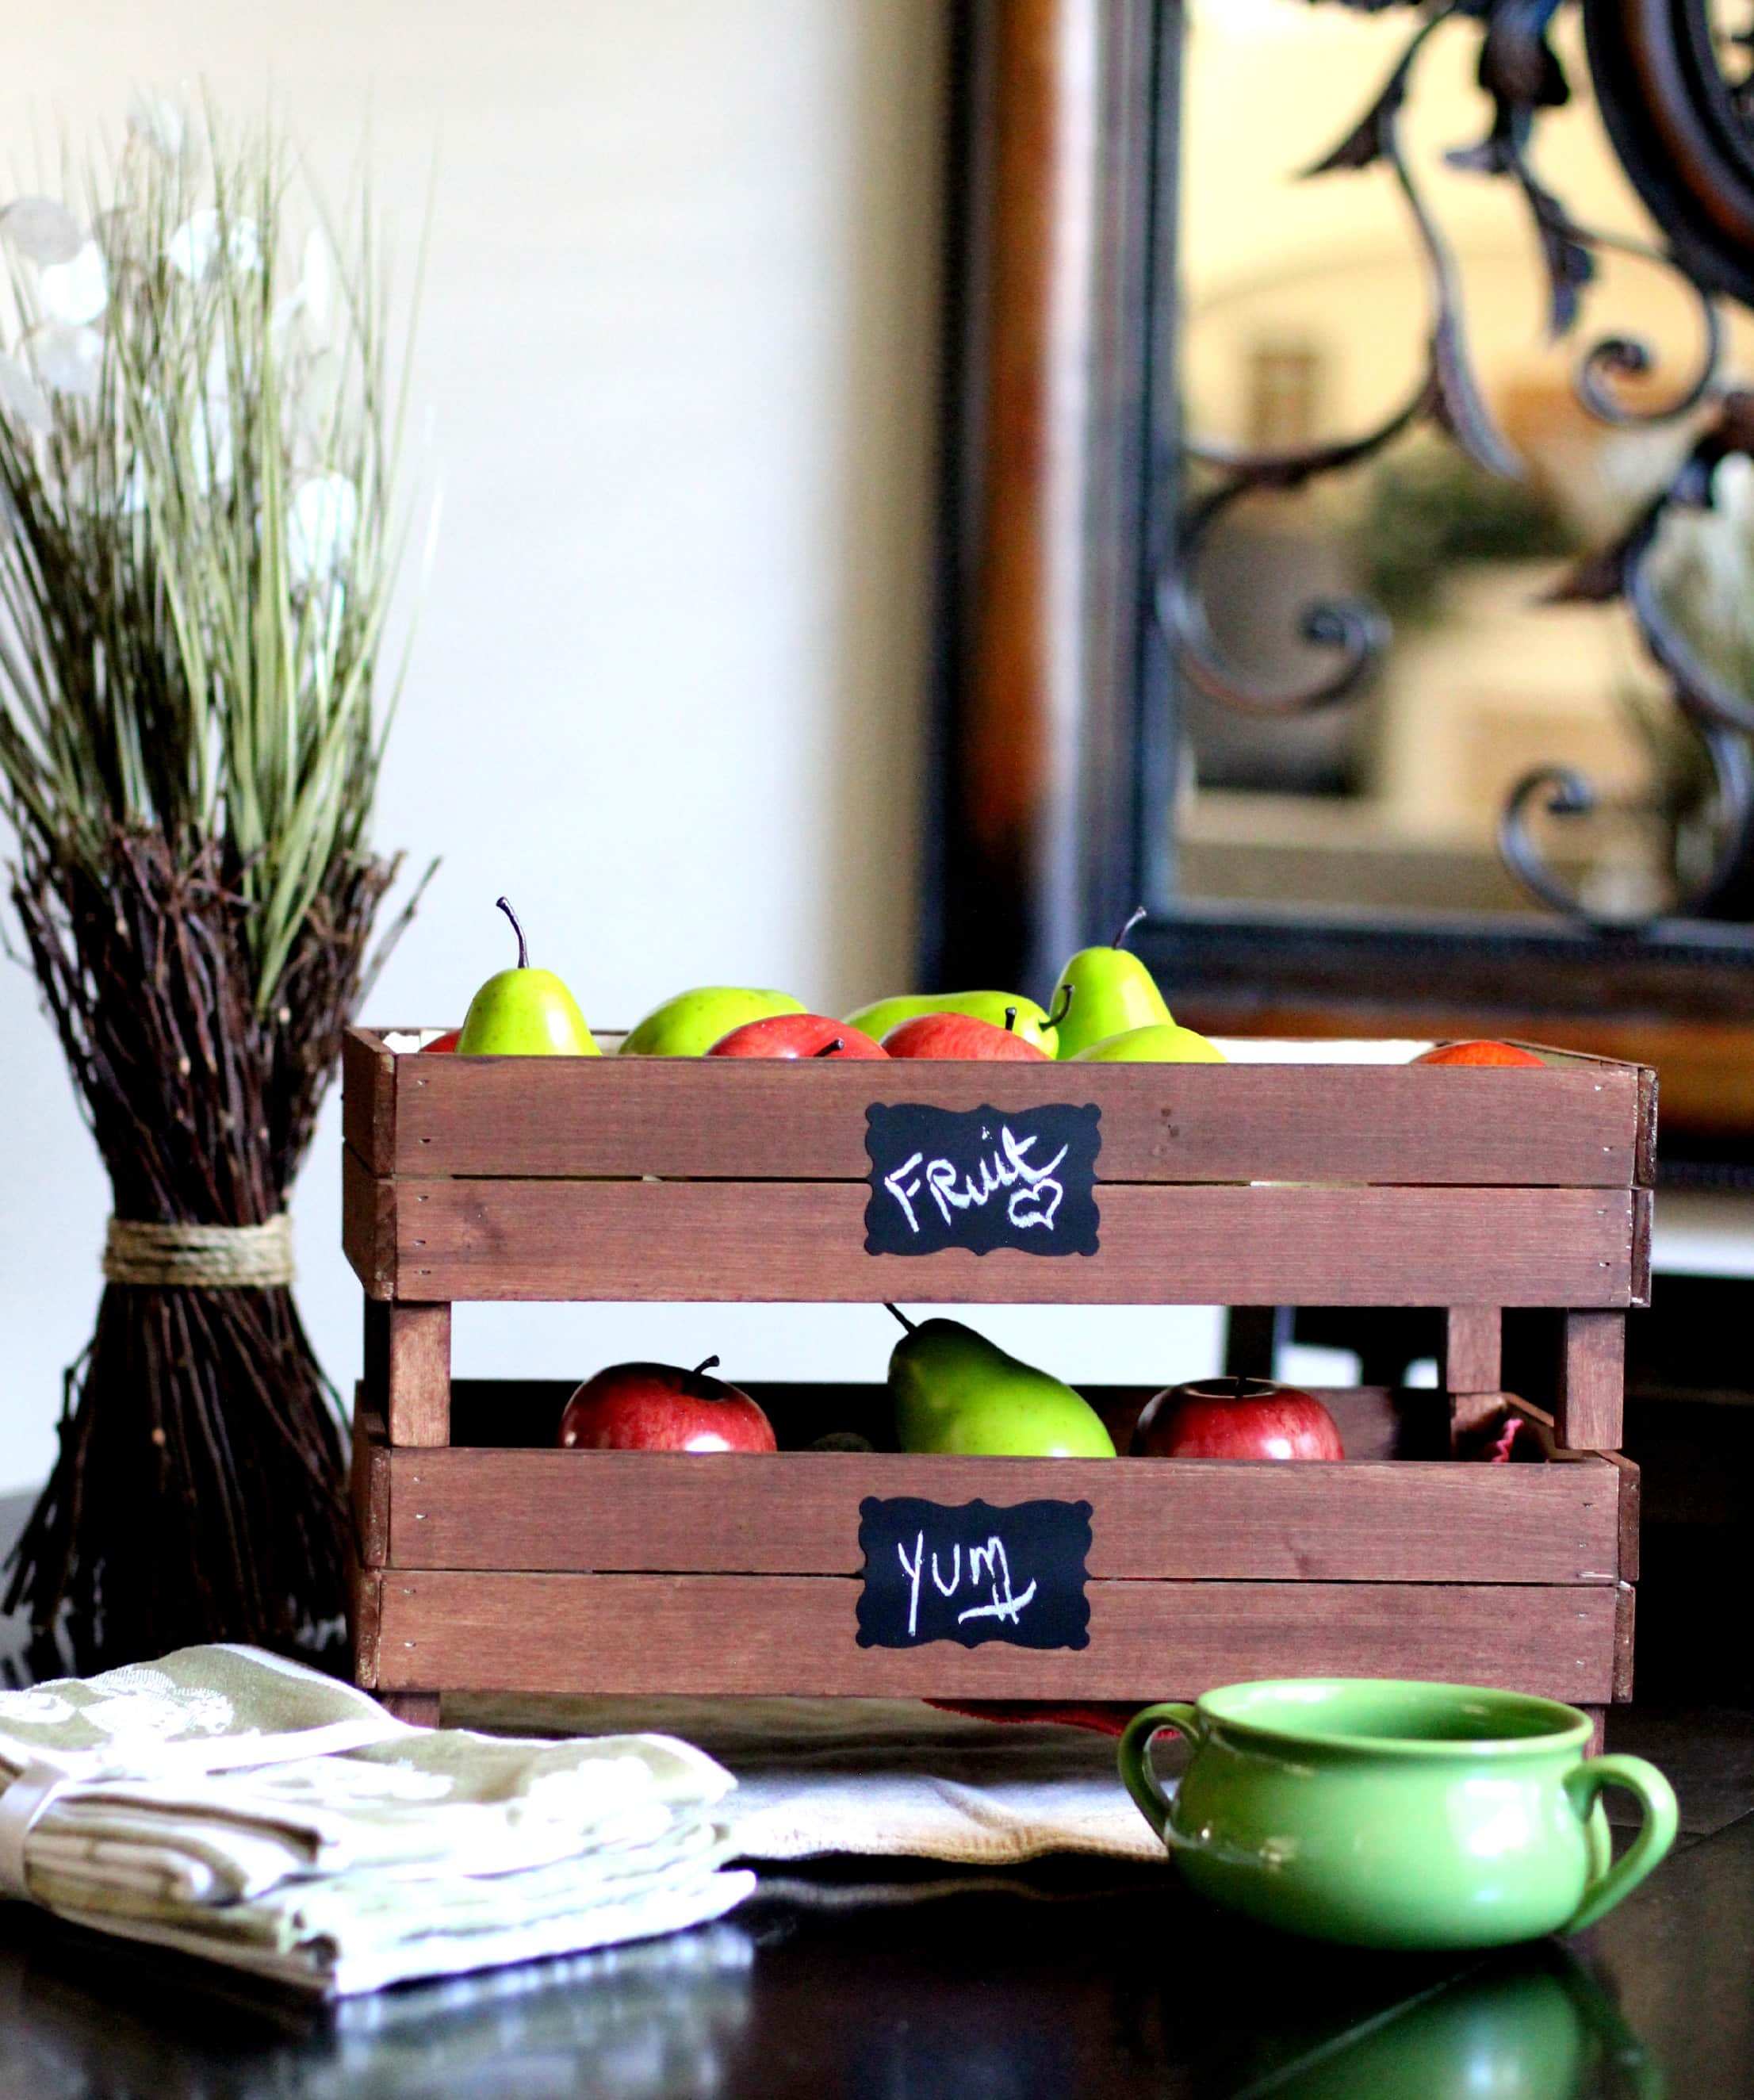
DIY Stackable Slatted Fruit Crate via PinkWhen.com


How do I make a fruit crate?

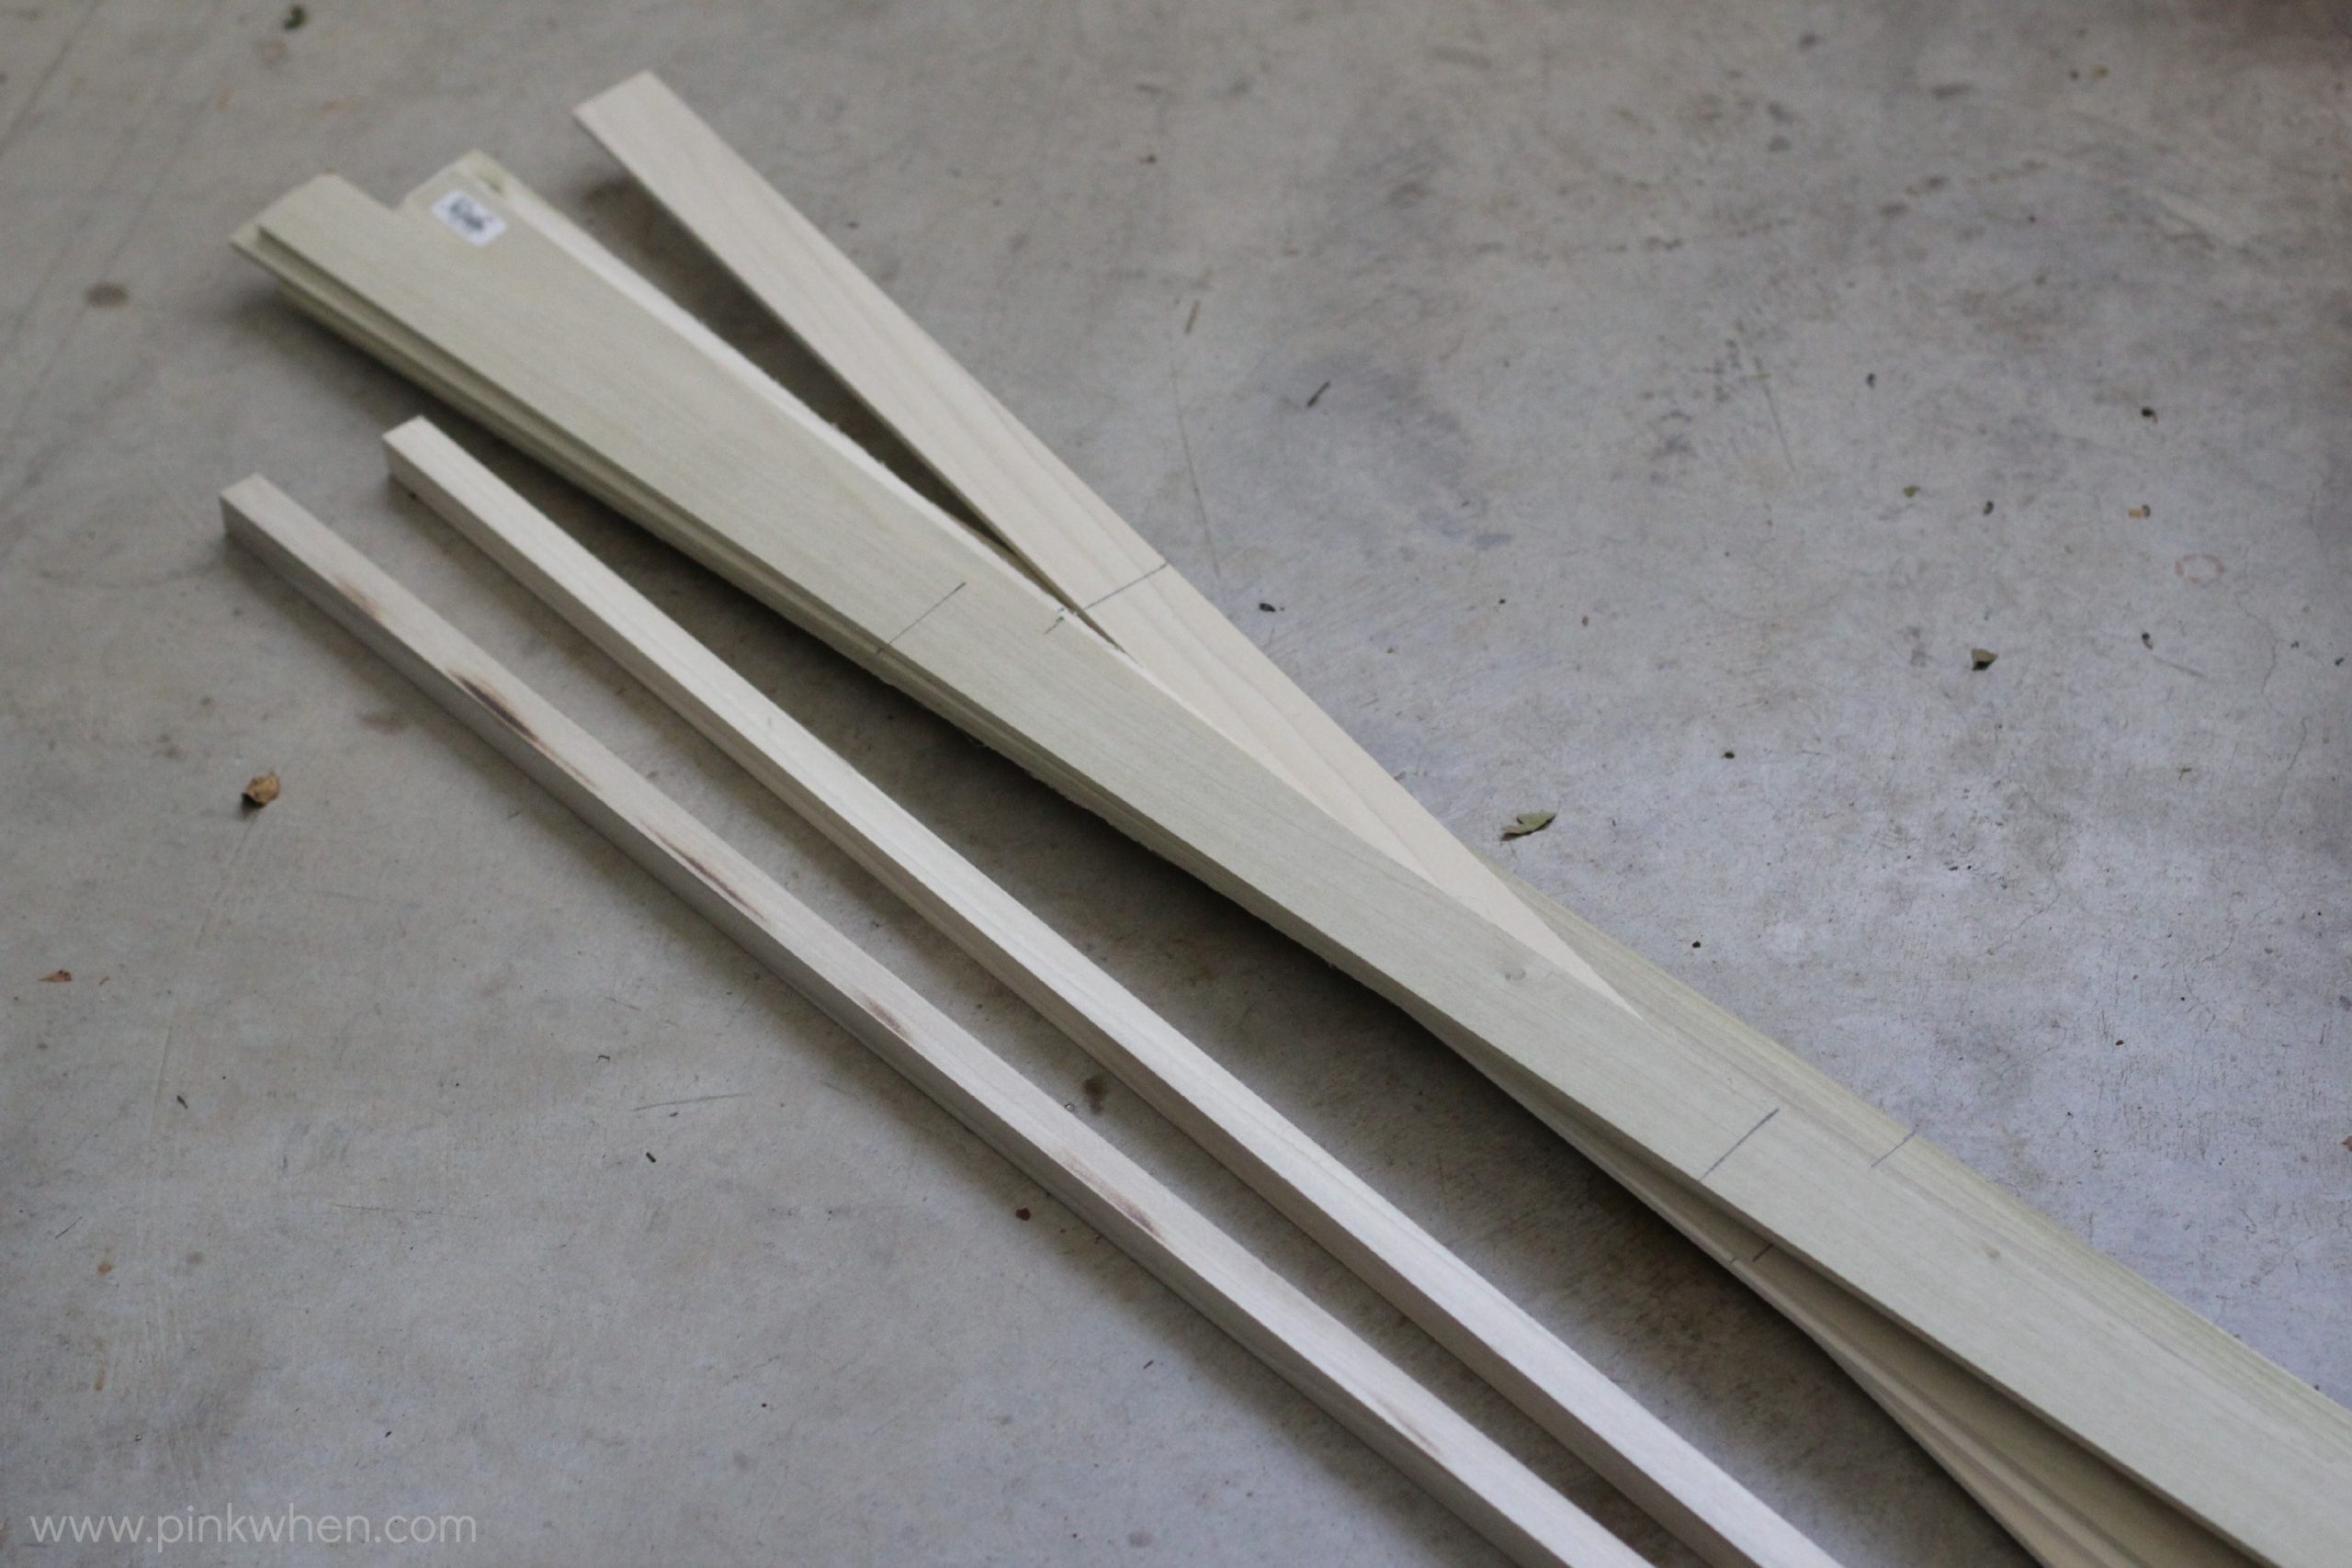
Head out to your local home improvement store and pick up your supplies:

  • (2) 36″ x 3/4″ square dowel (poplar)
  • (8) .25″ x 1.5″ x  48″ poplar

DIY Stackable Slatted Fruit Crates via PinkWhen.com

You are also going to need these supplies while building:

  • sand paper
  • wood glue
  • Ryobi Brad Nailer (affiliate link)
  • 1″ brad nails

Cut list:

  • (8) .25″ x 1.5″ x 16″ pieces (front/back of crates)
  • (8) .25″ x 1.5″ x 8″ pieces (sides of crates)
  • (10) .25″ x 1.5″ x 16″ pieces (base of crate)
  • (8) 3/4″ x 5″ dowel pieces (4 feet for each crate)
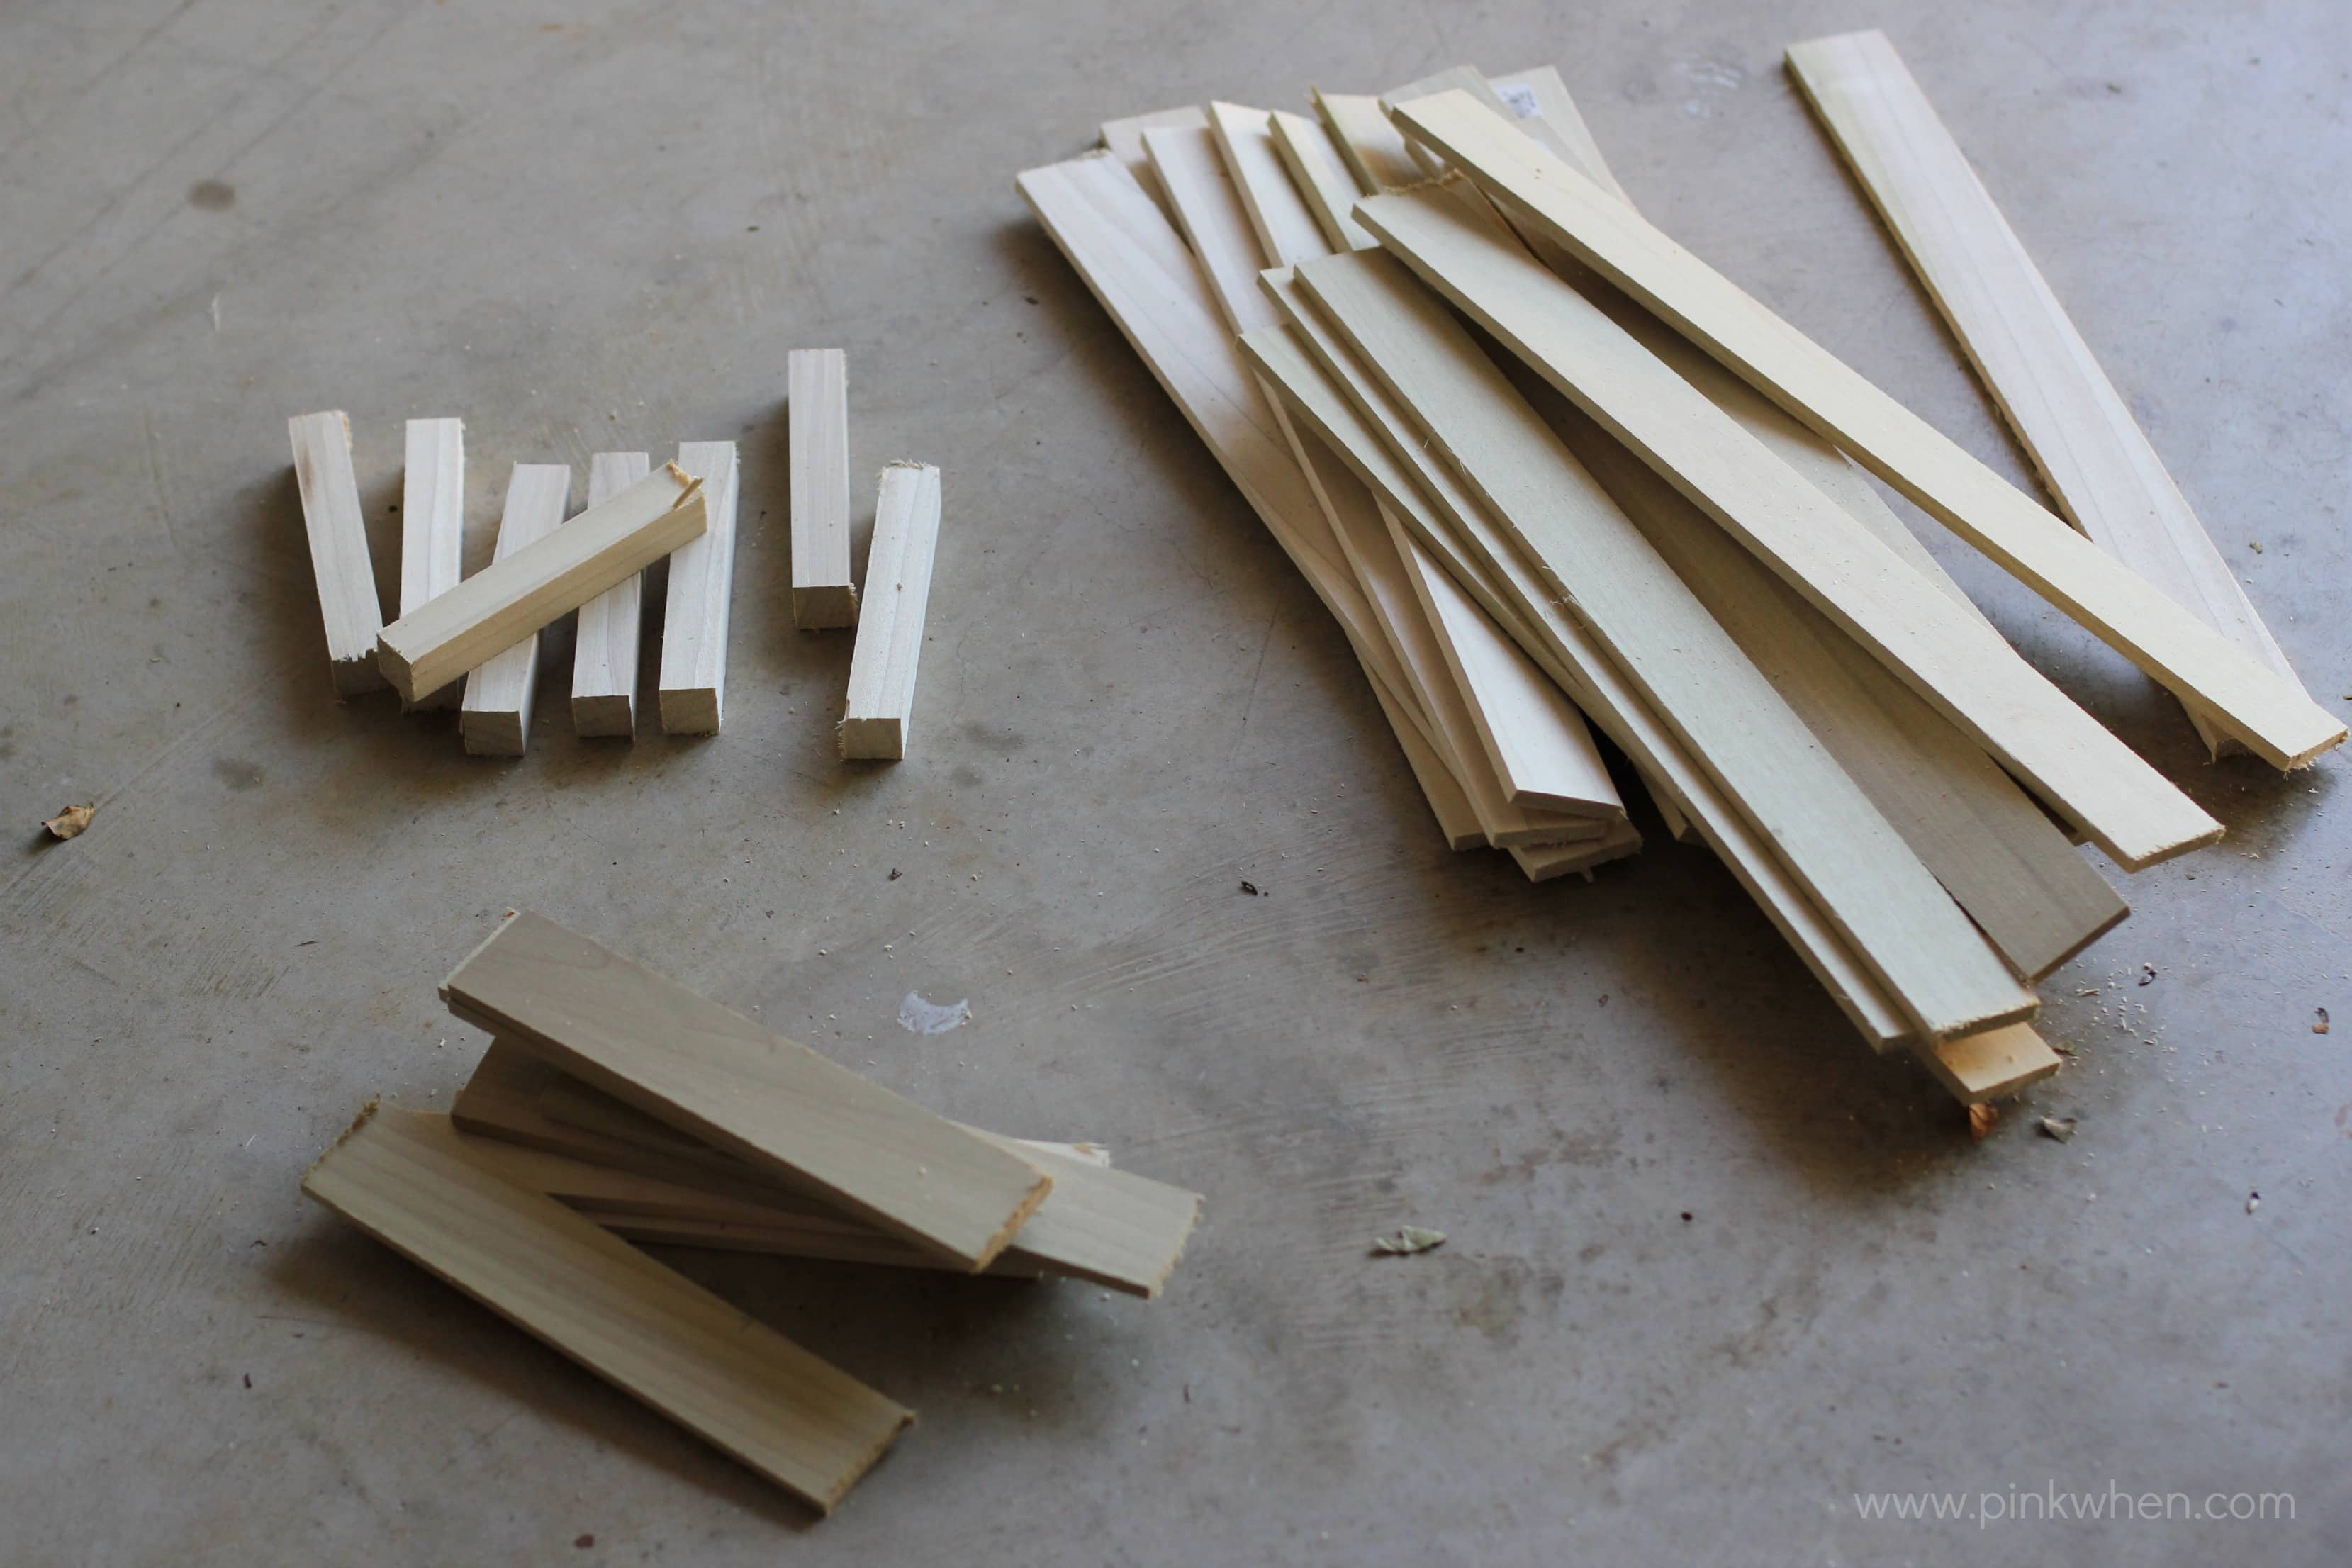
DIY Stackable Slatted Fruit Crates via PinkWhen.com

Once all of your cuts have been made take your sand paper and smooth all of the ends and edges out.

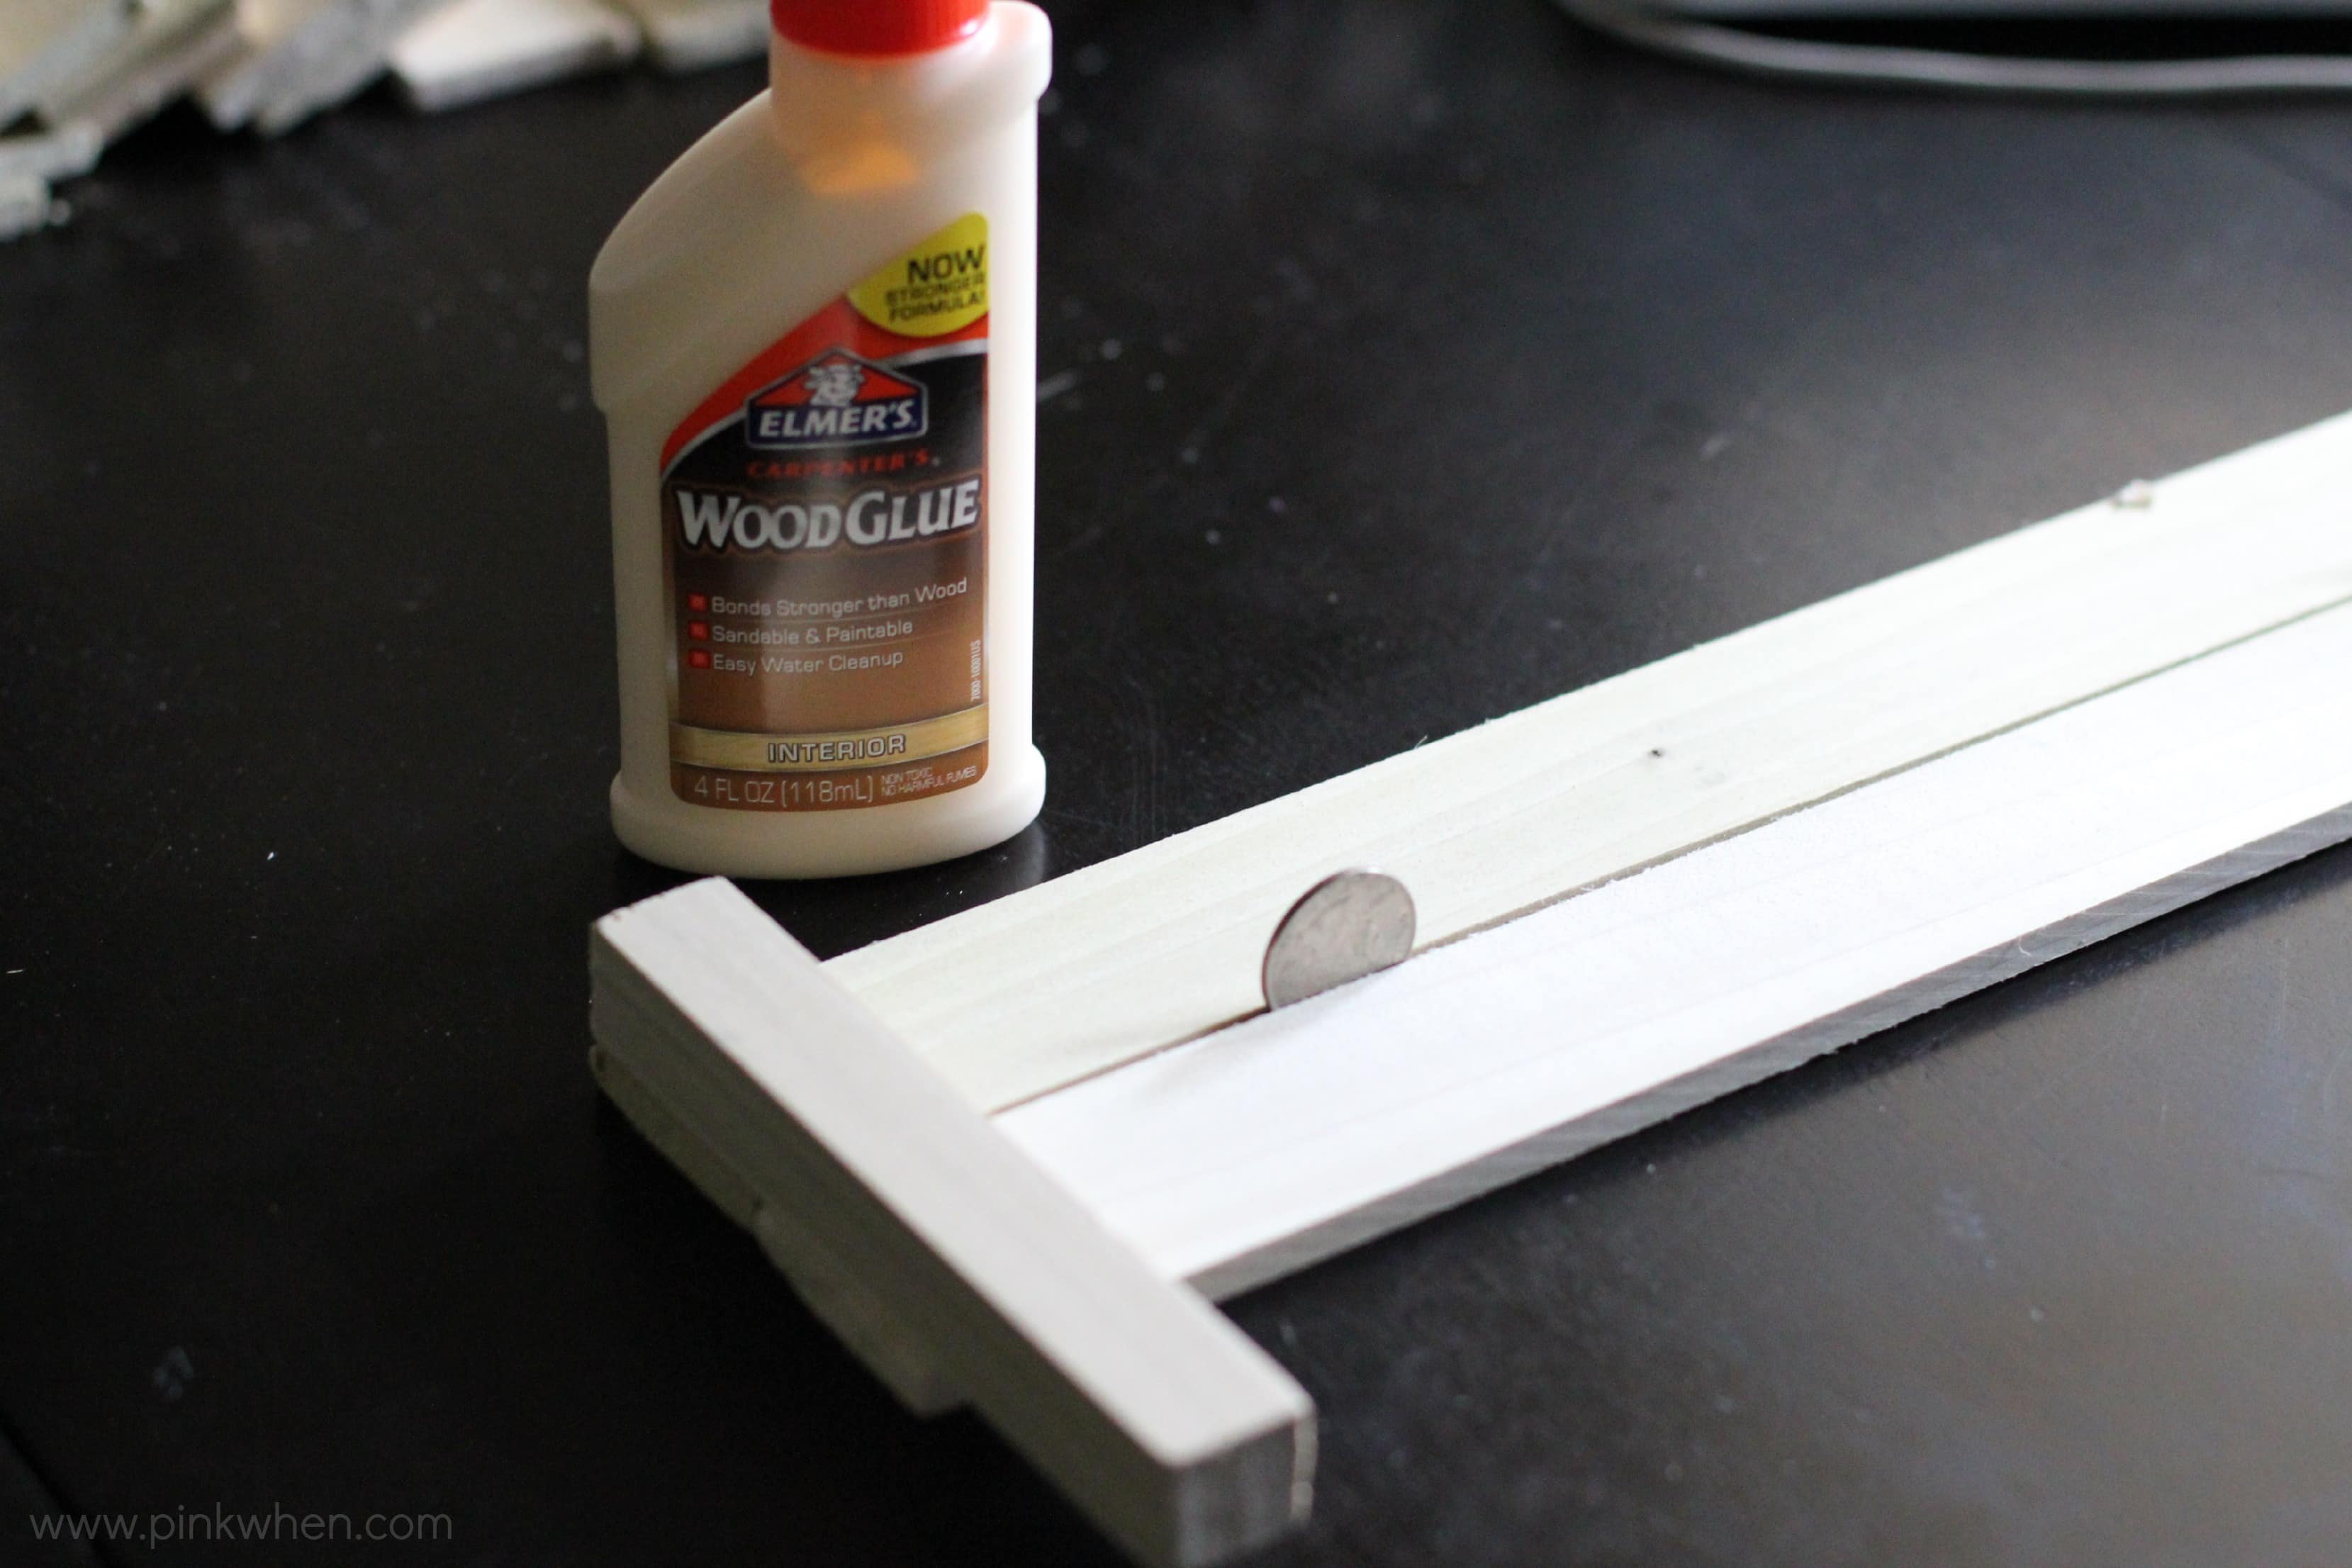
Now it’s time to start putting this project together! To create the slatted look and keep it uniform, I took two of my .25″ x 1.5″ x 16″ pieces and placed two quarters between them. This will give the slatted look I was wanting.
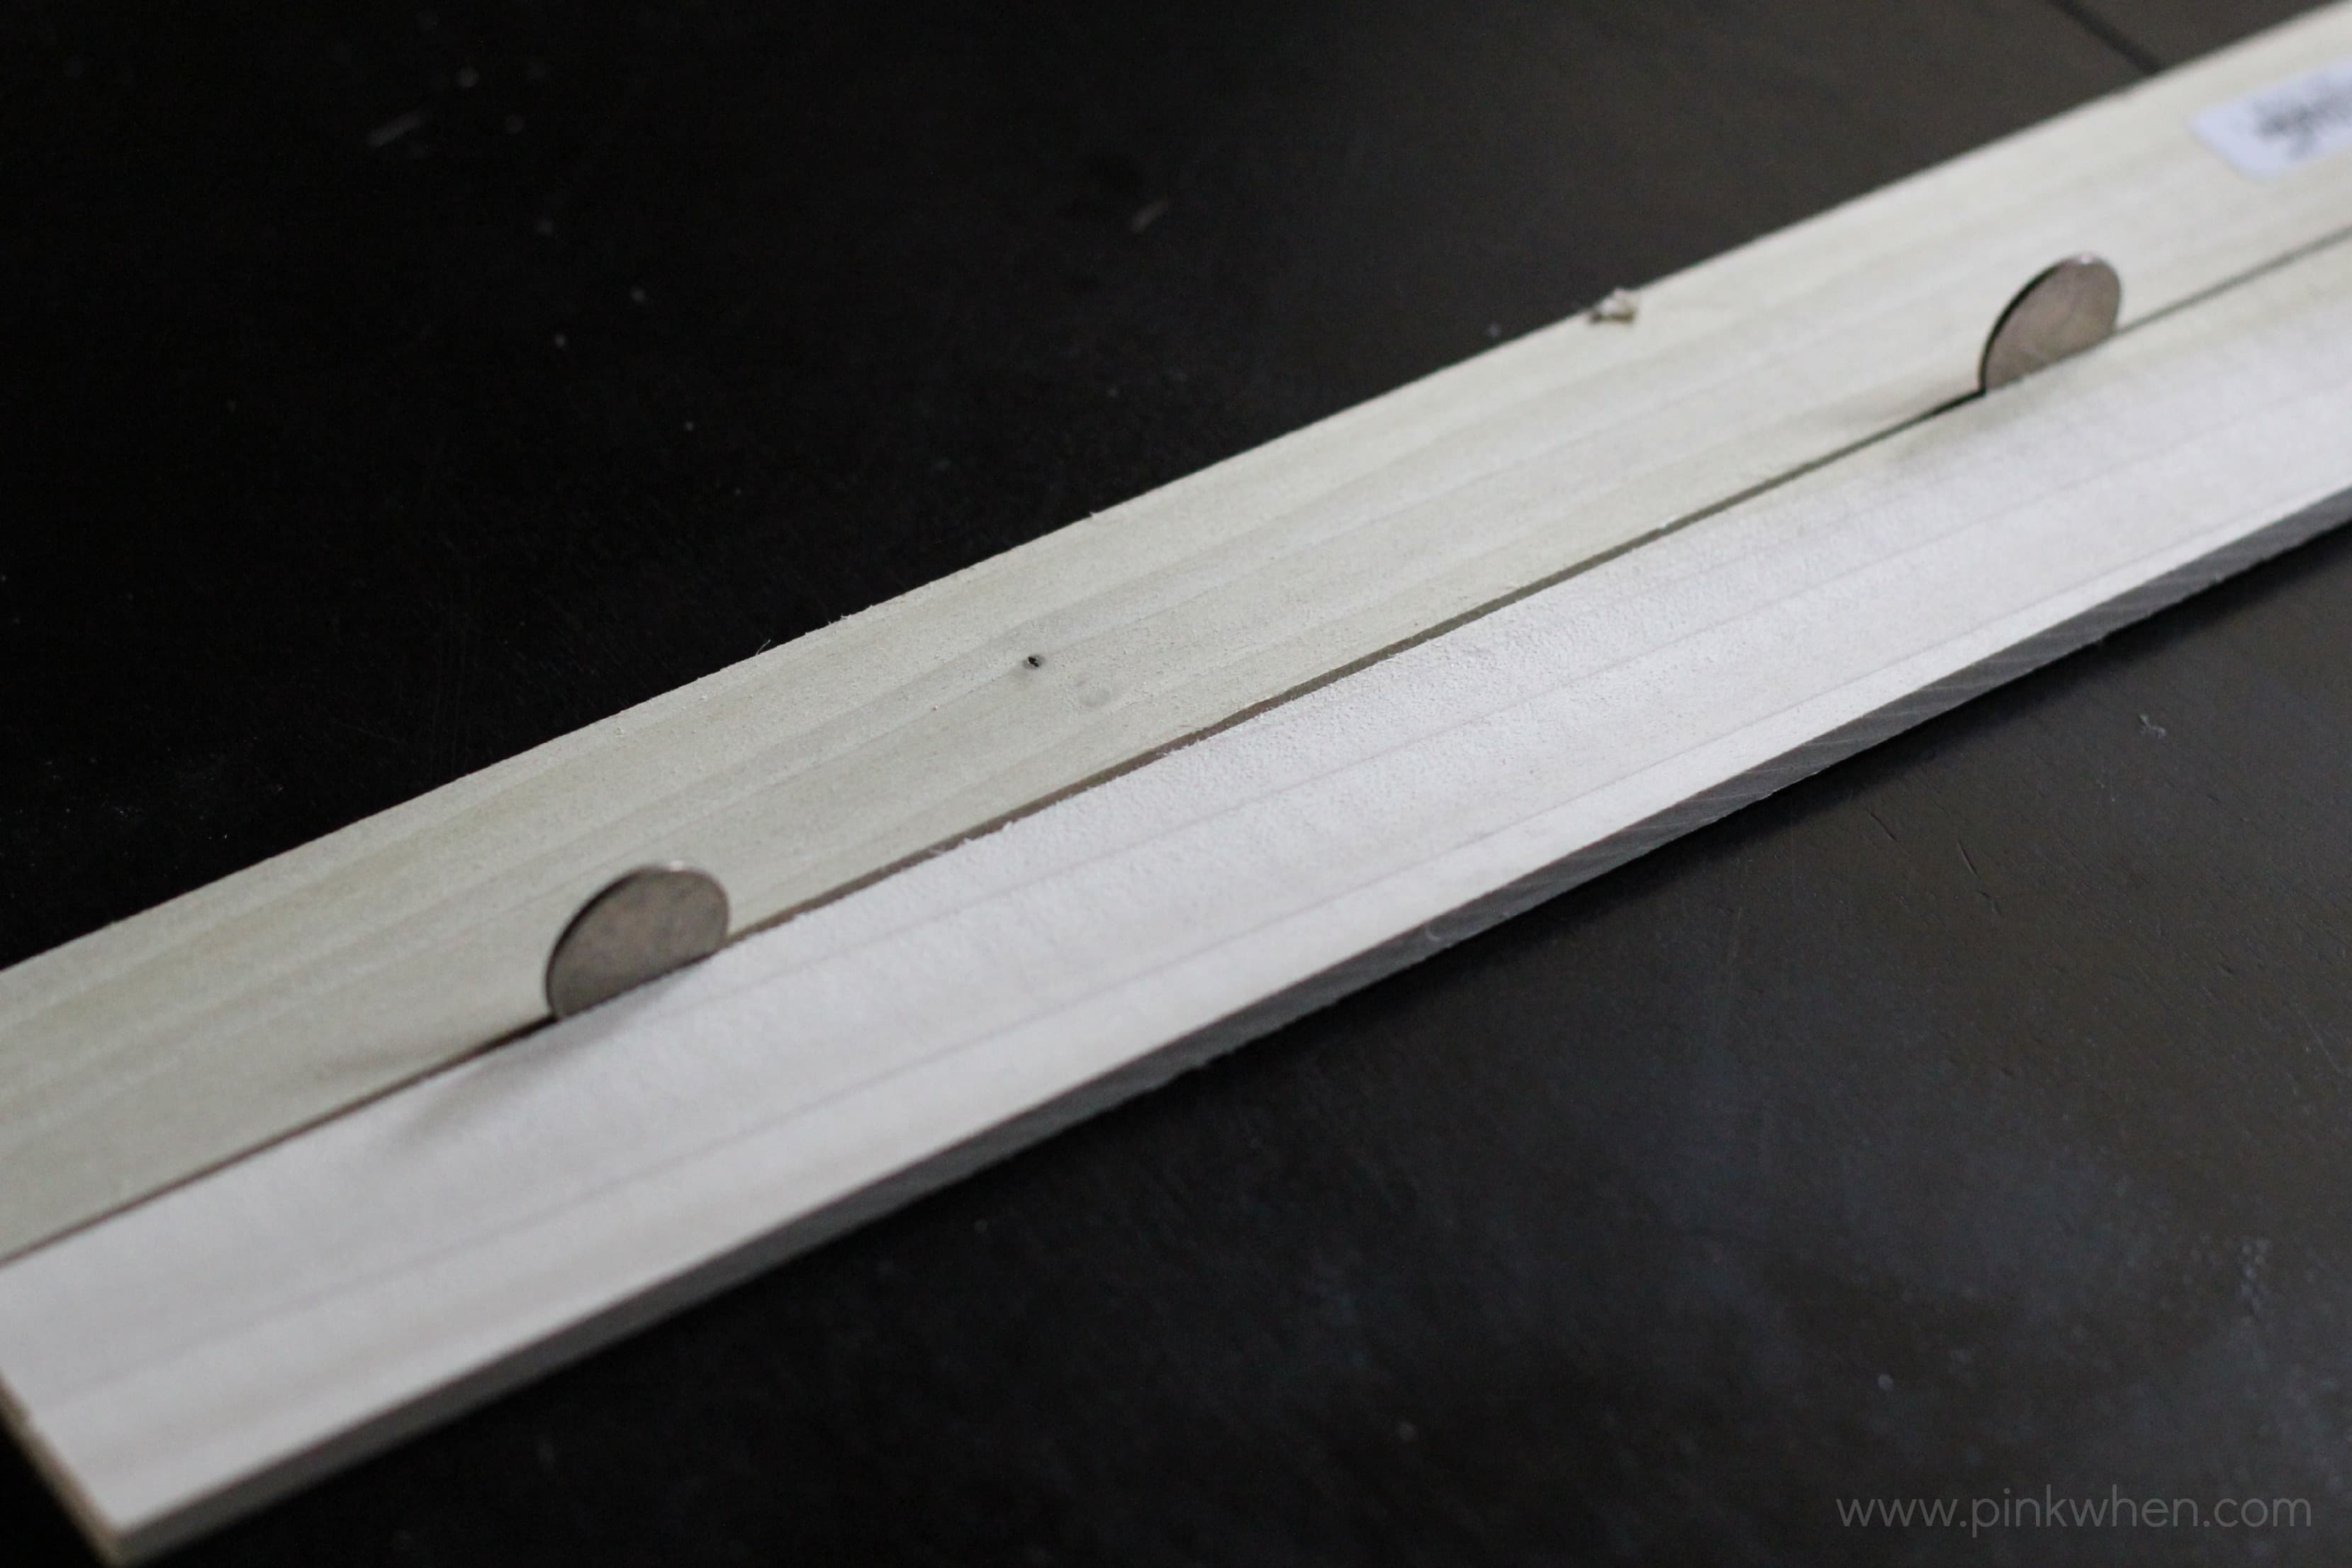
DIY Stackable Slatted Fruit Crates via PinkWhen.com


I then took the wood glue and placed a strip on the edges of those two pieces. Once I had the glue on, I took the 3/4″ x 5″ dowel and placed it uniformly on the slatted pieces.
DIY Stackable Slatted Fruit Crates via PinkWhen.com


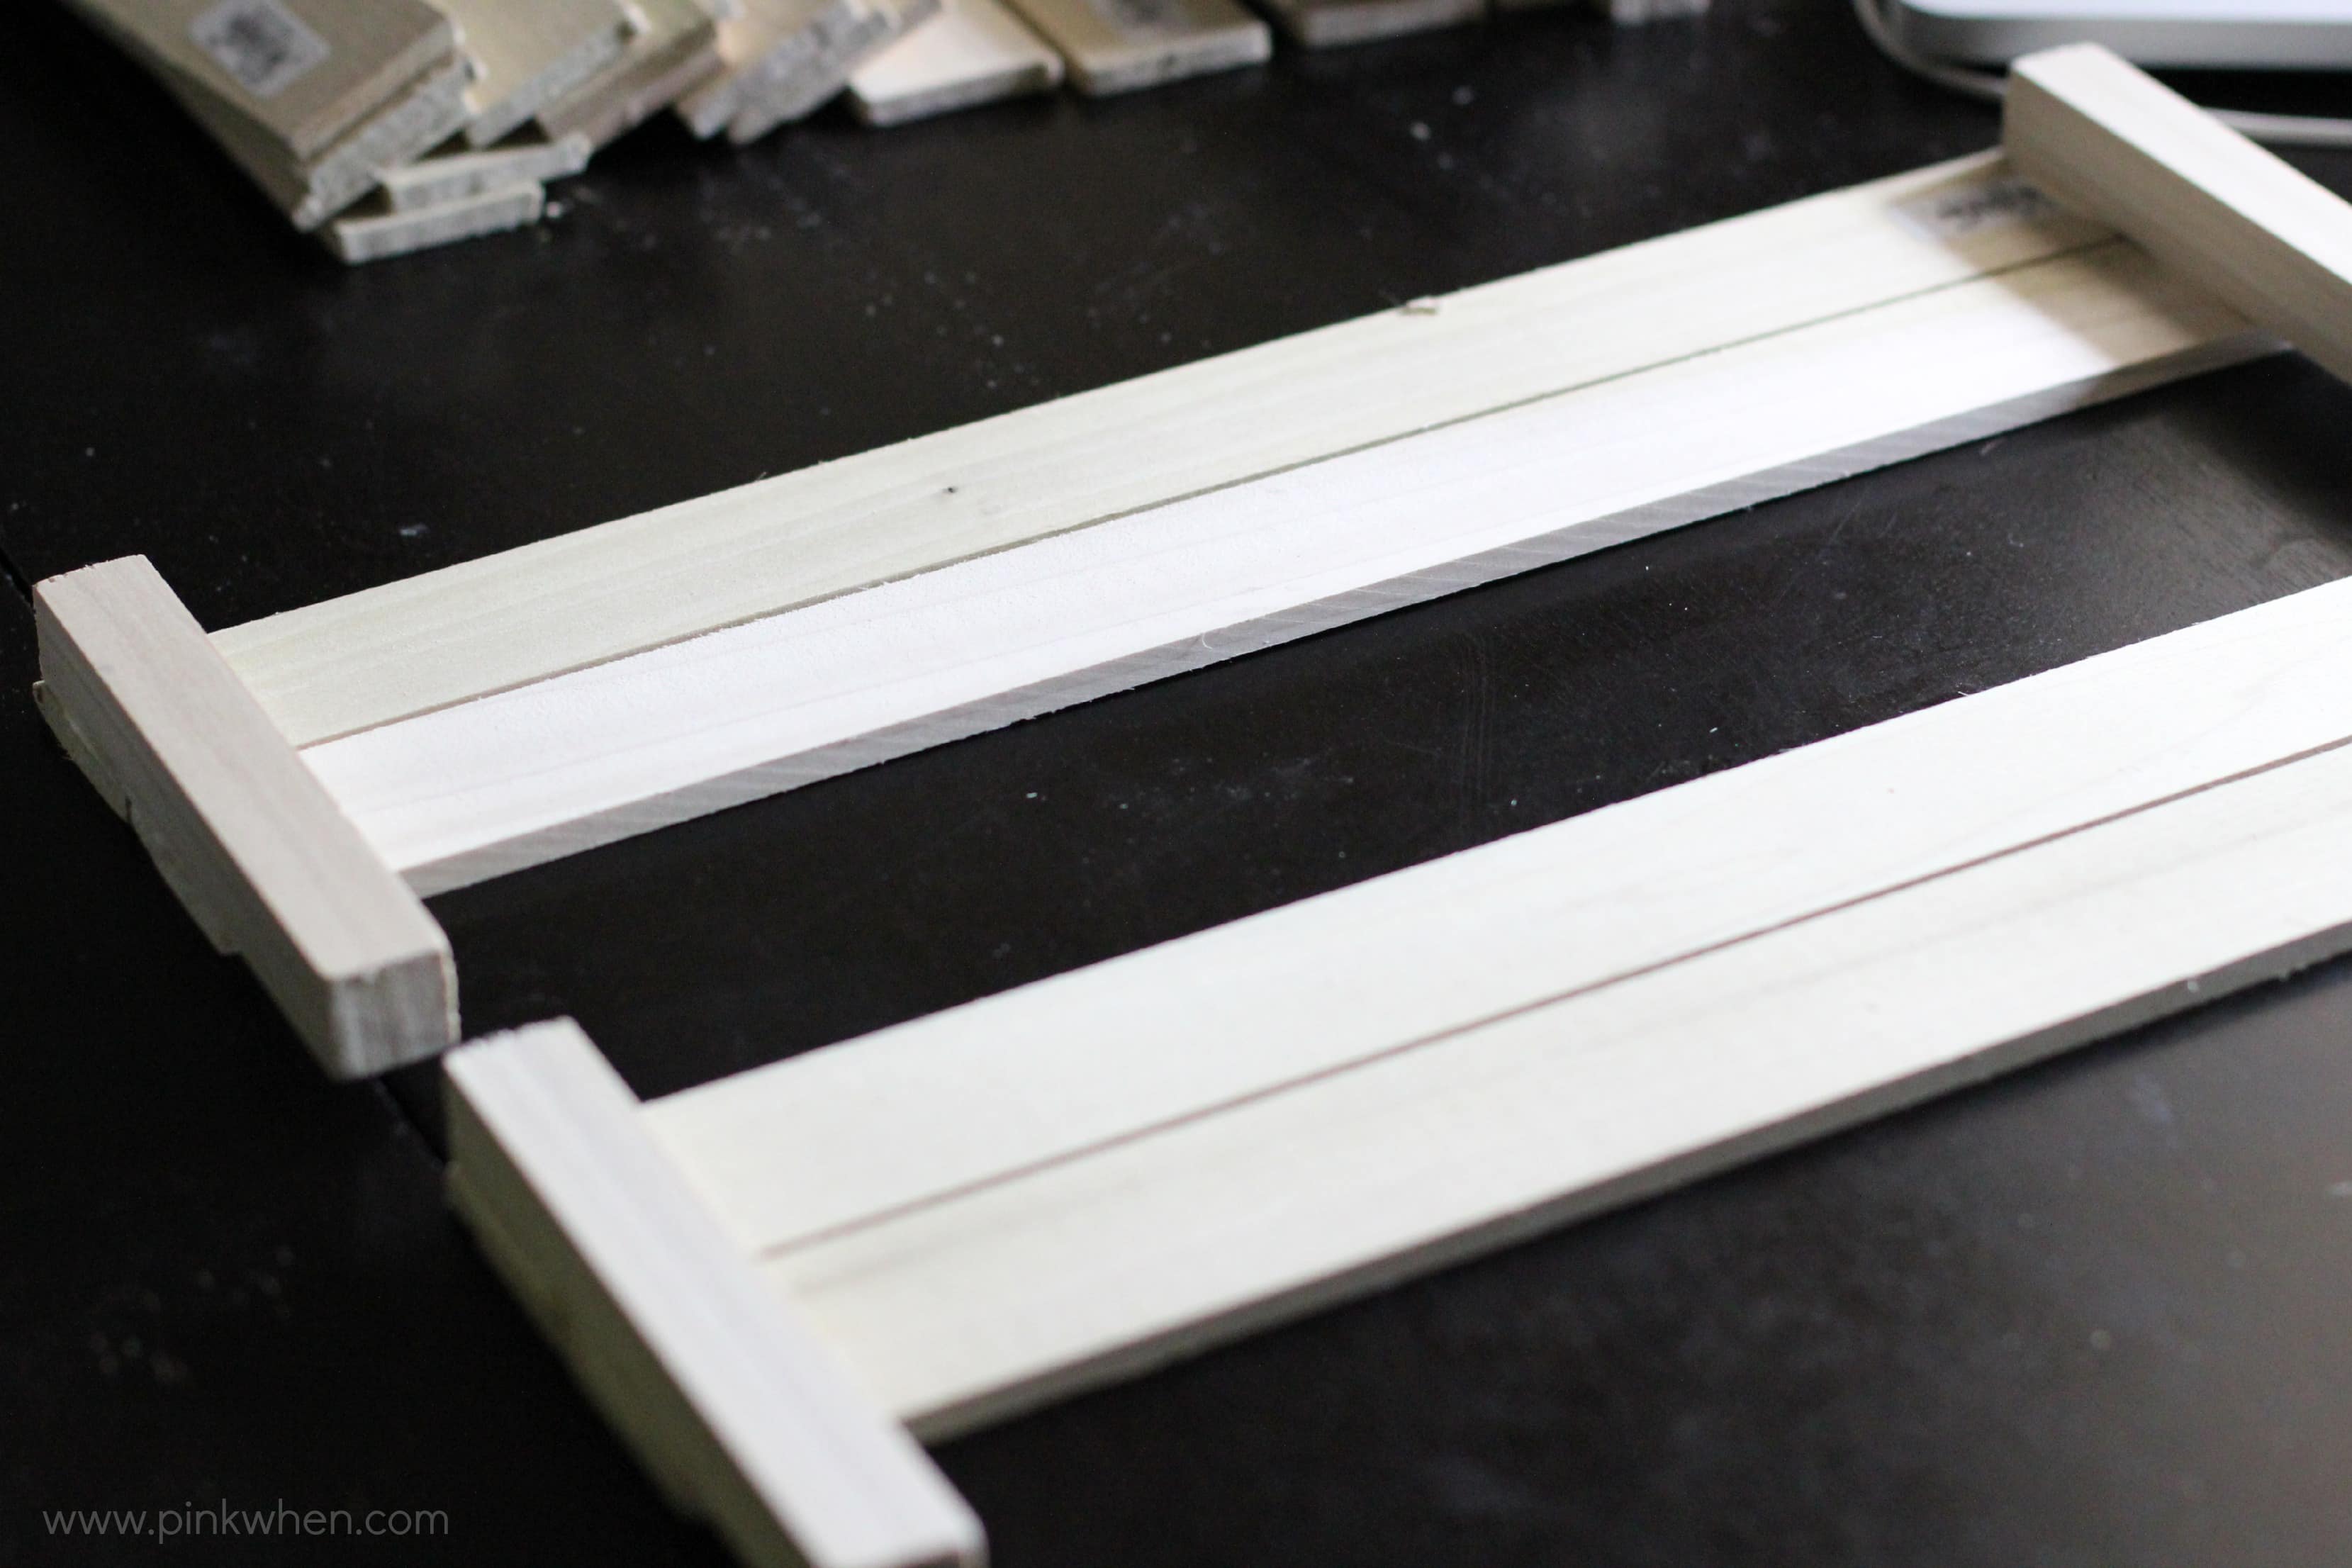
Once dry, I was able to remove the quarters.
DIY Stackable Slatted Fruit Crates via PinkWhen.com

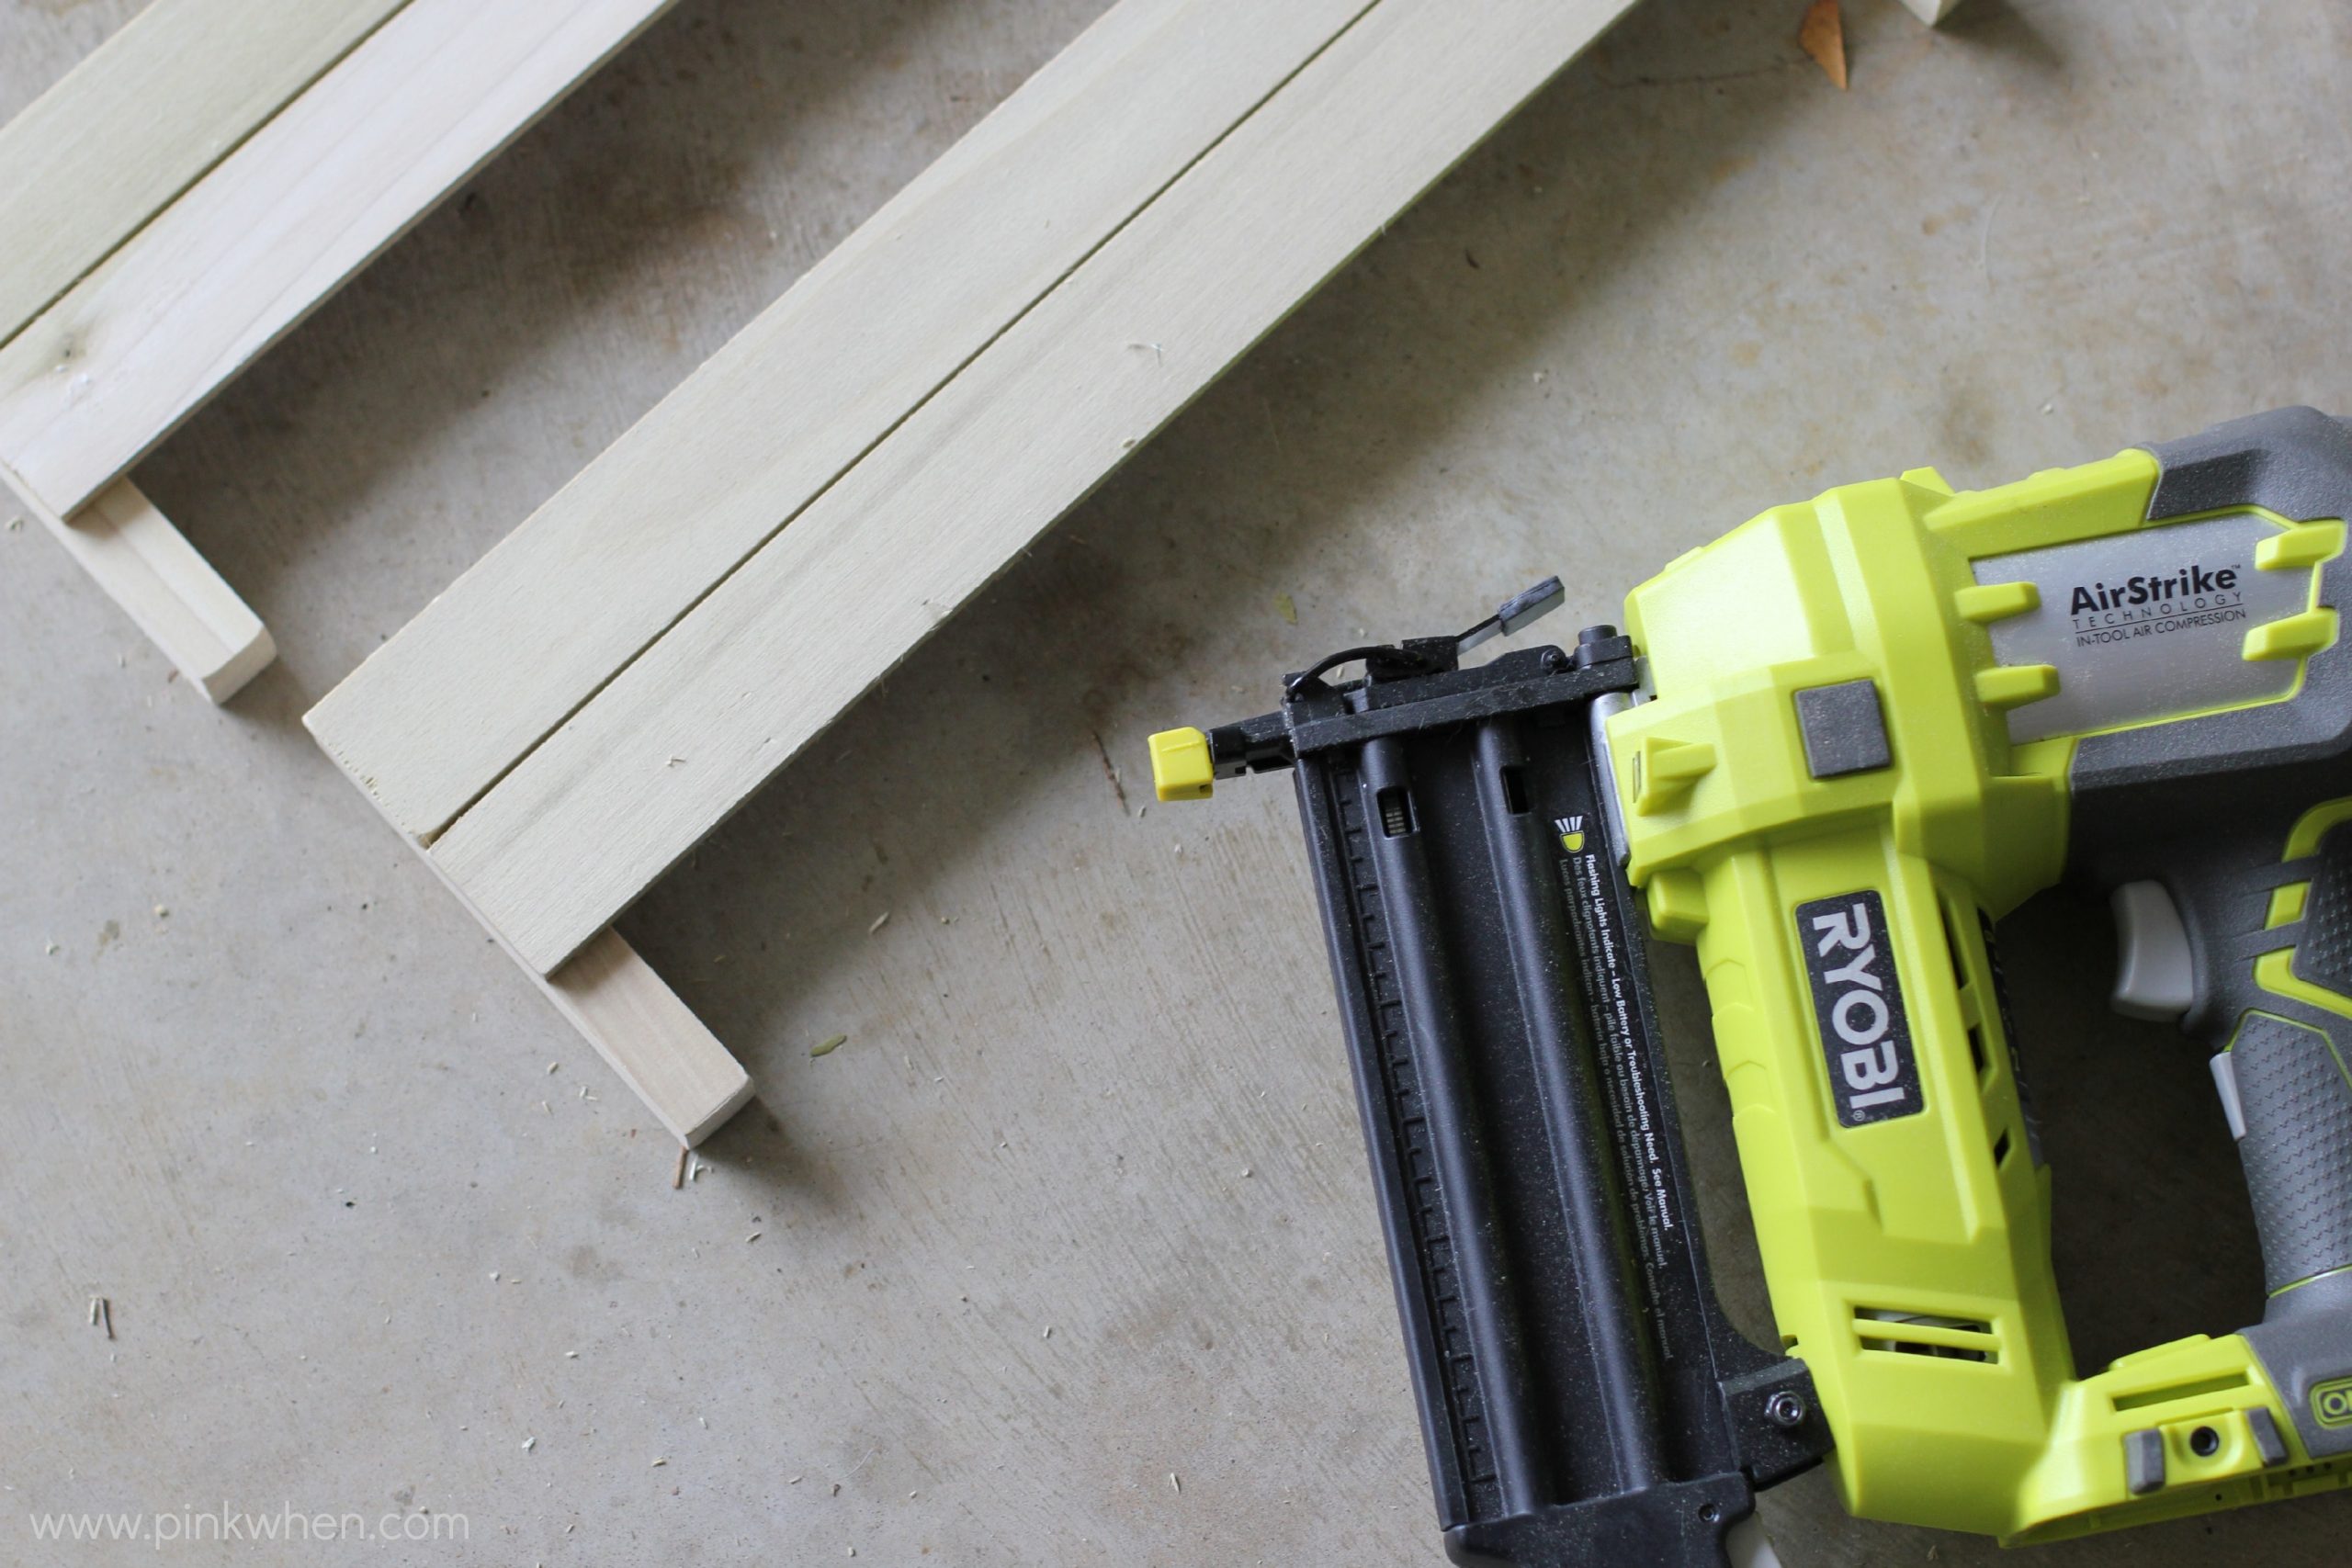
Now it was time to secure these together with a little more than wood. I took my project out to the garage and grabbed my Ryobi Brad Nailer and the 1″ nails to help finish this crate up. (Make sure you grab your safety goggles before using this.)
DIY Stackable Slatted Fruit Crates via PinkWhen.com


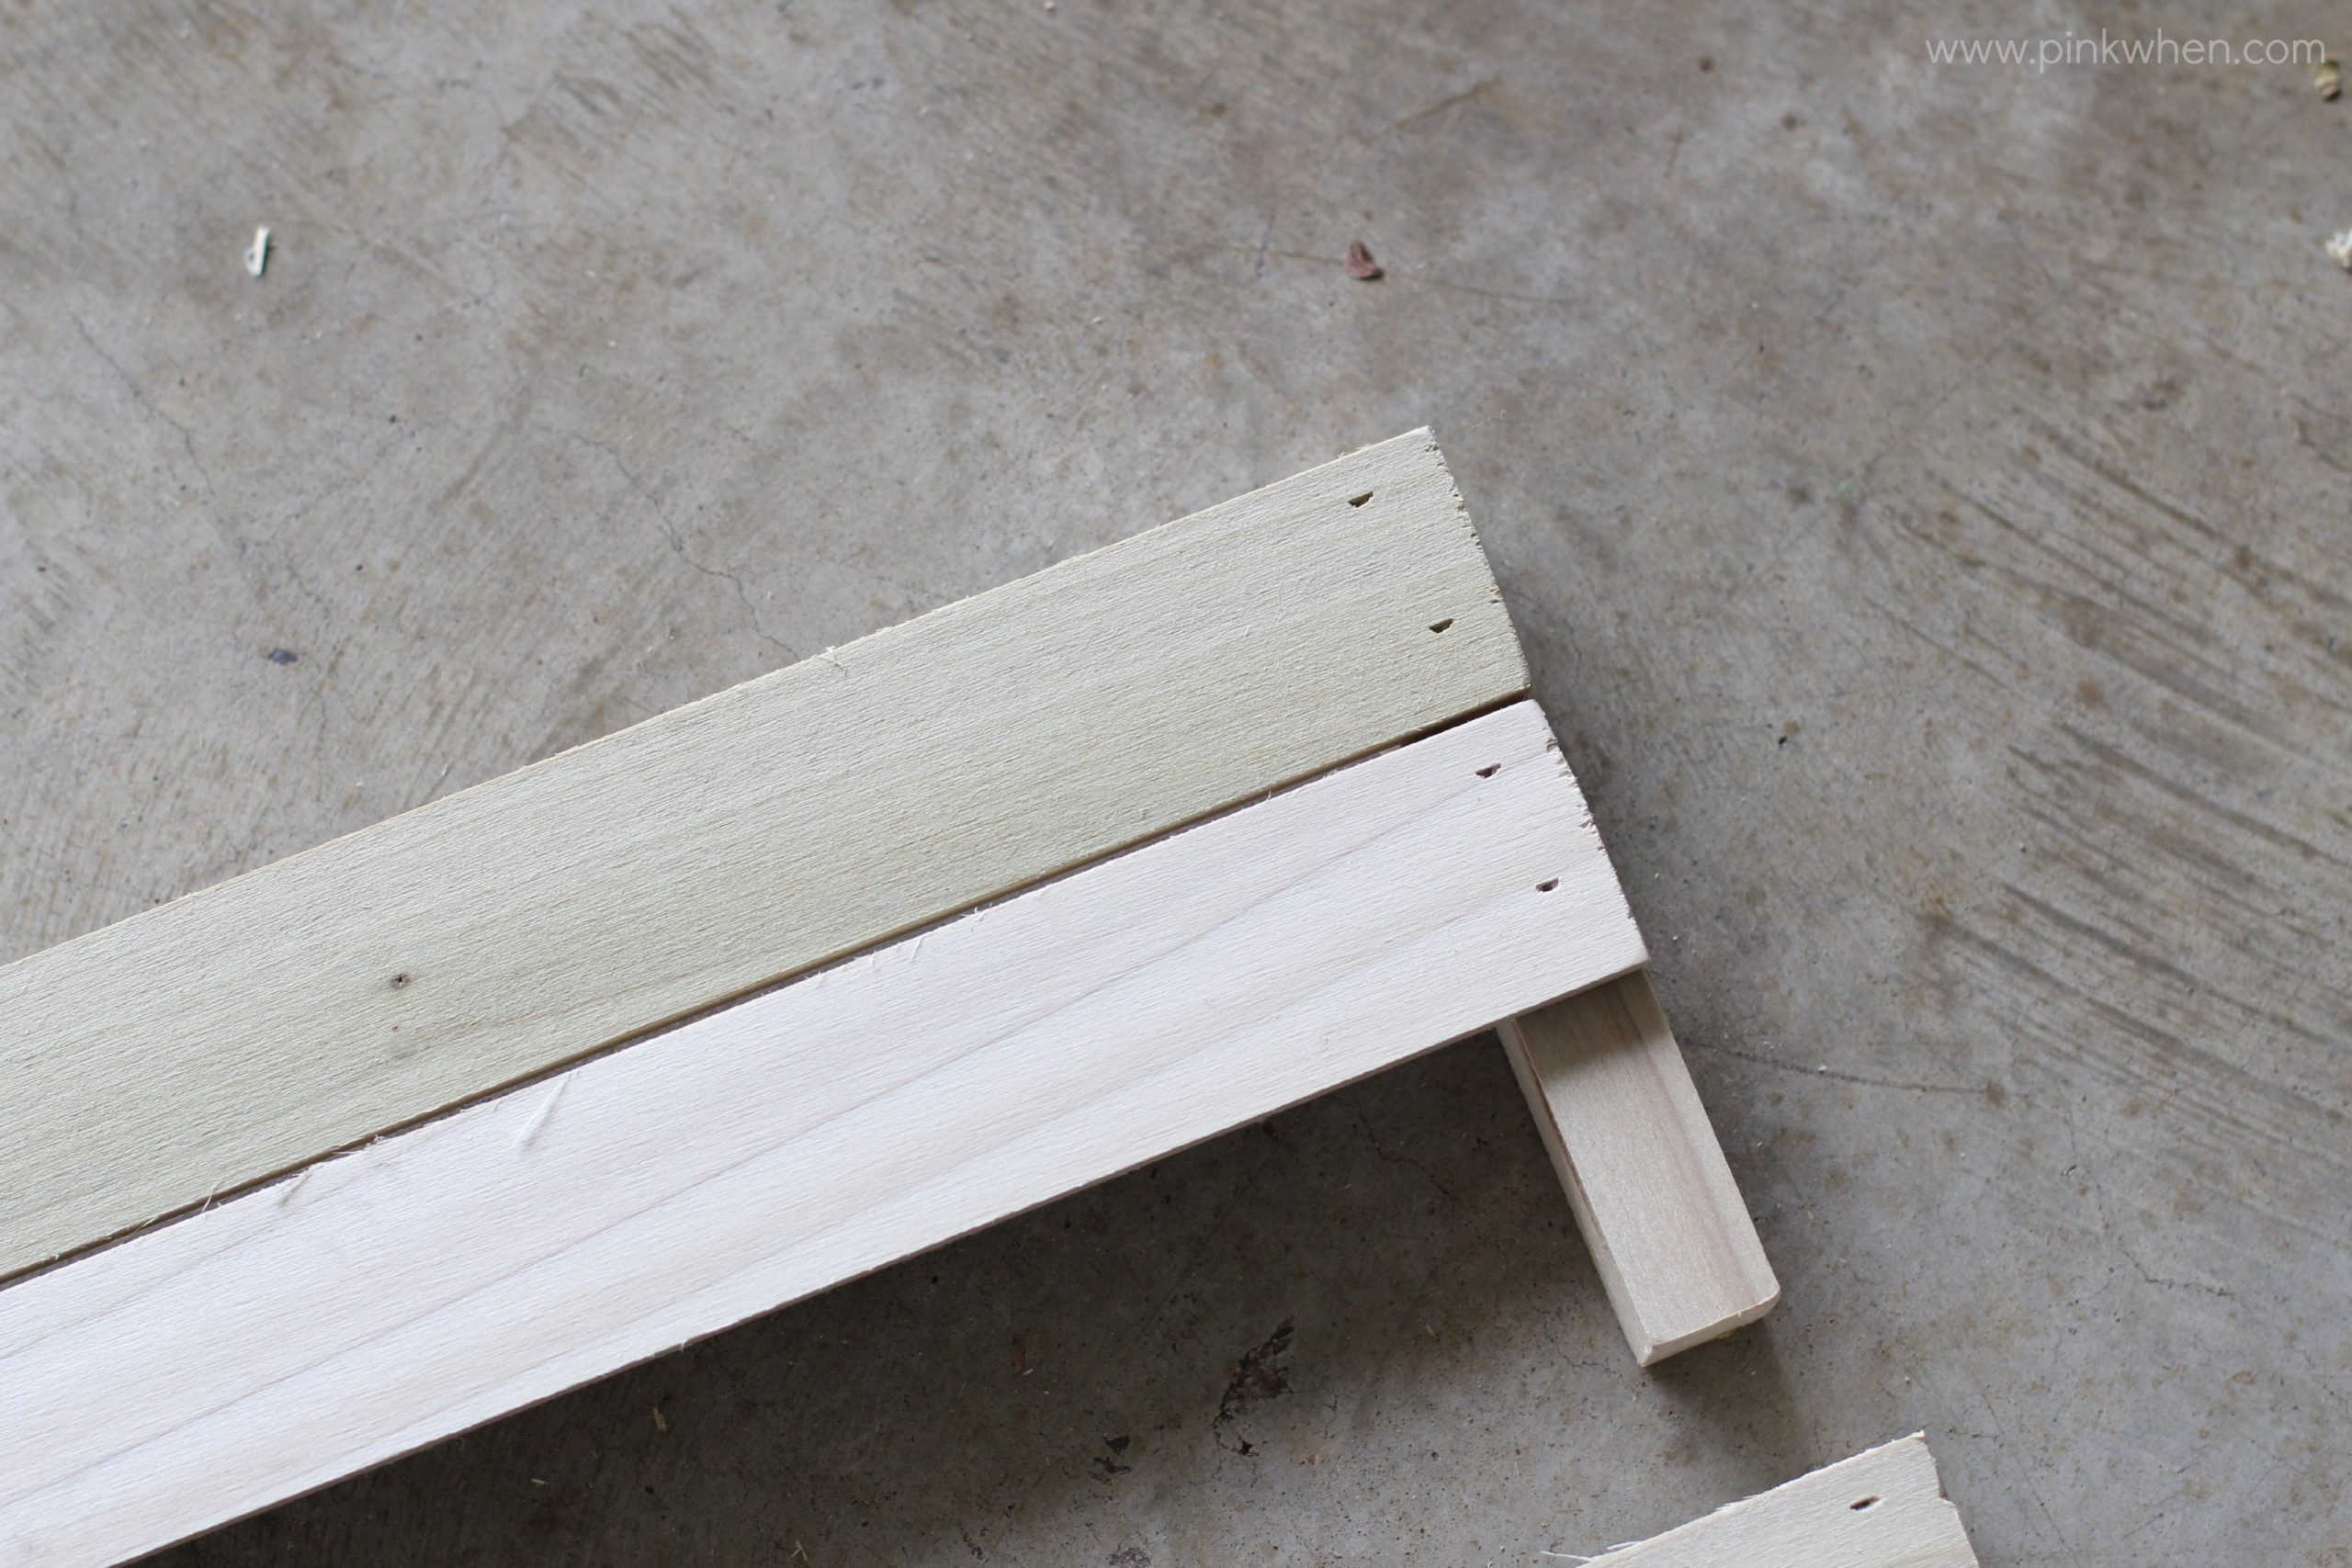
In just a few short minutes your pieces should easily be secured.
DIY Stackable Slatted Fruit Crates via PinkWhen.com


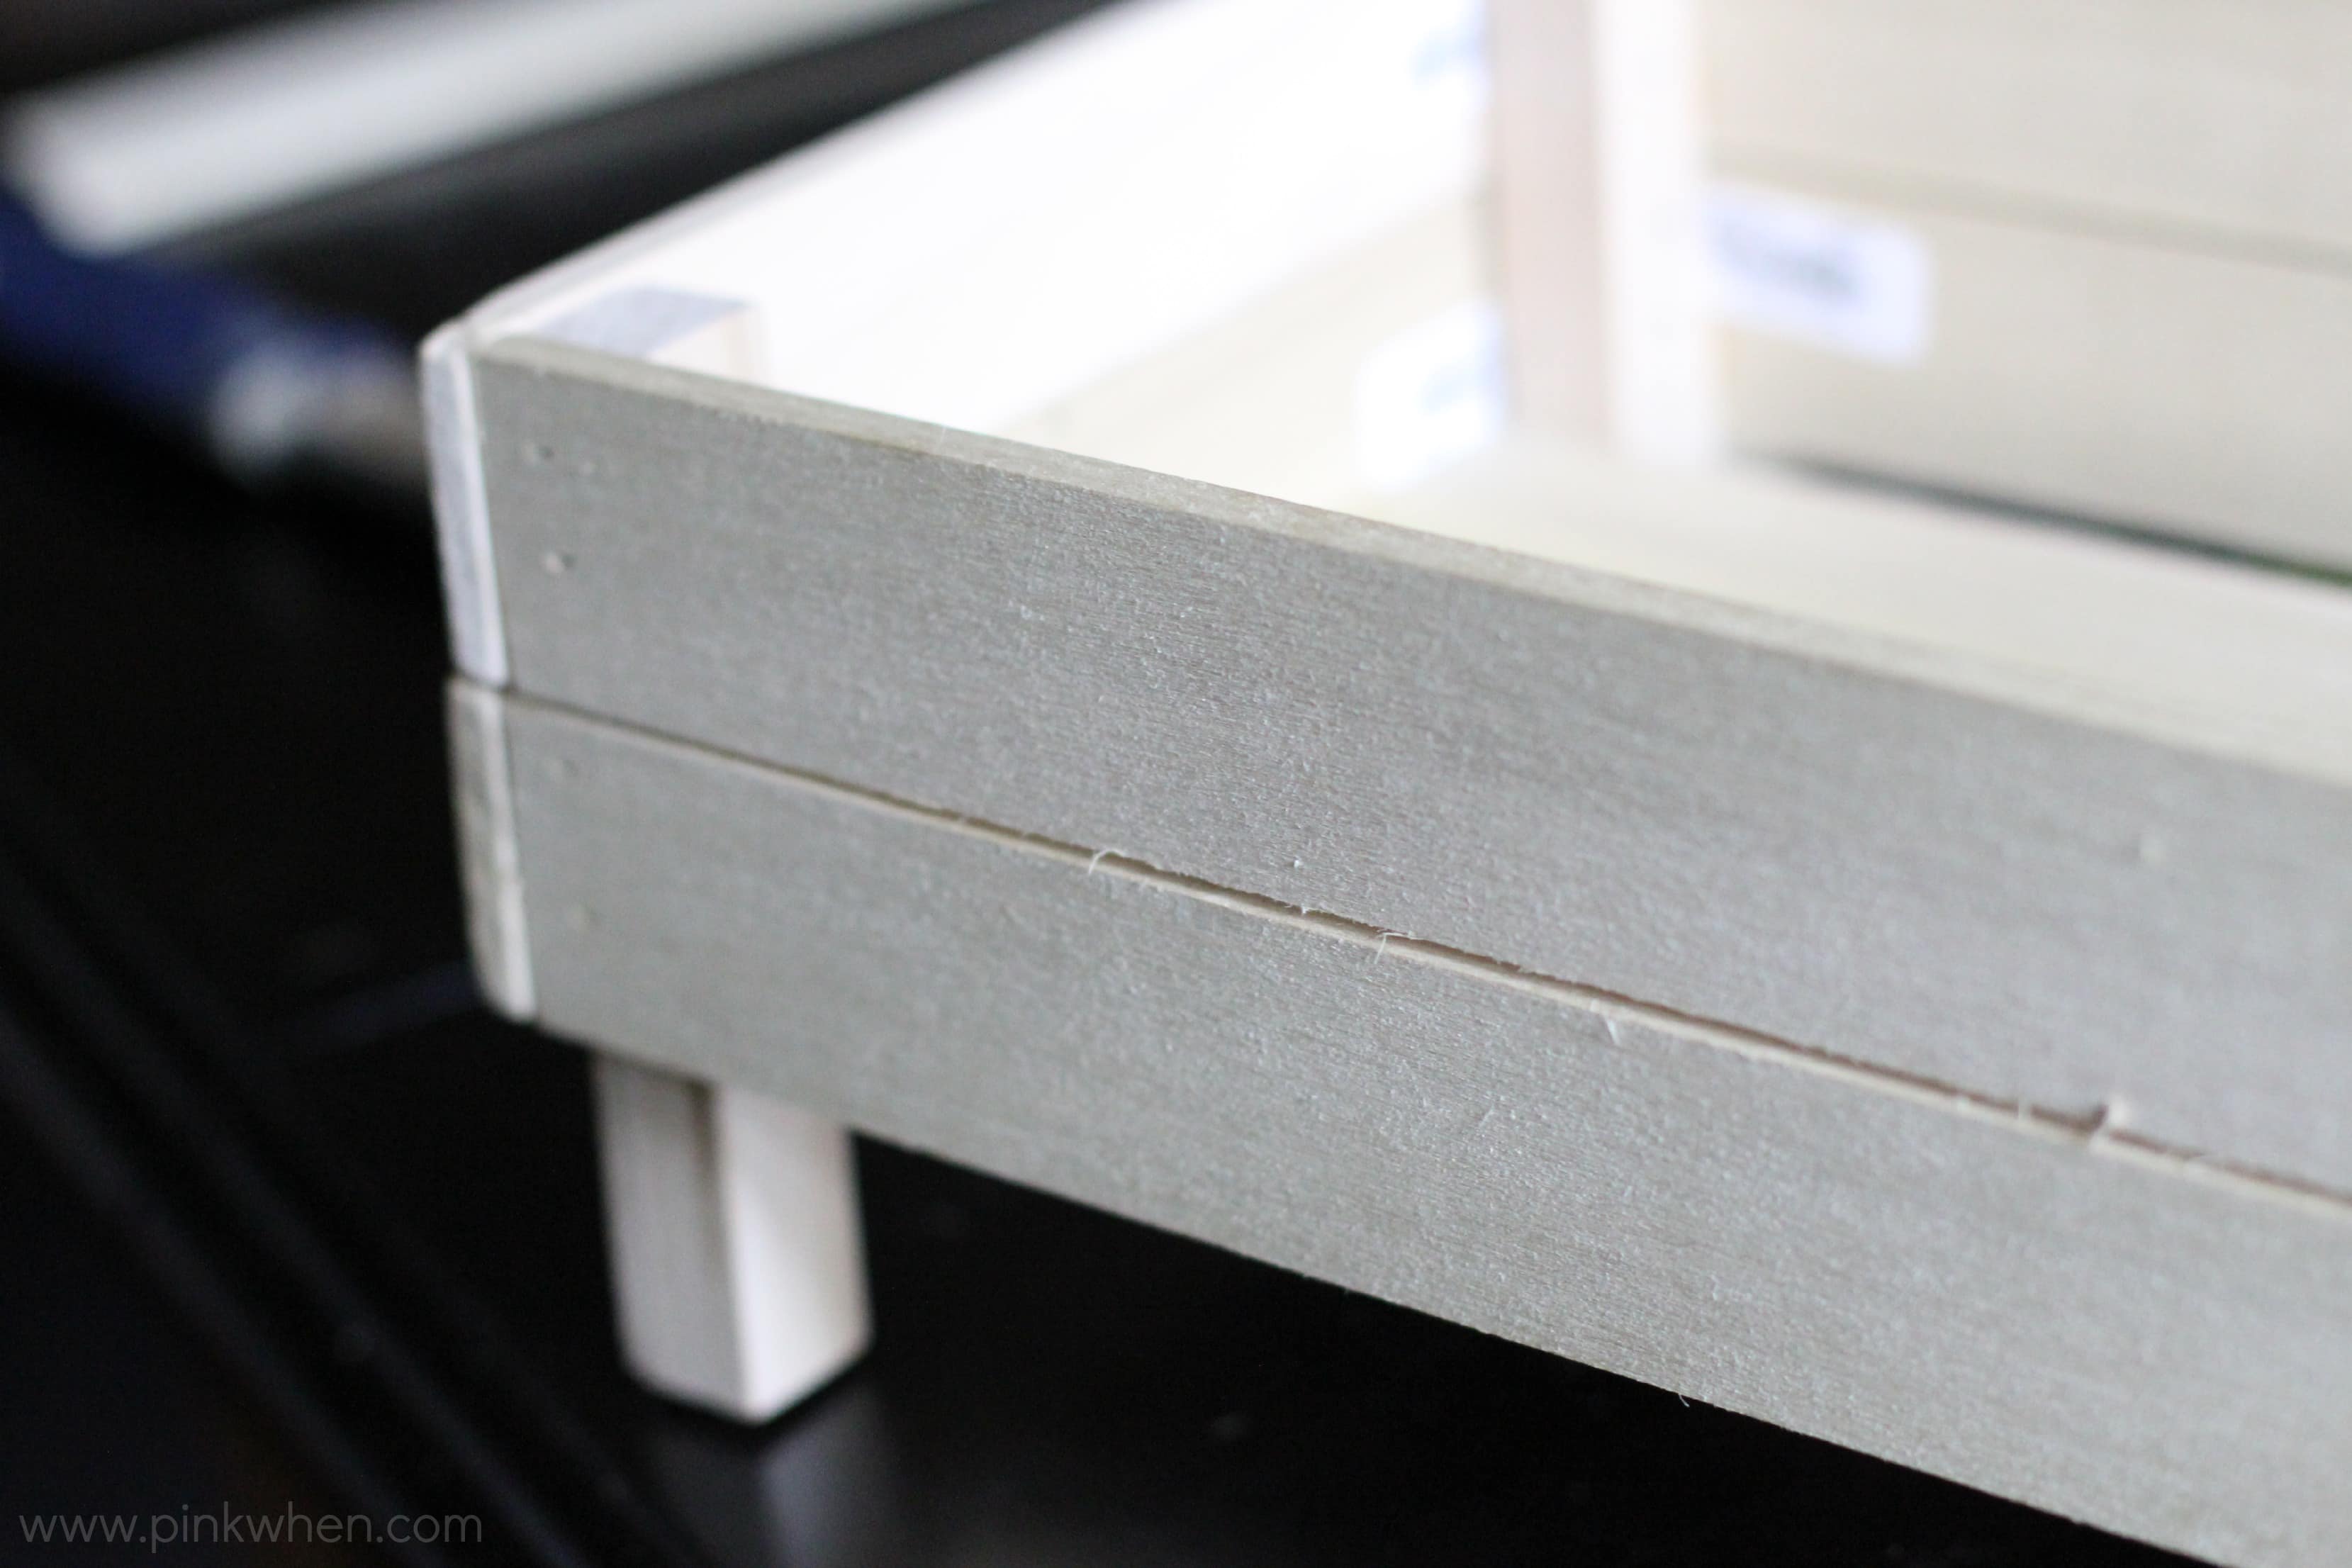
Once you have your front and back pieces, start adding on your sides and bottom pieces. Using the brad nailer really makes things go by fast.
DIY Stackable Slatted Fruit Crates via PinkWhen.com


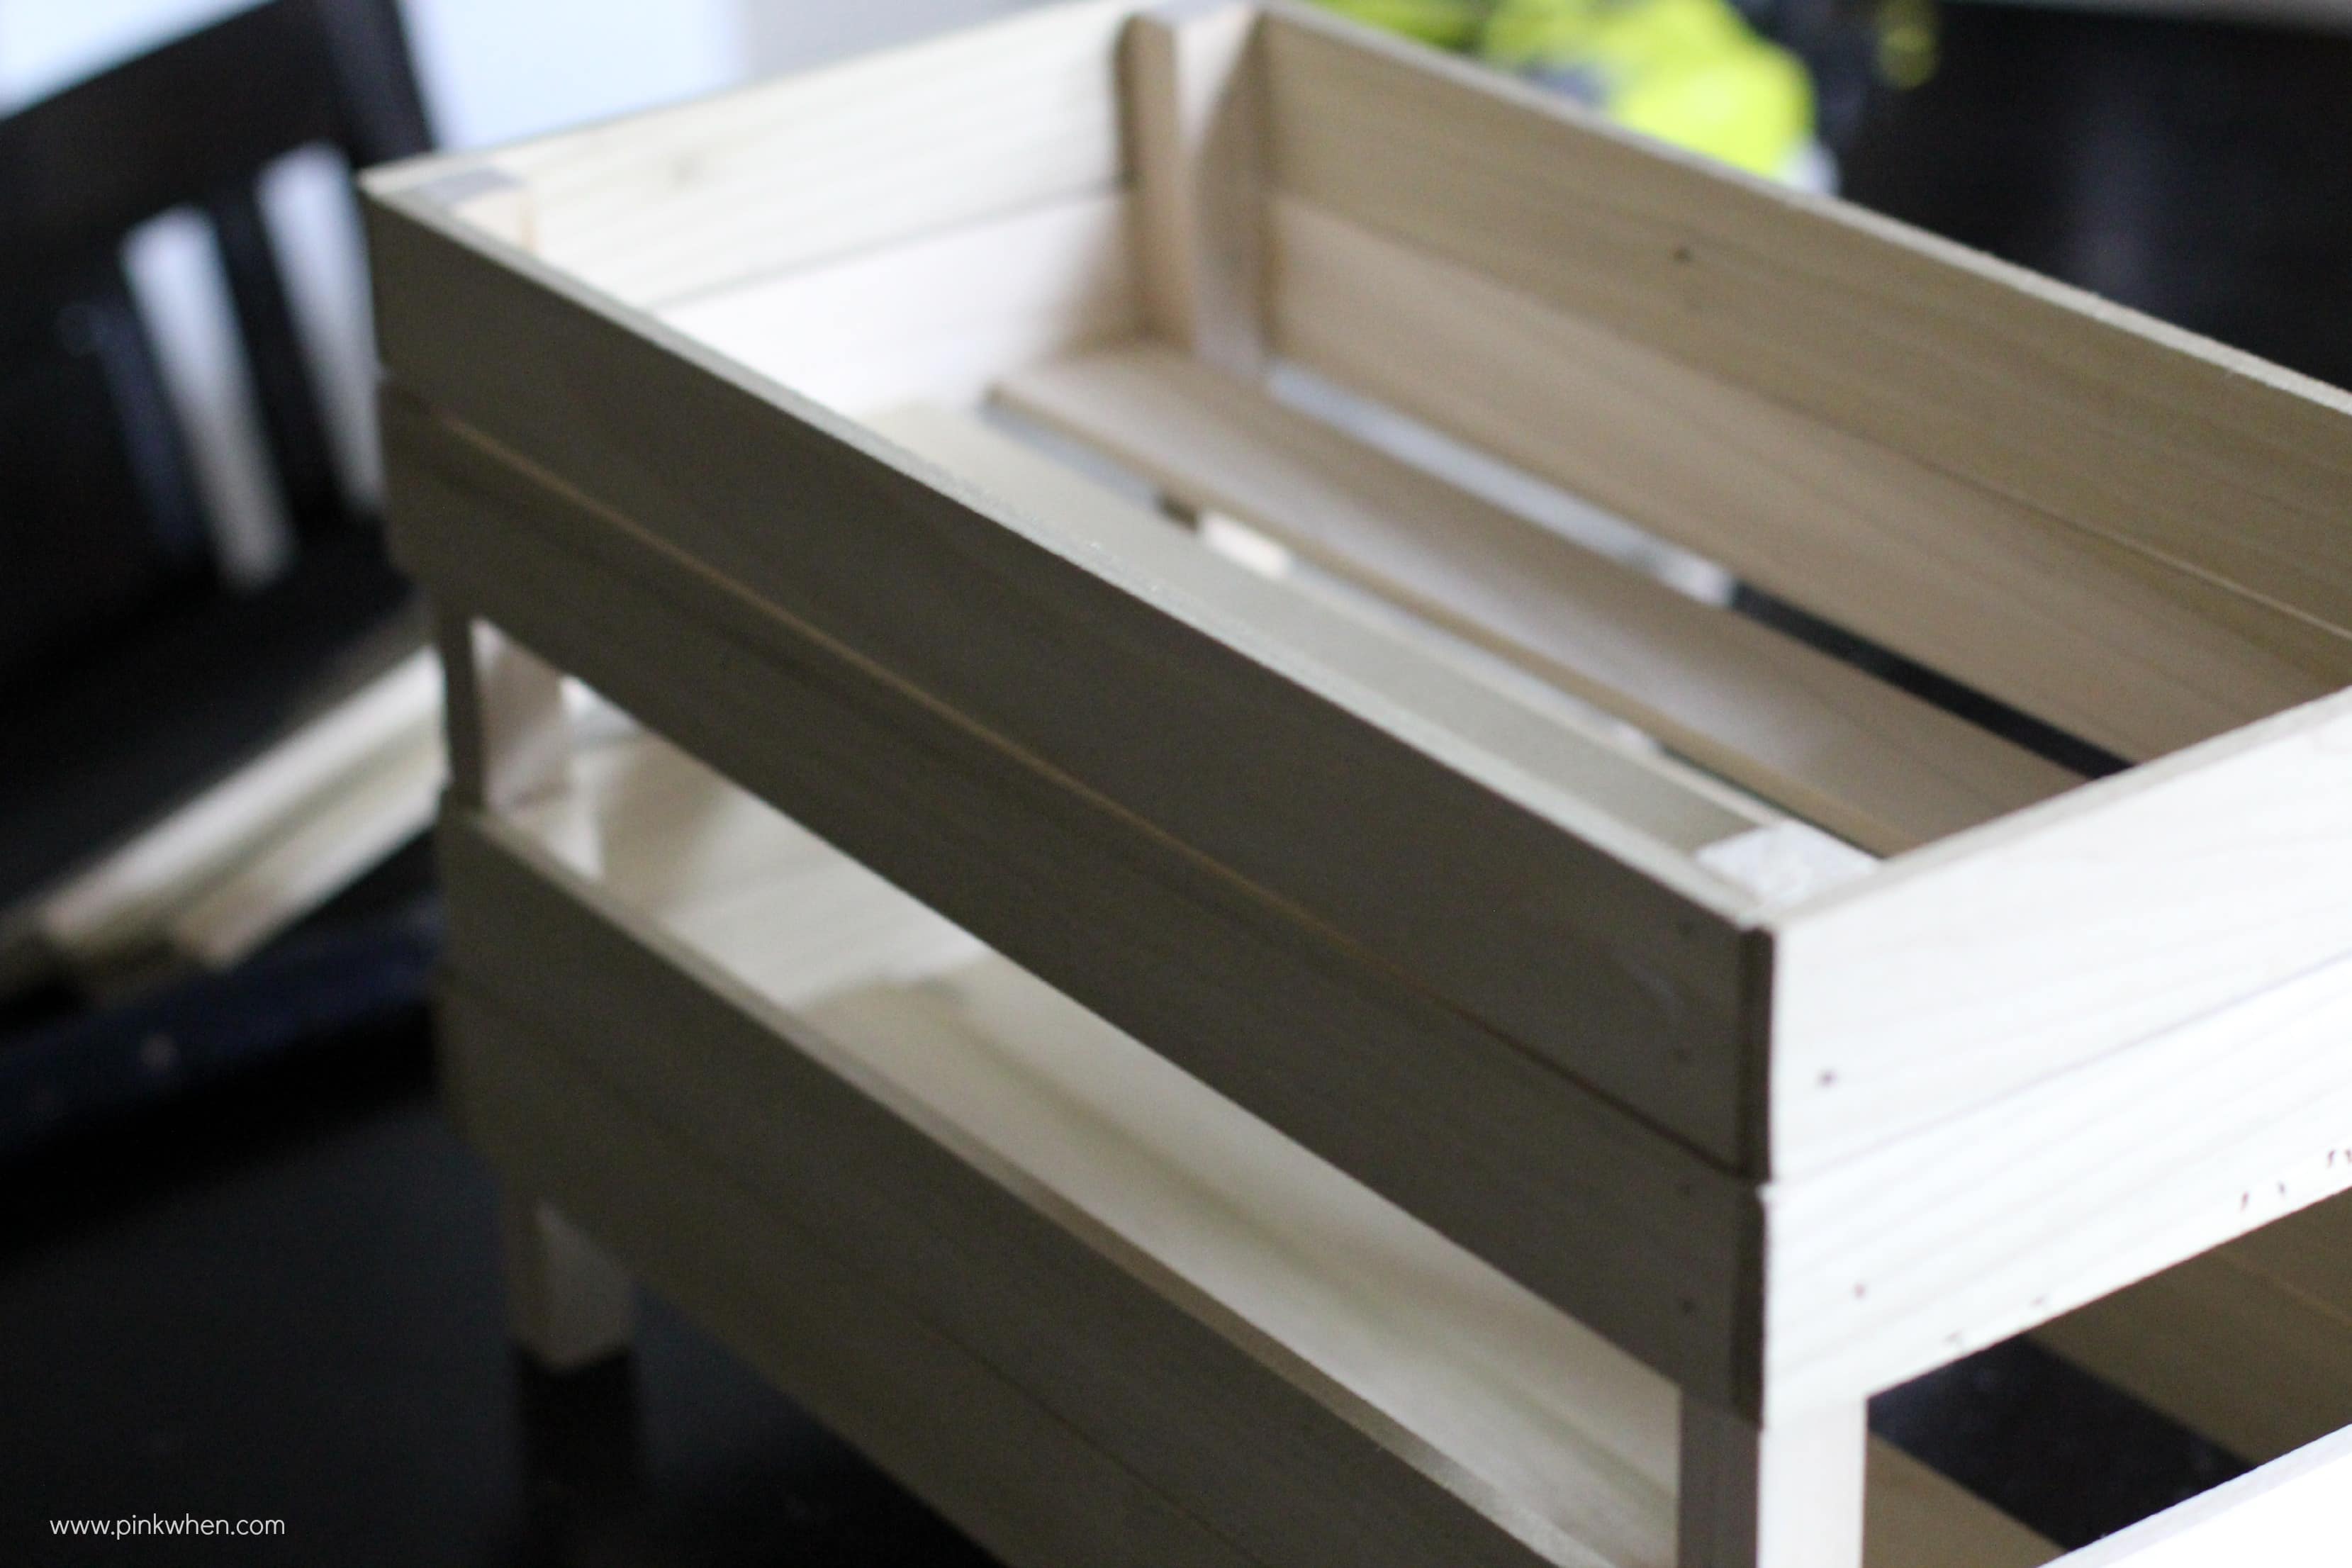
I placed the slatted pieces on the bottom a bit further apart. You could always notch the corners out where the dowels are and have them tight across the bottom, but if you are storing fruit and vegetables in the crates you are going to want the airflow to keep things fresh.
DIY Stackable Slatted Fruit Crates via PinkWhen.com


You should quickly have a couple of stacking fruit crates that look like this.

DIY Stackable Slatted Fruit Crates via PinkWhen.com


Wooden Kitchen Accessories

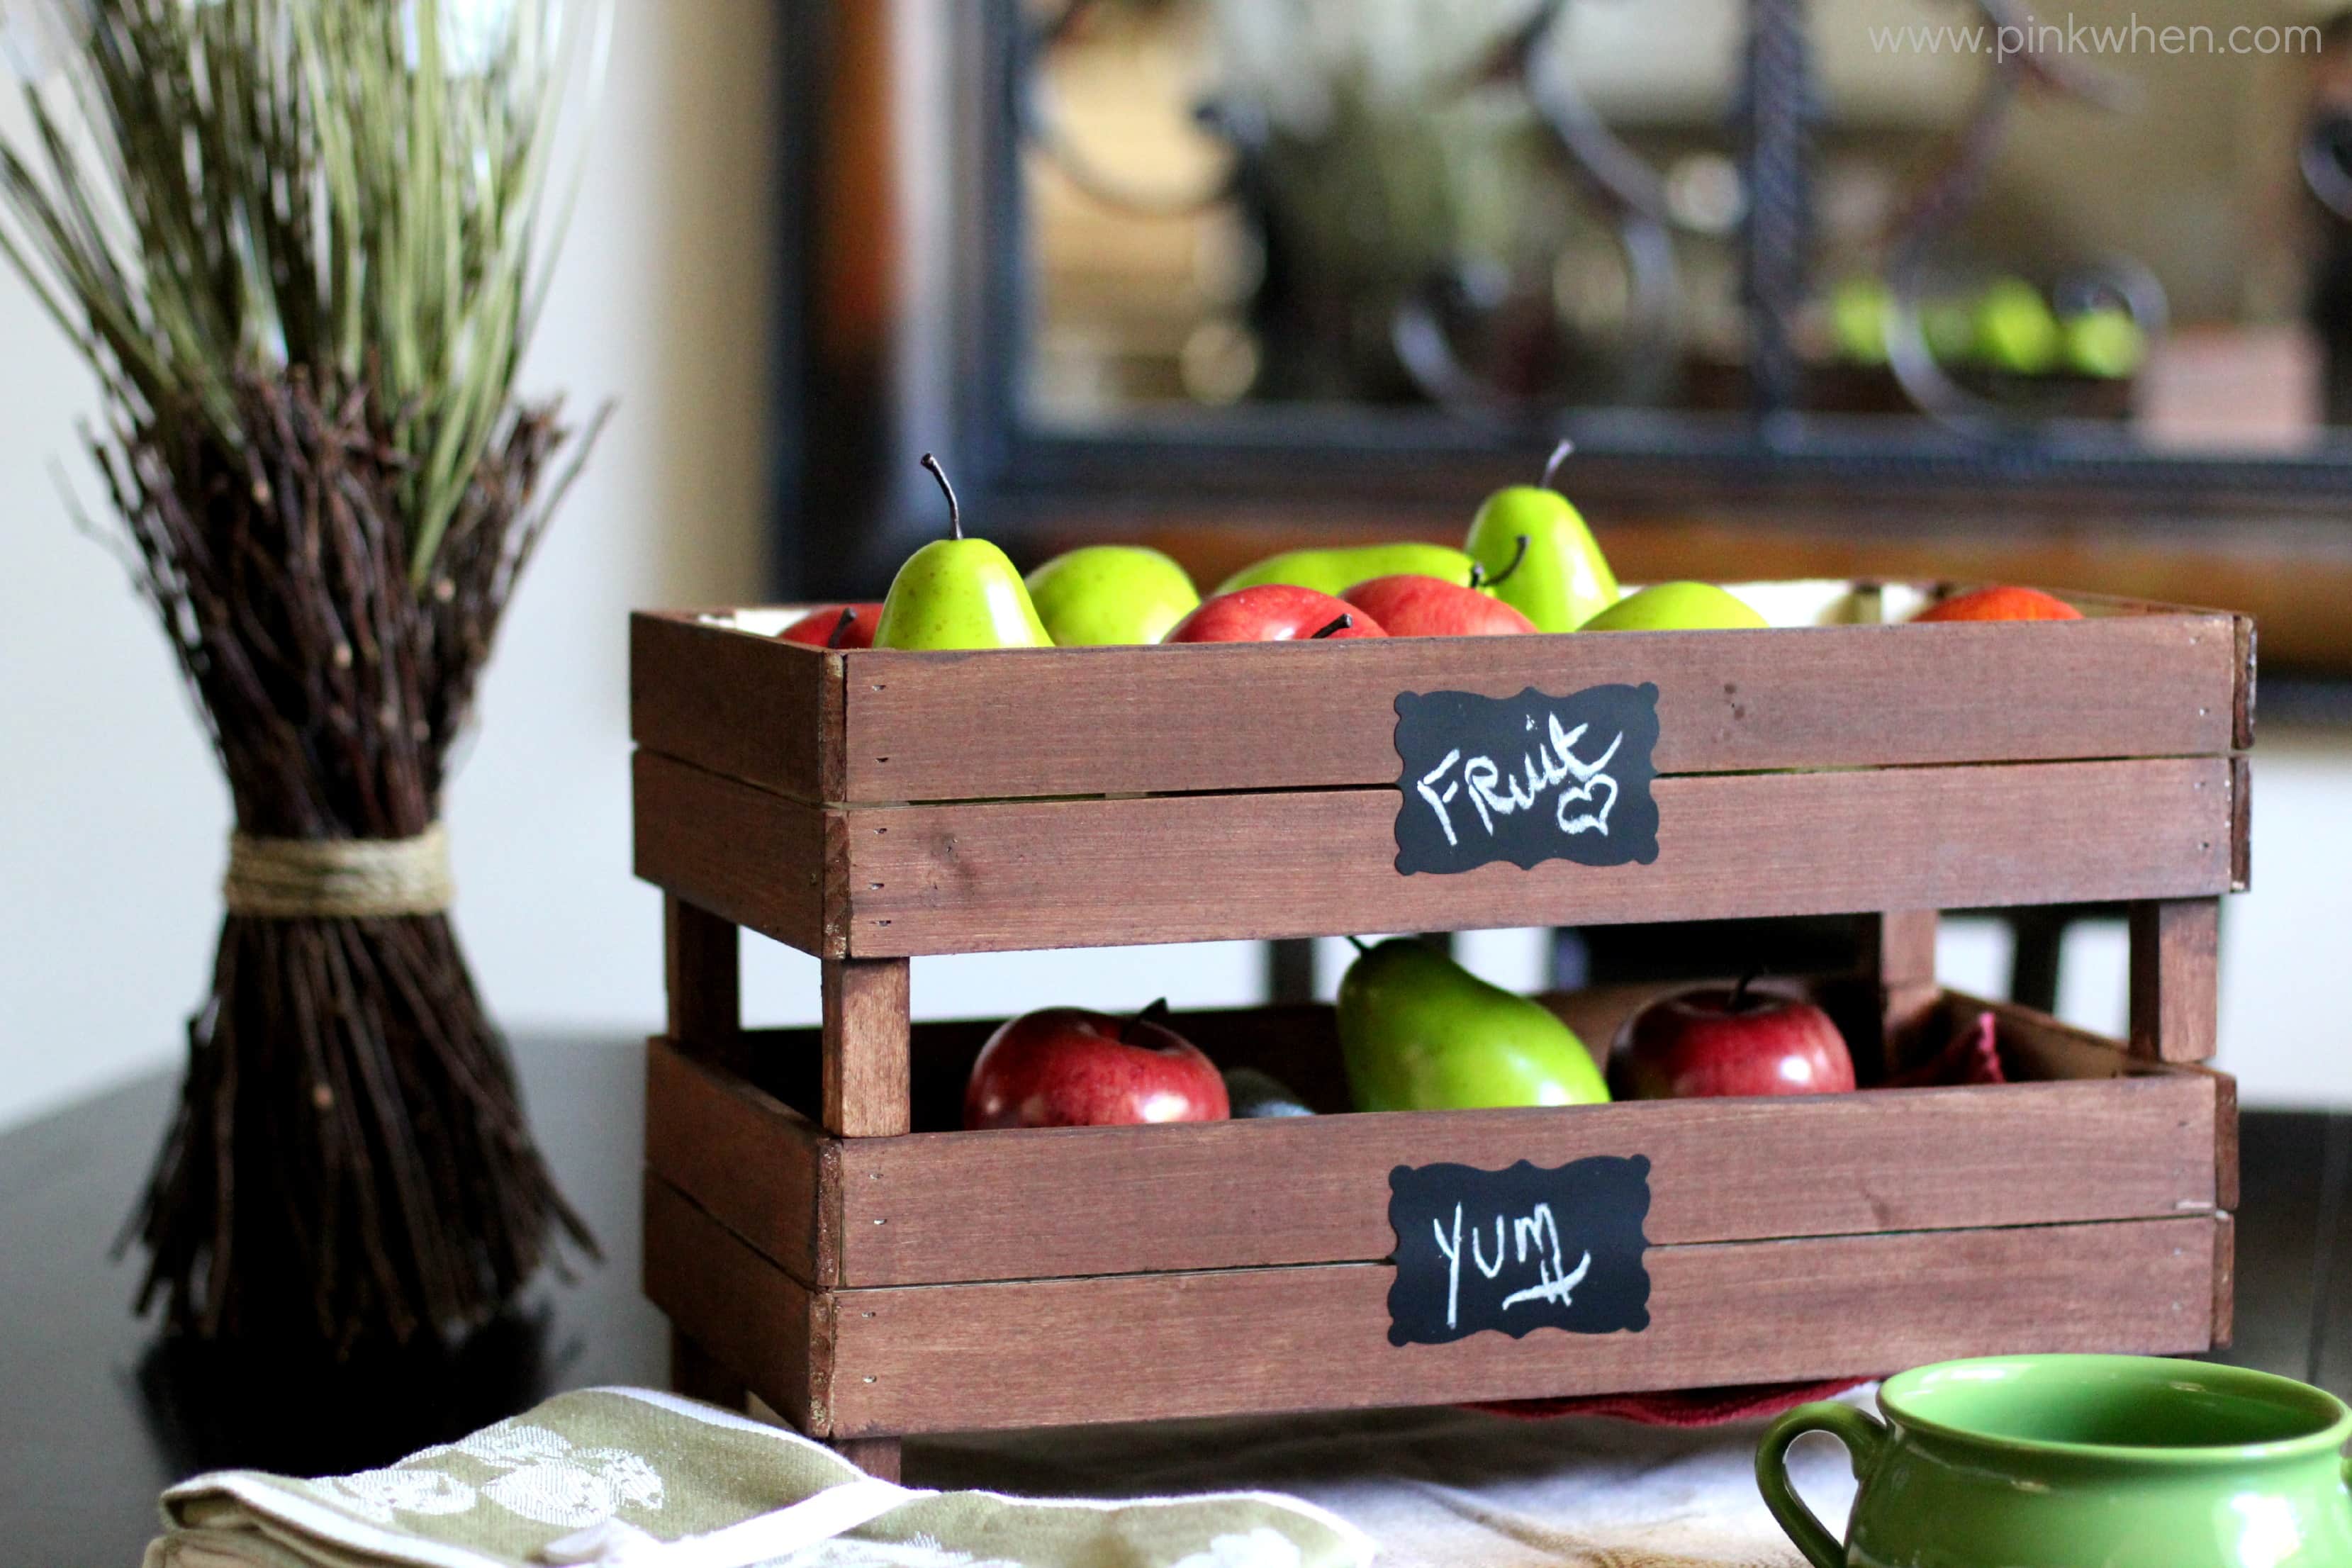
I love the way the poplar looks without anything on it, but I decided to give it just a little color to wake things up a bit. I added a Walnut colored gel stain and some chalkboard labels to really give it a rustic look.
DIY Stackable Slatted Fruit Crates via PinkWhen.com

I love these fruit crates! You can separate the crates and add seasonal decor and place them throughout the house, or you can keep them in the kitchen and trend on with the wooden rustic look. These DIY Stackable Slatted Fruit Crates are a quick project you can complete in a day and a perfect gift for friends, family, or to keep for yourself.


Share
Pin
Share
Share

November 17, 2014 · 26 Comments

MORE FROM PINKWHEN!

Delicious Chicken and Dressing Recipe | PinkWhen
How to Make a Delicious Chicken and Dressing Recipe
DIY Face Mask Tutorial
T Shirt Face Mask Tutorial
Homemade Disinfecting Wipes in a glass jar.
Homemade Disinfecting Wipes – Great for Cleaning

ABOUT JENNIFER

about me

Do you feel like there is not enough time in the day? I'm with you. Hi! I'm Jen, a wife, mother, and tennis lover who likes to share all of my quick easy recipes, crafts, and more. You can find anything from delicious 30-minute dinners or scrumptious dessert recipes the whole family will love. Read more...

Previous Post: « DIY Christmas Countdown Chalkboard Charger
Next Post: DIY Glitter and Gold Christmas Tree Decor »

Reader Interactions

Comments

  1. Virginia Fynes says

    November 17, 2014 at 10:23

    These are so cute, they could really be used for any type of storage! My mom would love these for a gift!

    Reply
    • Jennifer says

      November 17, 2014 at 14:16

      Thanks Virginia! LOVED being a part of this 🙂

      Reply
  2. Seana+Turner says

    November 17, 2014 at 13:51

    Very, very cute, Jen. What a simple and affordable project. And you could use any stain that matched your decor. I think these could be cute in a family room as well, especially one with rustic decor:)

    Reply
    • Jennifer says

      November 17, 2014 at 14:14

      Thanks so much Seana! 🙂

      Reply
  3. Jill @ BeingSpiffy says

    November 17, 2014 at 17:46

    I love that these stack. Great for organizing AND saving space!

    Reply
    • Jennifer says

      November 17, 2014 at 18:21

      Thanks so much!

      Reply
  4. Tamara says

    November 17, 2014 at 19:13

    What a great idea! We are constantly in need of something like this on our messy counter/kitchen table.

    Reply
  5. Erin @ DIY on the Cheap says

    November 17, 2014 at 21:07

    Such a great gift idea! I would love to have one of these.

    Reply
  6. Tracey @Let's Go Junking says

    November 19, 2014 at 13:40

    So easy to make and so many different uses. Great tutorial!

    Reply
  7. Carissa says

    December 2, 2014 at 15:04

    Such a cute idea! I need a bunch of these!

    Reply

Leave a Reply Cancel reply

Your email address will not be published. Required fields are marked *

Recipe Rating


This site uses Akismet to reduce spam. Learn how your comment data is processed.

Primary Sidebar

Welcome!

about holly

Do you feel like there is not enough time in the day? I'm with you. Hi! I'm Jen, a wife, mother, and tennis lover who likes to share all of my quick easy recipes. Wondering why my site is called PinkWhen? Click in the top left corner START HERE to read more about it!

  • Facebook
  • Instagram
  • Pinterest
  • Twitter
  • YouTube

Search

Popular Posts

  • Delicious Chicken and Dressing Recipe | PinkWhen
    How to Make a Delicious Chicken and Dressing Recipe
  • Overhead shot of an easy summer pasta salad recipe ready to serve.
    Summer Pasta Salad
  • fully cooked and seasoned chicken breasts made from frozen in the air fryer.
    Frozen Chicken Breasts in the Air Fryer
  • Fully cooked frozen chicken pattie made in the air fryer and dressed on a bun.
    Frozen Chicken Patties in Air Fryer
  • Start Here
  • Air Fryer Recipes
  • Slow Cooker Meals
  • Instant Pot Recipes
  • Desserts

Footer

Popular

Homemade Lavender Lotion Bars

How to Make Homemade Lavender Lotion Bars

Tic Tac Toe Backyard Bean Bag Toss

Tic Tac Toe Backyard Bean Bag Toss

Glass Vase Makeover

Featured

Crawfish Pie sliced and ready to eat.

What to Serve with Jambalaya

Delicious Chicken and Dressing Recipe | PinkWhen

How to Make a Delicious Chicken and Dressing Recipe

Overhead photo of copycat KFC coleslaw with a serving spoon.

KFC Coleslaw Recipe

Latest

Overhead shot of an easy summer pasta salad recipe ready to serve.

Summer Pasta Salad

fully cooked and seasoned chicken breasts made from frozen in the air fryer.

Frozen Chicken Breasts in the Air Fryer

Fully cooked frozen chicken pattie made in the air fryer and dressed on a bun.

Frozen Chicken Patties in Air Fryer

Copyright © 2023 pinkwhen.com. All rights reserved. Privacy Policy. Cookie Policy.