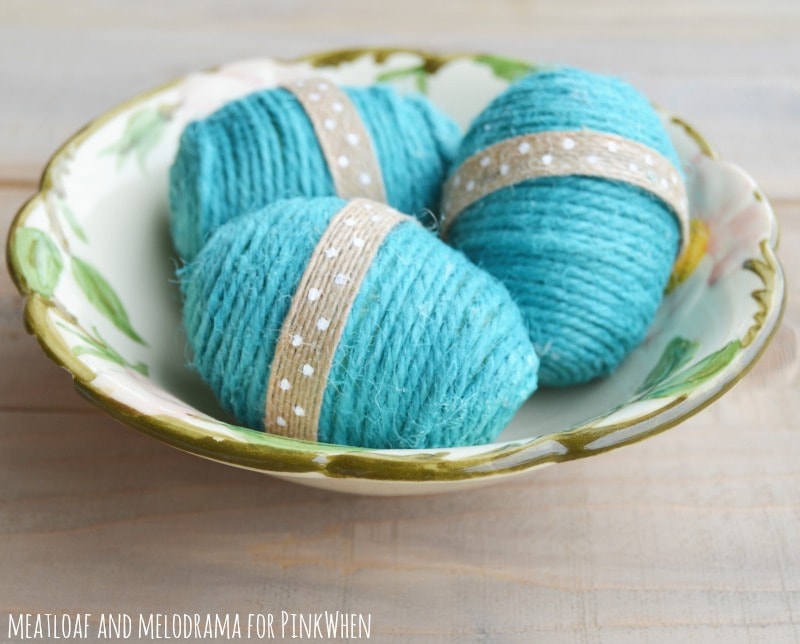
Hi there! It’s Dee from Meatloaf and Melodrama, and I’m so happy to be back again this month to share a cute spring craft with all of you! I think we’re all ready for spring, right?! I’ve been just the tiniest bit obsessed with egg crafts lately, and I especially love the look of blue robin eggs. So, I thought it would be fun to make some aqua blue DIY twine eggs to add a touch of spring to the house.
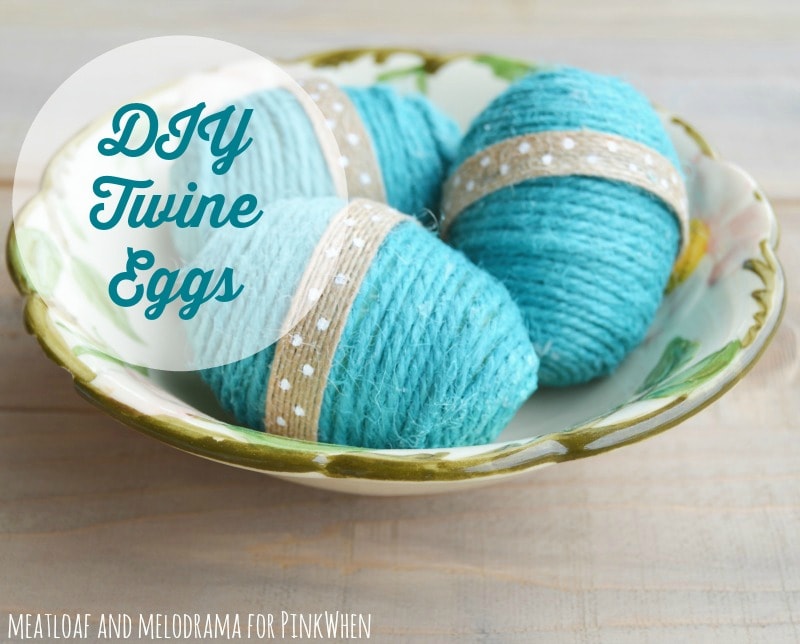
This is an easy project, and it only requires a few items. In fact, you may have some of them already. But, it does require a little bit of patience and a willingness to get your hands filled with glue. I have to admit that I’m not the most patient person in the universe, and I usually hate messy hands, but even I had fun with this!
DIY Twine Eggs
Supplies Needed:
- Plastic eggs
- Aqua blue twine
- Patterned burlap ribbon
- Glue
- Scissors
Start by applying a dab of glue to one end of the egg, and then press the tip of the twine on the glue. I found it easier to let the twine set a little bit before I went on.
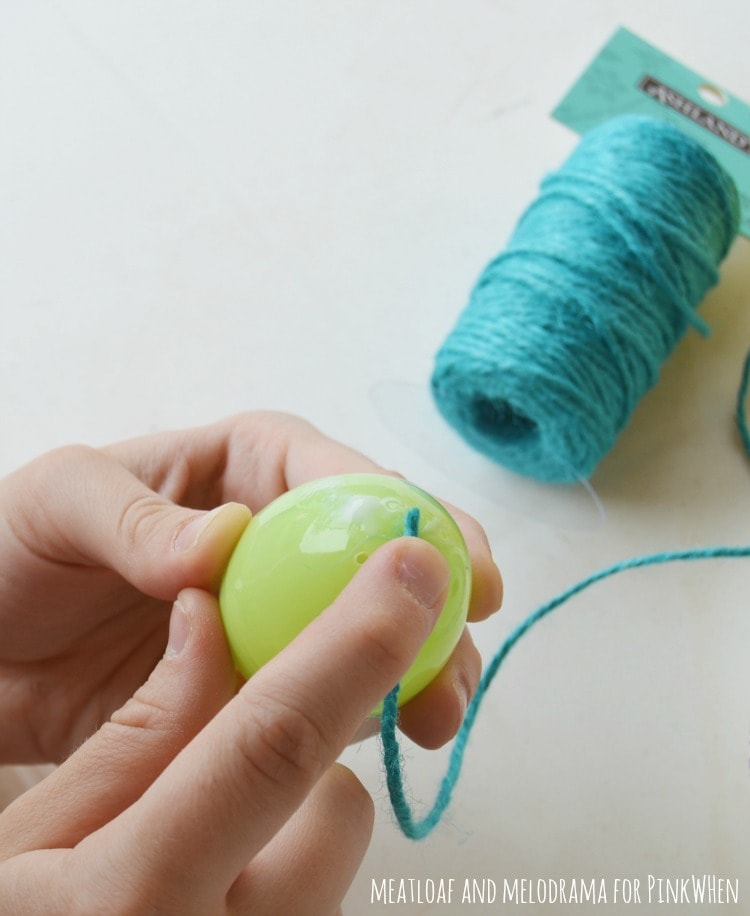
Because I wasn’t sure how much twine I needed, I didn’t cut the twine until I was finished. I just started wrapping the twine in tight circles and adding more glue as I went around the egg.
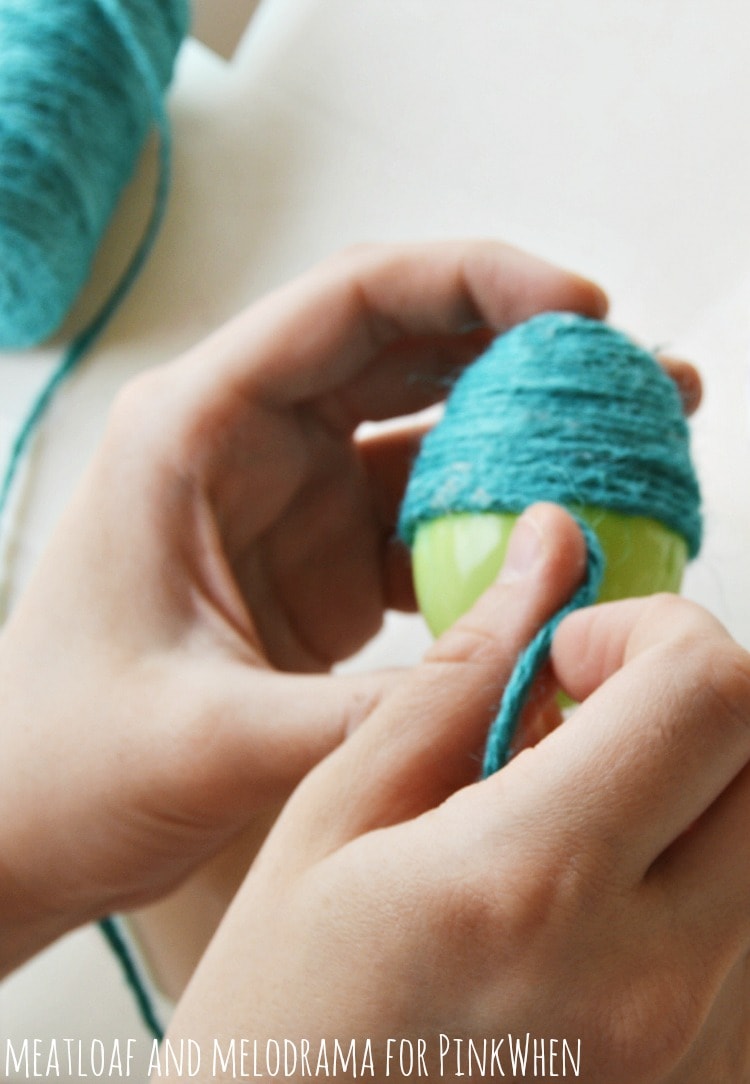
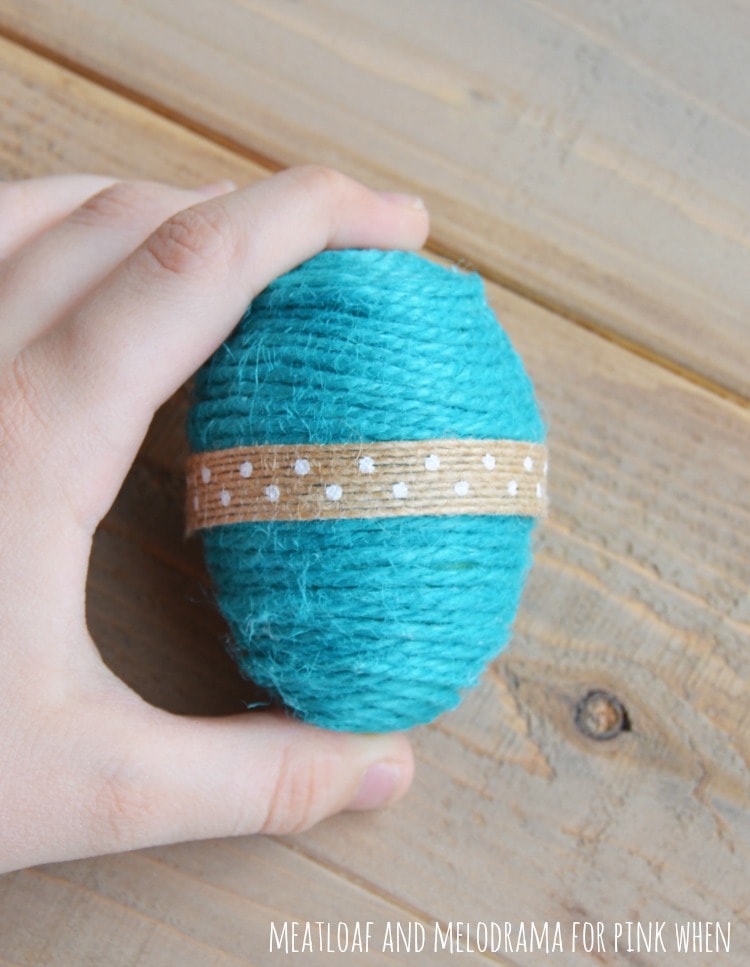
You do have to keep pressing each strand tightly against the previous one to make sure there aren’t any gaps. When the egg was completely covered with twine, I cut the strand and added more glue to the end to hold it in place. Then, I added a thin strip of polka dot burlap ribbon around the egg — just for a little something extra.
After I was done, I placed a few of the eggs in a pretty vintage dish. I love how they look, and they definitely add a pop of color to the room. In fact, I think I may just make some more!
Thanks so much for reading — Happy Spring, and enjoy these DIY Twine Eggs!



Simple to do (always good) and very cute DIY. Very nice 🙂
Very cute! Love the color! I will have to get some aqua blue twine.
These are so cute, Dee! I love how they turned out! The color is perfect, too. 🙂
I wrapped some with varigated yarn this year but I love how you added that little band of polka dot ribbon – so cute. Thank you for sharing at Share It One More Time. Cathy
Your twine eggs are simply ADORABLE!! Thank you so much for sharing at the Wonderful Wednesday Blog Hop! PINNING!!
Love these! They would be great for the kiddos to do too! Thank you for sharing on Show Me Saturday!
These are darling… What kind of glue did you use????