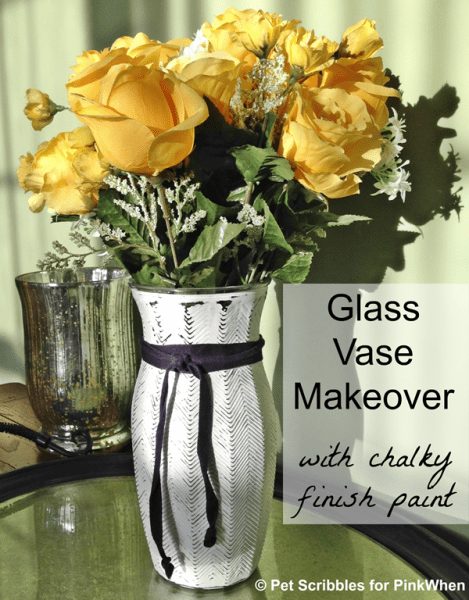
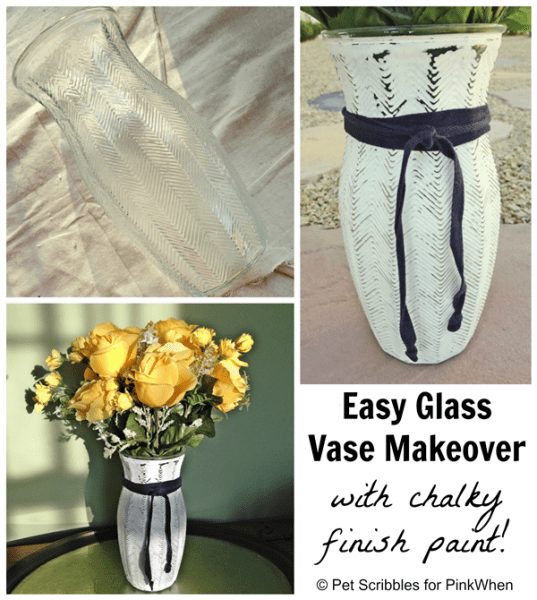
Hi everyone! Laura here from Pet Scribbles, with an easy glass vase makeover with chalky finish paint. Perfect for all of your pretty Spring flowers! Check out how I made this easy and cost effective transformation from a plain glass vase, to a beautiful piece for our home.
You know those glass vases that come with flowers delivered from your local florist? Like this one:
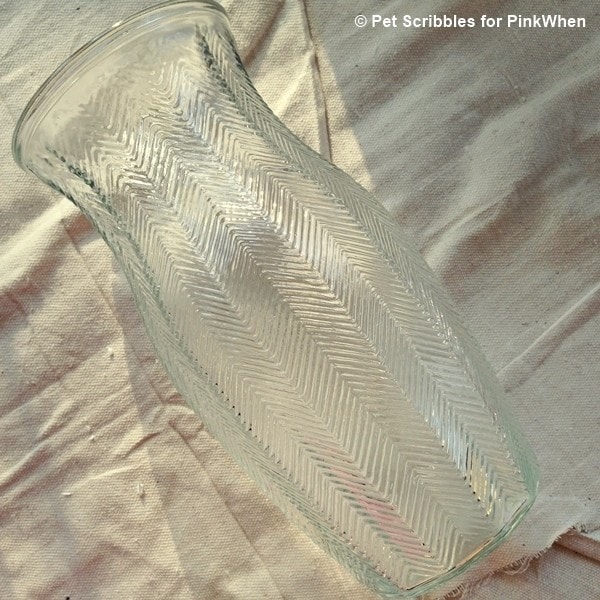
We all have at least one of these vases, or something similar. Let’s paint them with chalky finish paint!
Supplies needed: chalky finish paint, paintbrush, sandpaper or sanding block, white rag or paper towels
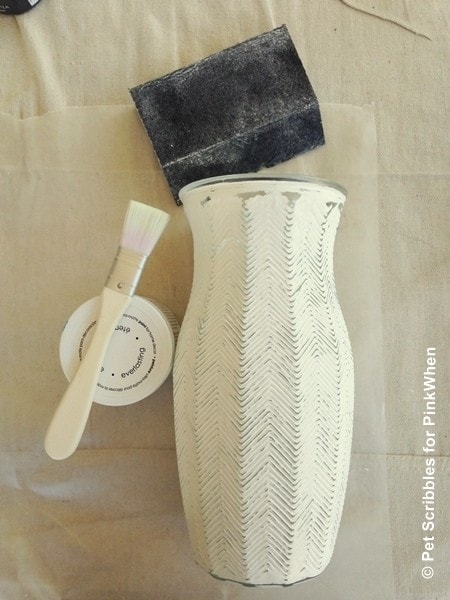
Step One: Paint the vase with one or two coats of chalky finish paint. Because I chose a white shade (called Everlasting from DecoArt), I painted two coats on my vase. Let dry in between each coat.
Step Two: Using sandpaper or a sanding block, begin sanding at the very bottom of the vase. This helps you get the feel of how easily the chalky finish paint comes off, without worrying that anyone will see your first attempts at sanding!
Tip: Vases with raised edges or designs embedded in the glass work great for this purpose!
Step Three: Wipe off the dust from sanding with a white rag or paper towels.
Step Four: Tie on a trim of your choosing. I save everything – including this long piece of navy blue trim that once belonged to a pair of sweatpants:
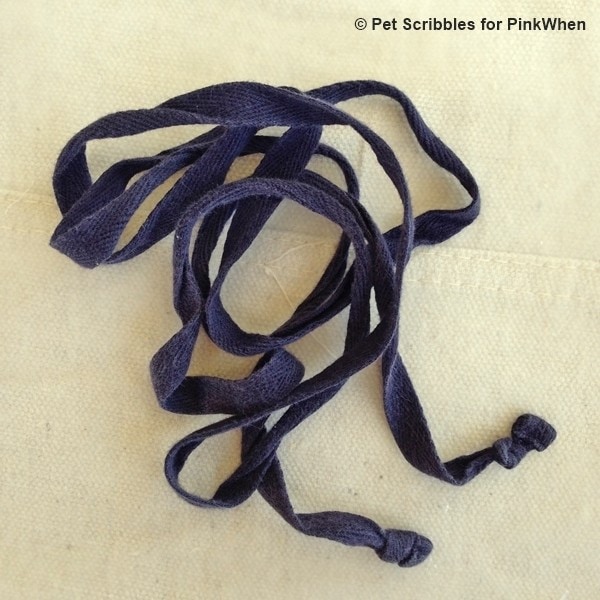
I thought it was perfect to wrap around the vase.
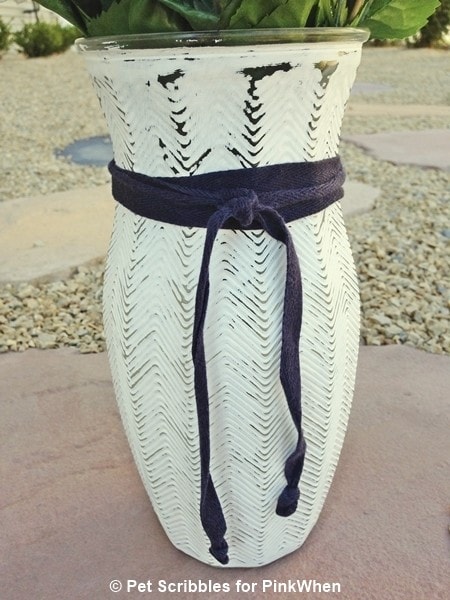
Next time you’re shopping, look at the vases in home decor stores: chalky painted vases are very popular right now. You can save money by upcycling those florist vases and paint your own!
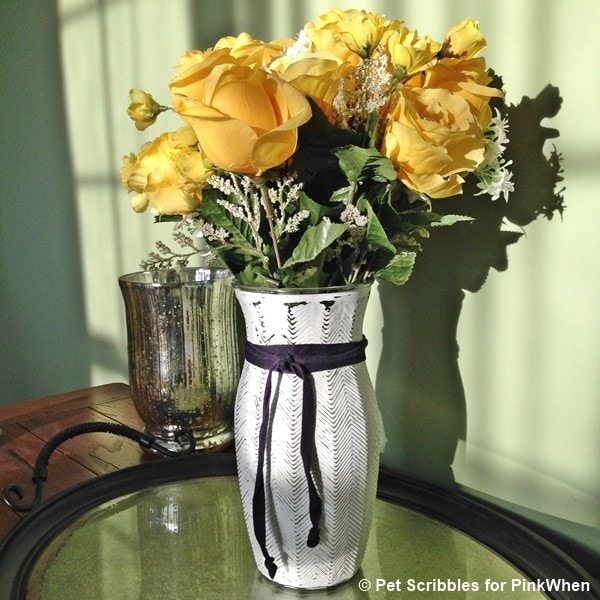
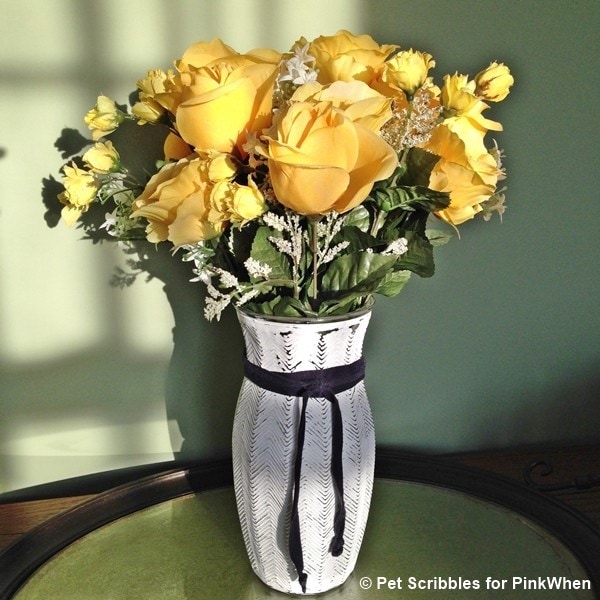
Plus it gives you an excuse to buy some pretty Spring flowers! (My flowers are fabric, so I’ll get to enjoy them for quite a long time!)
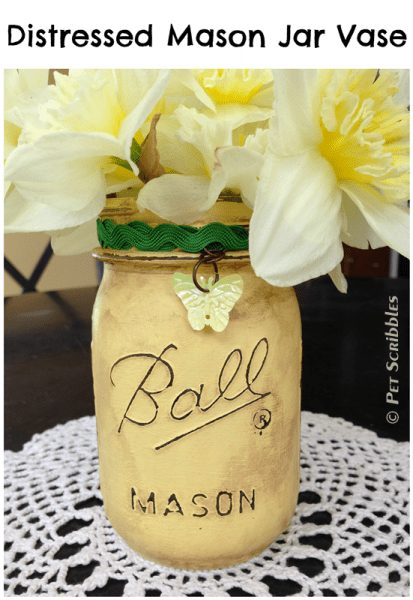
Painted mason jars are also very popular in home decor trends, and I’ve got a video tutorial on my blog walking you through the DIY steps using chalky finish paint. Click on the image below to see more:
Happy crafting!
~Laura



I love how paint can make such a wonderful transformation on most anything. This vase is so pretty. Thank you for sharing it with Share It One More Time. Cathy
Wow! The vase is just gorgeous, Laura! Of course, I got rid of all of mine in a pre-move yard sale last summer. But I’m not too far from a Goodwill store, and yard sales are hopping now that the weather is finally warming up! xoxo
Oh is this beautiful! Pinned it ♥
That vase is amazing. I have a bunch of plain glass vases that would be great to redo. Visiting from Treasure Box Tuesday.
What a simple way to update a vase. I love your sweat pant trim idea! Way to use what you have! We would love for you to share with us at Party in Your PJs, our weekly link party
That turned out super cute! Thanks again for linking up with Idea Box!
I love this vase. Makes me want to go try this with one of mine now! Thanks for sharing this at Idea Box link party!