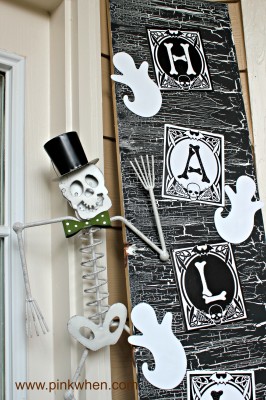
*Thank you again to JoAnn Fabric and Craft for allowing me to be a part of the Holiday Campaign and #SpookySpaces
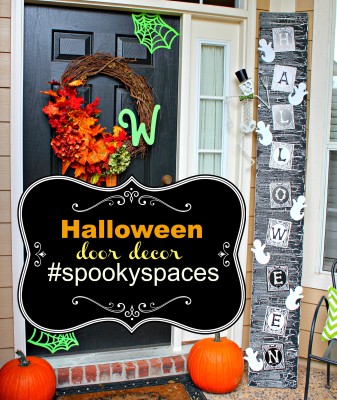
When I found out I was going to be a part of the JoAnn Fabric and Craft #spookyspaces campaign I was super excited! I have made a few Halloween projects, but nothing for the front door….yet! I began thinking about what I could make, and as my mind wandered, I decided on a fun Halloween sign to welcome all of the Trick or Treat guests at the end of the month.
To begin this project, you will need a few items. I had a couple of things on hand I was dying to use, and the rest was found at JoAnn.
- 8′ x 10″ long board (on hand from benches I built over the summer)
- white primer (on hand from the desk build)
- Crackle Medium (weather crackle effect)
- Black Acrylic craft paint
- 3 Foam Sponge brushes (large)
- Hot Glue Gun
- Halloween hanging sign
- 1 package foam ghosts
- 1 Skeleton Yard Art
Halloween
To begin this Halloween Door Decor, I grabbed my board and sanded away any rough spots on the front. While I have been waiting for the right time to use this board, I have also used it as a saw horse table for other projects, so there were a few dents and dings I needed to work out.
After sanding the board, I then put a coat of white primer on the board. While I did sand with the grain, I painted against the grain. (I am not sure if this matters, but my crackle effect turned out so awesome I want to tell you every step for exactly how I created this.) Once the board was primed, I allowed it to dry over night.
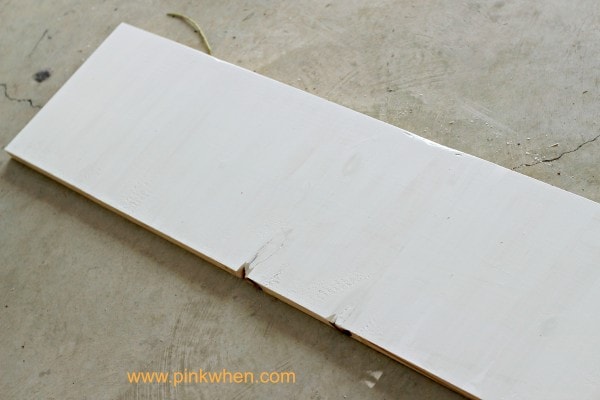
The next afternoon, after 24 hours of drying, I then grabbed a large foam brush and the crackle medium to start up again. For this project, I took the next part in one foot sections. I squirted a thick layer of medium onto one foot of the board. I then took my large sponge brush and with as few strokes as I could manage, made sure to cover the entire foot with the clear medium. I did each section the same as before, until I completed the entire board. I then let the board dry overnight.
The next day, 24 hours later, I grabbed another thick foam brush and my black acrylic paint. For this step, you are going to also break up the board into sections, about 4 inches each. I made sure to get a large amount of black paint on my brush, and with one to no more than two strokes, made sure to cover that entire 4 inch space. It’s very important not to use more than a couple of strokes or you will not get the crackle effect the way I have it here. If you use more strokes, your crackle will be finer and thinner. Using fewer strokes will allow the crackle to become large and pronounced.
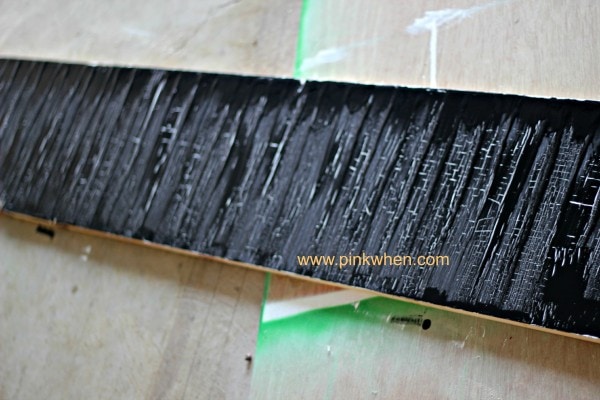
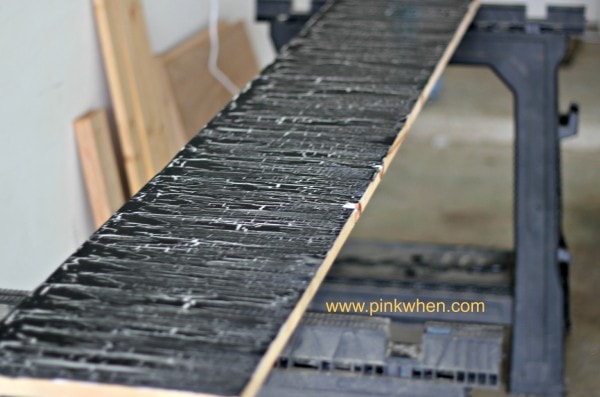
Once I had the entire board finished, I let dry overnight, and again did not touch the board for 24 hours. The effect starts to take effect immediately, but will be even more pronounced after 24 hours. I would walk outside every few hours and be amazed at the transformation of the project. It’s a really cool process…and one I am sure to be using for a lot of future projects!
After my board was completely dry, I grabbed my Halloween sign and cut the ribbon that held it together like a banner. I wanted this sign to be up and down on the board, and at different angles to give it a spooky effect.

Once I had my sign taken apart, I then spaced them out on the board as I would like to have them.
Once I found the right separation and angles for the letters, I then grabbed the hot glue gun and placed a generous amount of hot glue on each piece.
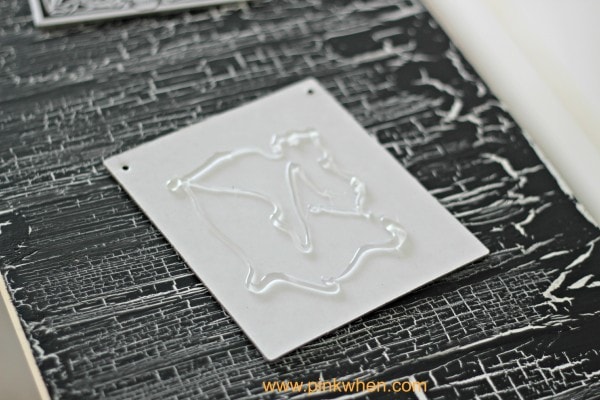
After I attached the letter, I added the ghosts, and took a step back to admire my work so far.
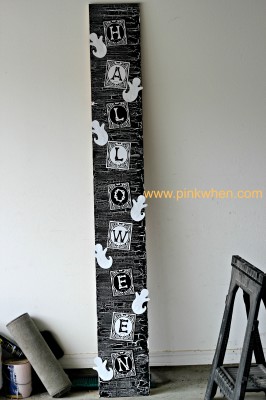
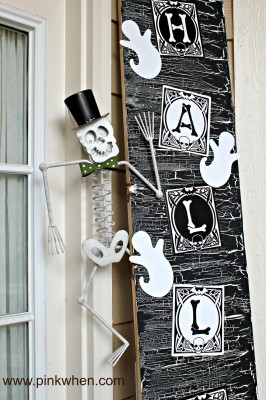
It looked great, but I wanted to add a little more, so I grabbed the Skeleton for the yard and attached it to the back of the sign.
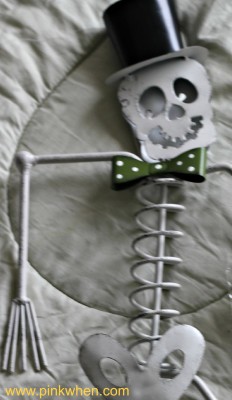
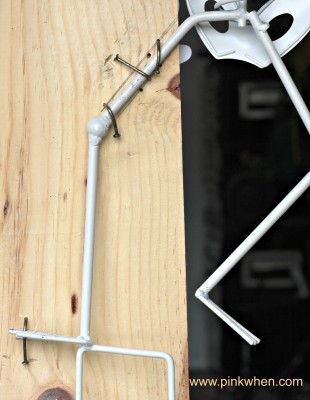
I took three nails and hammered them in slightly, and then bent them to make them anchor the skeleton and stay in place. That was the last thing to do, besides move it to the front and show it off at the door!
I hope you like this Halloween door decor project, and can’t wait to see what #spookyspaces you will be creating for this upcoming season!
*This post was sponsored by JoAnn Fabric and Crafts. You can find fabulous products from JoAnn either online, or in store at over 790 locations in 49 states. They are the largest retailer of fabrics in the nation, and one of the largest for crafts. You are bound to find inspiration! Make sure to click below and take 50% off a regular priced item with your next purchase at JoAnn Fabric and Craft!


Oh, I LOVE Halloween decorations! This project falls under my favorite kind –of decorations…fantastic looking without being creepy/too scary. I like the skeleton’s bow tie. That added the perfect touch of panache! –Lisa
I am so glad you like it, that’s exactly what I was going for!
Wow, what a statement at your front door! Cute, with just a touch of spooky and amazing crackle effect. Love it!!!
Thanks Kim! I couldn’t get a picture to give it justice, it really looks amazing!
Wow, that looks totally professional. Best hour on the block for trick-or-treating!
Thanks Tamara! I have a lot of fun making it, and now have it for years to come!
Love this, Jen. The skeleton is a great addition!
Thanks Shana, I just couldn’t resist that little green bow tie!
Love this Jen! The crackle is my absolute favorite part. Thanks for the great tips on getting good crackle!
Thanks Kimber, I am totally addicted to crackle now…I just finished up another project with it. It is such a cool medium to work with.
FUN! I love Joanne Fabrics, and your project turned out cute!!
Thanks Rosey! I had this vision for what I wanted, and it turned out even better than I thought!
i adore this project. the skeleton makes it amazing 🙂
i spend a lot of time (and money) at joann- we have a fabric and mod-podge project to do this weekend – thanks for the coupon!
Awesome!! That coupon will help out A LOT!! 🙂
I’m addicted to crackle finish too. It really adds a nice texture to projects.
I am completely in love with this process! Thanks for stopping in 🙂
definitely different…. 😀
Thanks Andi!
What a cool project. Maybe I will try to make this for one of my grandson’s who is crazy for Halloween! Thanks so much for sharing.
So glad you liked it, and thanks for stopping in!
That sign looks great! love it.
Thanks so much Malia!
So cute and spooky!! You did a great job, we plan to start ours next week, we have company and a large yard sale going on this week!!
Thanks Wanda! I hope you enjoy the family and have a great visit this week.
Absolutely love that skeleton!!
Thanks Laura!
I love crackle medium, almost too much. This is so eye catching, but would go with any house! Great job and thanks for linking up at WDW!
This is so awesome, Jen! I absolutely LOVE this idea and it looks great. If I had a better front door/porch option, I would have to try this out for sure.
Thanks Felicia! You could always do a small board to sit in a corner 🙂