Last week I was brainstorming and thinking of ways to introduce my youngest into the kitchen. The thing is, she is already in the kitchen. Several months ago I made her this cute step stool, and since receiving it, she has used it to get things she needs. It’s in front of my fridge where she recently grabbed a juice box.
Have I ever mentioned she’s independent? She loves to be in the kitchen when I cook, so I thought I would introduce her with a little gift, this cute little Owl Apron.
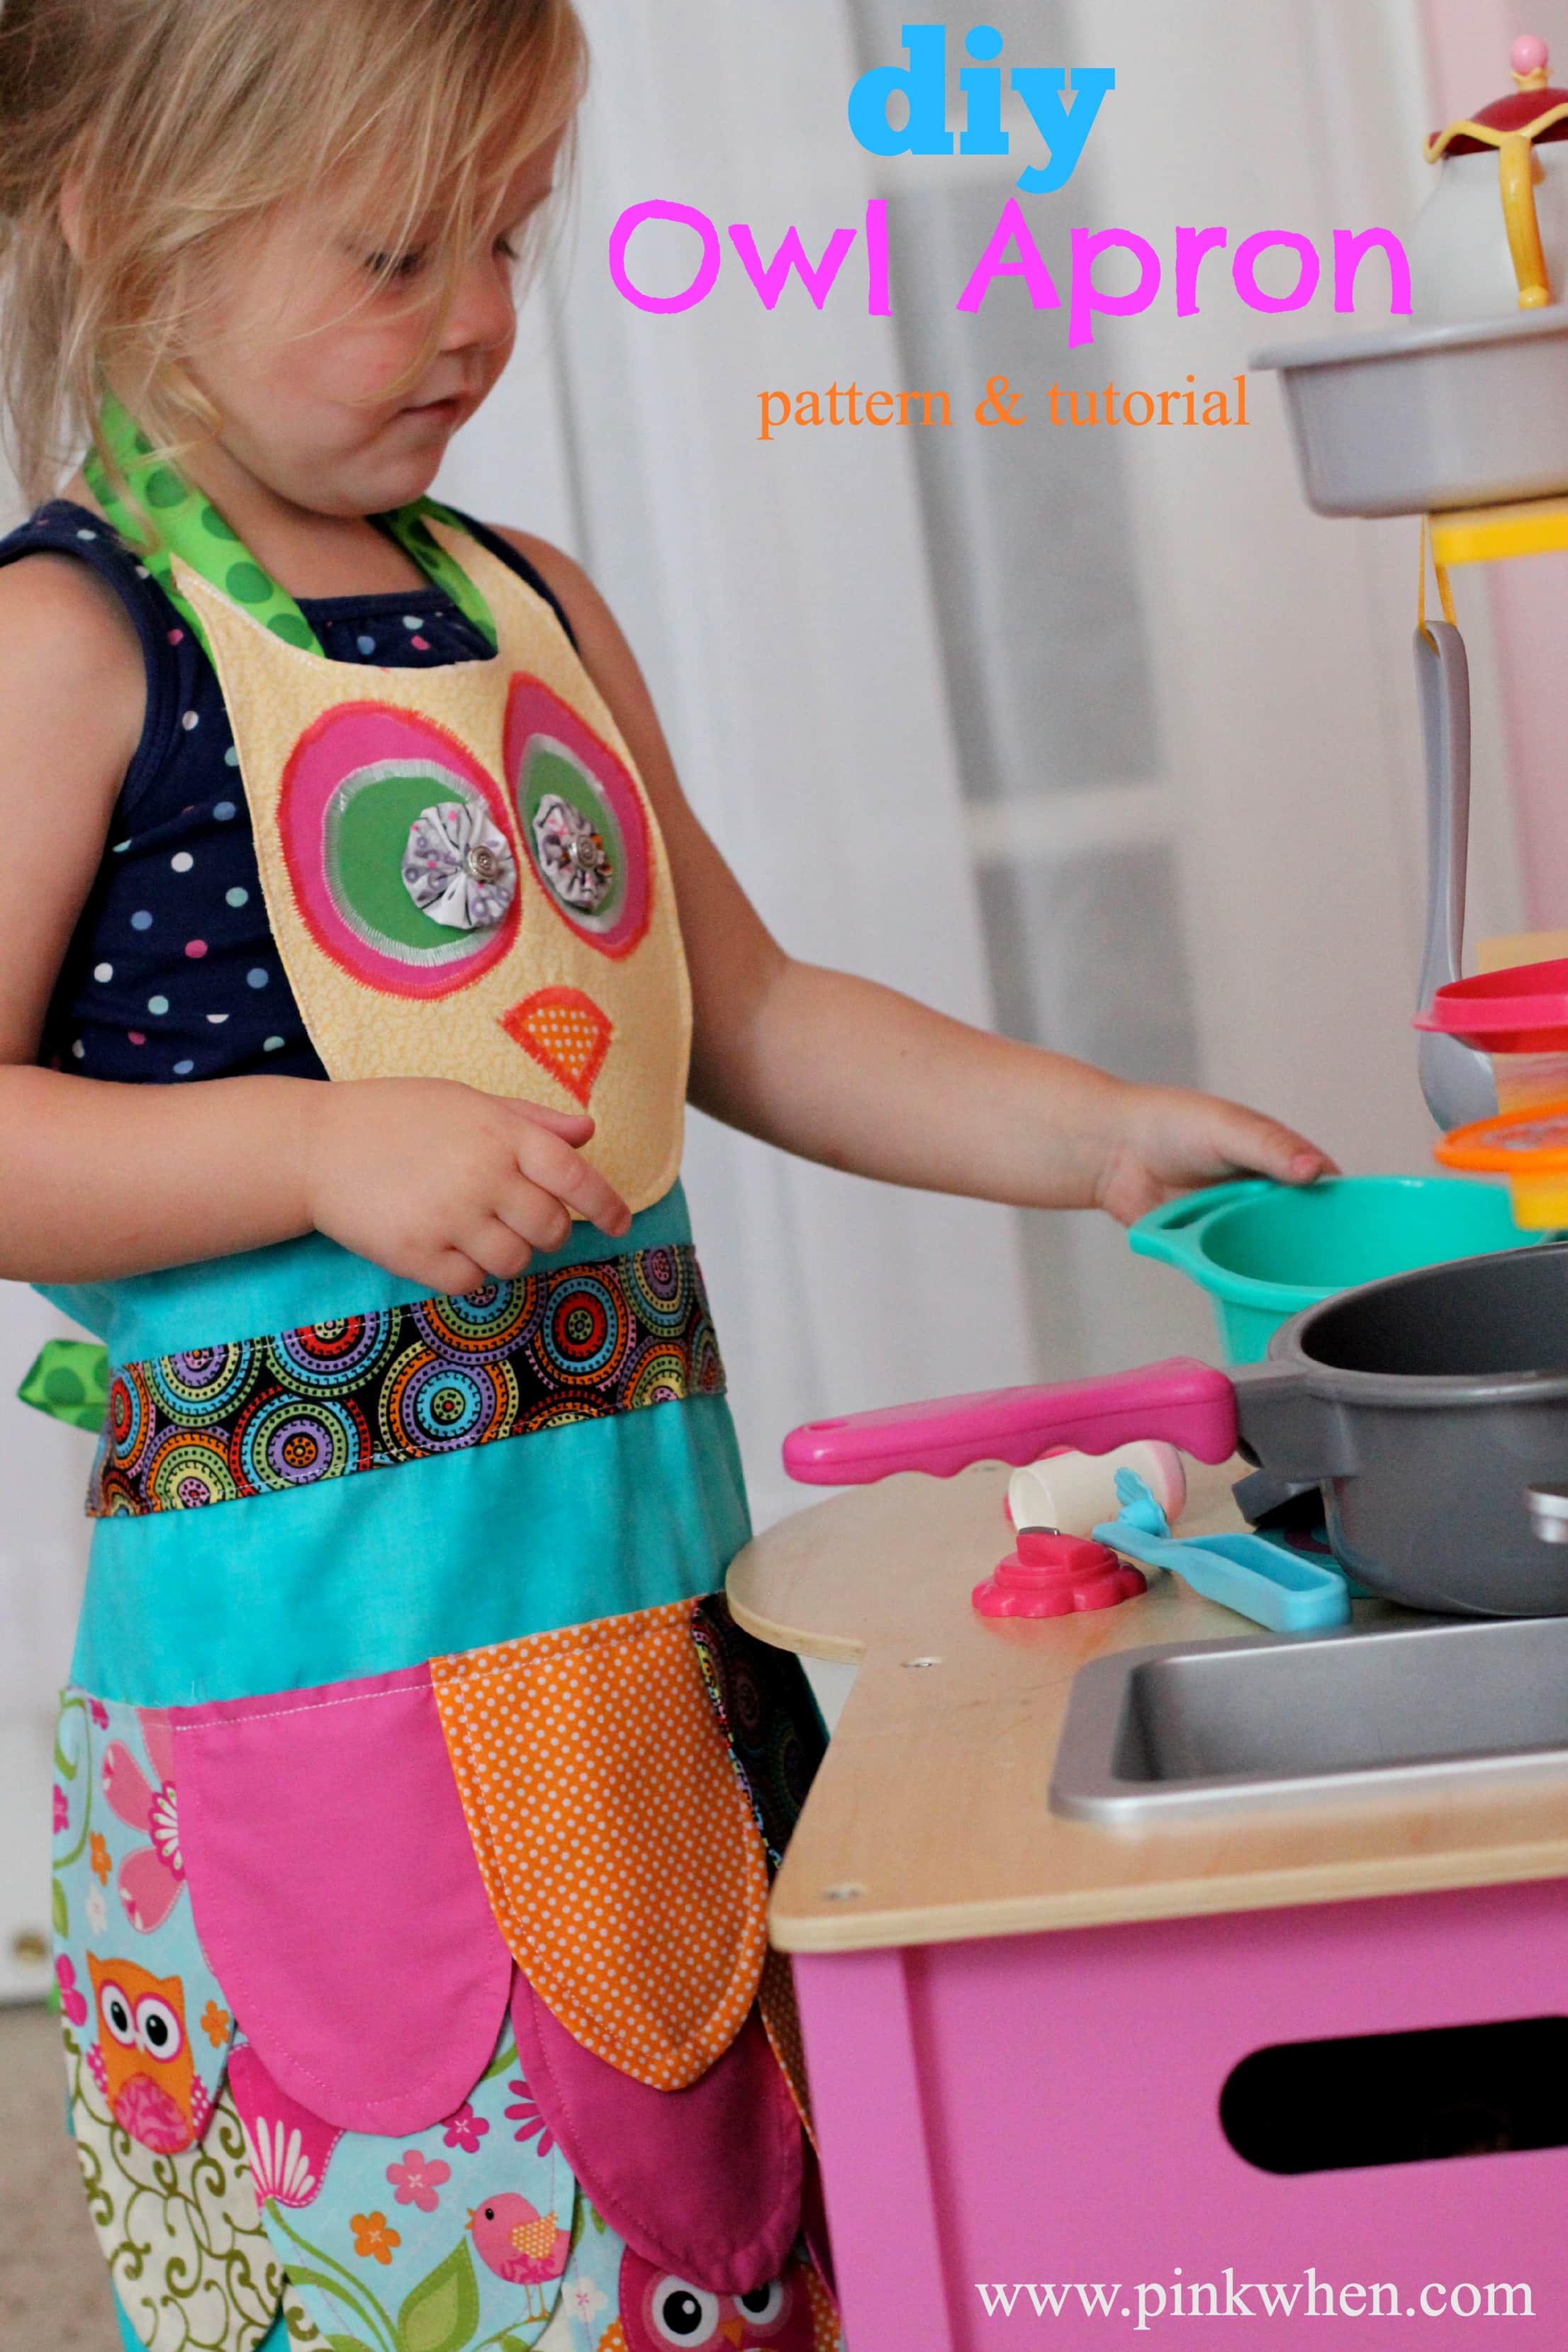
DIY Owl Apron Pattern
There are rules she must follow to be in the kitchen. Safety first! She is NOT allowed near the stove, and she knows that a furnace is an off-limits place for her until she is a little older.
She is allowed at the counter, and I love when she likes to jump in and help me add things into a mixing bowl. I seem to cover everything in cheese these days, and it’s one of her favorite things to do.
She loves to be in the kitchen when I cook, so I thought I would introduce her with a little gift, this cute little Owl Apron.


What do I need to make an Owl Apron?
Let’s get started with my little owl apron by downloading the pattern and grabbing the supplies needed. When finished you should have an apron that will be a bit large for a 3-year-old (which is who I made this for) and perfect for a 10-year-old, so this apron should be with us for a while. This pattern is for personal use only…not for sale. If you create and post about this, please link it back to this post where it originated. OK, let’s get started!
- owl face, eyes, and nose pieces
- owl feather pattern
- Six fabrics 1/2 yard each (this can make two full aprons)
- 1/4 yard fabric for the owl face
- One roll grosgrain ribbon
- wonder under
- Two fabric Yo Yo’s (optional)
- iron
- sewing machine and supplies (scissors, seam ripper, etc.)
How do I make an Owl Apron?
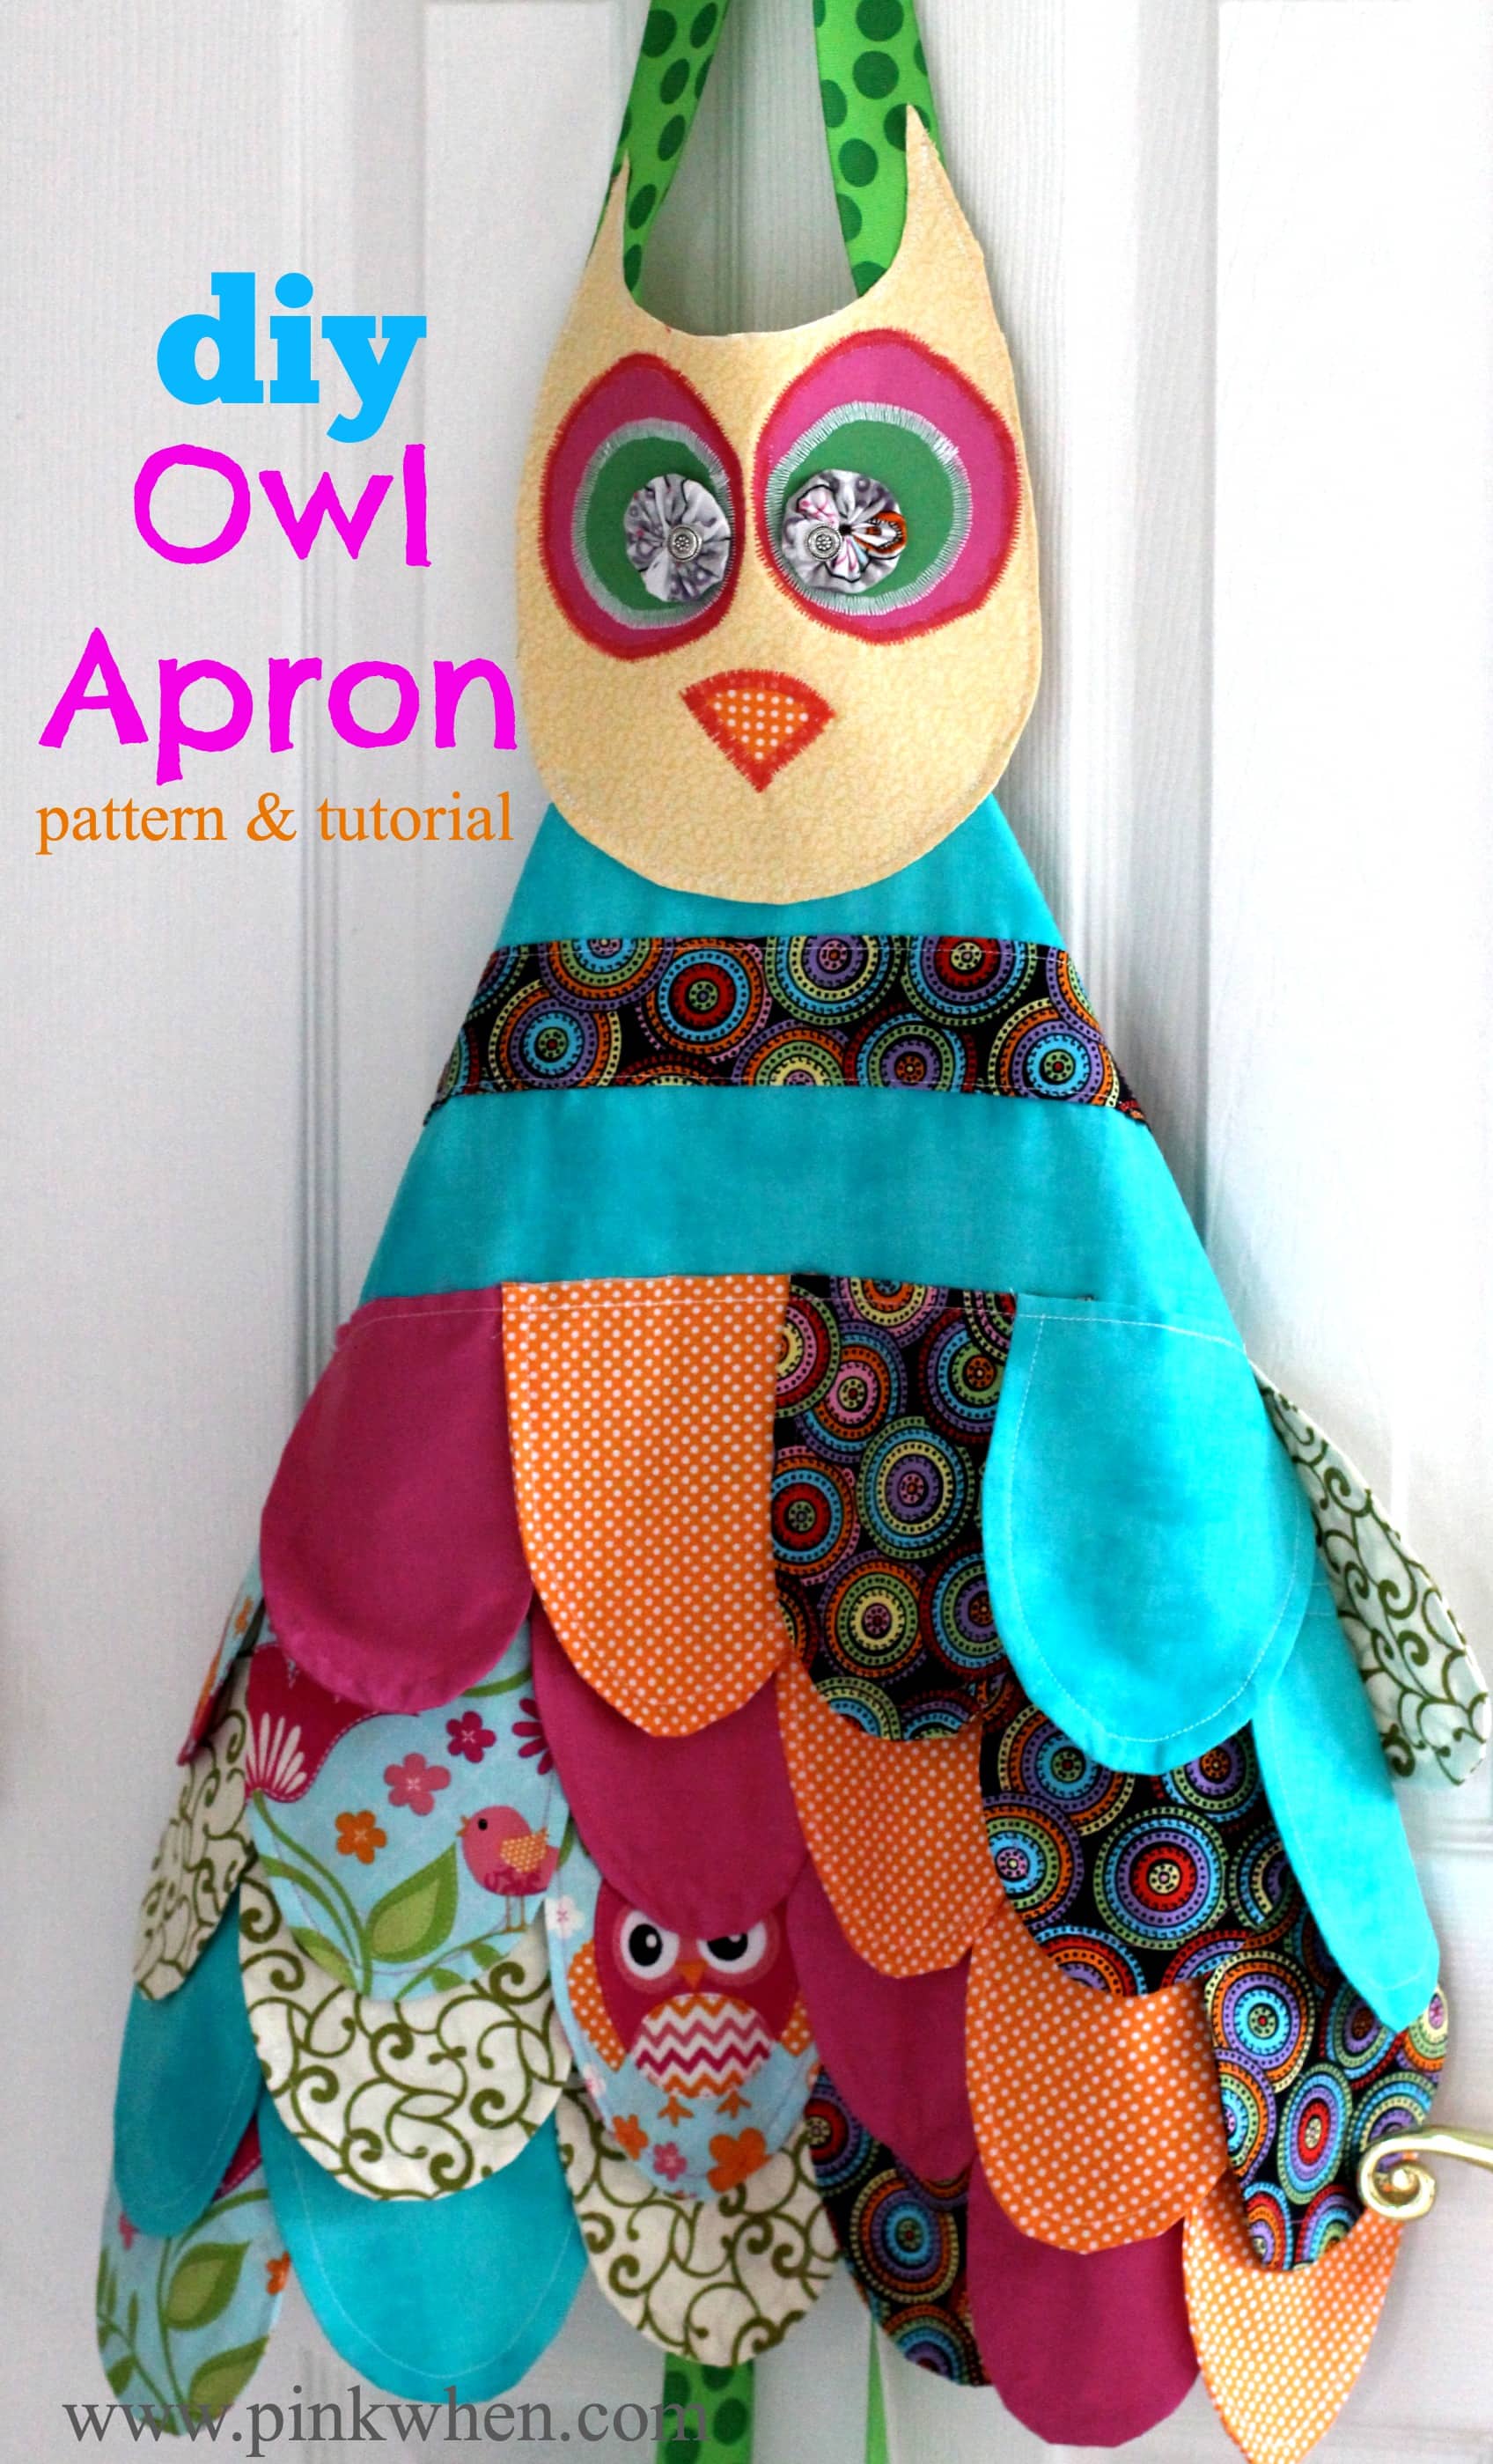
1. I began by taking my fabric pieces and cutting eight feathers from each pattern. (You will have 48 feathers by the time you cut all of these.) You will take 2 of the feathers and place them right sides together. Then sew a straight stitch around the rounded portion of the feather, leaving the straight edge open. Turn your fabric right sides out, and then iron.
2. You will then sew a straight stitch around the entire feather pattern including the straight edge to seal it up. You will do this for all of the feather pieces until you end up with 24 feathers, four from each swath of fabric. (see below)
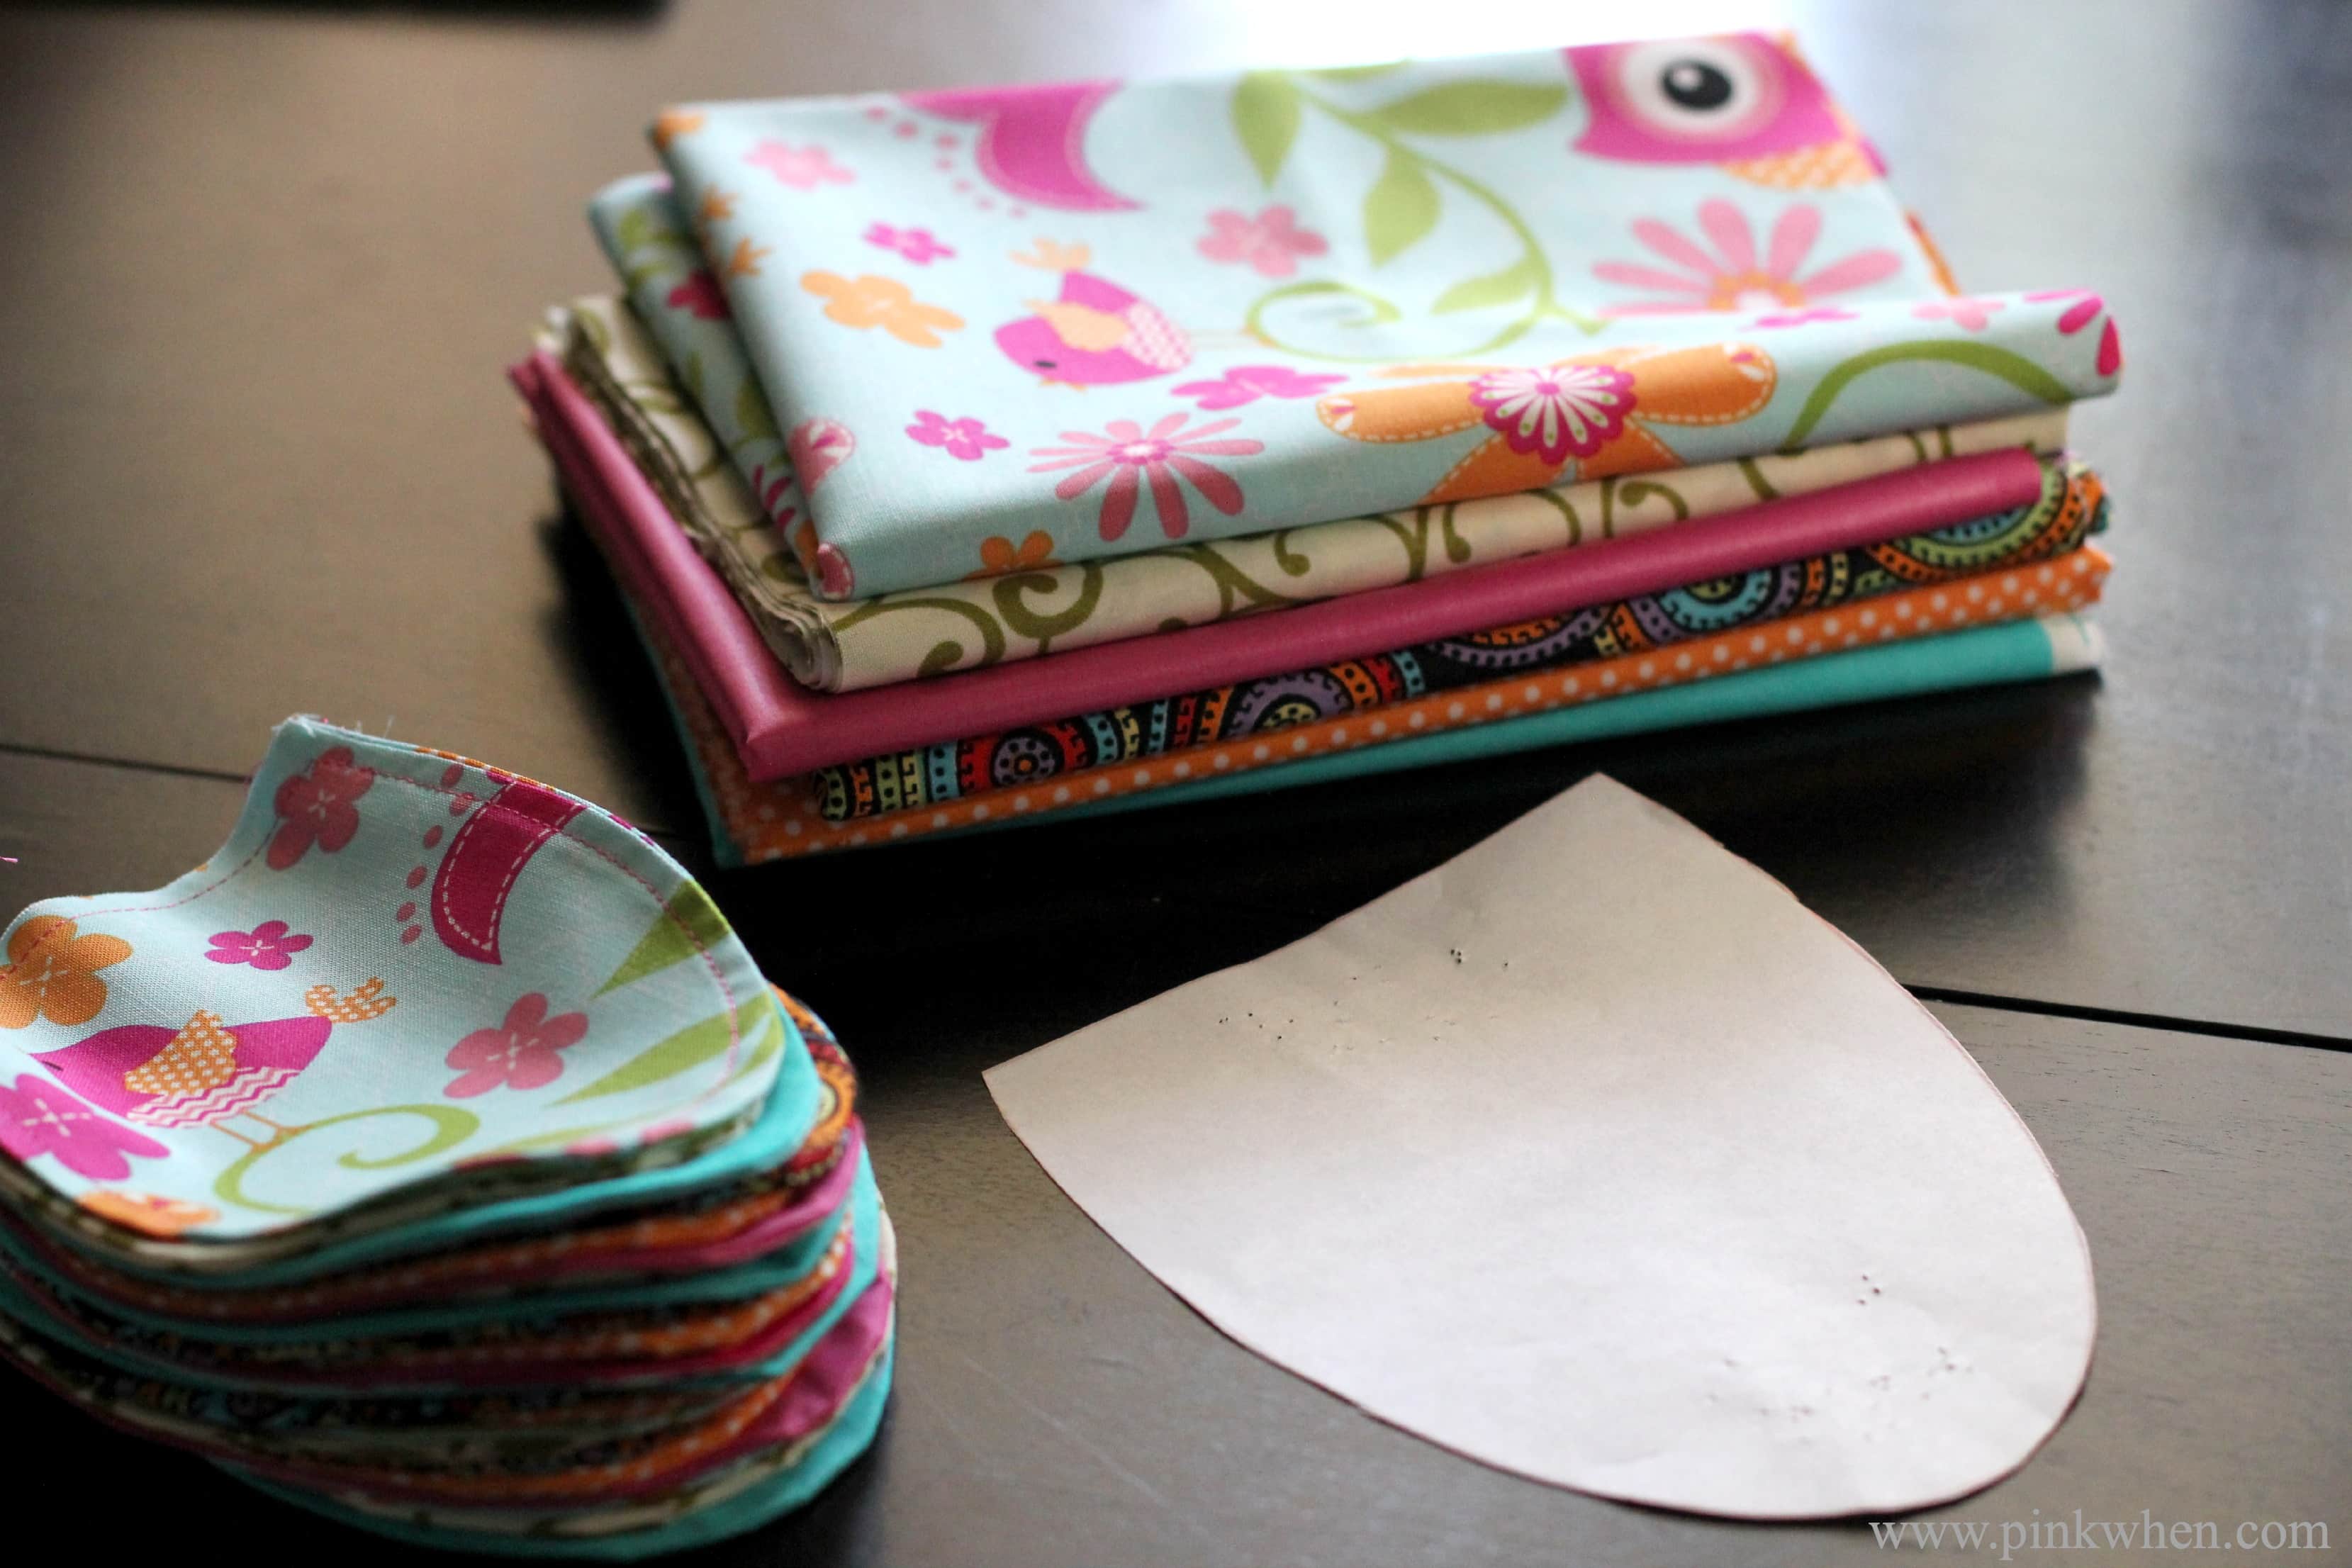
3. After I had all of my feathers made, it was time to start working on the owl face.
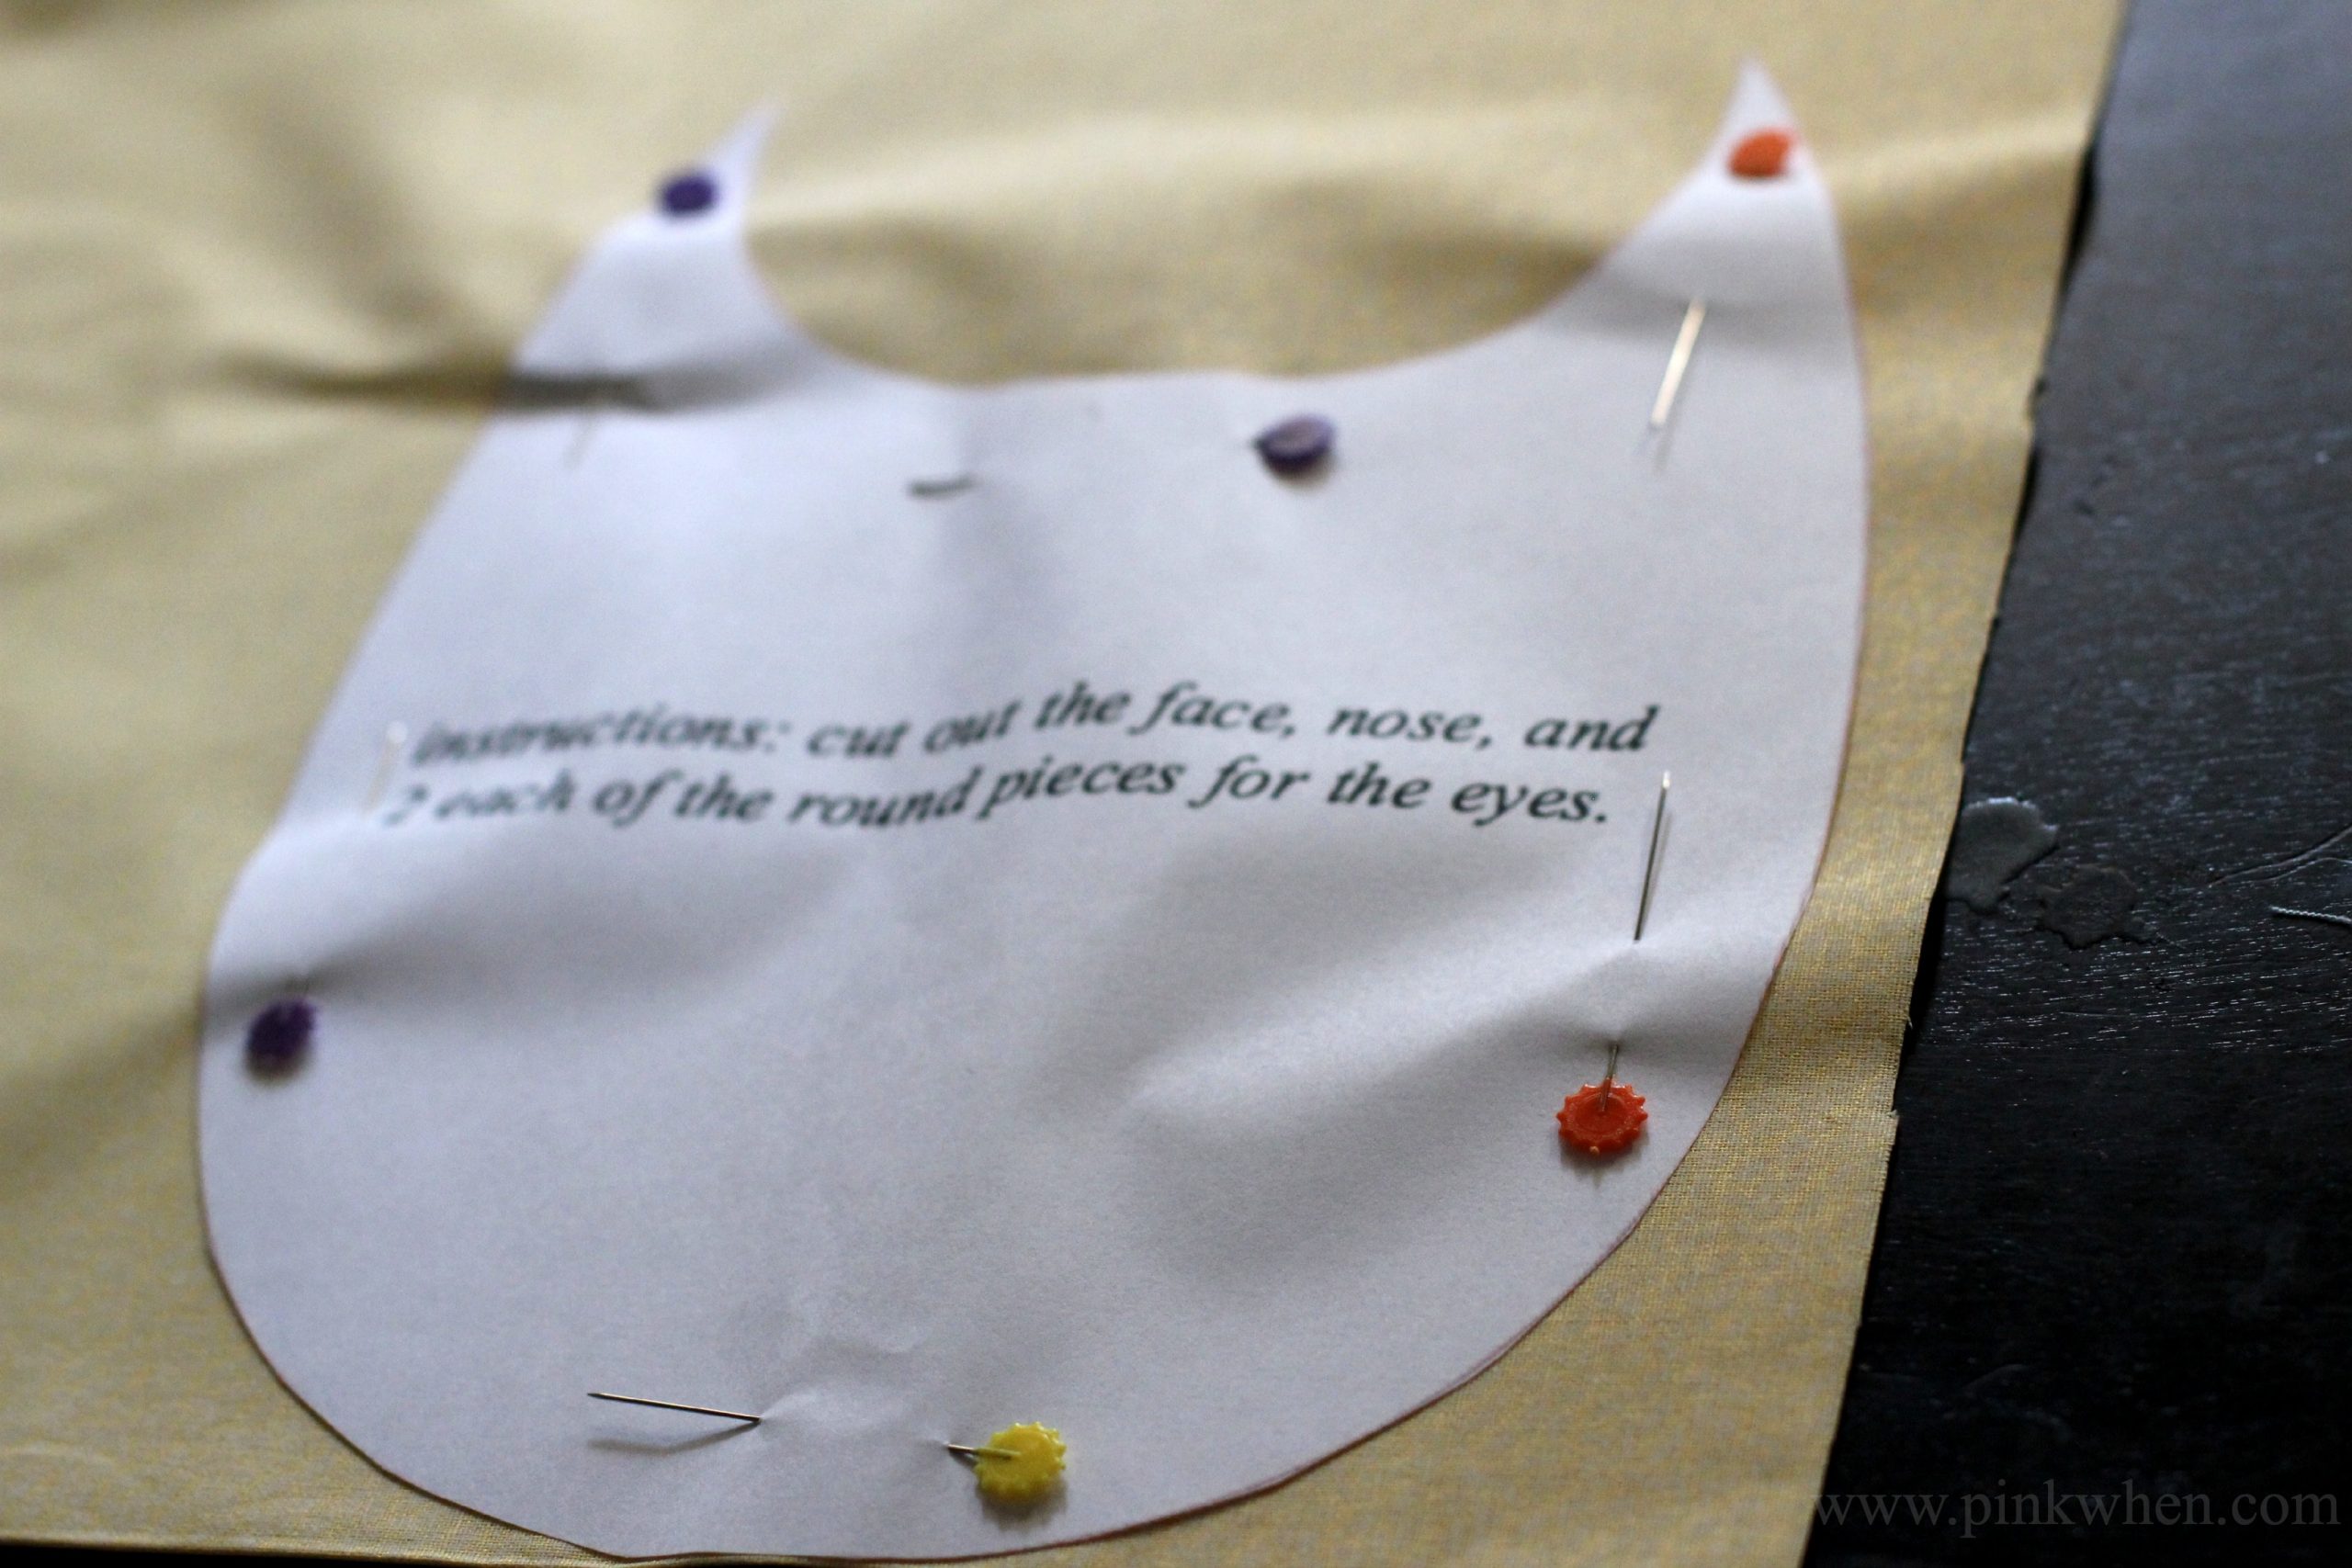
4. After cutting out two pieces for the face, I grabbed the wonder under and attached it to one of the fabric pieces for the face (on the wrong side). I wanted to use something that would make the fabric a bit stiffer, and wonder under seemed to be the perfect solution. Now set this piece aside.
DIY Owl Apron
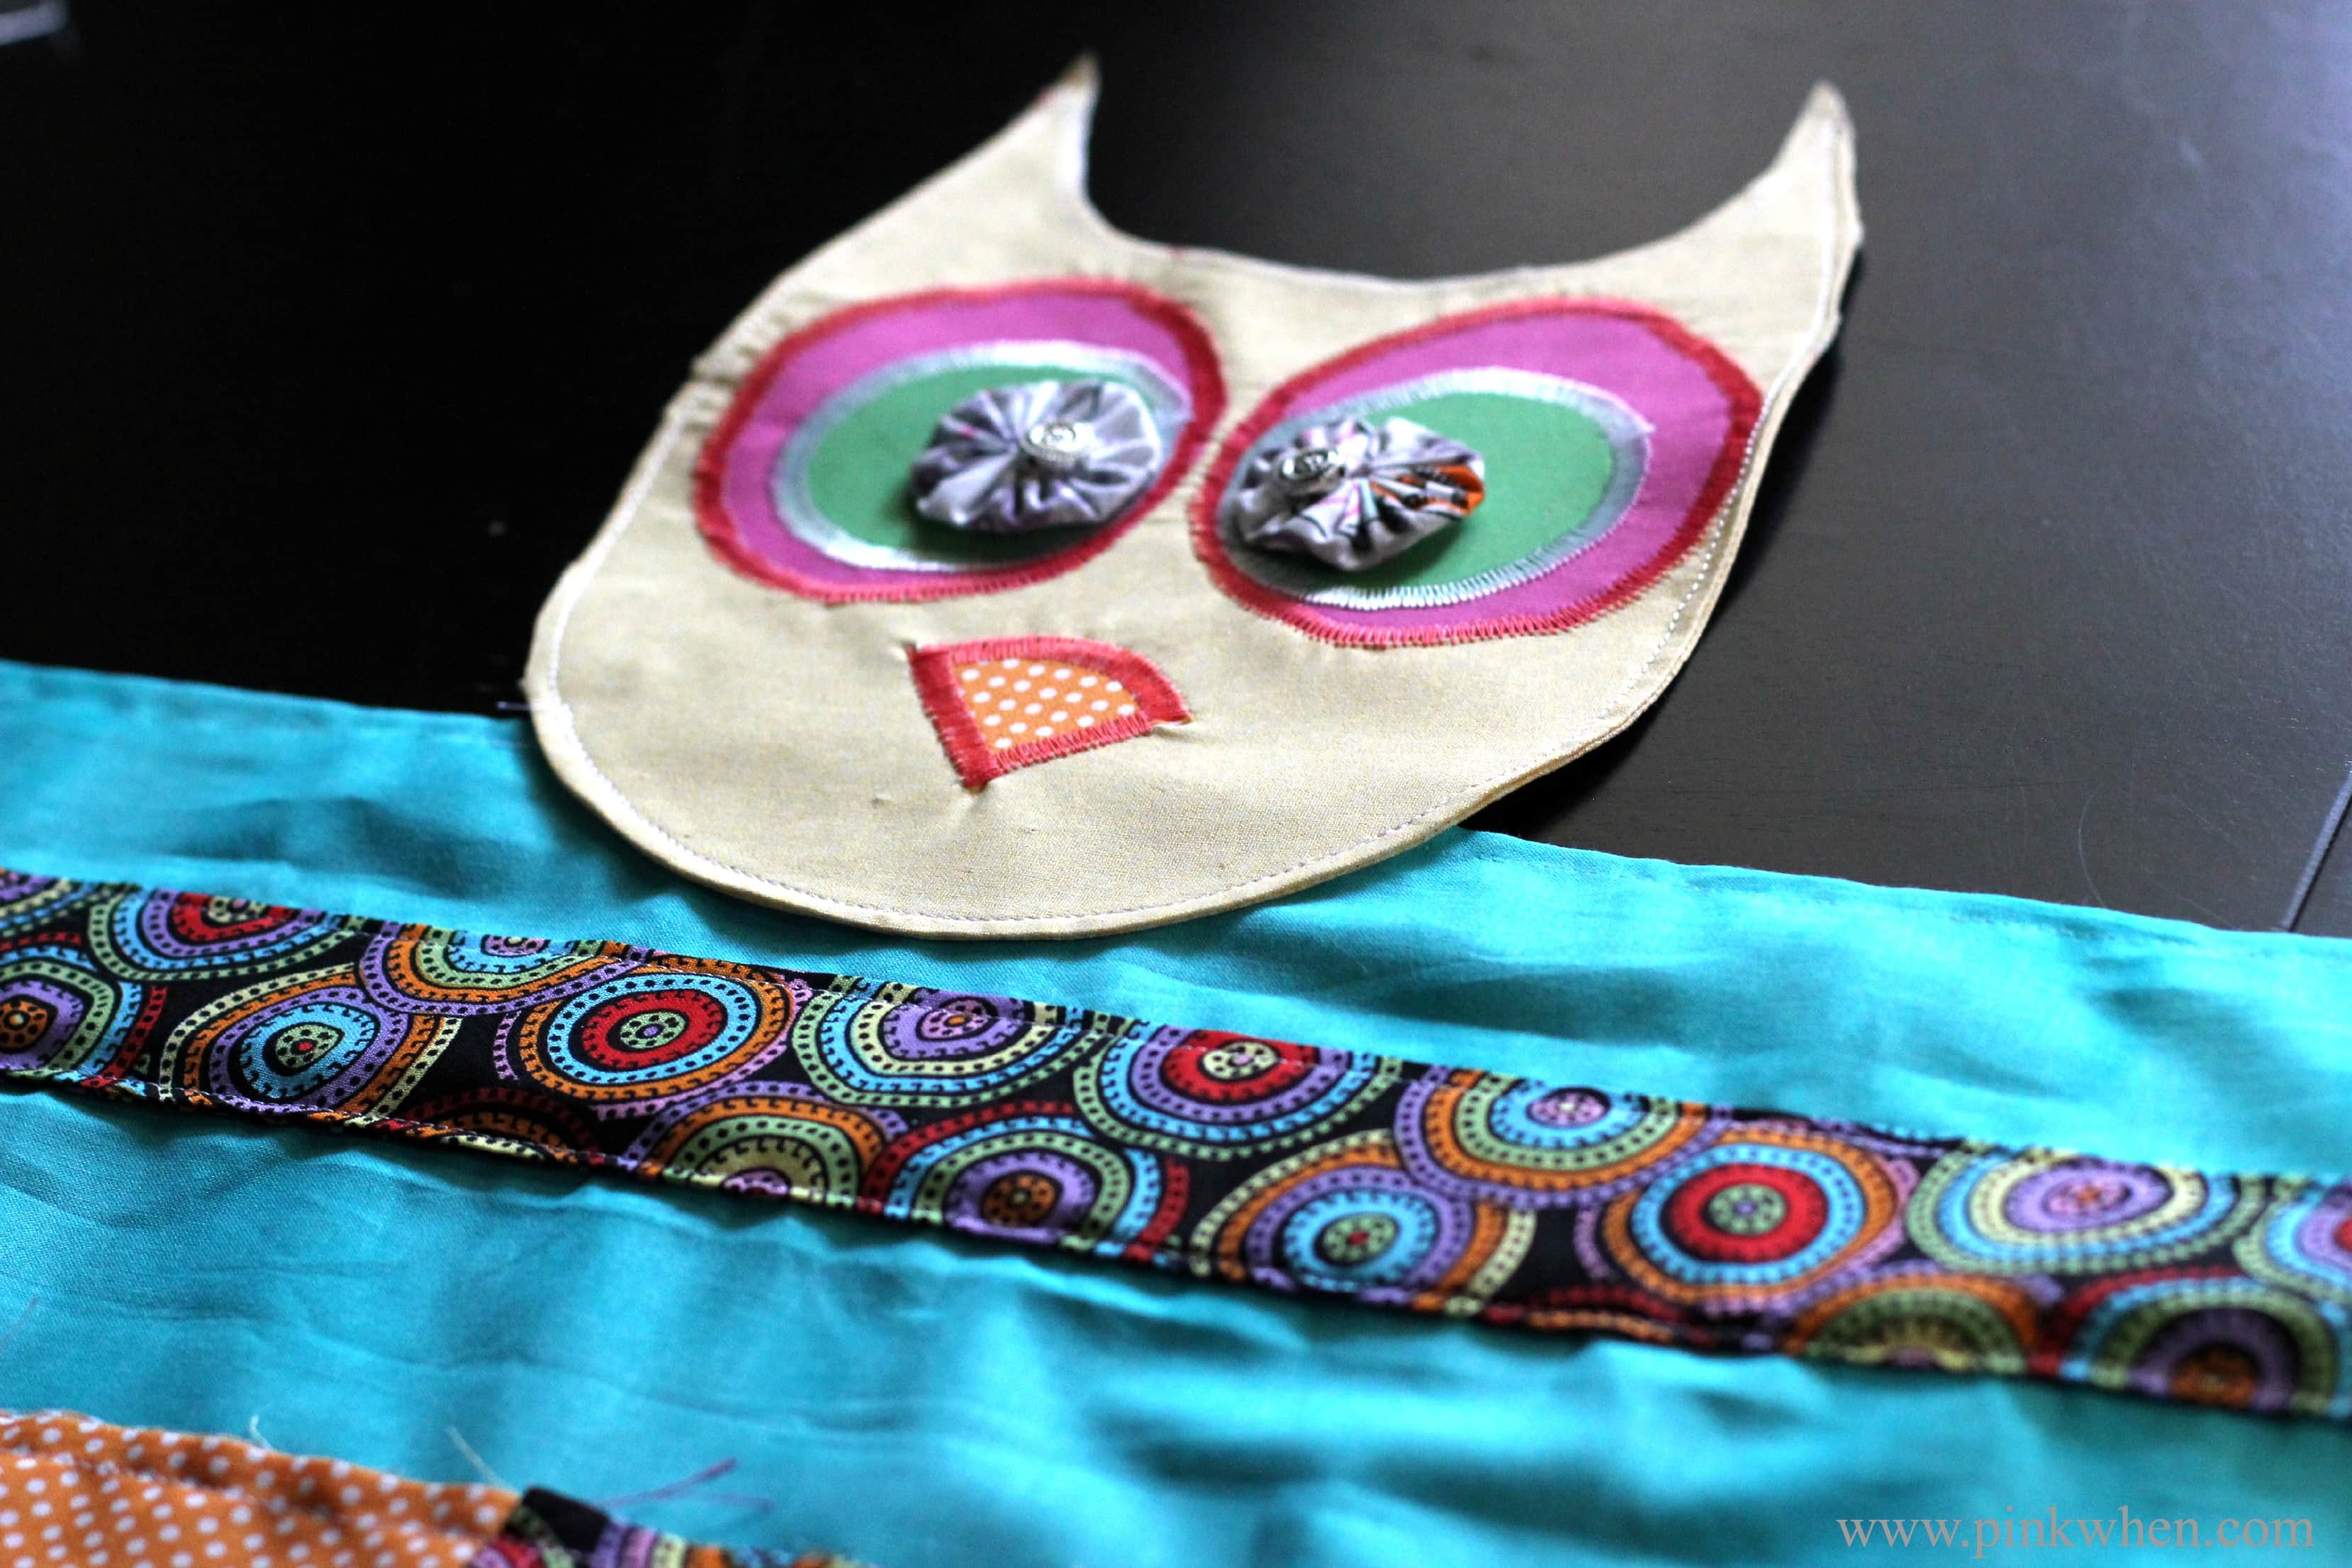
5. Before sewing the two face pieces together, take the other face piece and start working on the eyes and nose. For the eye and nose pieces, you will want to place wonder under on each of these as well. I took the eye and nose pieces and put them on the face where I wanted them set. I ironed them in place, and then placed a zig zag stitch around them.
6. For my stitch, I set the width at 7.0mm and length at 0.5mm with the tension set at 4.0. This gave it a nice long stitch. I did this for both large round pieces but left the third smaller piece off since I decided to use the fabric Yo Yo’s.
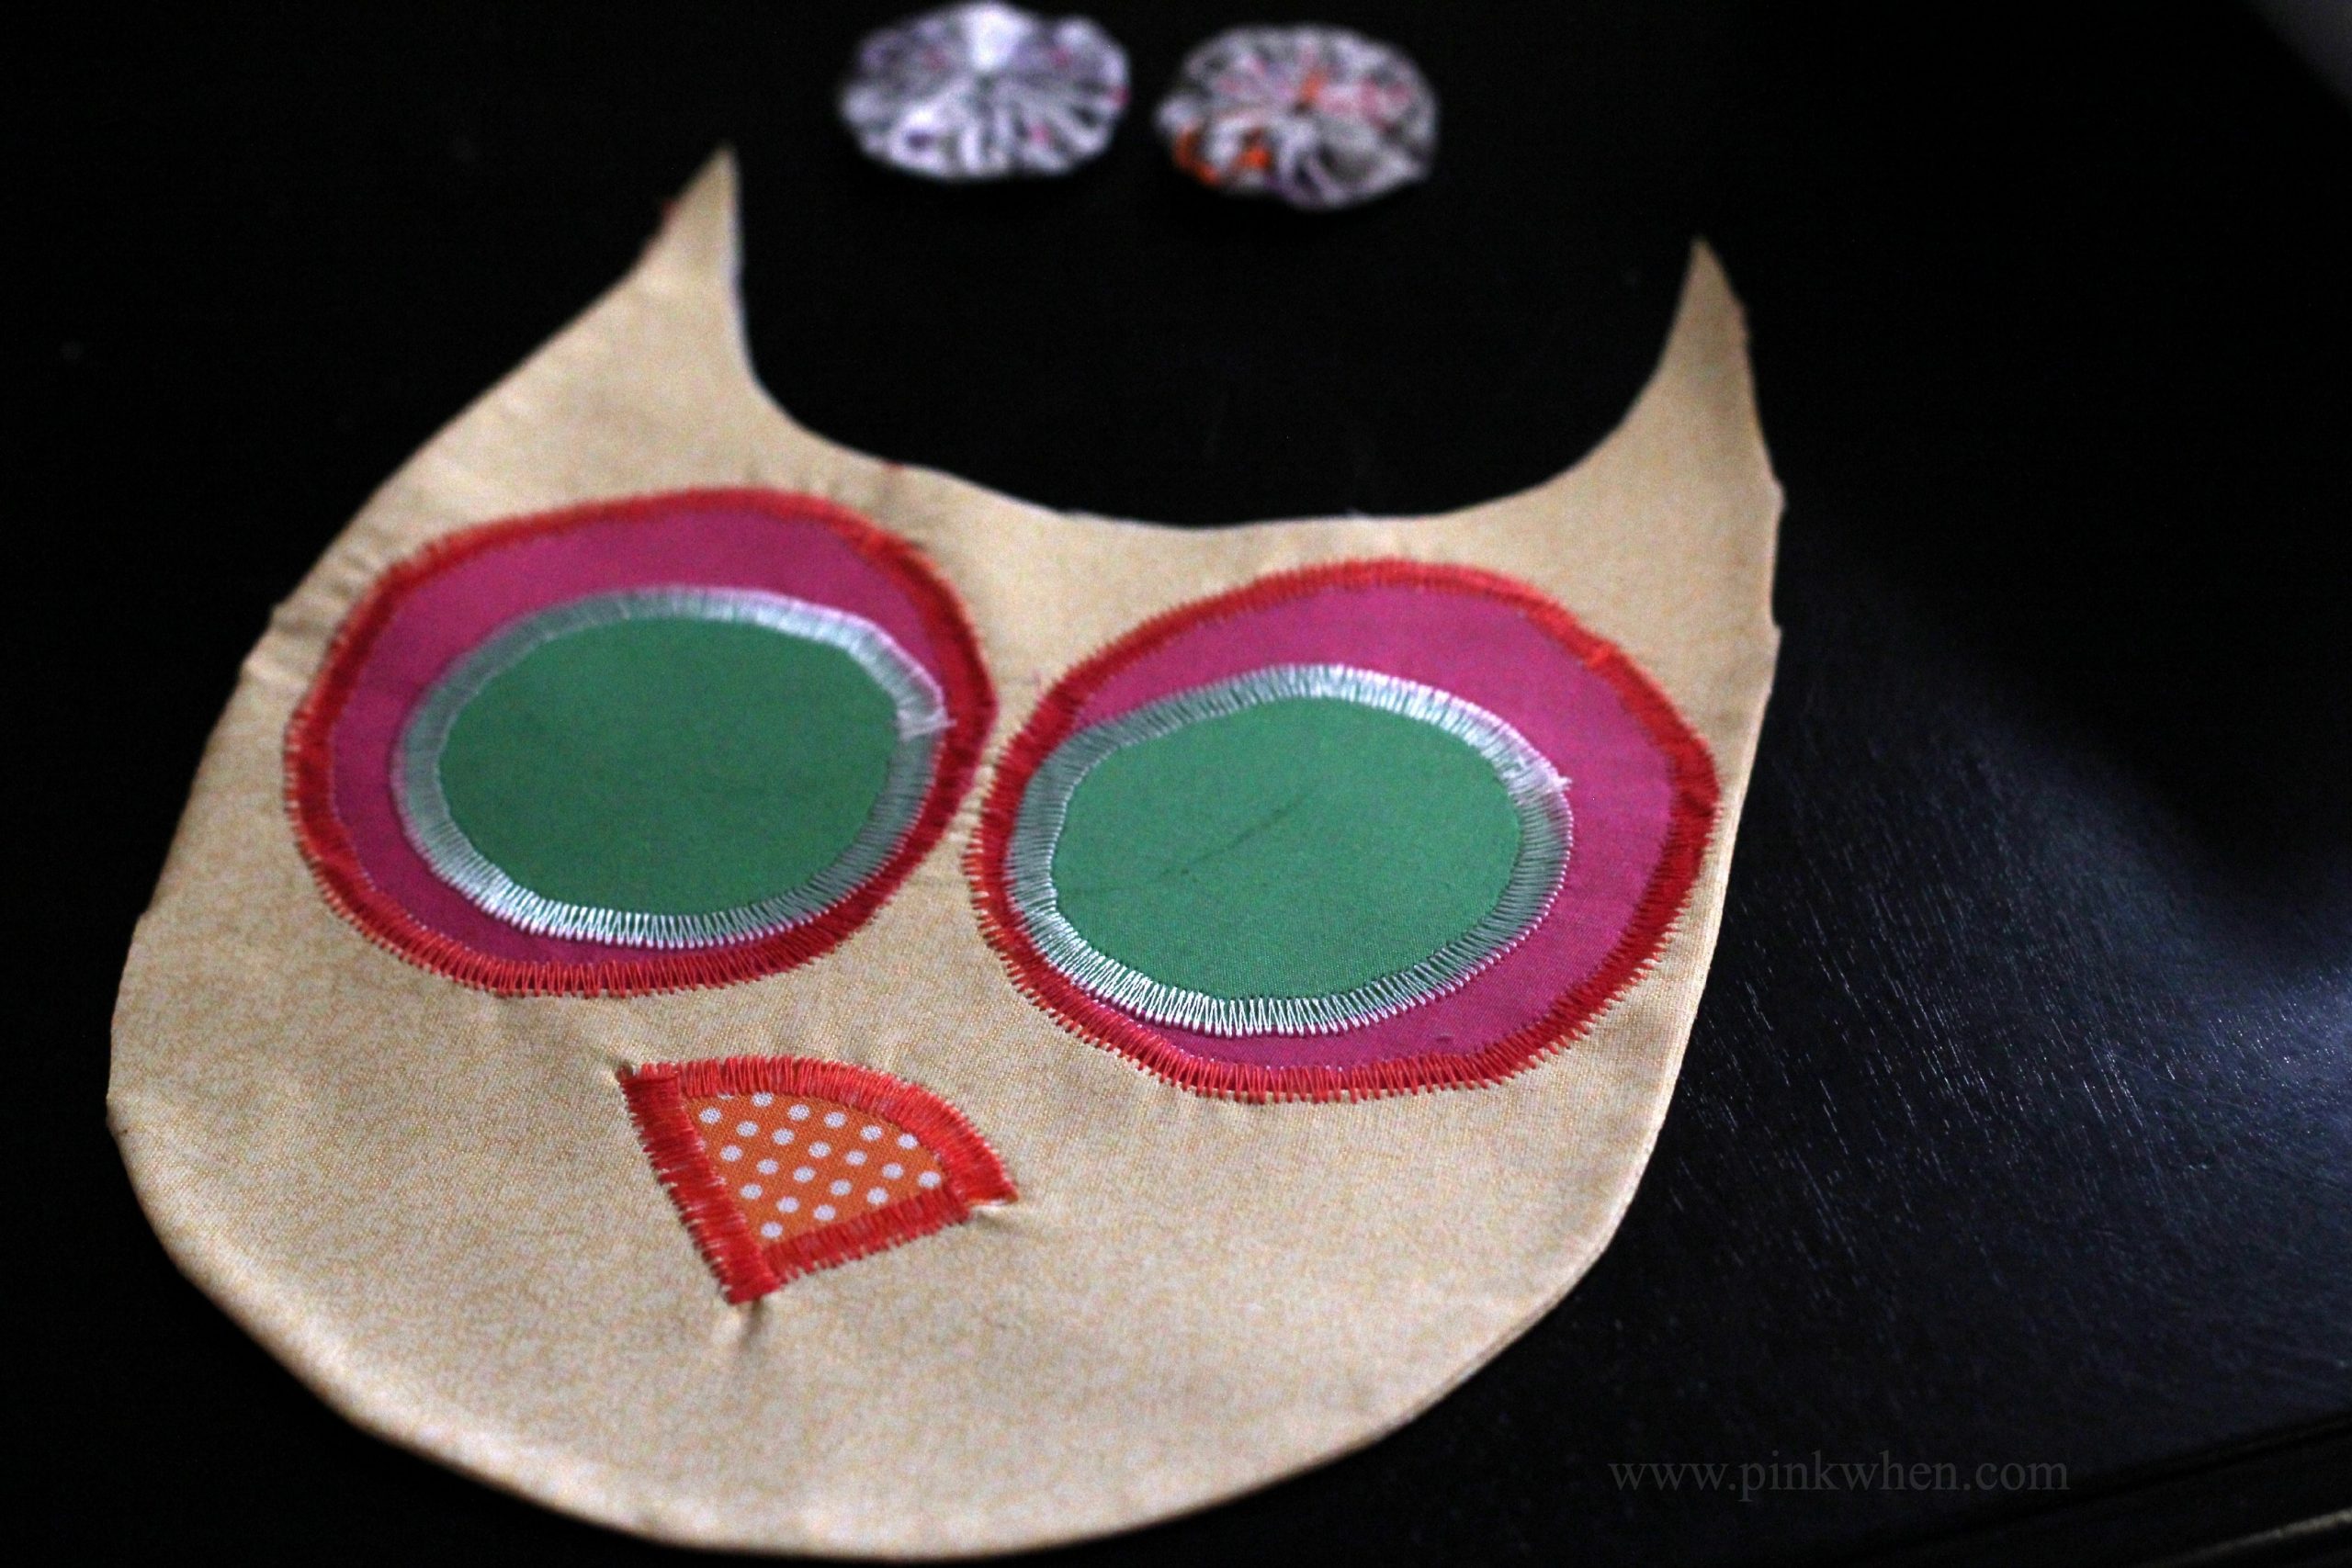
7. I then placed the pieces wrong sides together, sewed all around the piece, but left the are between the ears open. I then turned the pieces so that right sides were out, ironed them flat, and then placed another straight stitch around the edges of the face. I then set the face piece aside.
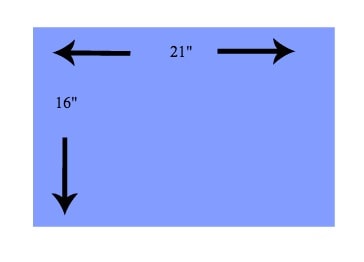
8. Now it’s tine for the body of the apron. I cut a part of my leftover blue fabric to 16″ x 21″ and then made 1/4″ seam around the entire piece.
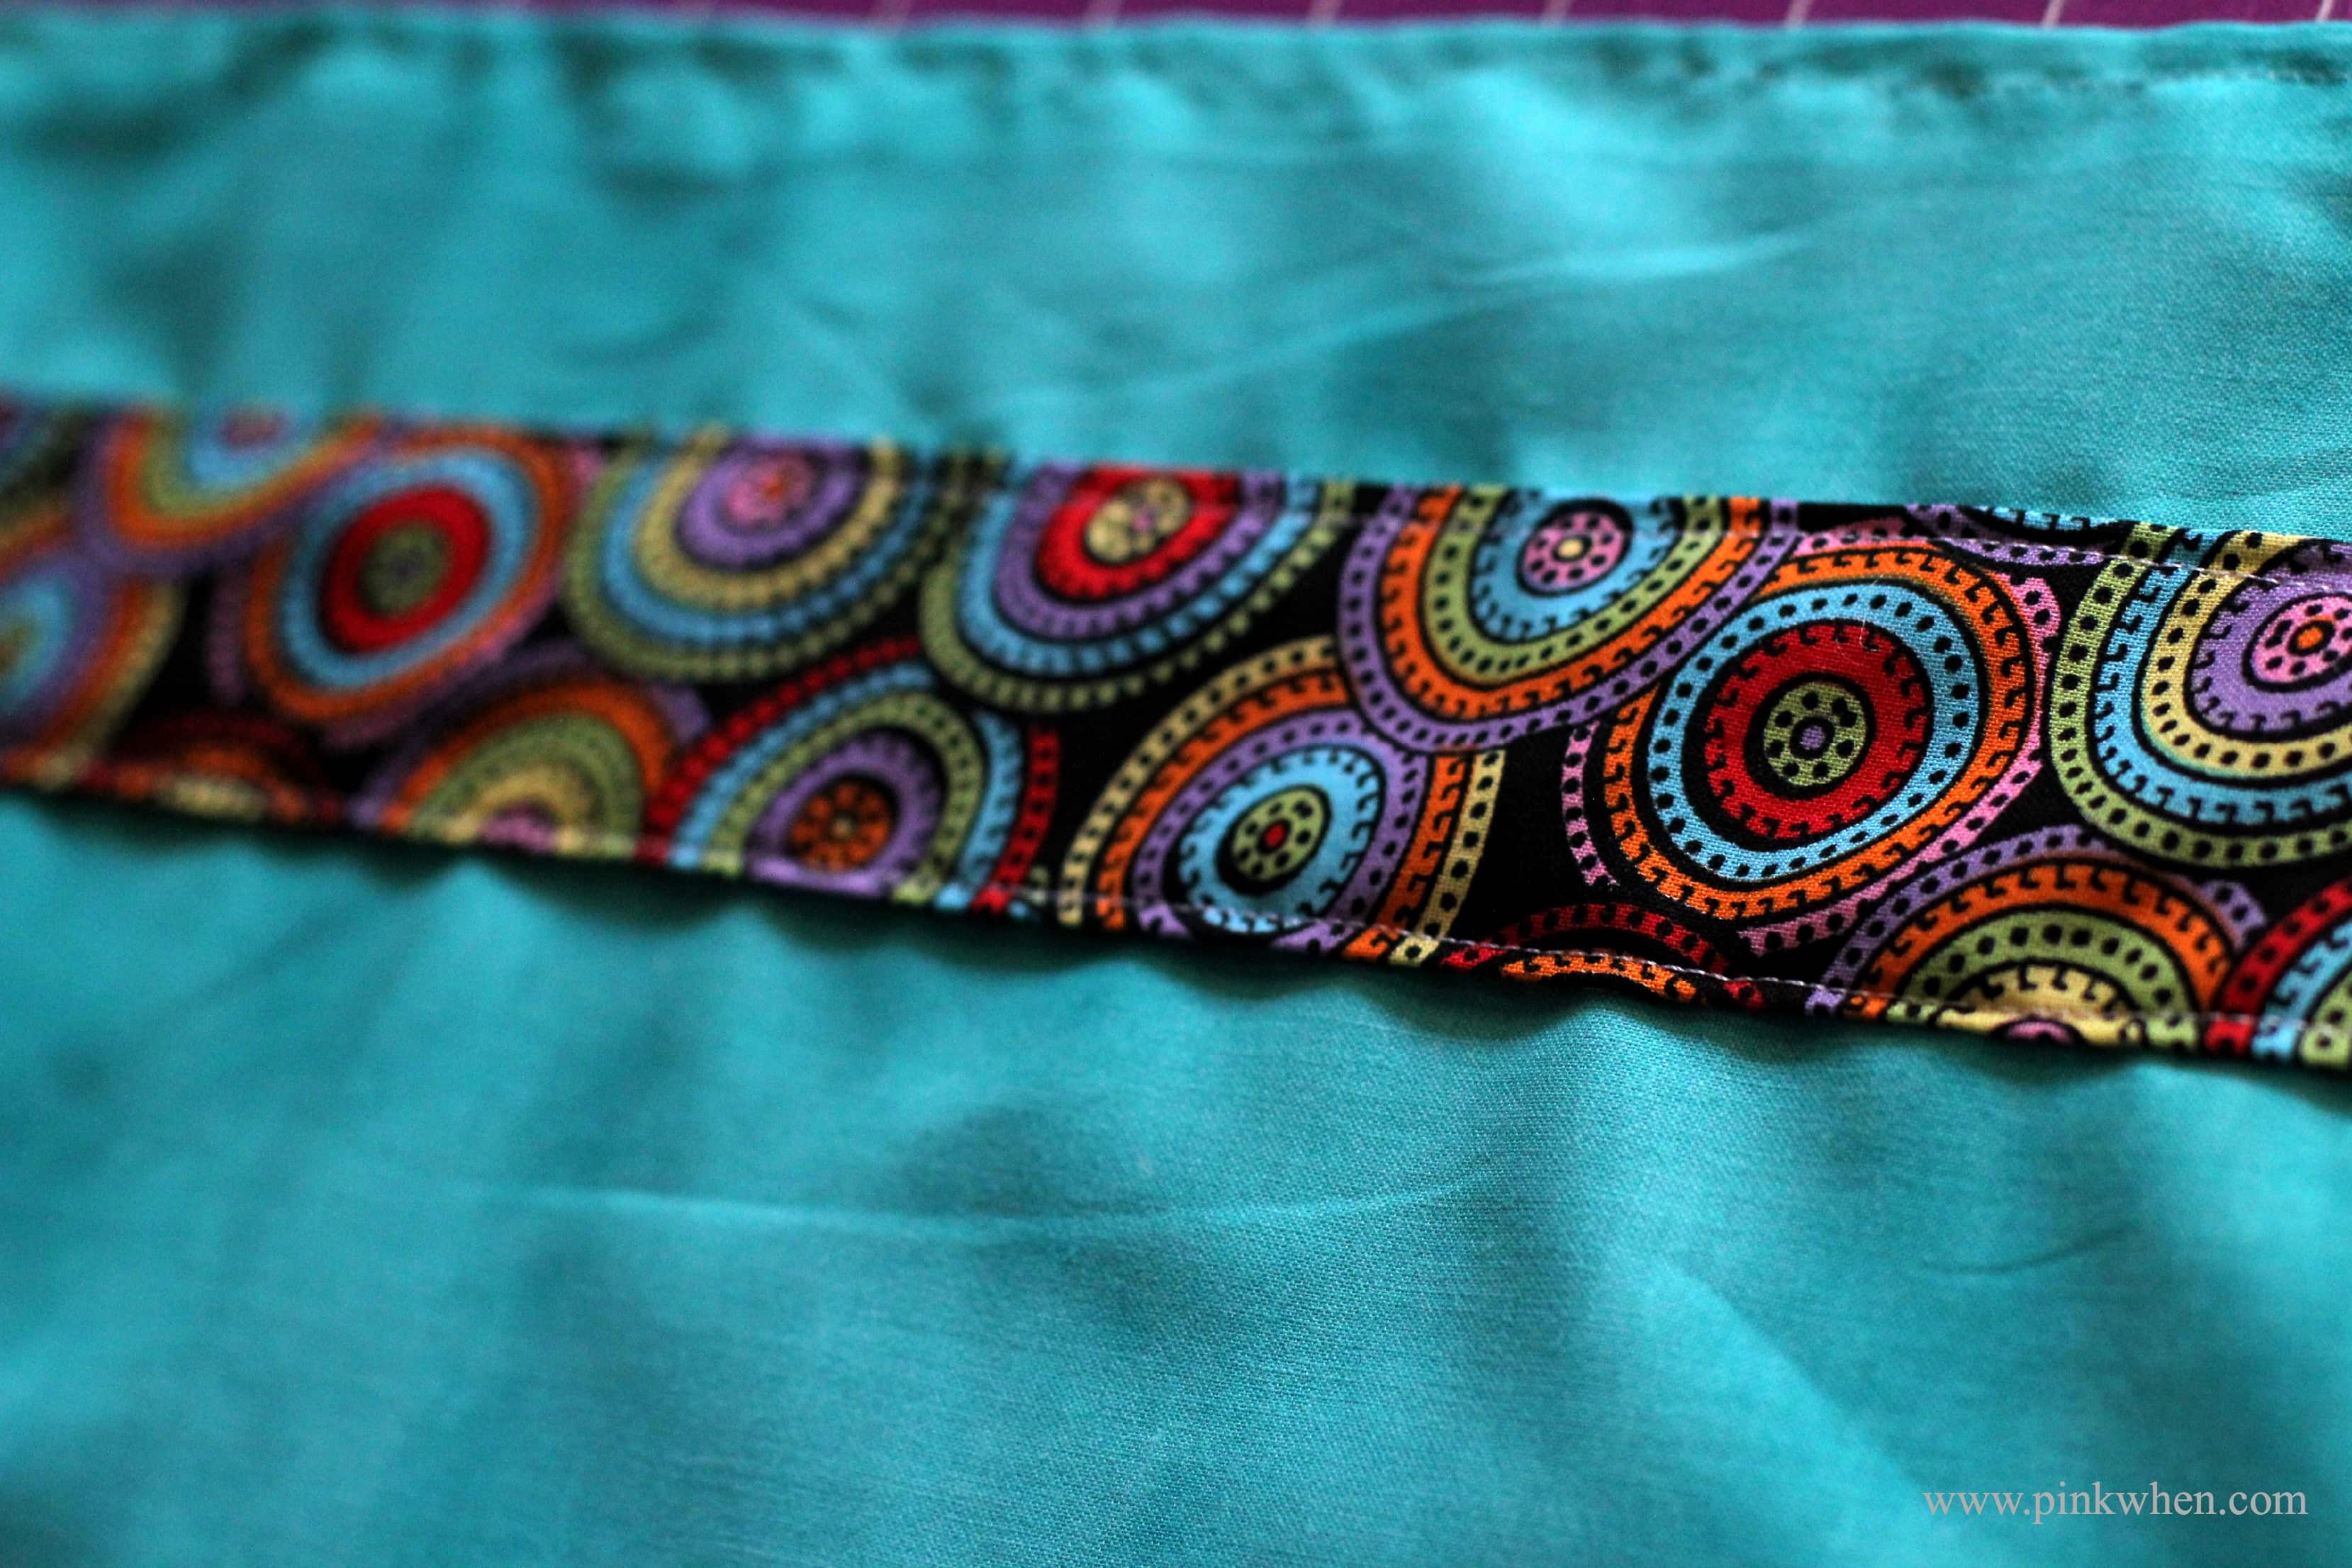
 9. Next, take a printed fabric piece and cut it 3″ x 20″. Place the fabric right sides together and create a straight stitch down the length to create a tube. You will then pull it right side out.

DIY Owl Apron Pattern
10. Once you have it right sides out as a tube, iron it flat and then place on your 16′ x 21″ piece. You will place it 2″ from the top and 1/2′ inside, so that is is in the middle of your fabric. Pin in place, and then place a straight stitch on the top and bottom of the tube.
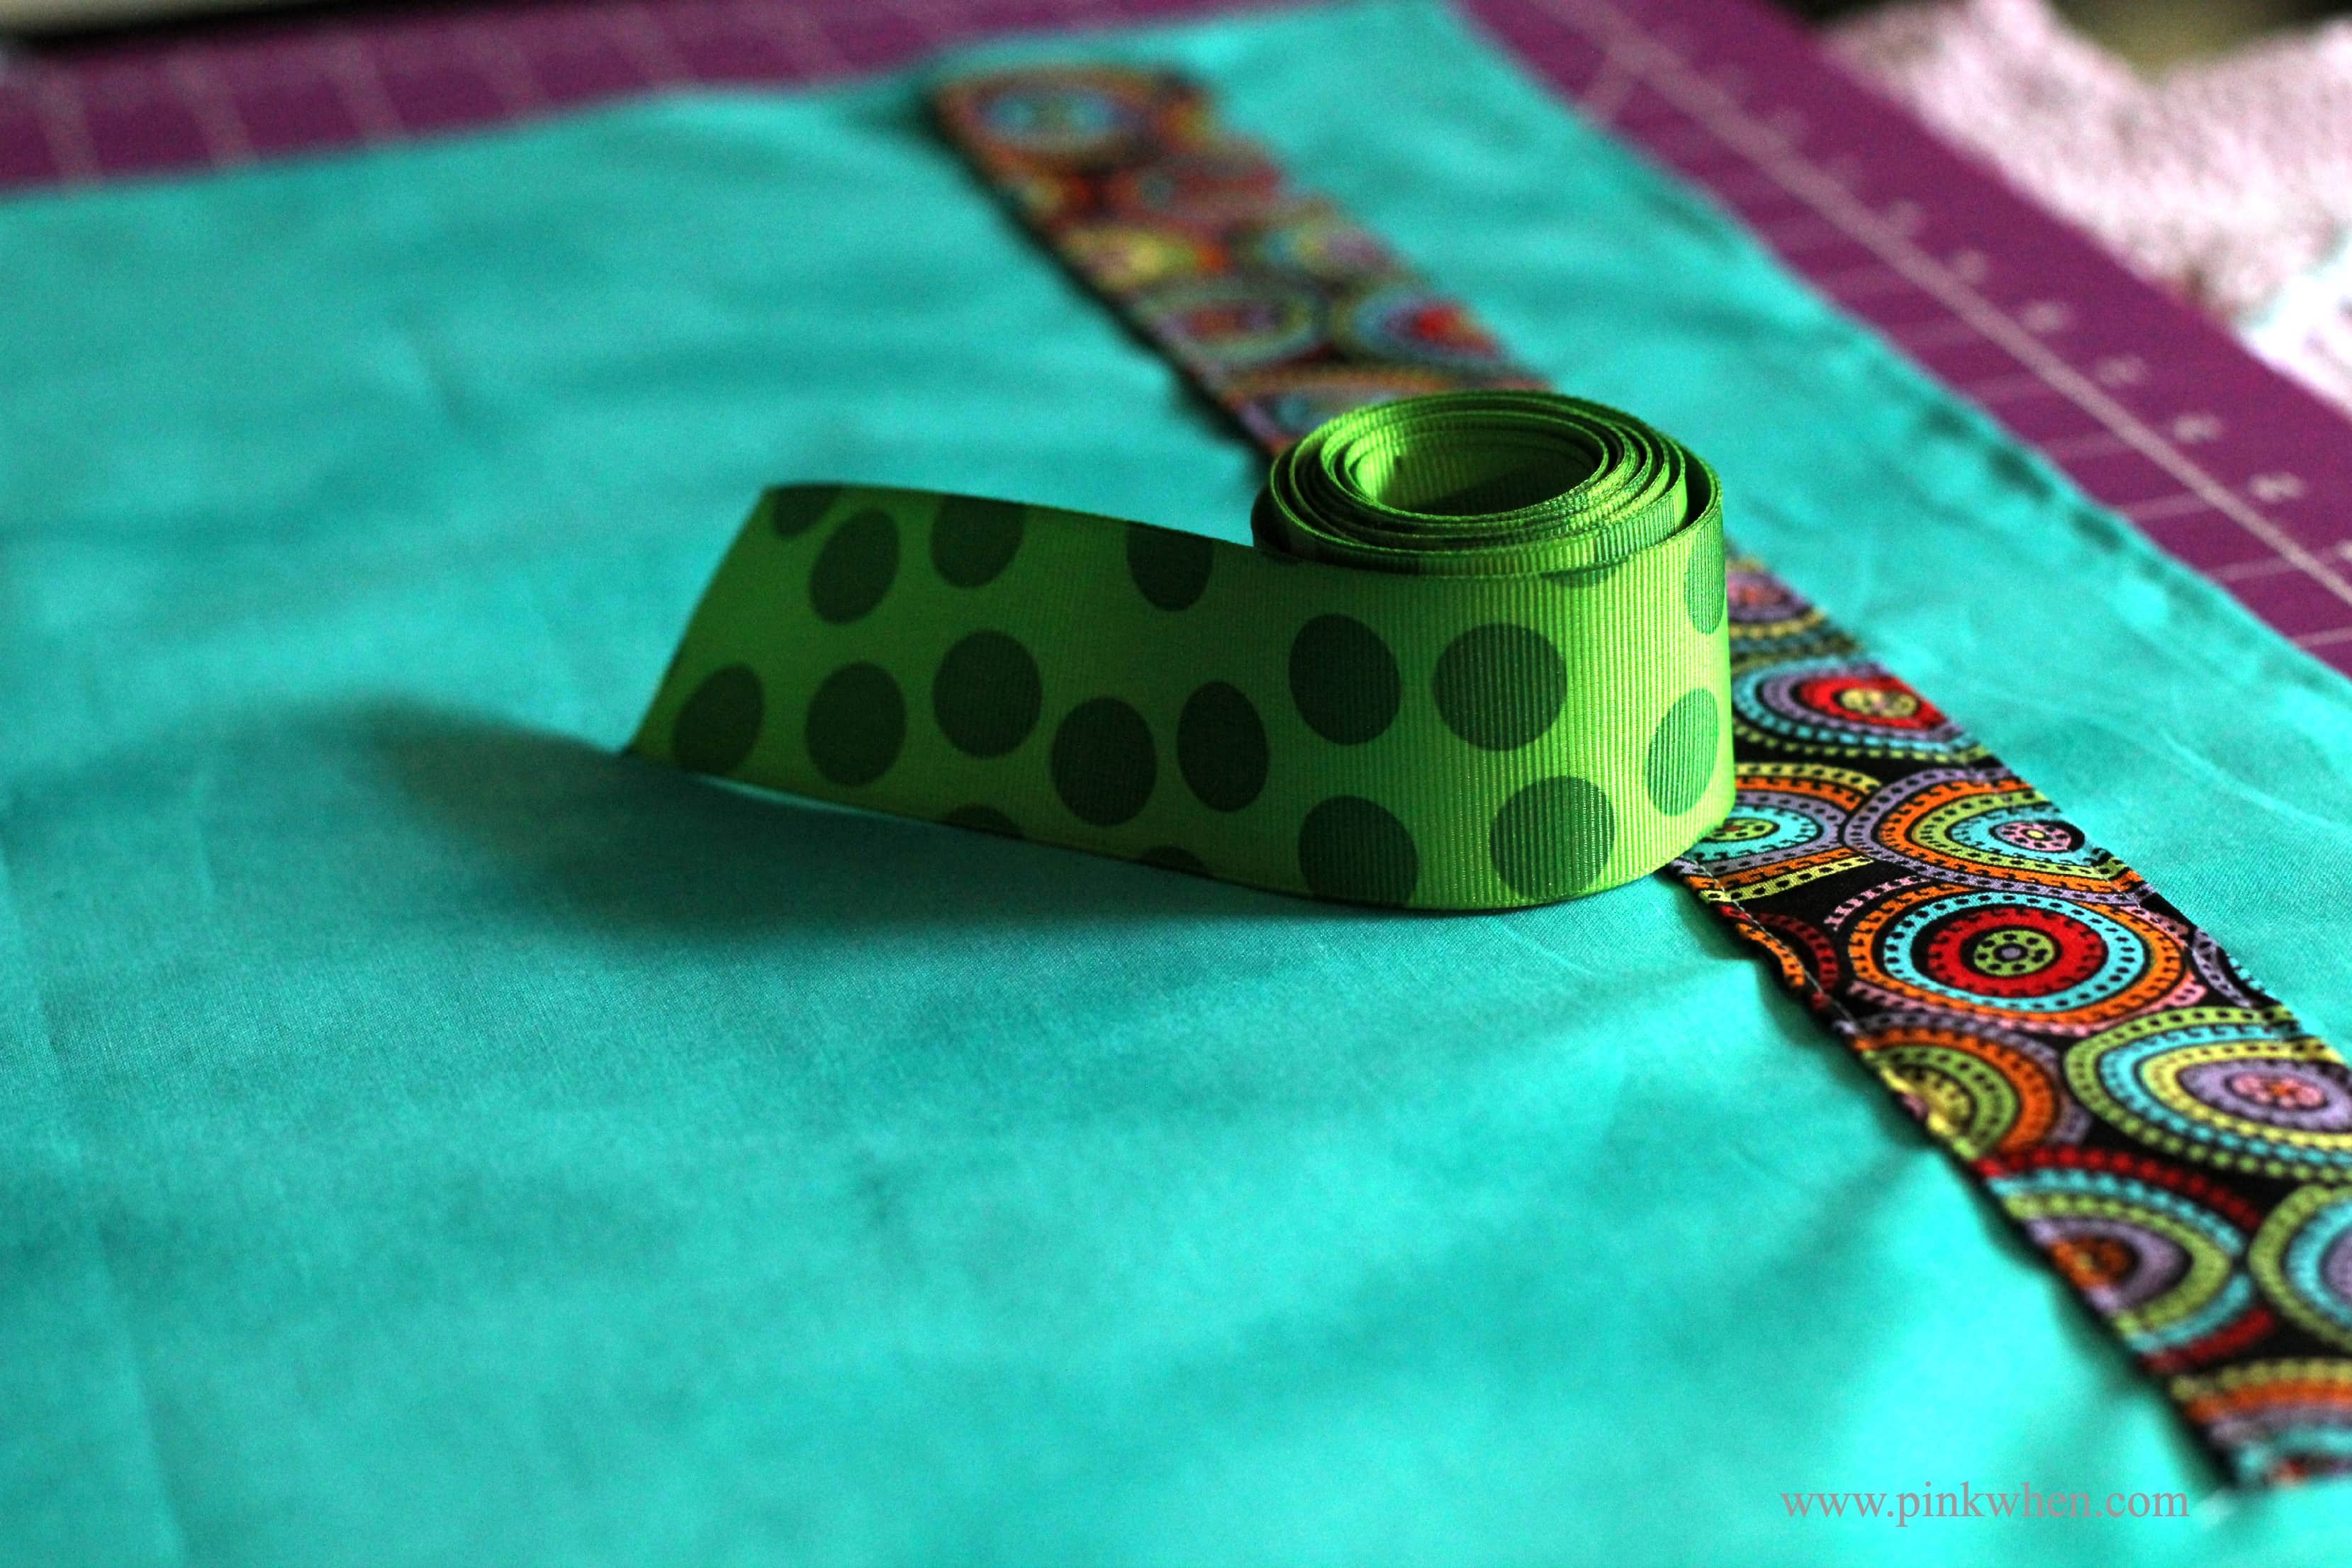
11. I then took my ribbon and placed it through the tube. This is how we will tie the apron around the waist.
12. After the ribbon is place, it’s now time to add all of our feathers! You can place these anyway you like, but just like anything you make, I would lay it out first to make sure you are happy with the result.
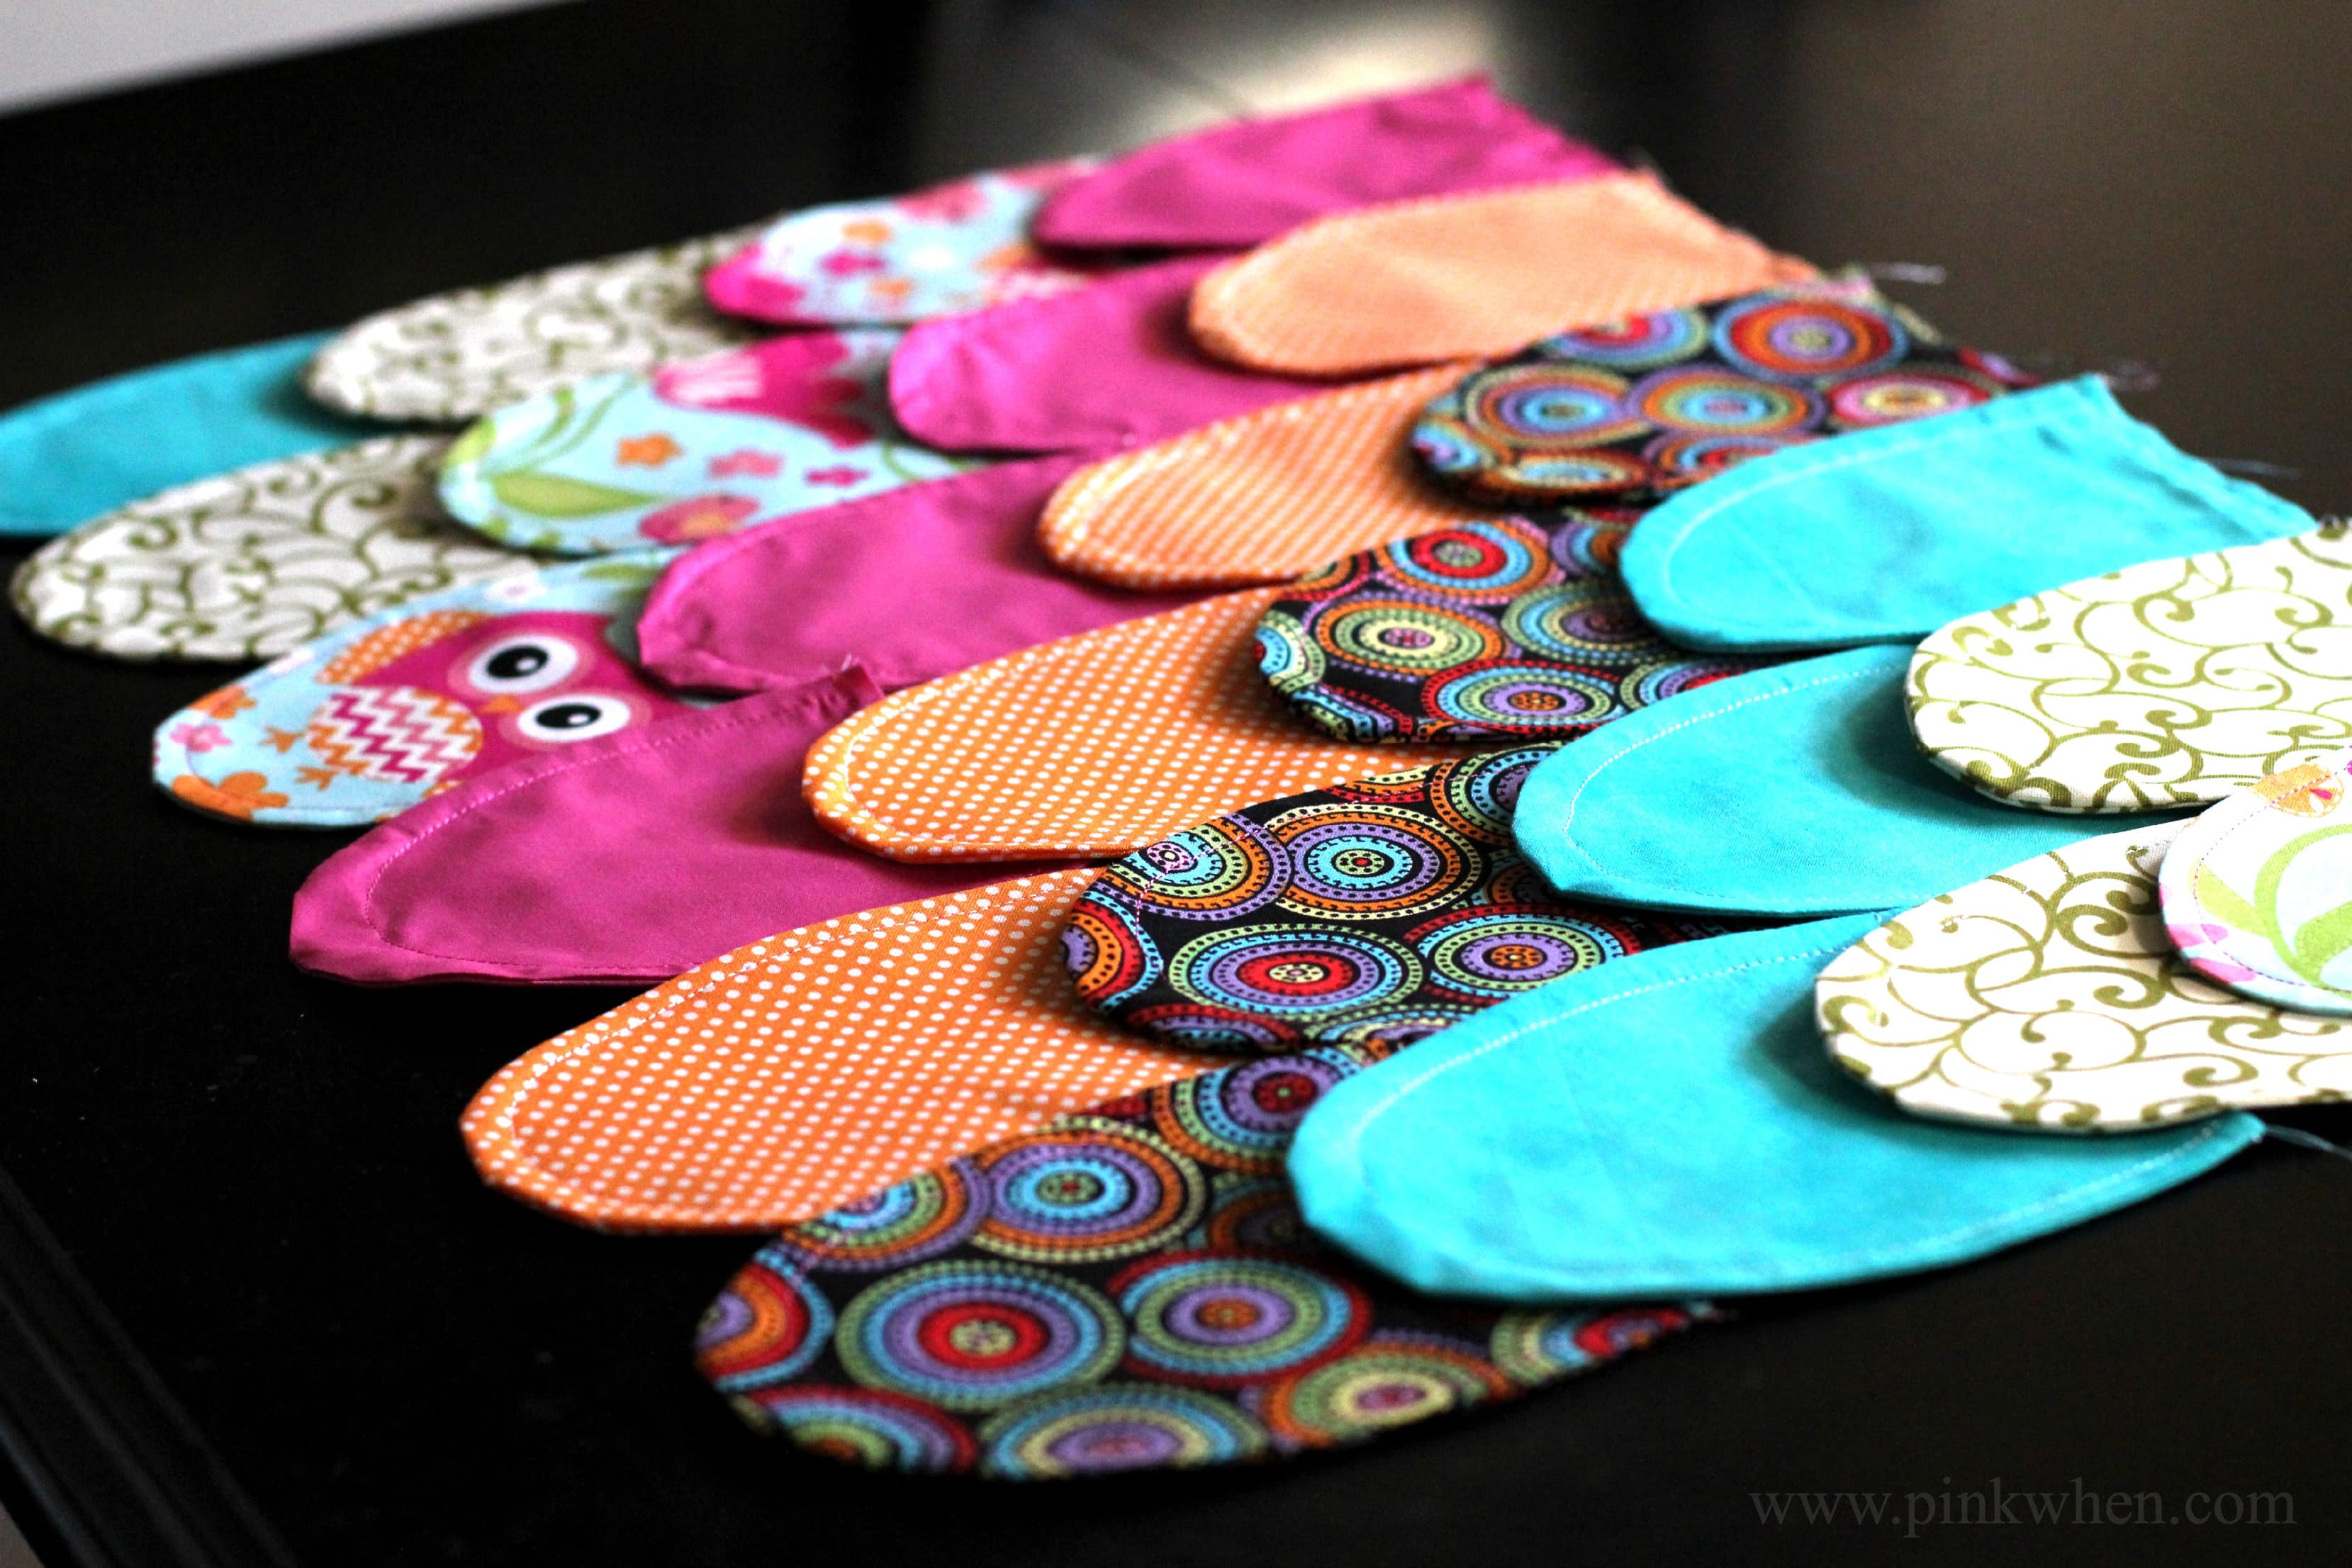
13. Now it’s time to add them to the apron back. I pinned the bottom row and then placed a straight stitch across the entire apron. I did this for all four rows until I was finally at the top. Now you should have an owl apron, minus the head. (Which BTW, would be a super cute apron all by itself for an adult version that goes around the waist!)
14. I then pinned the head to the apron body and sewed them together. (Starting to look like an owl apron!)
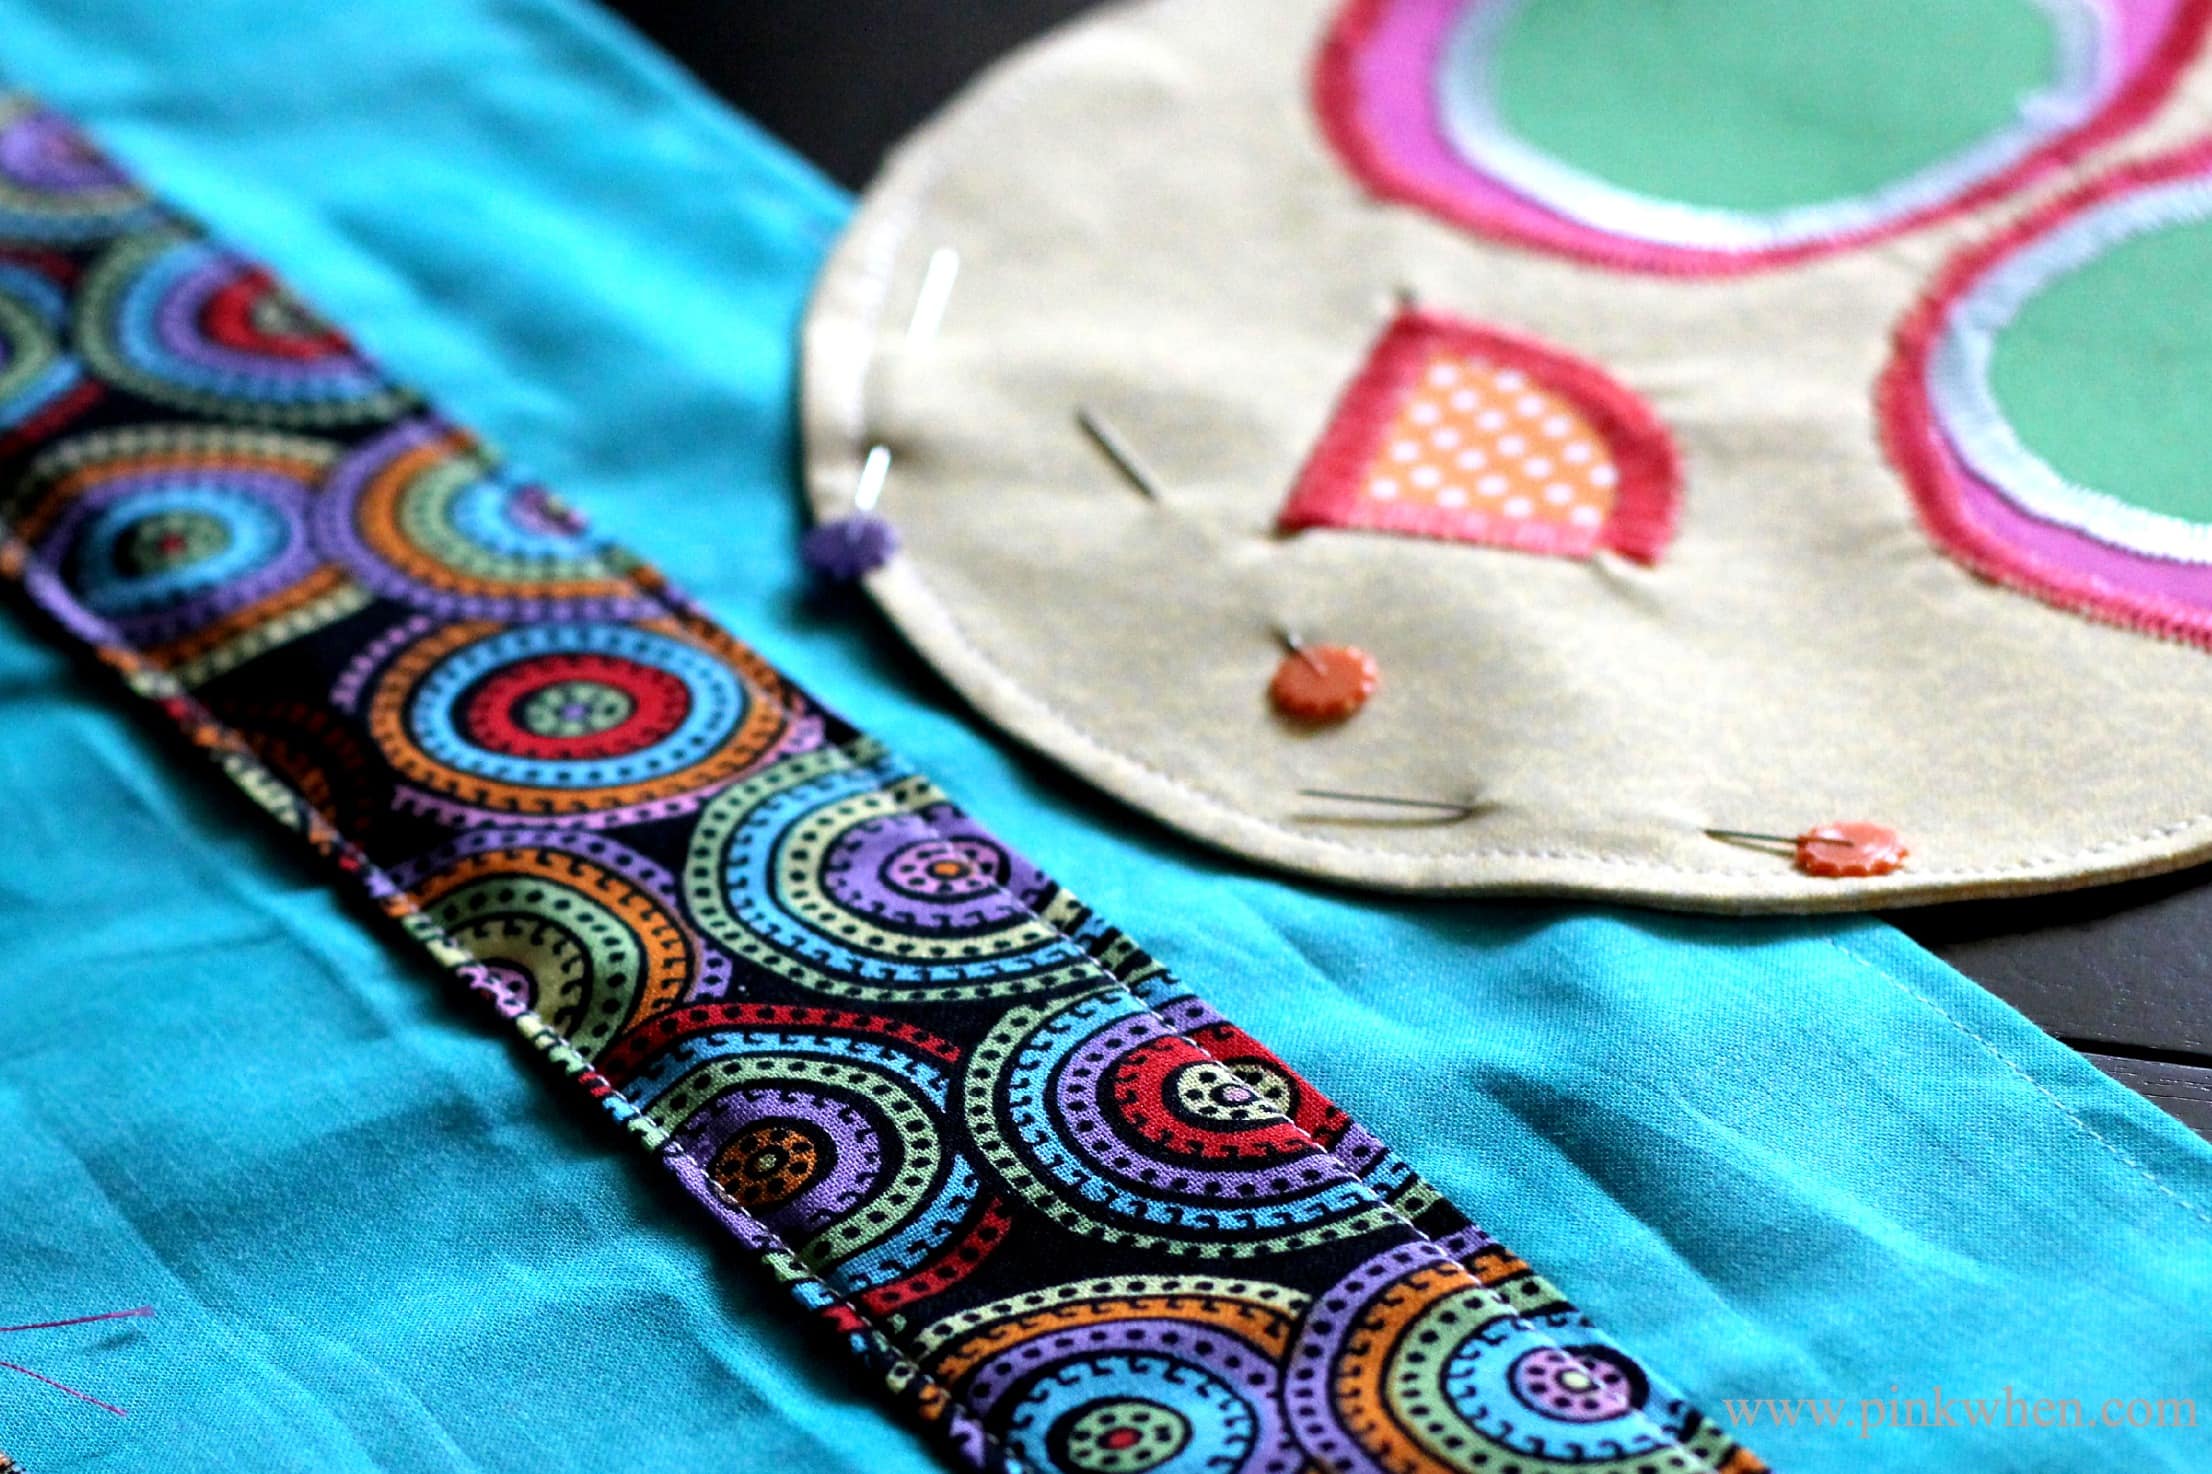
15. I then added the fabric Yo Yo’s and a couple of little buttons for the eyes. I sewed more ribbon to the back of the head for the top tying piece, and finished! (Whew!)
This apron really reminds me of her Owl Halloween costume we had her in just two years ago. She really was such a cute little owl. I made this apron a little on the big size, but because it’s so big, it will be with her for years to come.
The neck and back ties are for easy adjustment so that we can adjust those as she gets older.

I had a lot of fun creating this pattern, and I am looking forward to seeing what super fun colors and ideas others come up with when using it. Make sure you also grab the free printables here, here, and here for the My First Recipe Book that go with this tutorial. Ready for some “Glamour Shots”?
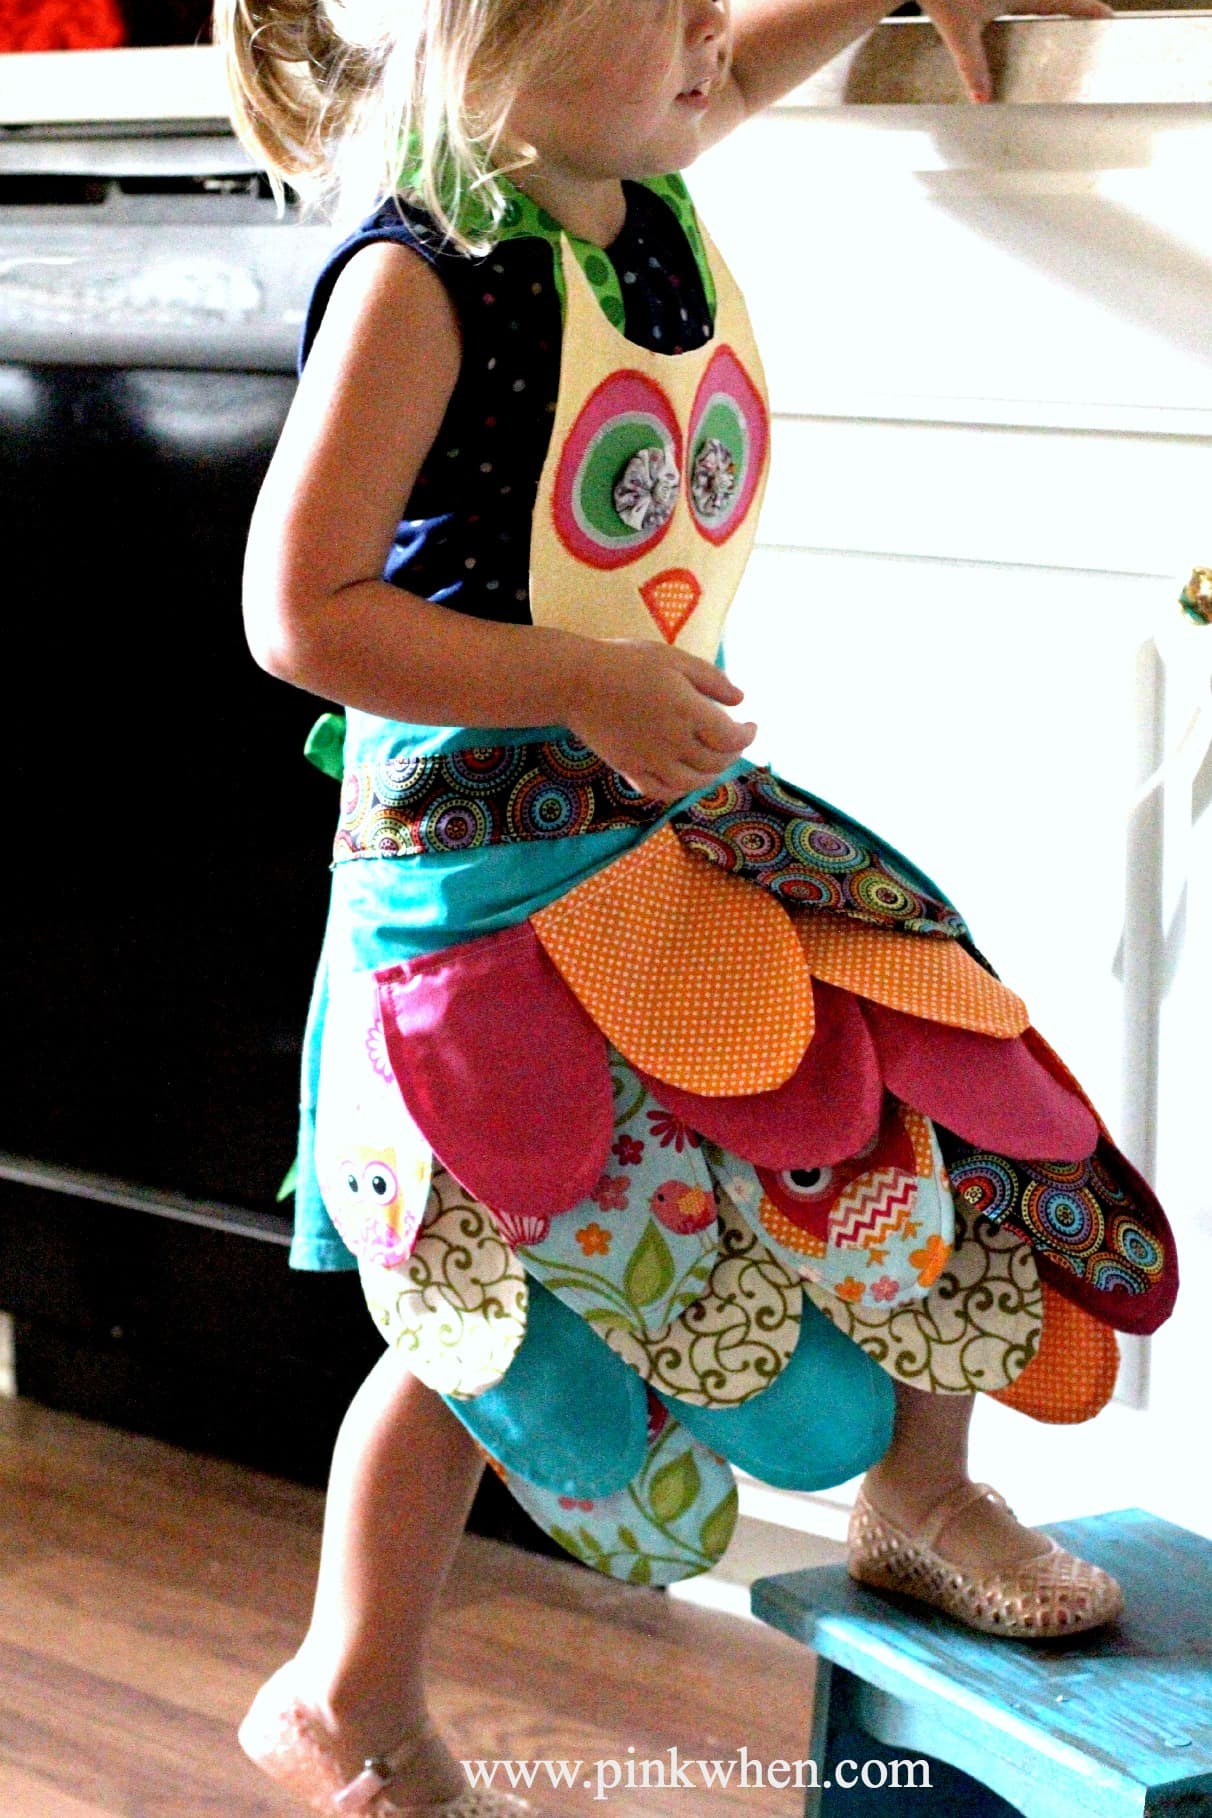
She’s like me in the kitchen, all business…

I know she has so many things cooking in that little brain of hers…sometimes she just amazes me with her toddler wit!

If you notice the title of this post was My Little Owl Apron & Confession….well here is the confession. I literally just created this apron over the weekend and I can barely sew.
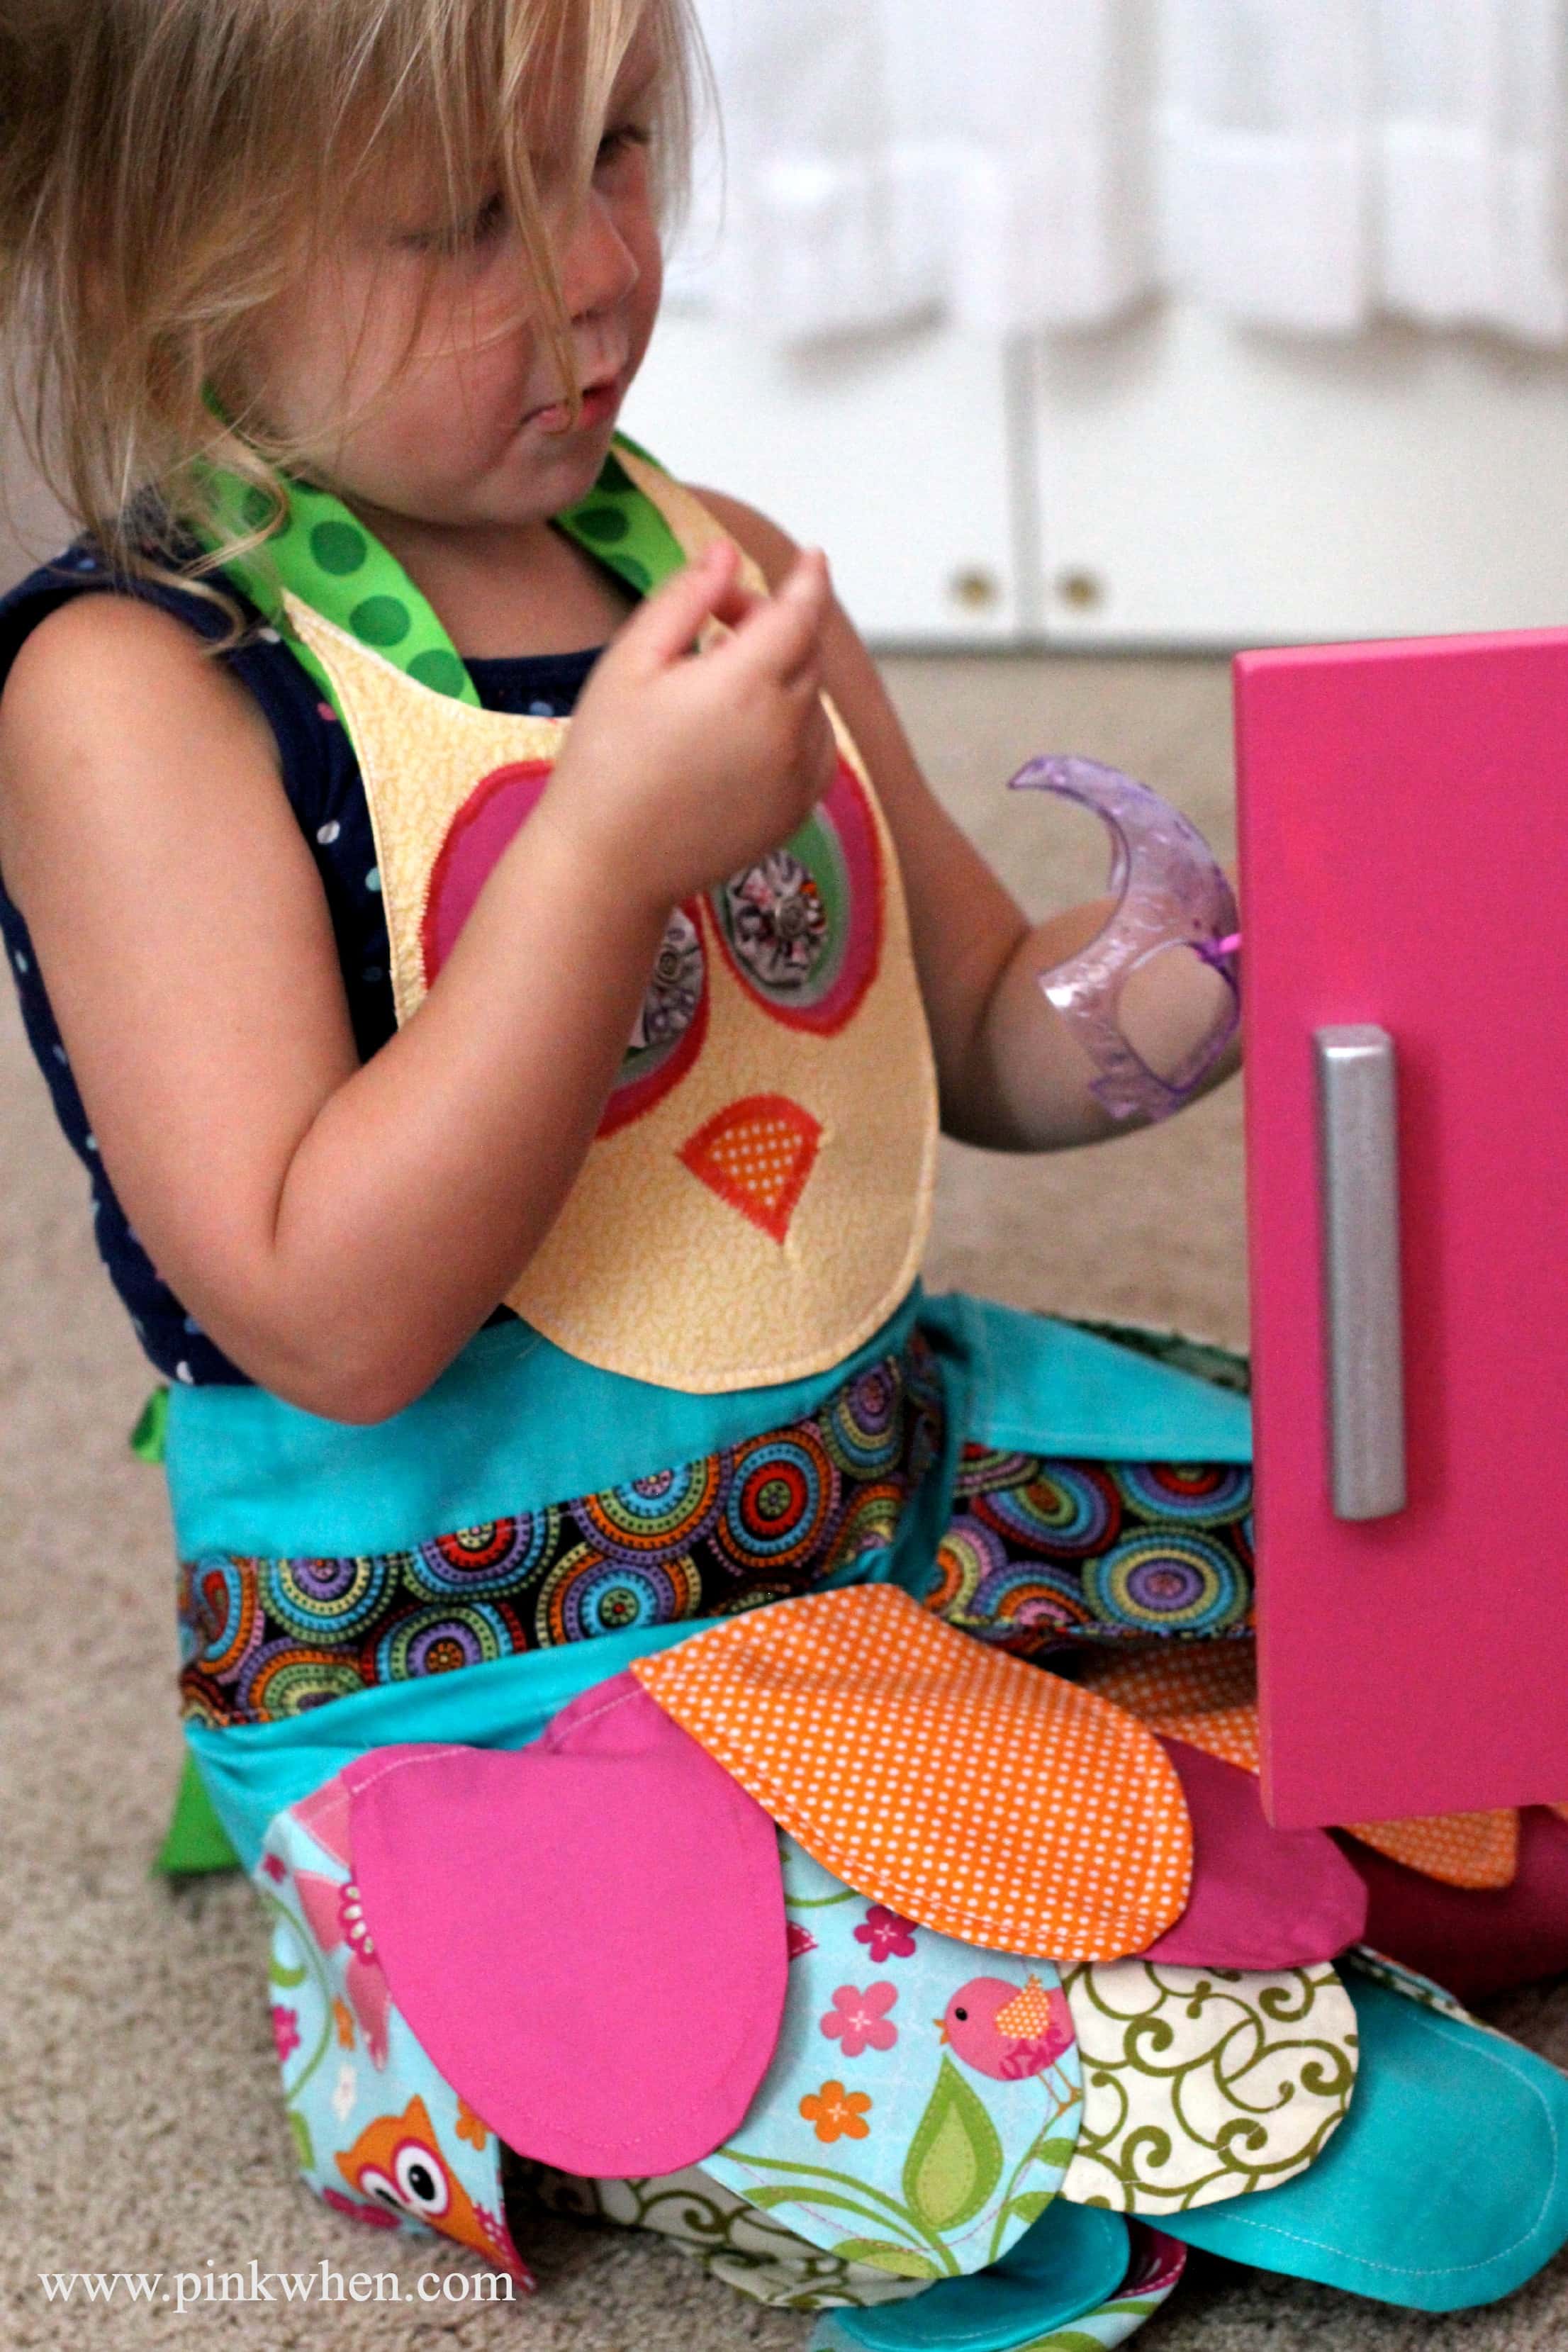
I mean, seriously, anything more than a straight line or a zig zag stitch and I am all “deer in headlights”. However, I am determined to learn to sew better, and learn more!
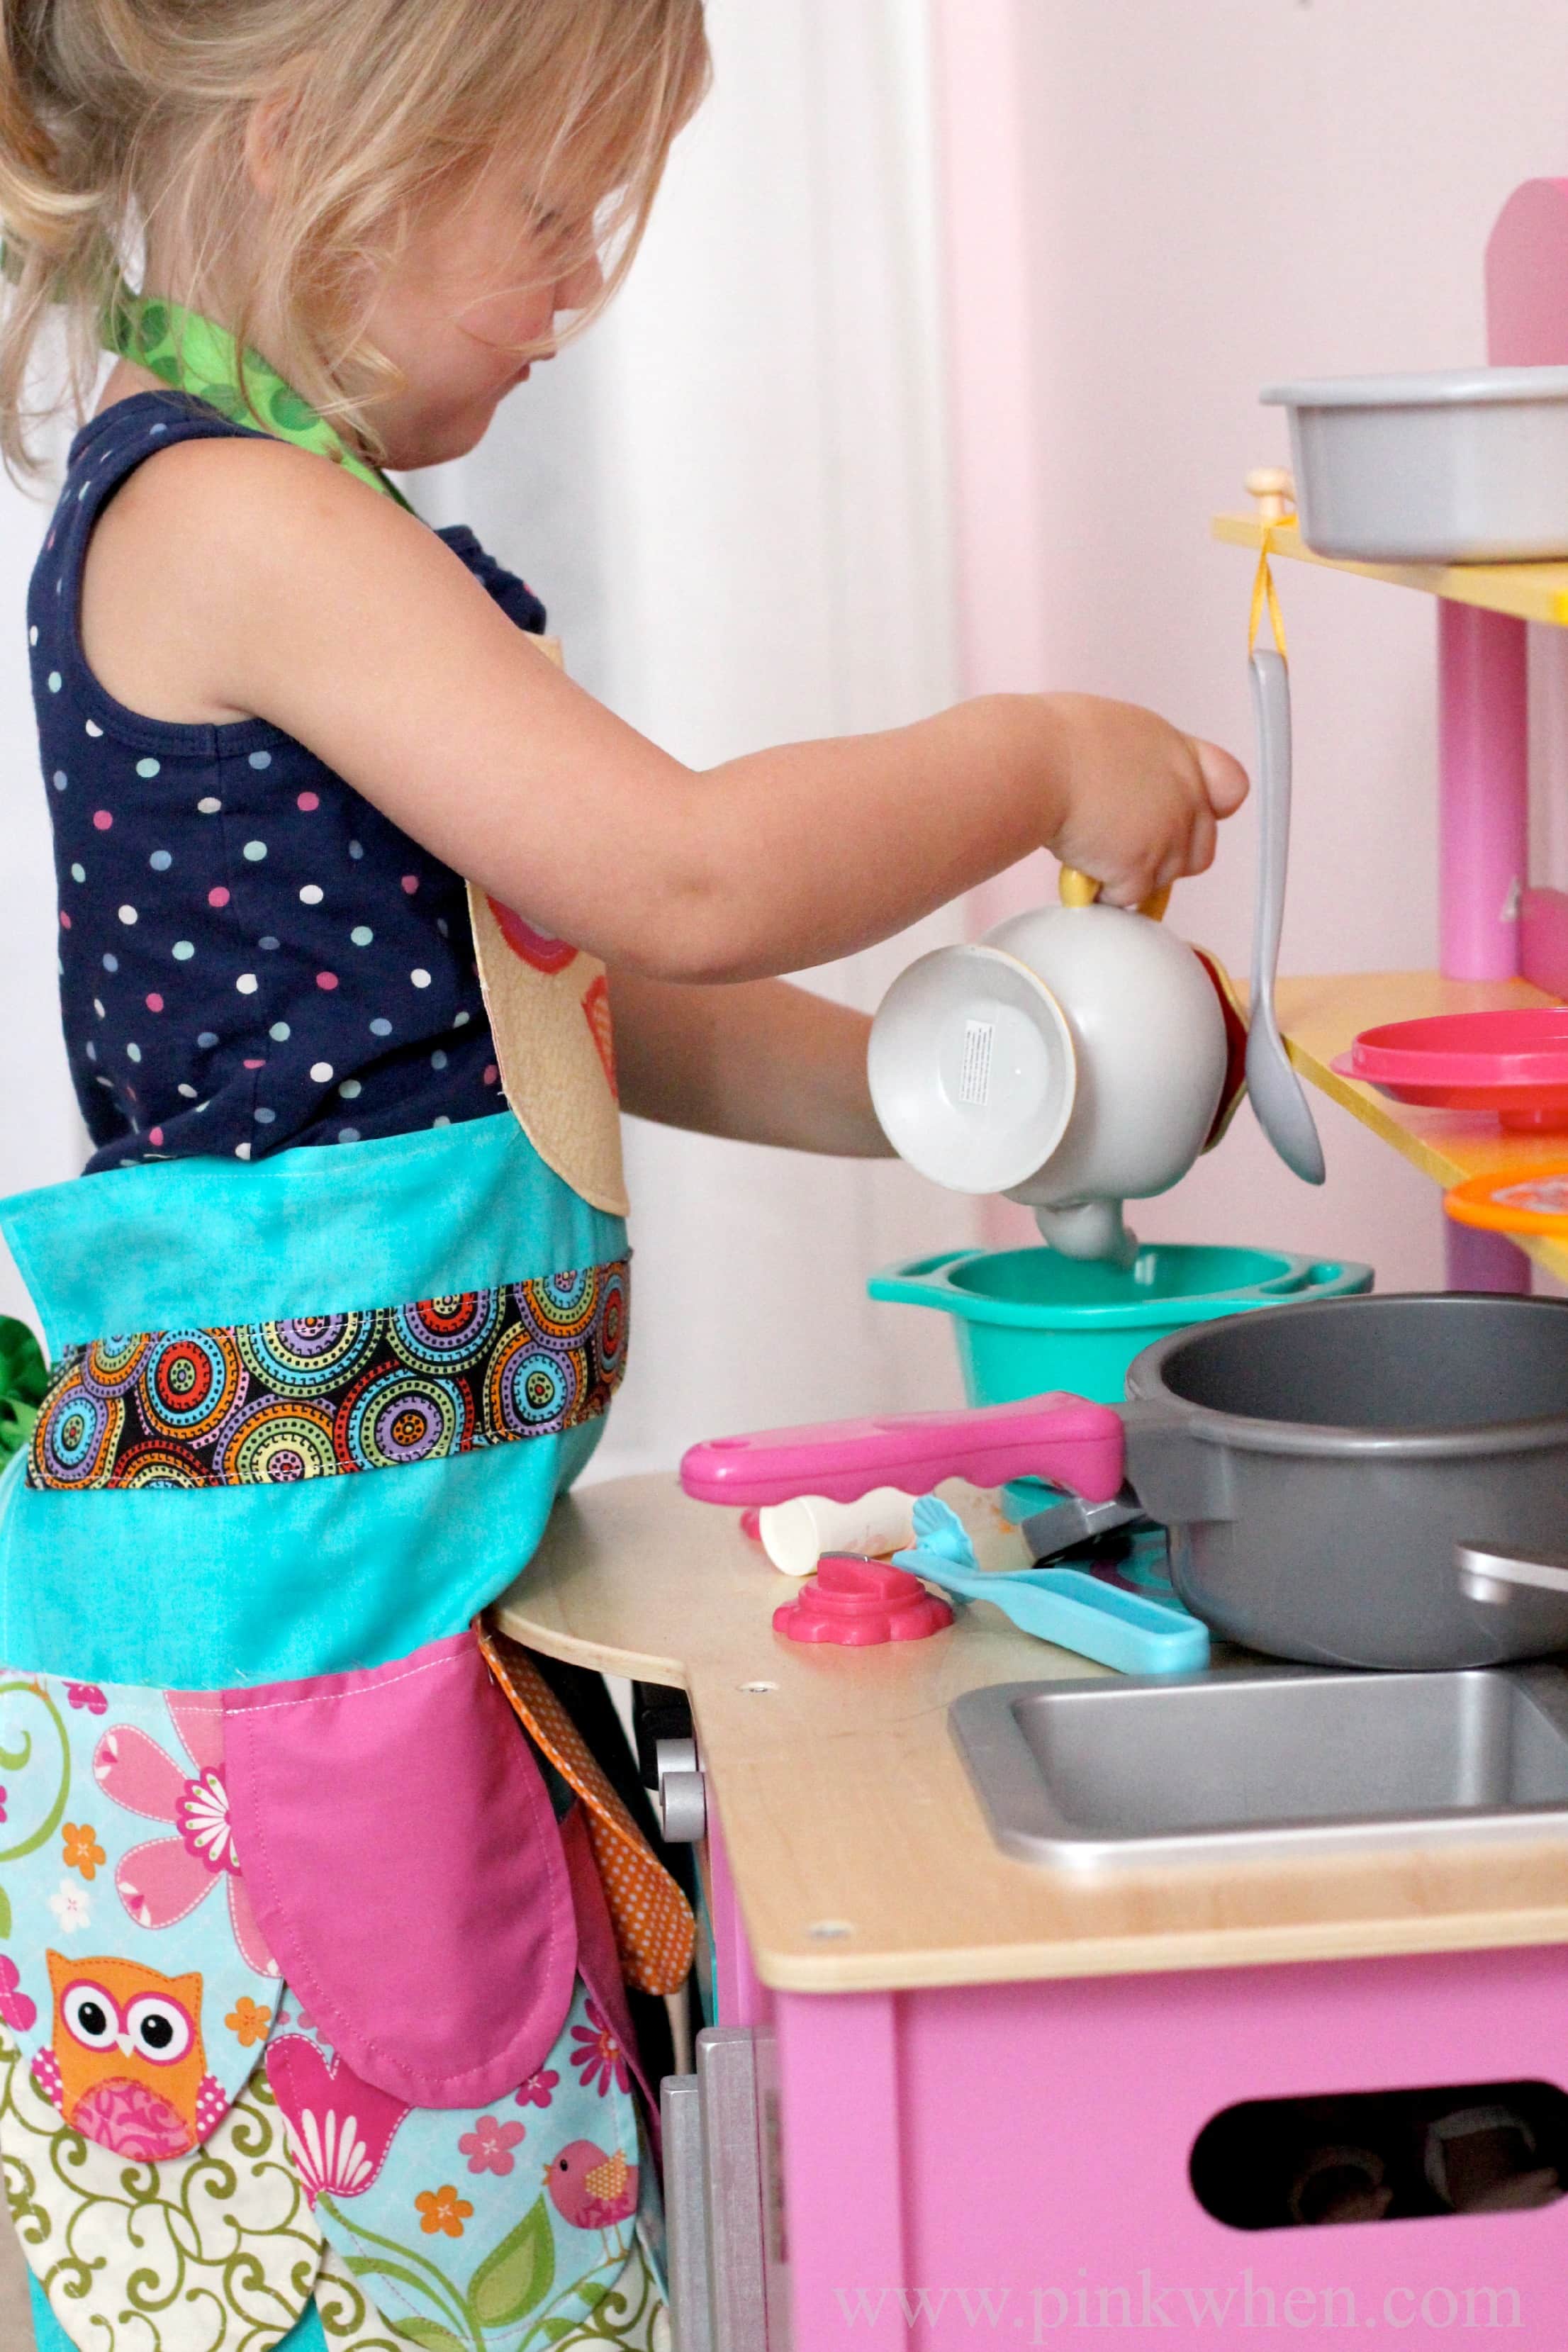
With that being said, I am making my first quilt in a couple of weeks and I am SUPER excited. I hope to create a few more fun projects like this one soon, and until then…grab this pattern and see what you can do with it! Just please don’t start selling these, it’s for personal use only.
Oh, and if you make the Owl Apron with this pattern and post, please link it back here to the original, I would love to see what you make. Thanks!
You might also like this Owl Printable.









Ah, it’s so cute! Scarlet loves to wear aprons and help in the kitchen too! You can ask her about it.
Thanks so much, I was so happy with the way it turned out. I love that she likes aprons as well, I will surely ask her about it!
That is beyond impressive if you can barely sew! I am “scared” of sewing anything but I am going to have to get over it one of these days!
Thanks Becca! It’s true, I can barely sew…and I did it, so you can, too!
This is so cute.
having a little “helper” does make everything take twice as long now but it will be worth it in about 10 or so years when she makes your birthday cakes!
That is so true!
Stopping by from Creativity Unleashed. This is adorable! When I see things like this, it makes me wish I could sew something besides pillow covers and curtains. Pinning! (going to find someone to make me this)
Thanks so much! I hope you make it, it’s super fun and actually easy to do. 🙂
How adorable! I saw this on Creativity Unleashed and had to check it out!
Thanks so much! 🙂
I love this , extreme cuteness. I invite you to share at my Thursday Favorite Things Blog Hop ( you can link up through Sat) Hugs
Is there a way to download the instructions?
Sorry Lynn, I only did the instructions in the post.
I need this in an adult size. I teach and wear owl aprons daily. So adorable.
Thanks for linking to Create Link Inspire at The Crafty Blog Stalker. You have been featured and pinned! Thank you for sharing.
–Katie, TheCraftyBlogStalker.com
Hope this doesn’t sound silly! Did you see the feathers onto the blue?
I did sew the feathers onto the blue piece. 🙂
Very cute! Thanks for the tutorial. I’d love to know the name of the owl & bird fabric that’s part of the feathers. Do you happen to have the info that’s printed along the selvedge and/or know where you purchased it? Hoping, hoping, hoping that I can get some to personalize the nursery for our daughter’s upcoming baby!
Hi Dianne! I do not know the names, I am so sorry. However, I do know where I picked it up. All of it came from my local Hobby Lobby. Hope that helps!
I love this Apron. I will make one for the oldest of my three baby boy. I am sure this is perfect for boy as well. Thanks for sharing. Greetings from Rome! Martha
Hi Martha! I think it would absolutely work for a boy as well as a girl.
Love it!!! Question, the first row of feathers, where did you start it?
I started at the bottom and worked my way up!
Alright, I am taking the plunge and I am going to do this! Very excited, but extremely nervous. On my way to the store for some fabric. But one question I did have is how did you sew the owl’s head to the body of the apron?
Yay! So excited for you. I did a straight stitch but did it around the bottom of the head so it blended in readlly well. You could also try using wonder under or stitch witch to attach.
Is it possible to get the patterns for the head and feathers another way? I can’t get them to open. I really want to make this for my niece. Thanks.
Hi Amy, you have to click on the link to get the pattern to download. I am sorry if you are having trouble downloading them. 🙁
Can I get the actual patterns for face and feathers or do I just do the math and guess?
Basically, you have to download the feather pattern, measure how wide and long you want your Apron to be on the bottom, and then place the number of feathers onto the Apron as you would like (before any sewing). Technically, you have to do “the math” because what I think looks good, you might not like. For example, you may want more or less feathers, and that will all be dependent on how wide your apron will be. Sorry it wasn’t clearer. I have seen a lot of these made and they are all different because of the sizes. It’s also a good idea to place your feathers and pin them like I did before you just start sewing. I always want to see what it’s going to look like ahead of time. Hope that helps!
OOPS! I’m working in a new program and a different highlighting colour is used in “getting the materials together. My apologies!
Hello Jennifer,
So adorable Owl Apron kids. But I am curious what about Adult Owl Apron? I already printed out for kid Owl apron. I plan to make for my family and friends too. I want to different materials seem cute or mix -n- match or funny something. I like that. So, I still consider more crafts and sewing are different seem new. I love this and love crafts and sew, etc too.
To make for an adult, just make a little larger version of the bottom piece where you add cut and create the feathers. Hope that helps!
Hi Jennifer, Love the Owl apron. My friend, an adult wants me to me her one. But I can’t figure out how to download the pattern.
I’m computer challenged and have problems getting things to download handprint. Can you help?
Thanks.
hi Elaine! Just click on the “highlighted” link in the post. It will take you to the page to download and print out the pattern. Hopefully that helps! We love this Apron….I can’t tell you how many offers we have had from people who see it and want to purchase it once they realize you can’t buy them and have to make them. 🙂
I love this pattern/idea! I think when I make it I may turn some of the “feathers” on the top row into pockets. 🙂
I love this! I wish I had found it before I made their aprons for Xmas gifts. Looks like I’ll be making two more!
Too cute. Thank you for the wonderful instructions. If i make this apron they will be easy to follow.
hi, brilliant concept and for someone who has not sewed much, a very good job, keep it up x
Hi Jennifer,
When printing the owl feathers, face, nose and eyes, do you recommend printing at “Actual” size or “to fit” the page?
Just bought fabric for this on the weekend for my best friends’ daughter. So excited to make it for her! Thank you for your help,
Michelle
I think I would print actual size. I am so excited you are making this. Tag me on Instagram or on Facebook when you are done, I would love to see the finished apron!
I finished! Great pattern. I don’t have facebook or instagram, but I did upload my own picture to Pinterest and link back to this tutorial. https://www.pinterest.com/pin/373517362824503151/ Thank you!
What a great idea. My kids would have loved to have one of these aprons.