I’m so excited to be here today and to be a new contributor to PinkWhen and share with you my diy refashioned headboard. Thank you Jen for having me contribute to your wonderful blog for the next year. My name is Ruthie and I blog over at Refashionably Late. I love making old things look pretty again and refashioning furniture! I’m anxious to “meet” you all and share with you the progress of our home!
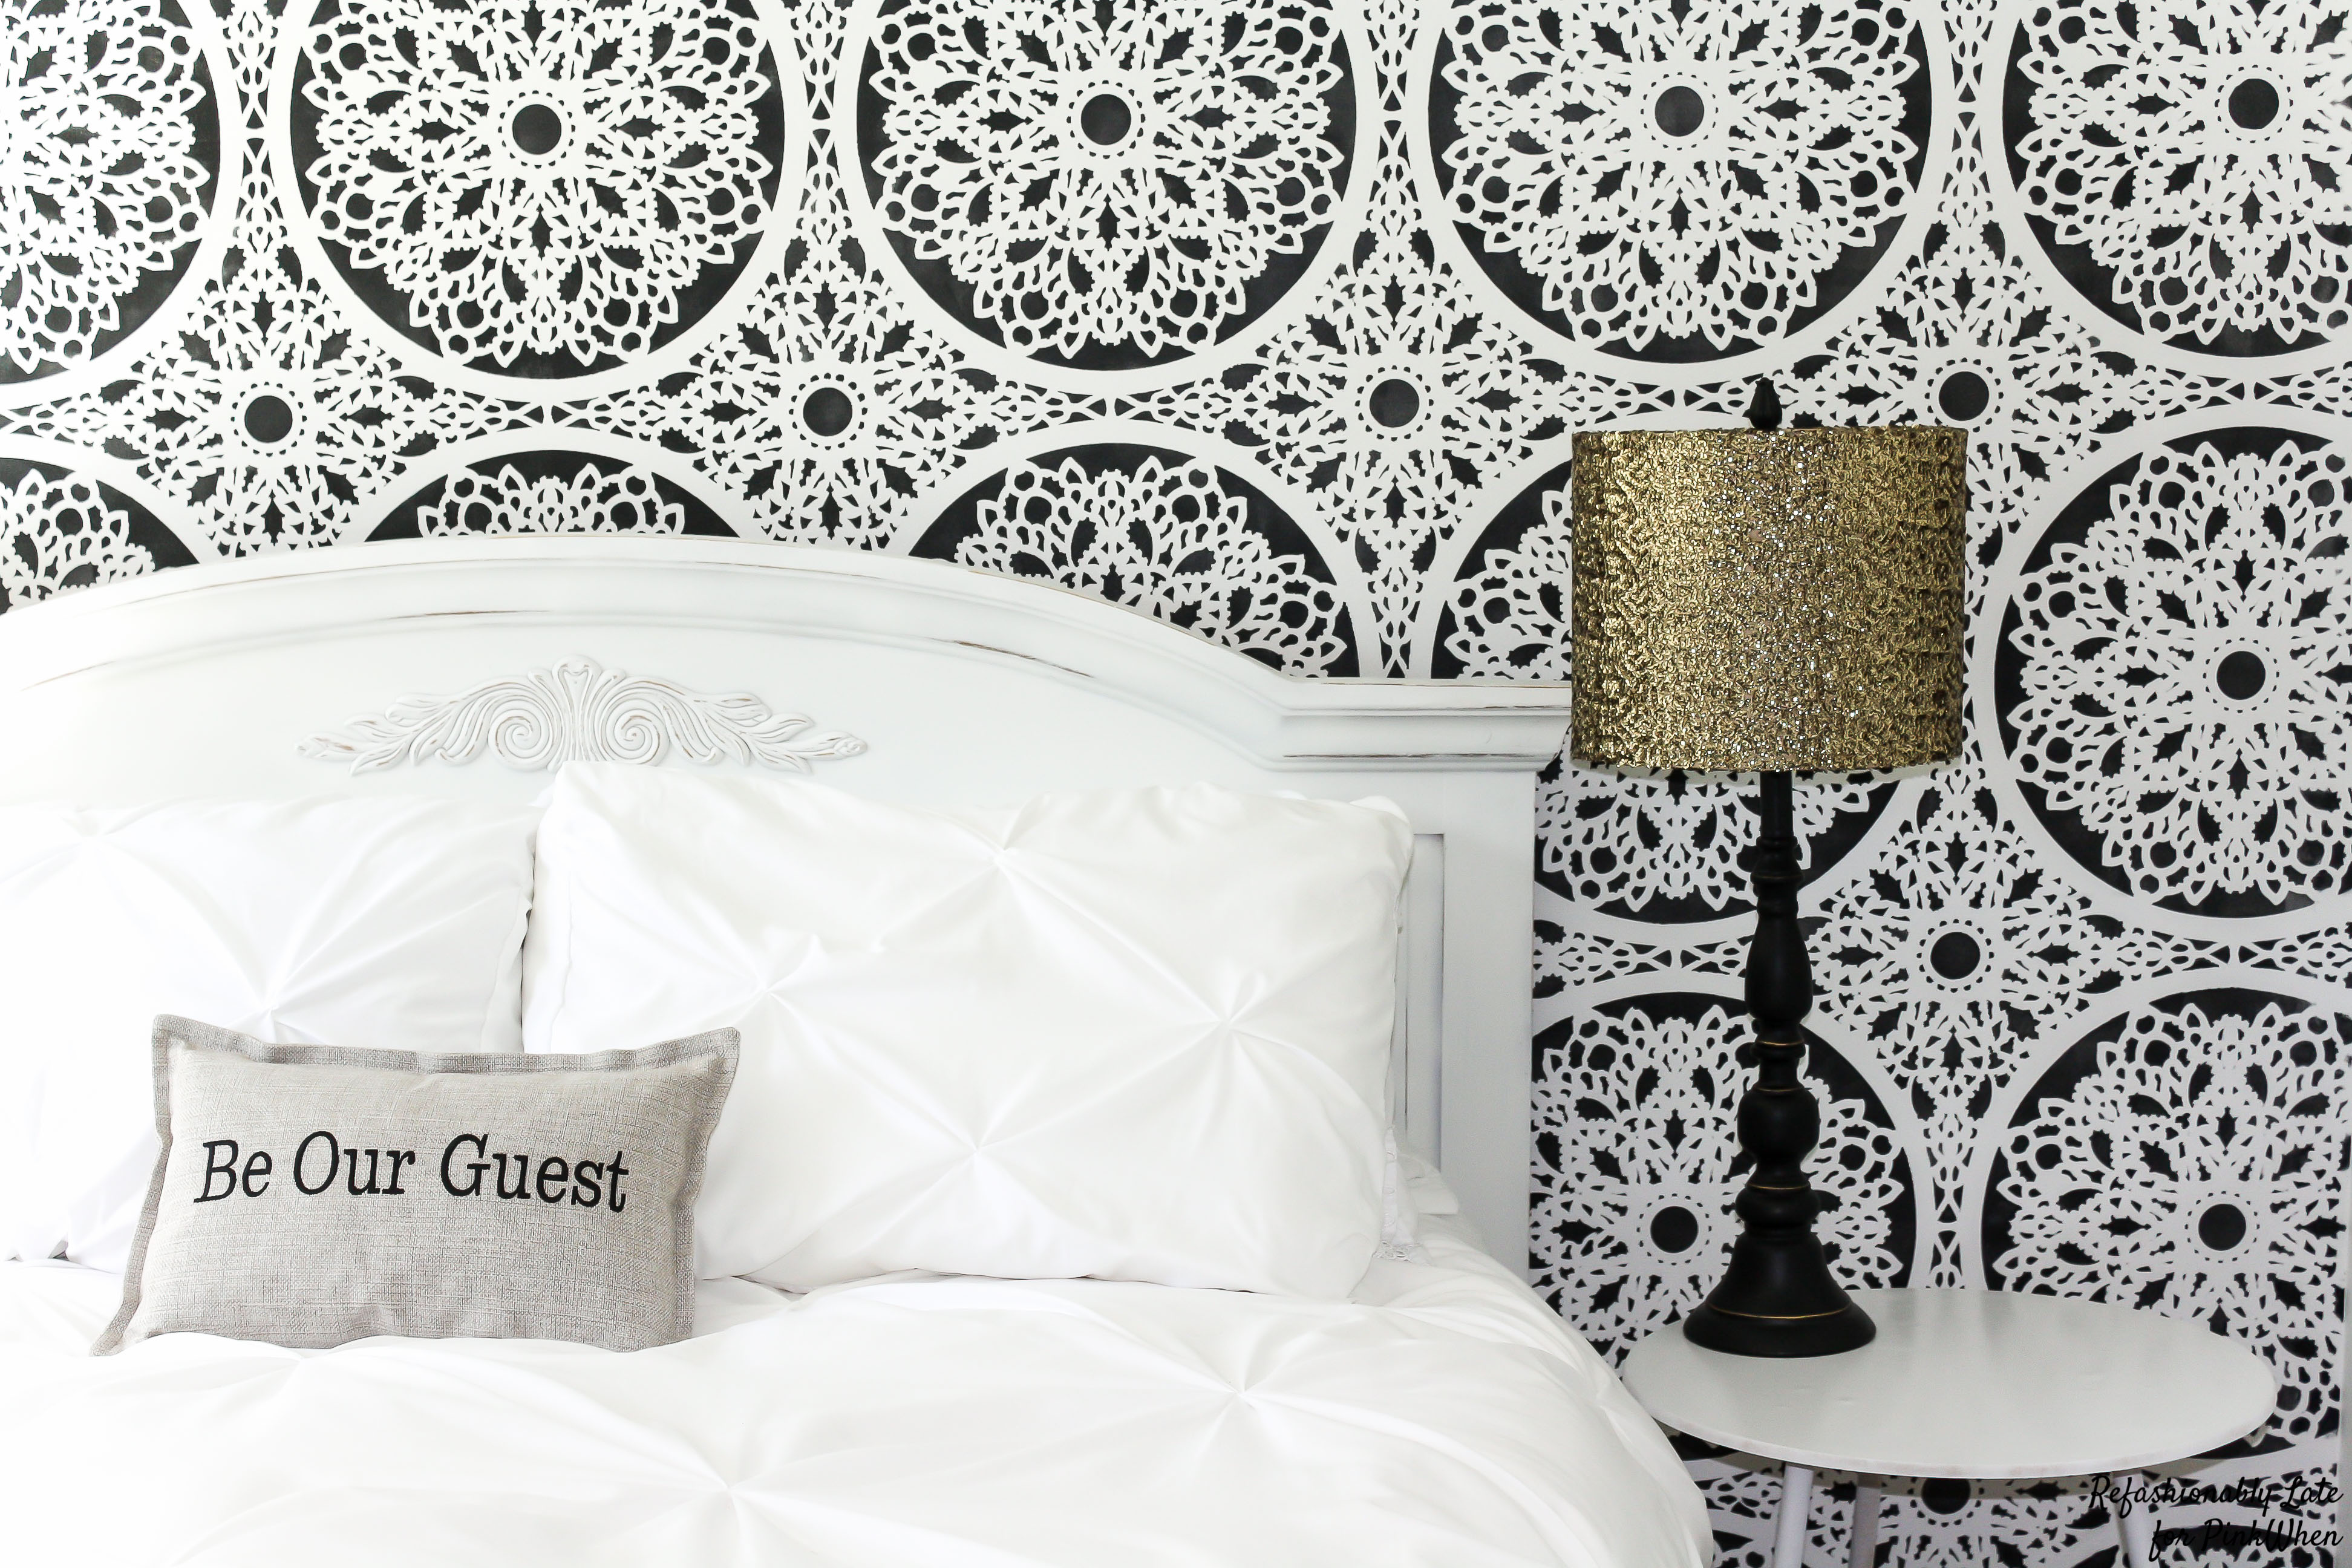
How to Refashion an Old Headboard
Today I’m going to share with you a transformation I made for my guest room. The room went from boring, mismatched furniture and decor to beautiful and elegant. I shared a lot of the process of the room transformation within those 6 weeks but I haven’t shared how I redid this old headboard I scored on Craigslist for $20!

I was so excited to give this wooden beauty a facelift. I started by sanding the headboard so that the primer would adhere nicely. The baseboard had a chunk of wood missing so I had to perform a little surgery. I used some wood filler and scooped it onto the area of the wood. It didn’t need to be perfect as I was going to sand it down and make it even when it dried. Just a reminder, the thicker the wood filler is the longer it takes to dry.
DIY Refashioned Headboard

Refashioned Headboard Tutorial
I was a little impatient to wait for the wood filler to dry so I started spray painting the headboard while avoiding the wood filler area. After it was dry I evened out the wood filler and spray painted that area. Spray paint is a great, easy and quick fix for furniture but you do have to remember that larger areas are harder to cover without spray marks. I wasn’t worried about spray marks because I didn’t want the paint to look perfect and I had planned to sand it after it was dried. I gave it a good 2 to 3 coats of white spray paint and then I took sand paper and sanded around the edges and in random spots on the headboard to give it an aged look. I did not want it to look perfect, I wanted it to look weathered. A little Joanna Gaines style! 🙂 And that was that! Short and simple!

The headboard has been such a great addition to my guest room and I love having people come and visit and stay at Chateau RuPaul!

(My husband Paul and my name combined! haha)
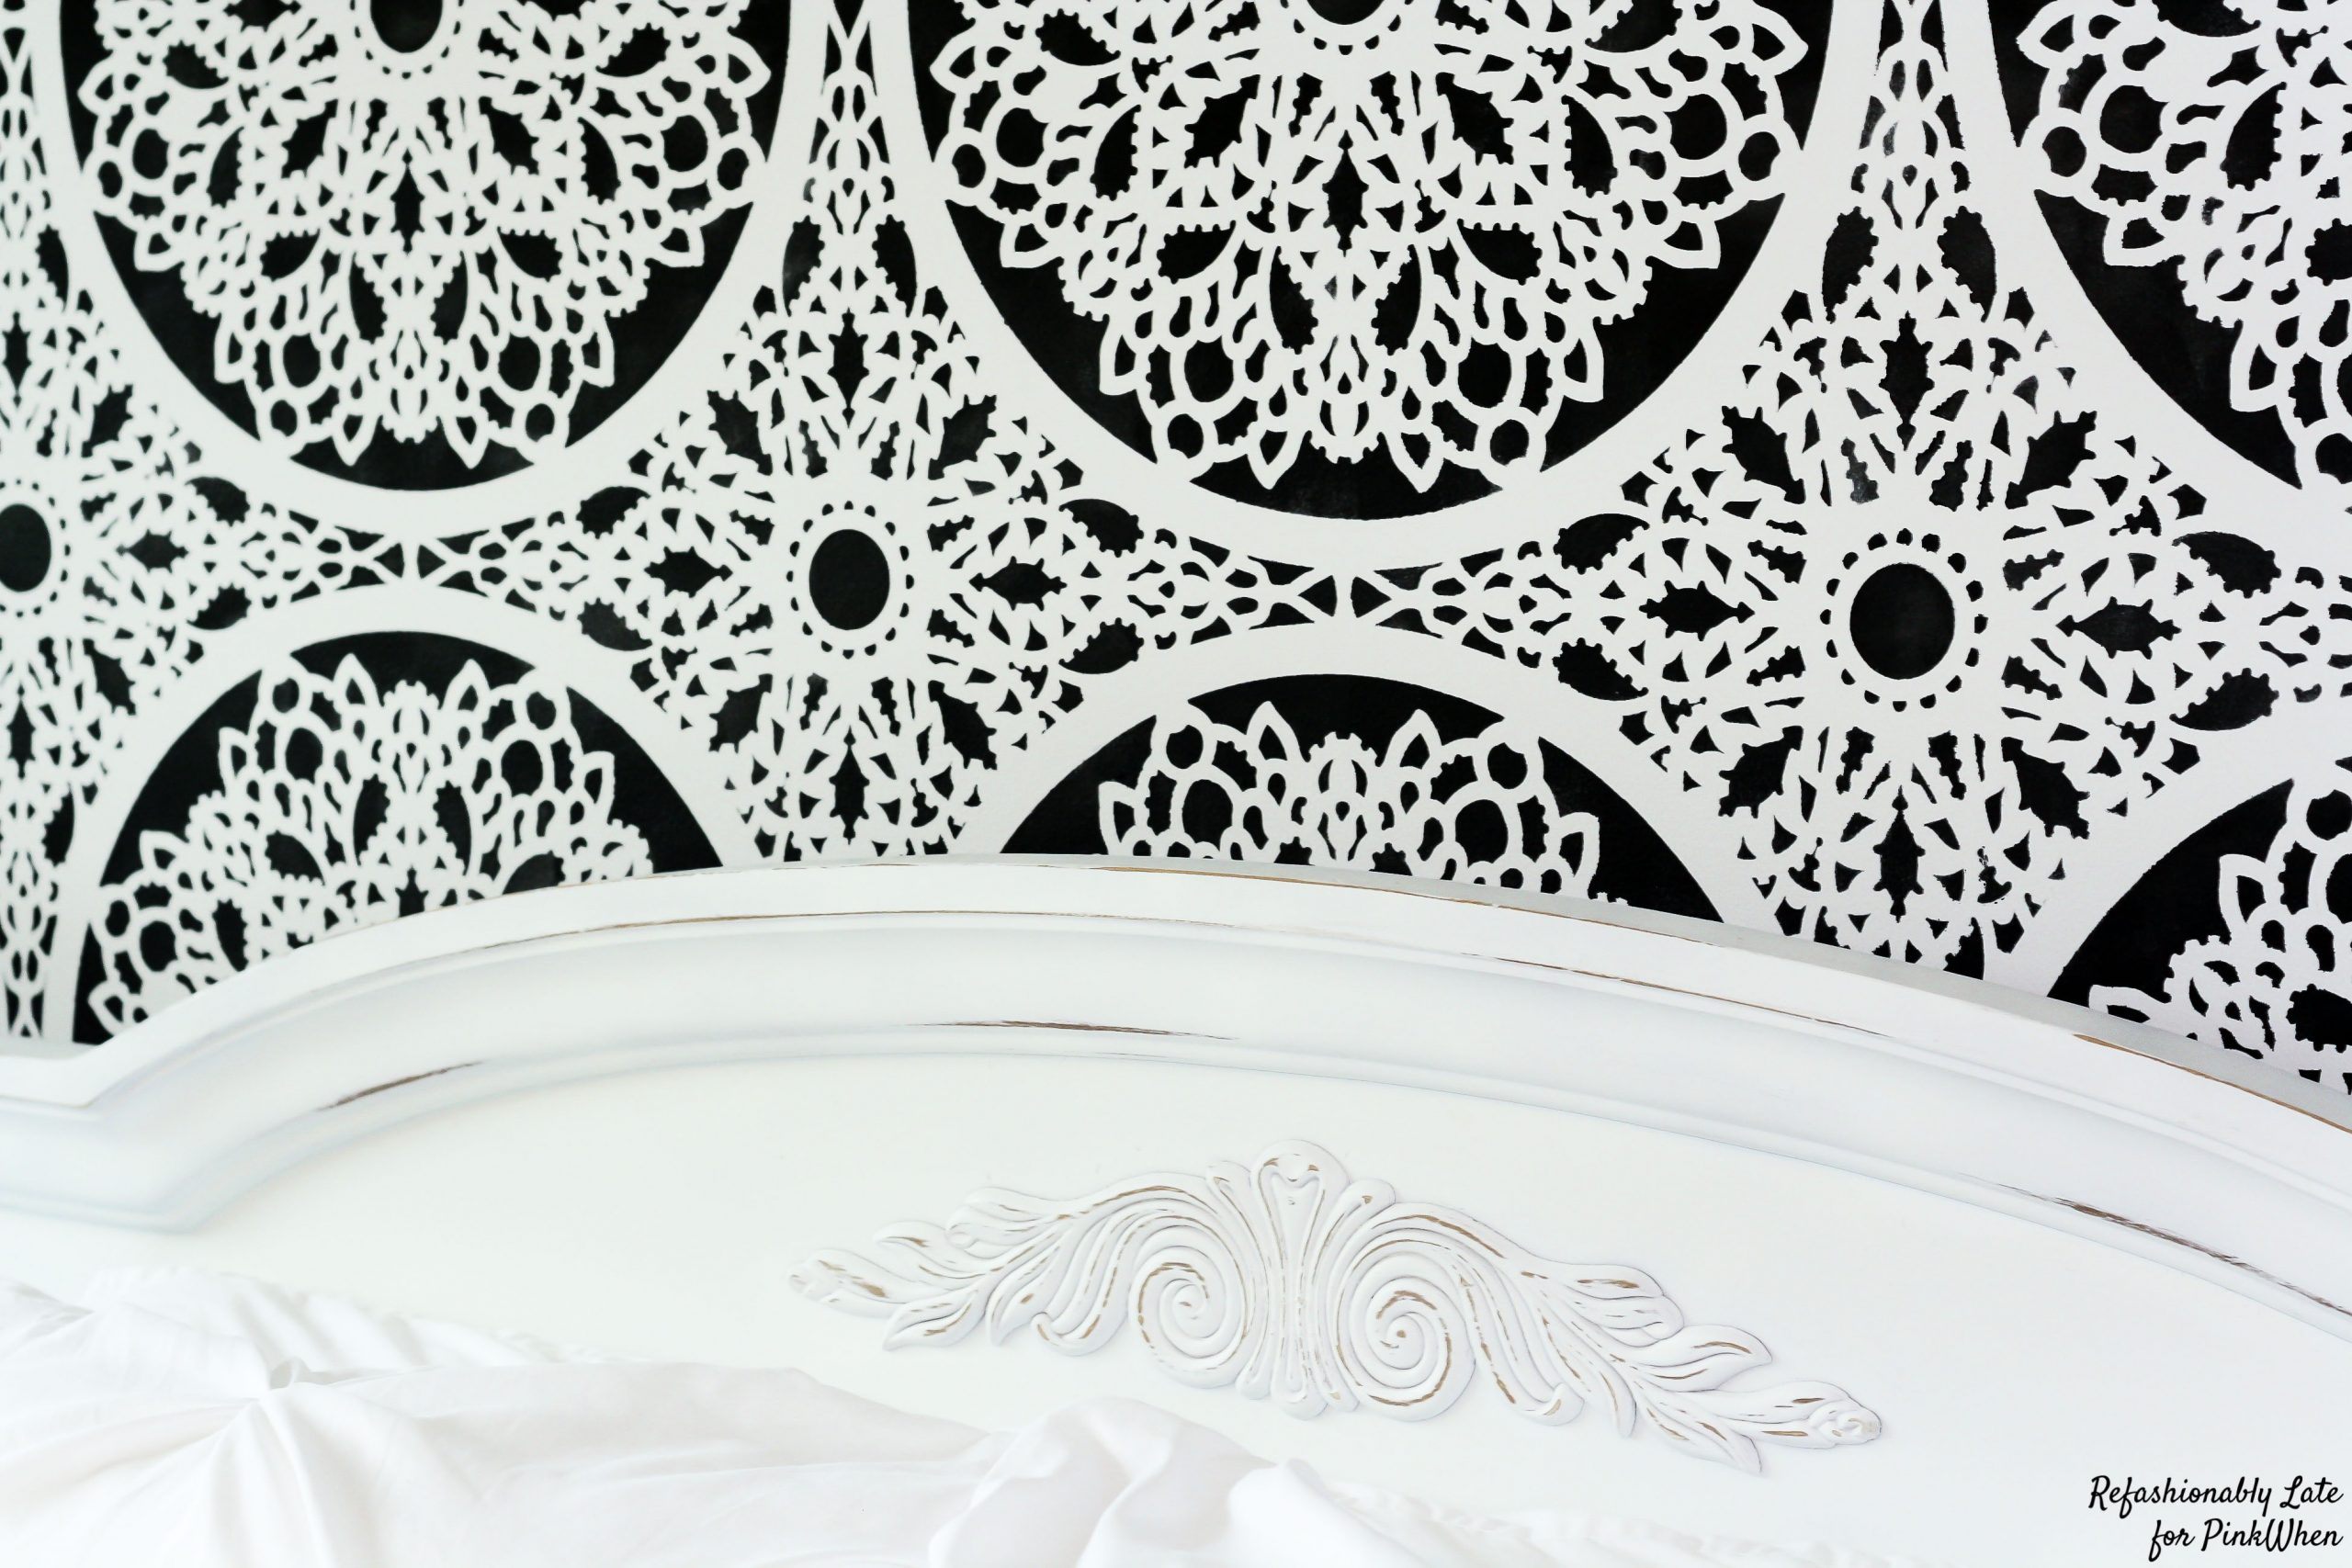
A huge transformation for just a little paint and sanding! I’m so excited to get to know you all through the next year and I would love for you to stop by and see a few of my other projects and posts.
If you are looking for more projects to conquer, check out this $20 DIY Patio Bench.
If you enjoyed this project, you might also enjoy:




Leave a Reply