I have been meaning to make these for a while now, and today I FINALLY broke out the sewing machine so I could share this fun Easter Bunny Goodie bag. This is such an easy little tutorial, and as long as you can work with a pair of scissors and make a straight stitch on a sewing machine (technically, these are small, so you could hand sew them!) you will be fine.
I love the way this little bunny turned out, and I know a lot of little kiddos who will be excited to see these in their Easter baskets in a few short weeks.
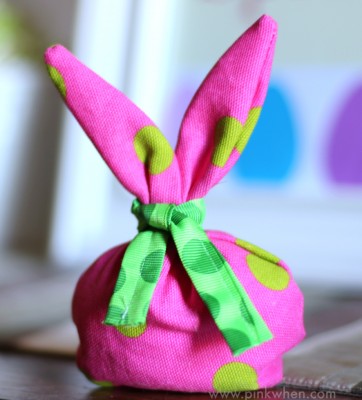
How to Make an Easter Bunny Goodie bag
For this project you will need just a few things on hand:
- the fabric of your choice
- sewing supplies
- treats
- ribbon or twine
- needle and thread
Step 1: The first thing you need to do is grab your fabric and fold it in half. Smooth it out and make sure you have all of the wrinkles out.
Step 2: After you have your fabric folded go ahead and start to cut a figure 8 in the fabric, starting at the bottom of the fold. When you get up to the top, stop before you finish.
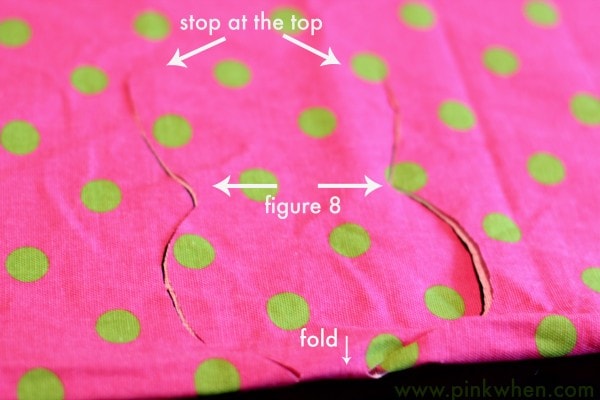
Step 3: At the top of your figure 8, go ahead and cut in your ears for the rabbit.
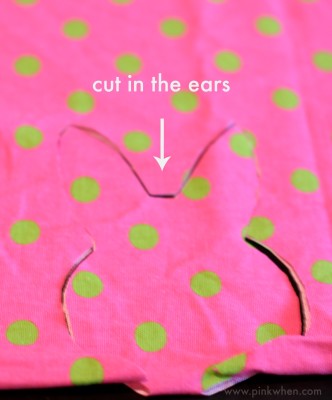
Step 4: Once you have your fabric cut away, you should be able to open up your fabric and it should look like this.
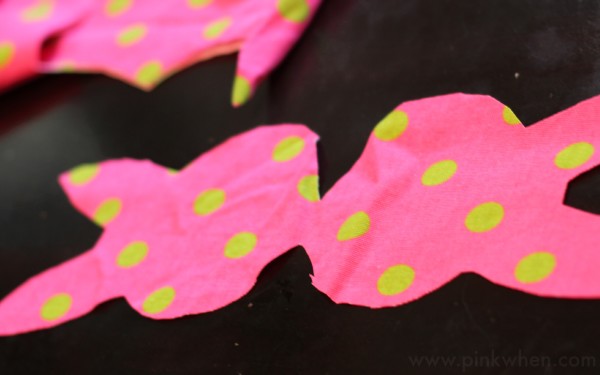
Step 5: Fold the fabric in the opposite direction so that you now have right sides together.
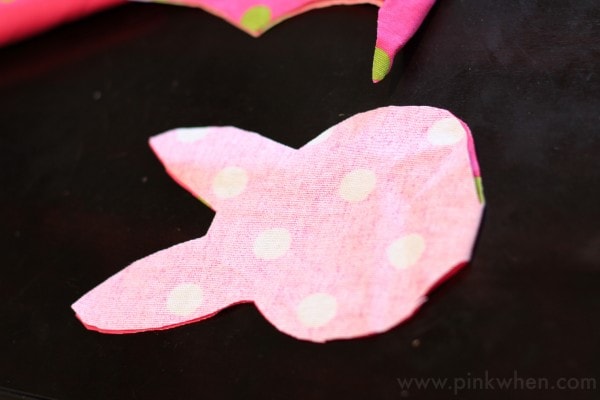
Step 6: Sew (or hand sew) all the way around the rabbit, leaving about a 2-3 inch opening for your candy.
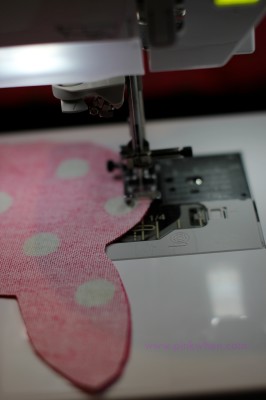
Step 7: Turn the rabbit right sides out, and carefully push the edges to make the ears pop out. Stuff your rabbit with goodies, and then carefully hand sew the remaining bottom portion of the bag closed.
Step 8: Add your ribbon tie and you are all done!
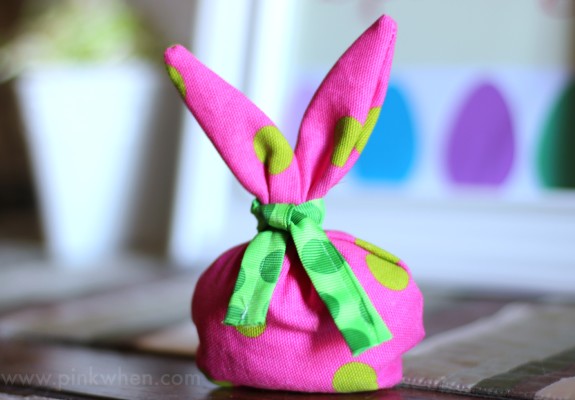
Easy Easter Bunny Goodie Bag Tutorial
These really are quick, and super easy to make. I think I made this Easter bunny goodie bag from start to finish in less than 15 minutes.
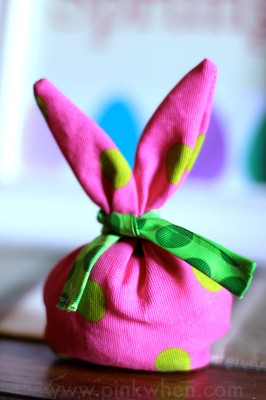
I hope you enjoyed this easy Easter Bunny Goodie Bag and give this project a try!
You might also enjoy:


This treat bag is amazing! Pinned!
Thank you Marilyn! 🙂
Very cute! I want one too. I’m a fan of the bunny ears.
Haha! I know, aren’t they cute? I love them.
Very cute! Too bad I won’t be seeing any of our little nieces and nephews for Easter…those would be perfect!
I don’t get why you would sew it closed. How does the receiver open the bag to get the treats out?
Hi Becca! That’s a great question. You would close the bag by hand sewing so that the gift/treats do not fall out of the bottom. It’s hand sewn, so when the little ones go to open it, it is easy to open.
I tried it without stitching them closed and it worked! I left the space between the ears open and tucked in my treats. Then, I used ribbon to tie them closed at the ears. Also, I top stitched around the ears to make them a little more stable. I love them. Thanks for the inspiration!
That’s awesome!!! So glad you were able to modify and make it even better 🙂
This would be a great way for me to introduce sewing to my little one. It’s such a simple, but cute way for her to pass out her Easter treats.
I love the fabric . The bunny treat bags turned out really cute . Love the ears!! Pinned.
These are too cute! I have a few sewing projects I bought material for, but can’t seem to muster the energy to do. This is inspiring. Please come share what you have been up to at our Anything Goes linky party. It’s starting over later today, a bit earlier then usual for the holiday.
I loved your Tip Me Tuesday link this week. {thanks girl!} Would you like Tip Junkie to feature your blog post to over 200,000 creative women? If you upload this blog post into your Tip Junkie craft room using at least 2 images, 2 steps, and blog post URL then I can easily feature it in my RSS feed, home page, and all my social networks instantly. {squealing with delight} ~ Laurie {a.k.a. the Tip Junkie}
http://www.tipjunkie.com/post/how-to-add-a-craft-room-project-on-tip-junkie/