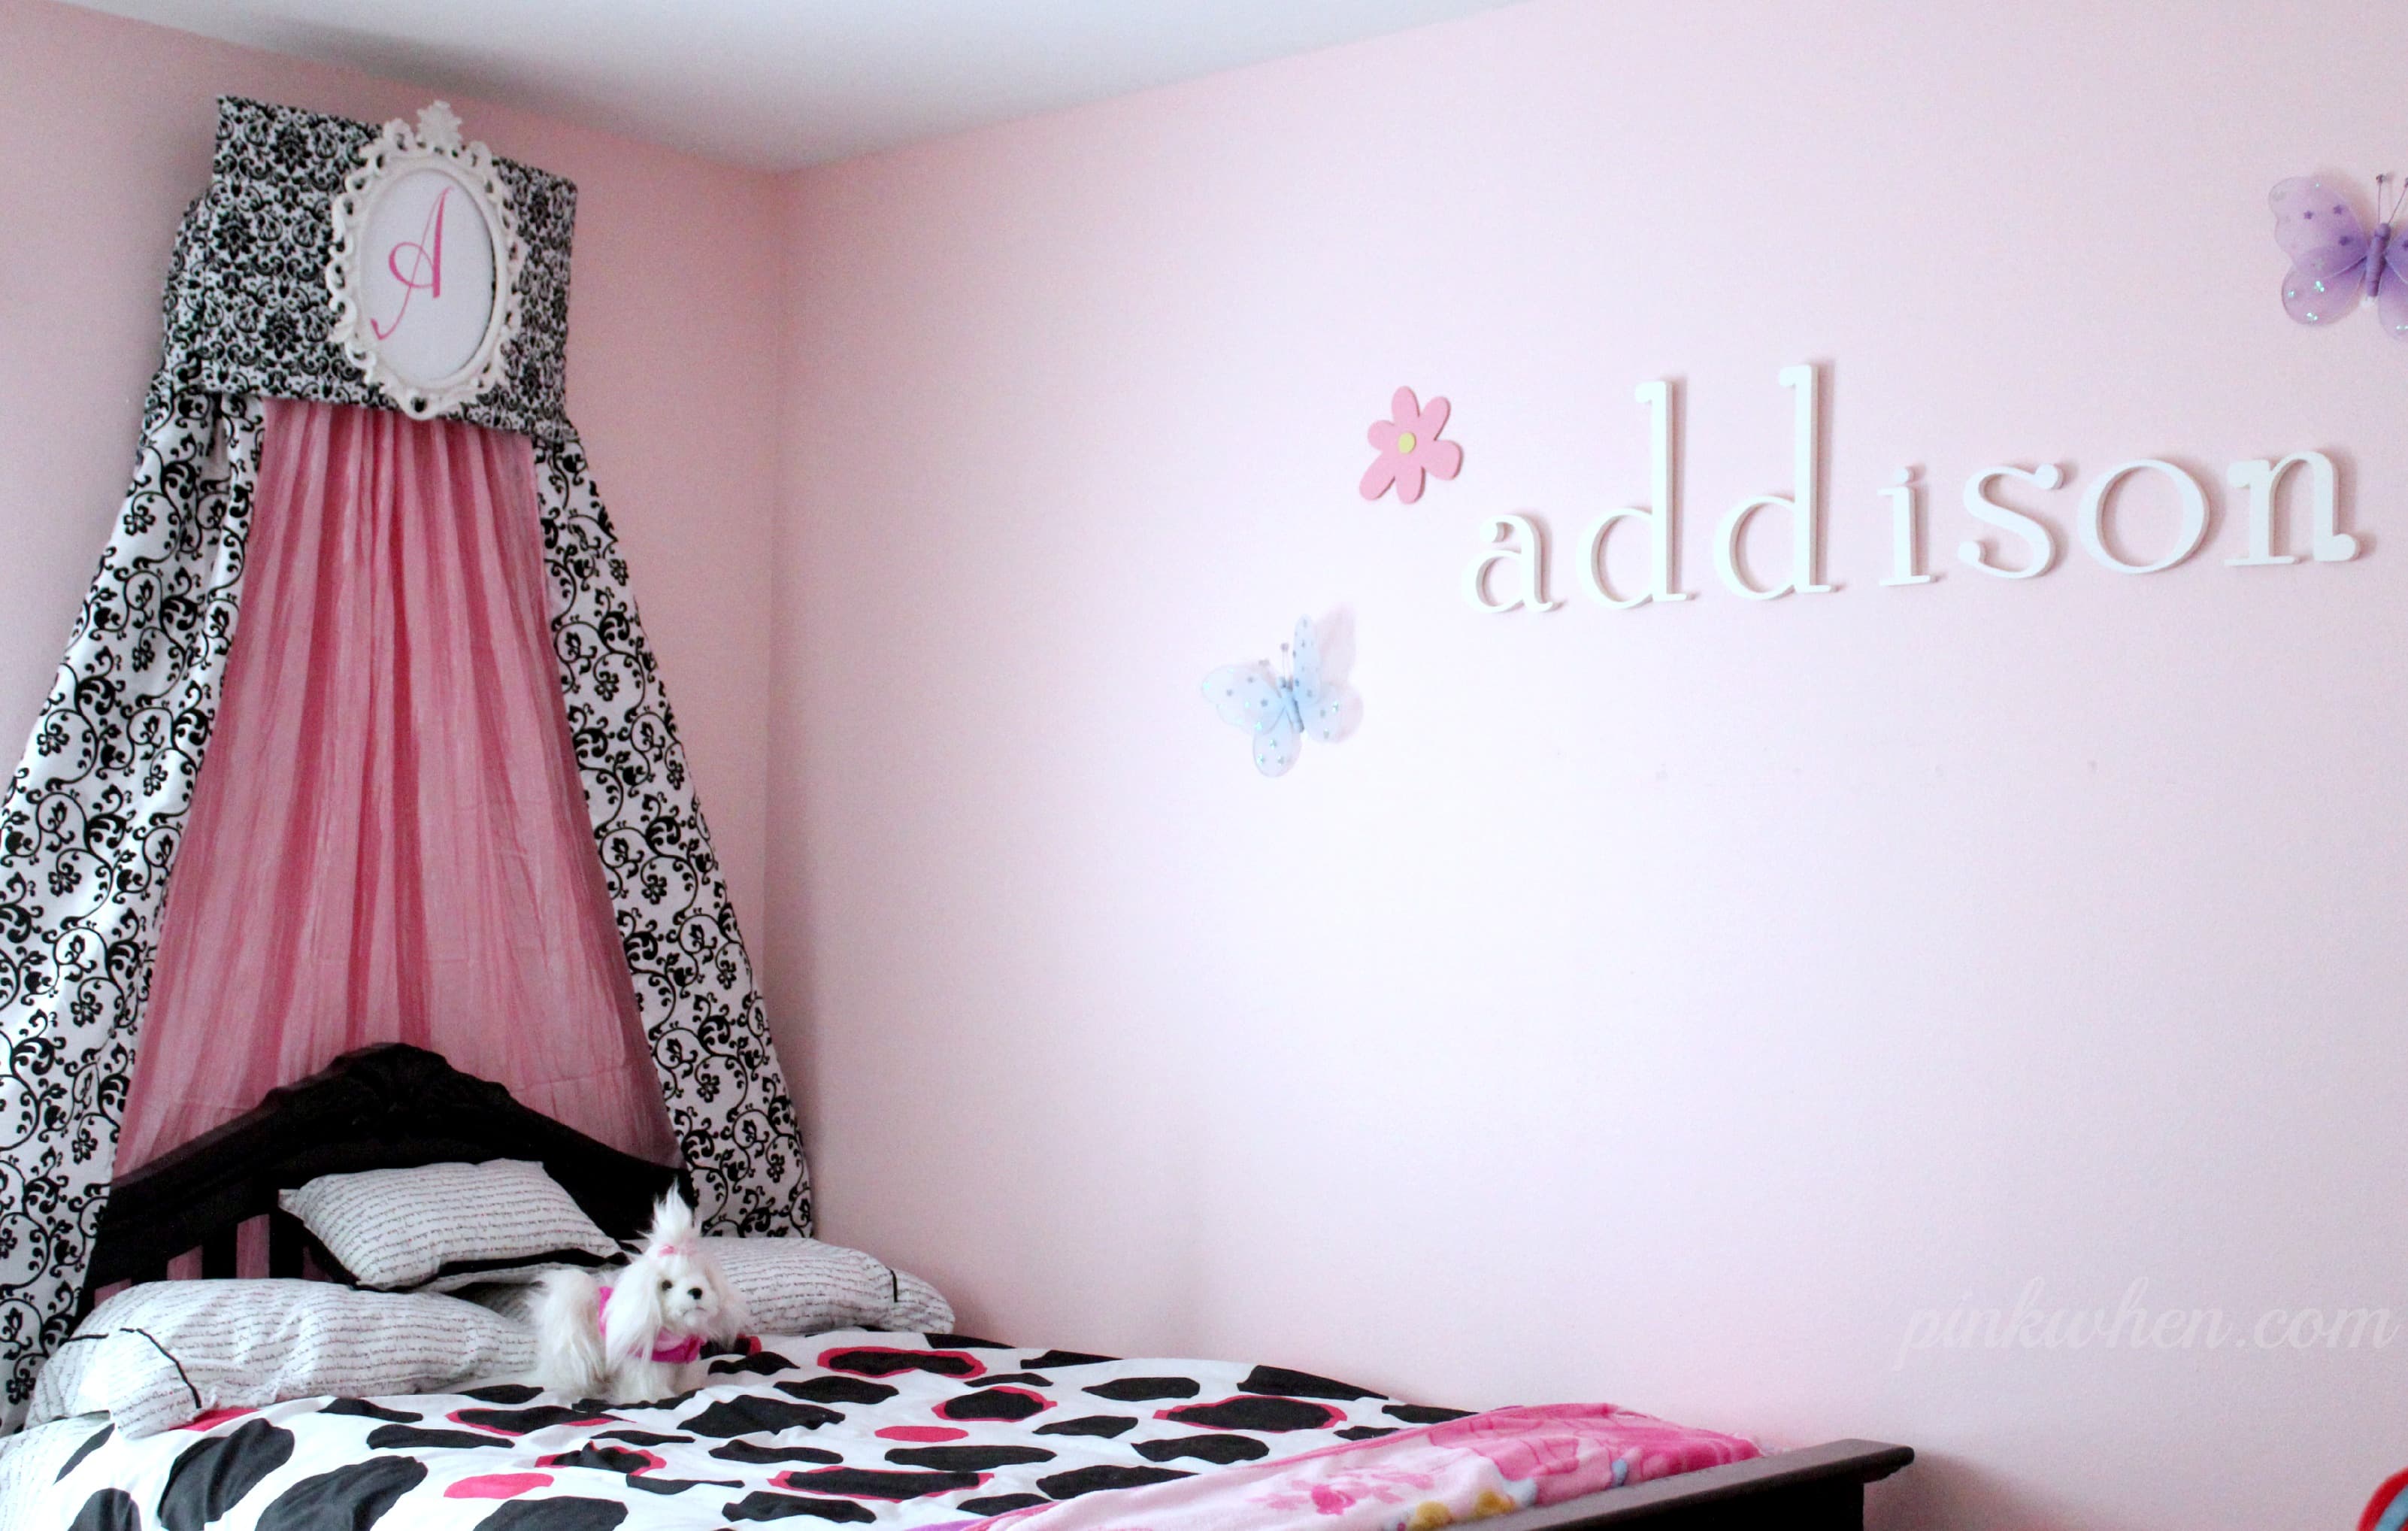
I loved making this bed cornice. It made such a HUGE difference in my daughters room, drawing the eye up and making the room look even larger than it is. It’s amazing how something can really change the entire room. I also loved the fact that this was a NO SEW project.
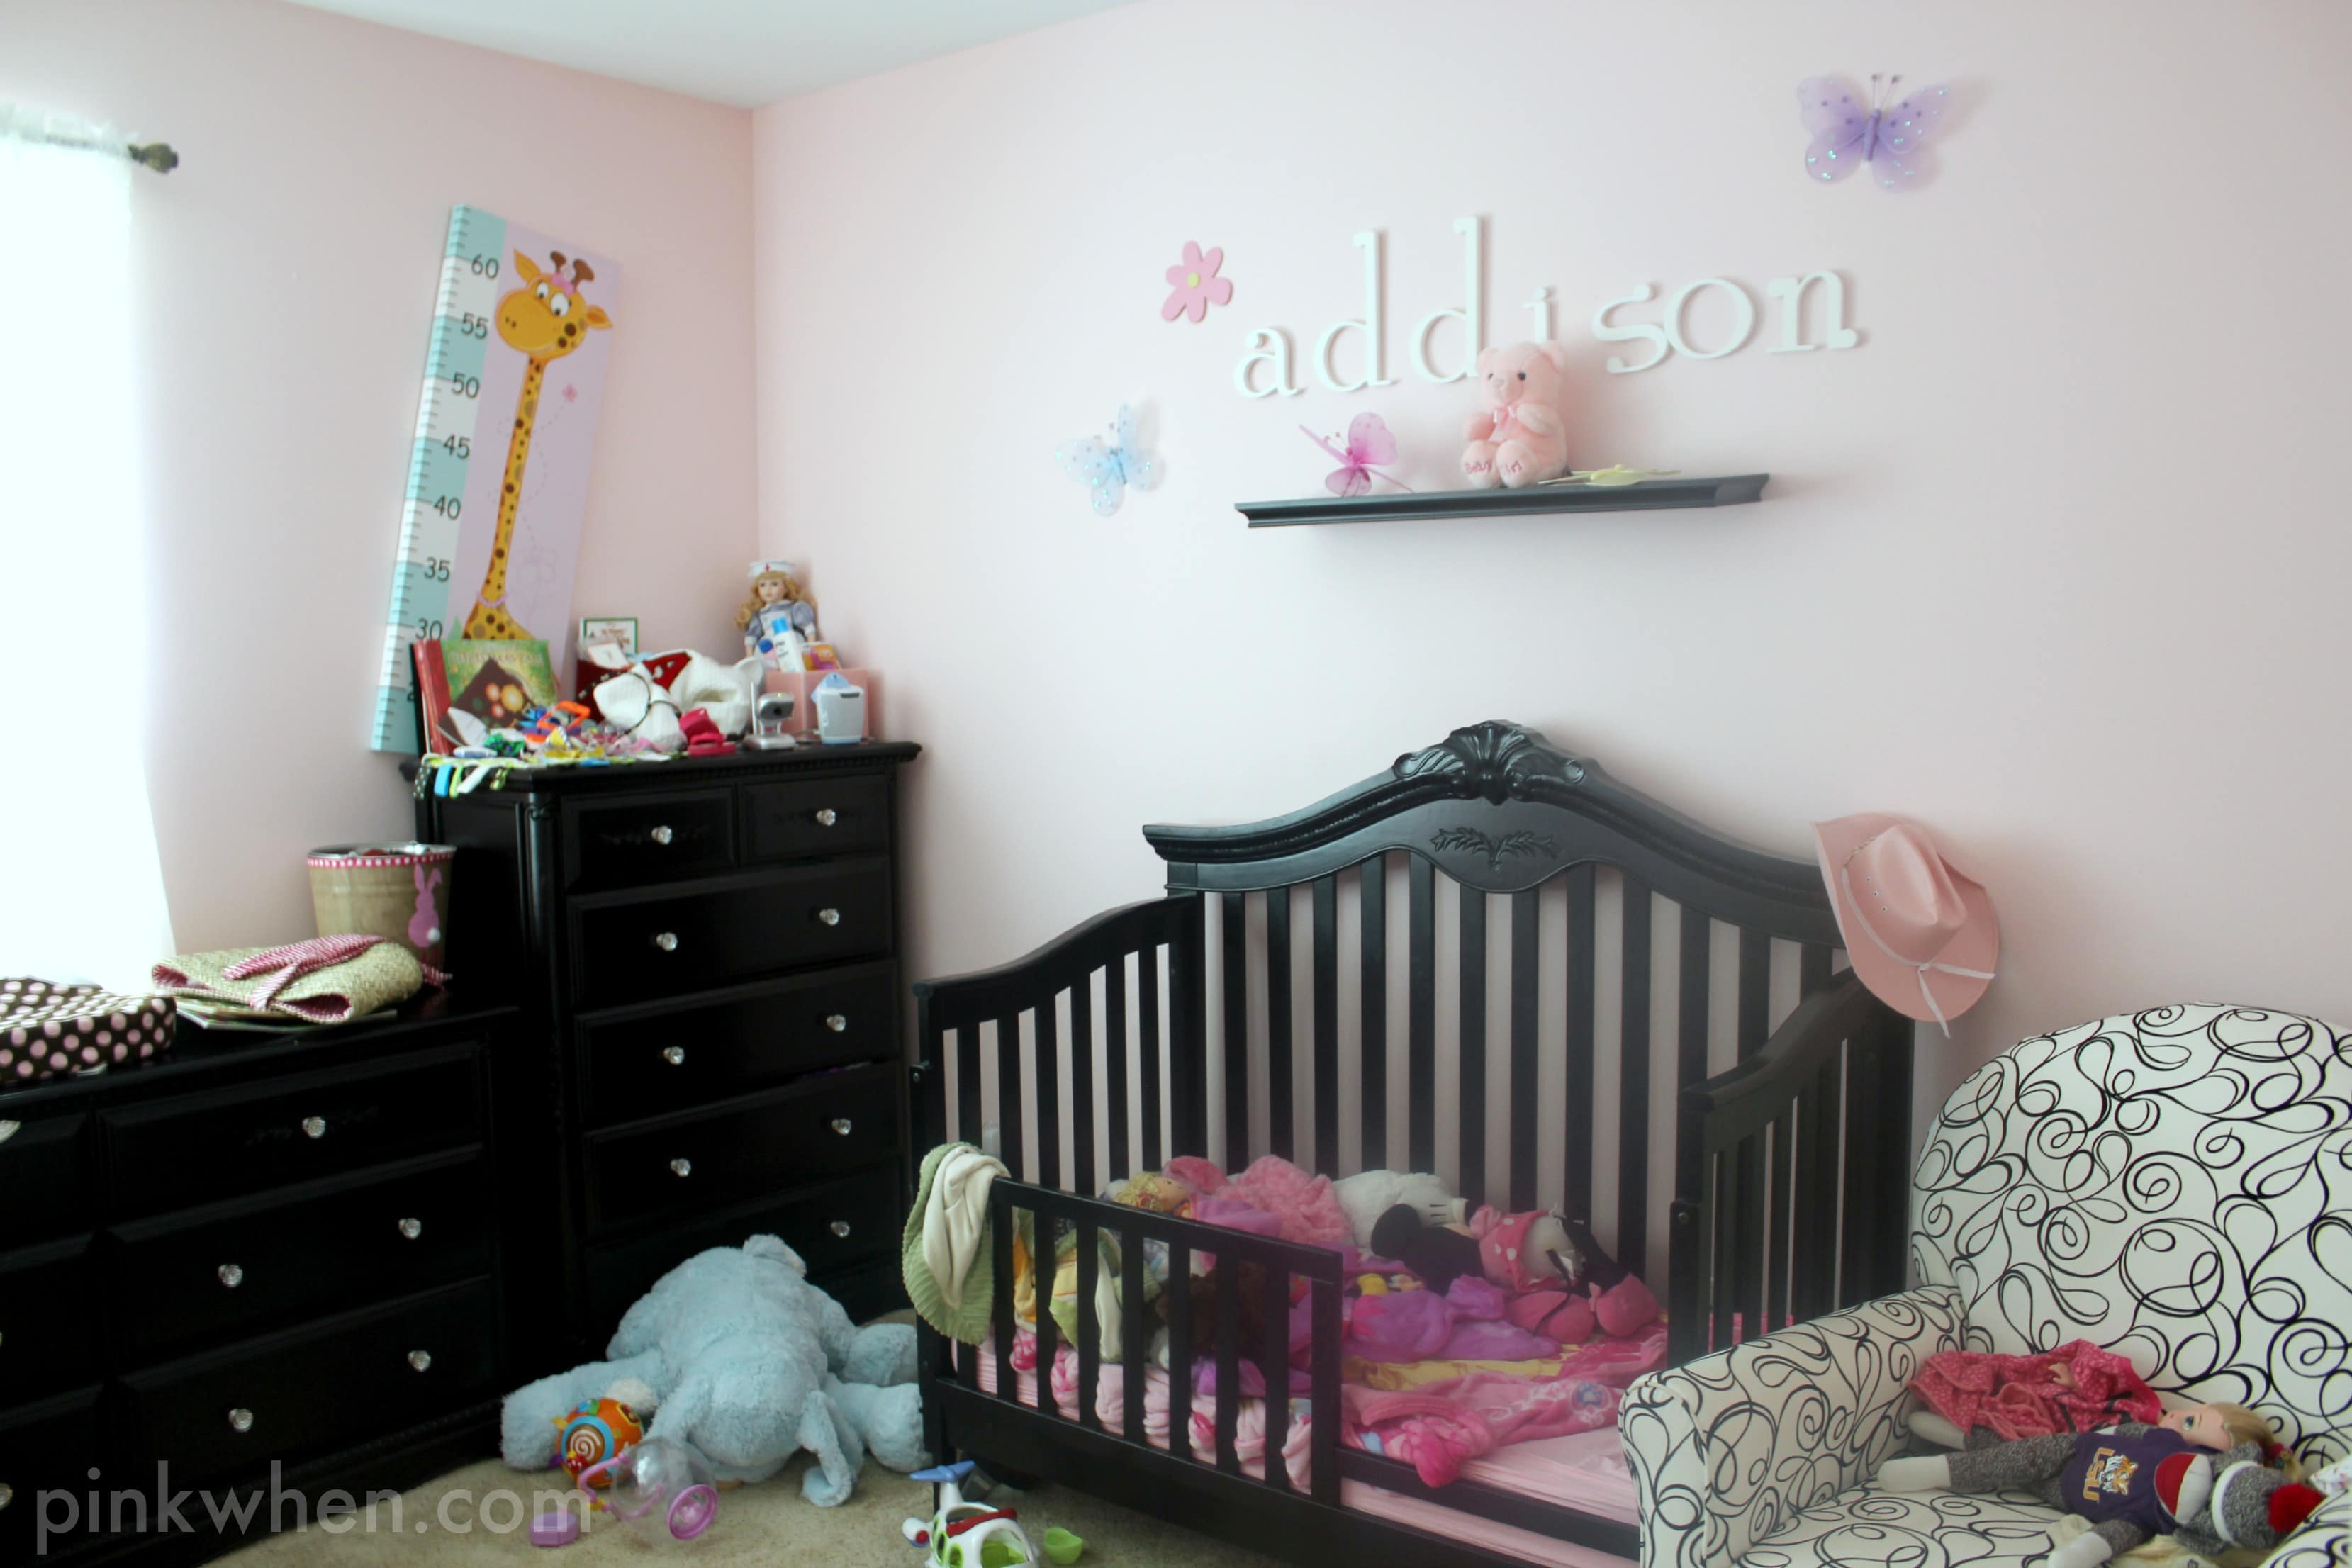
Here is what her room looked like before the crib was turned into her big girl bed. No, I didn’t straighten up before the picture….just trying to keep it real. We had to move her rocking chair to storage to create more space, and MAN, what a difference in her room with these two pictures.
Well let’s get on to what you are really here for, the second part of her room change with the actual dressing of the cornice board.
This is the second part of how to make a bed crown cornice, focusing on how to cover and decorate the cornice once it is built. To find the instructions on how to build this cornice, head over to the Easy DIY Bed Crown Cornice tutorial.
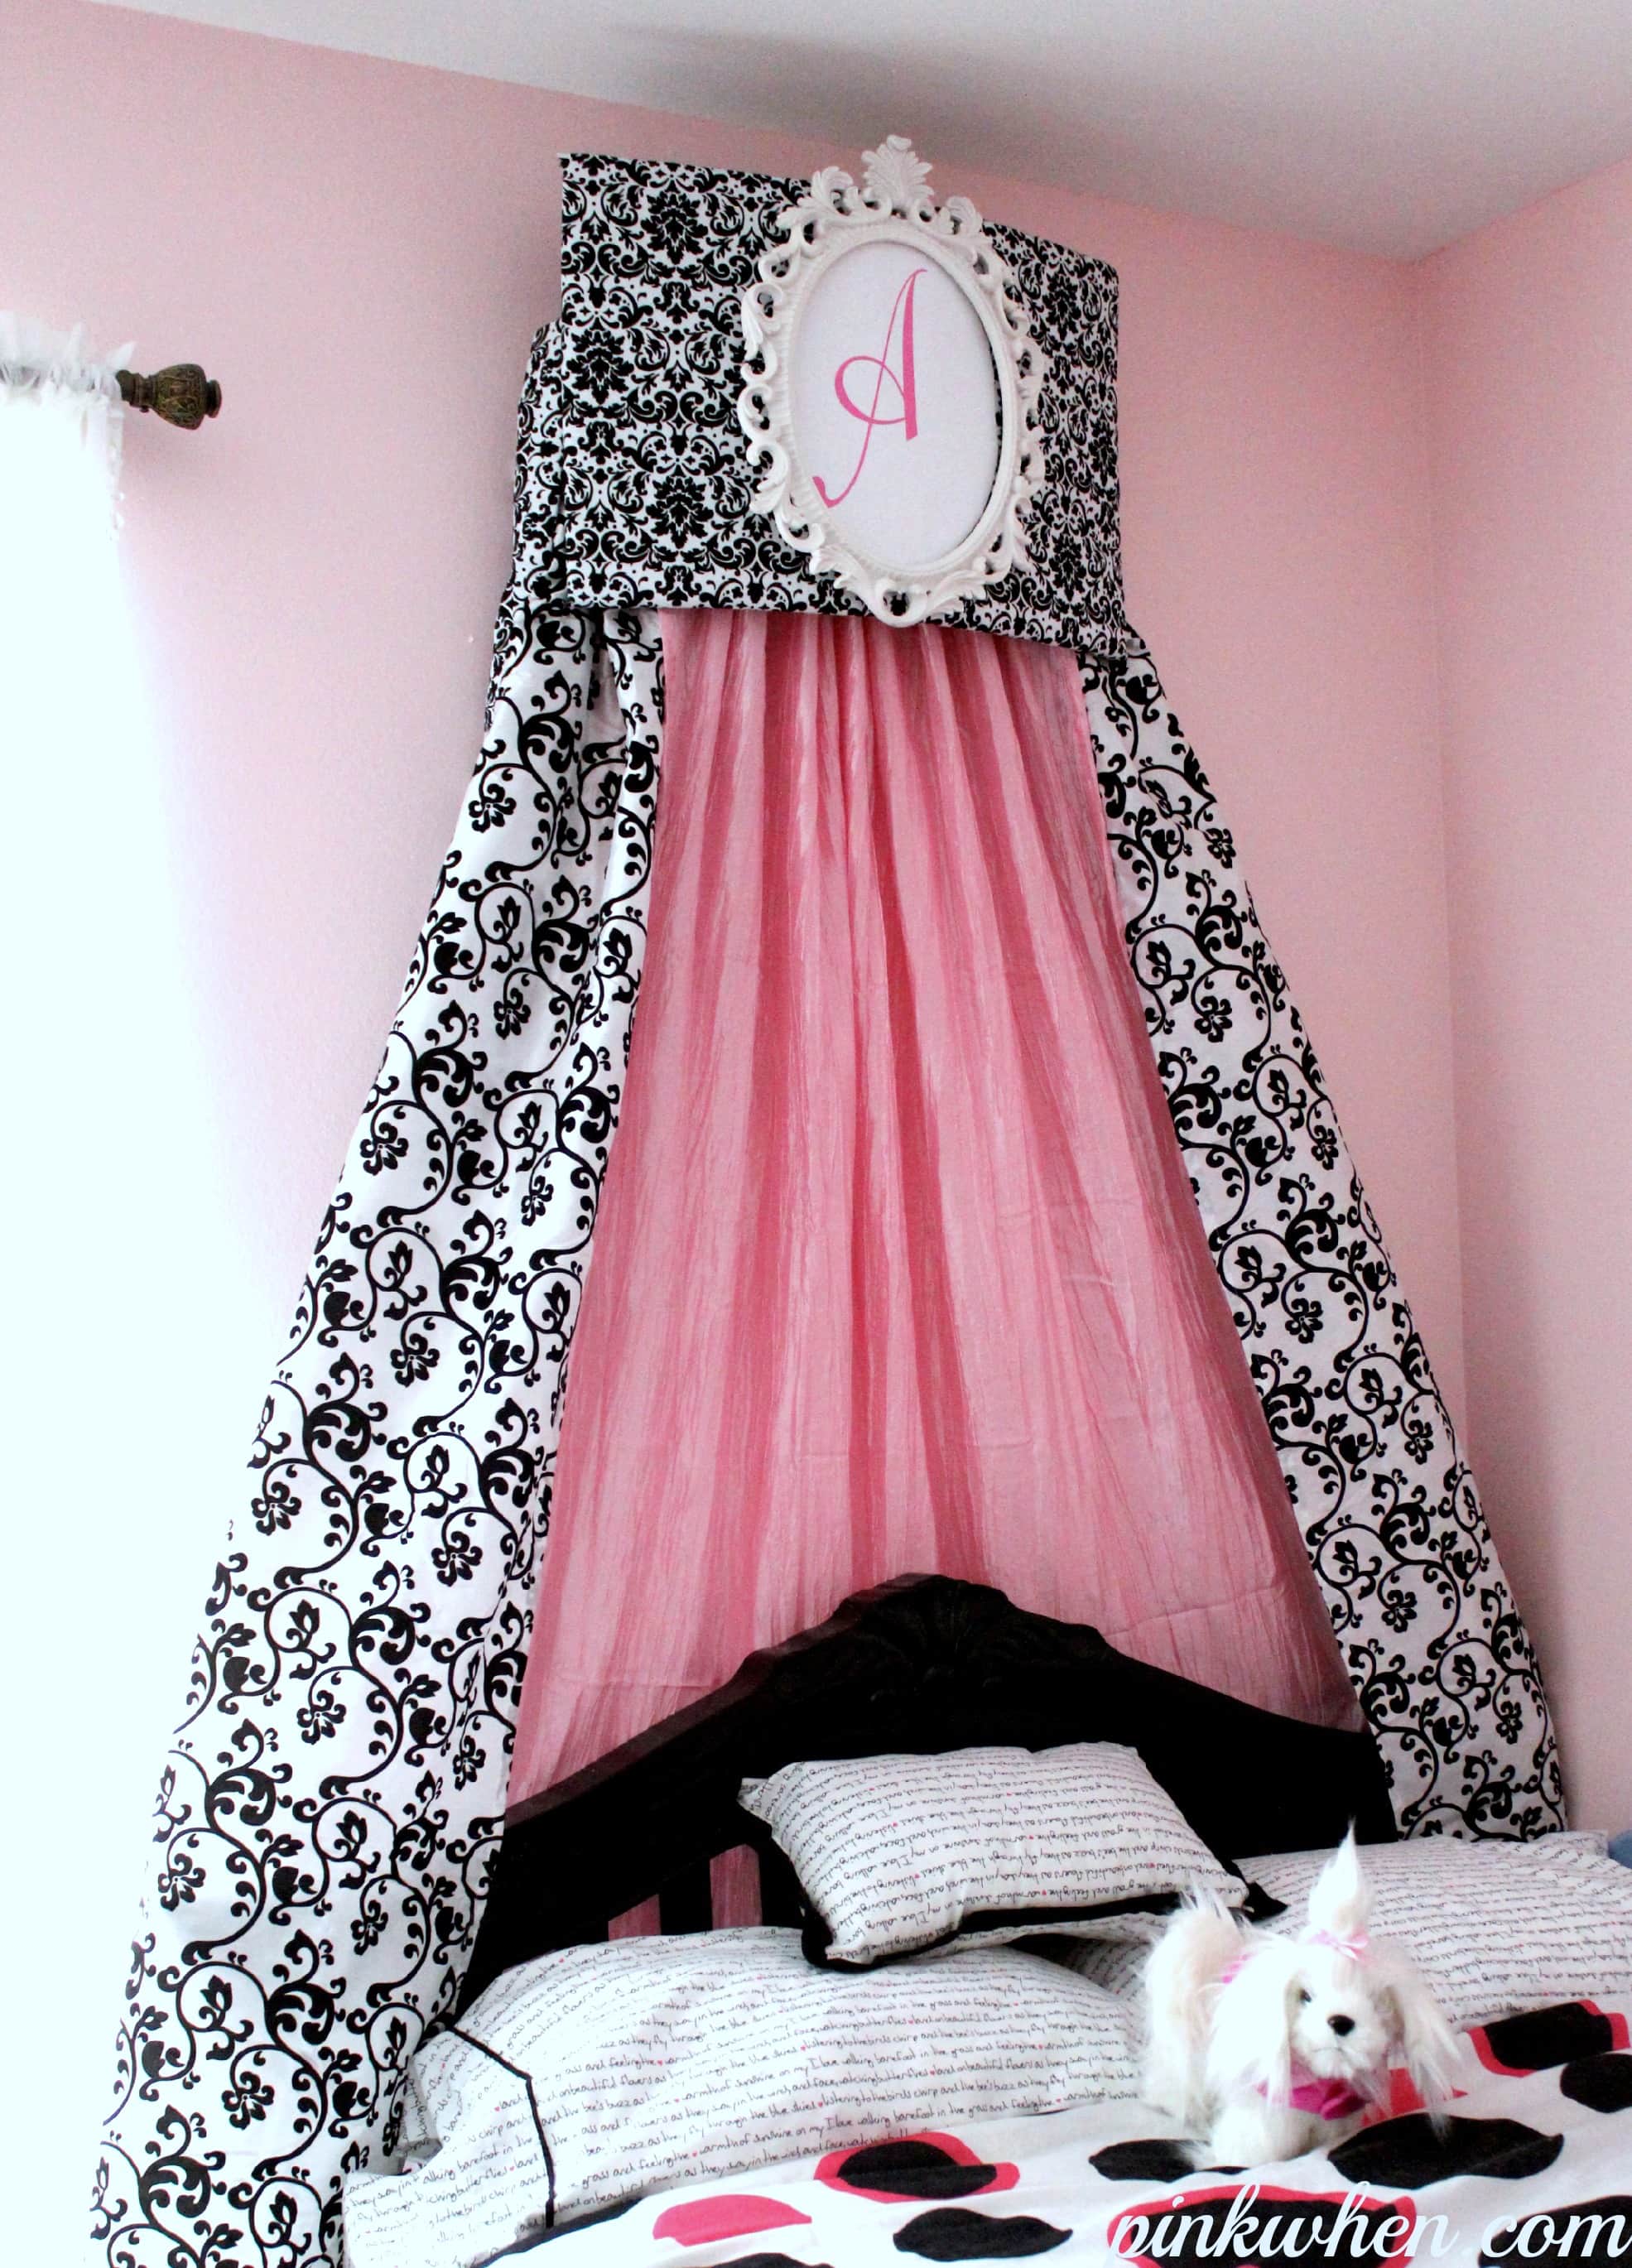
I loved making this bed cornice. It made such a HUGE difference in my daughters room, drawing the eye up and making the room look even larger than it is.
How to Make a No Sew Bed Crown Cornice
To finish this cornice you will need a few supplies, and I have affiliate links for some to show you exactly what I used:
- batting
- fabric
- vinyl
- frame
- panels to hang
- upholstery stapler
- 3/8″ staples
This Arrow JT27 stapler made life super easy, and you can find them for about $10. I also used the JT21 3/8″ staples. These were the perfect length and made everything manageable.
To get started, I cut the batting a little larger than my cornice, placed the batting on a table, and then took the cornice and placed it on top. I then folded the batting over and stapled it into place.
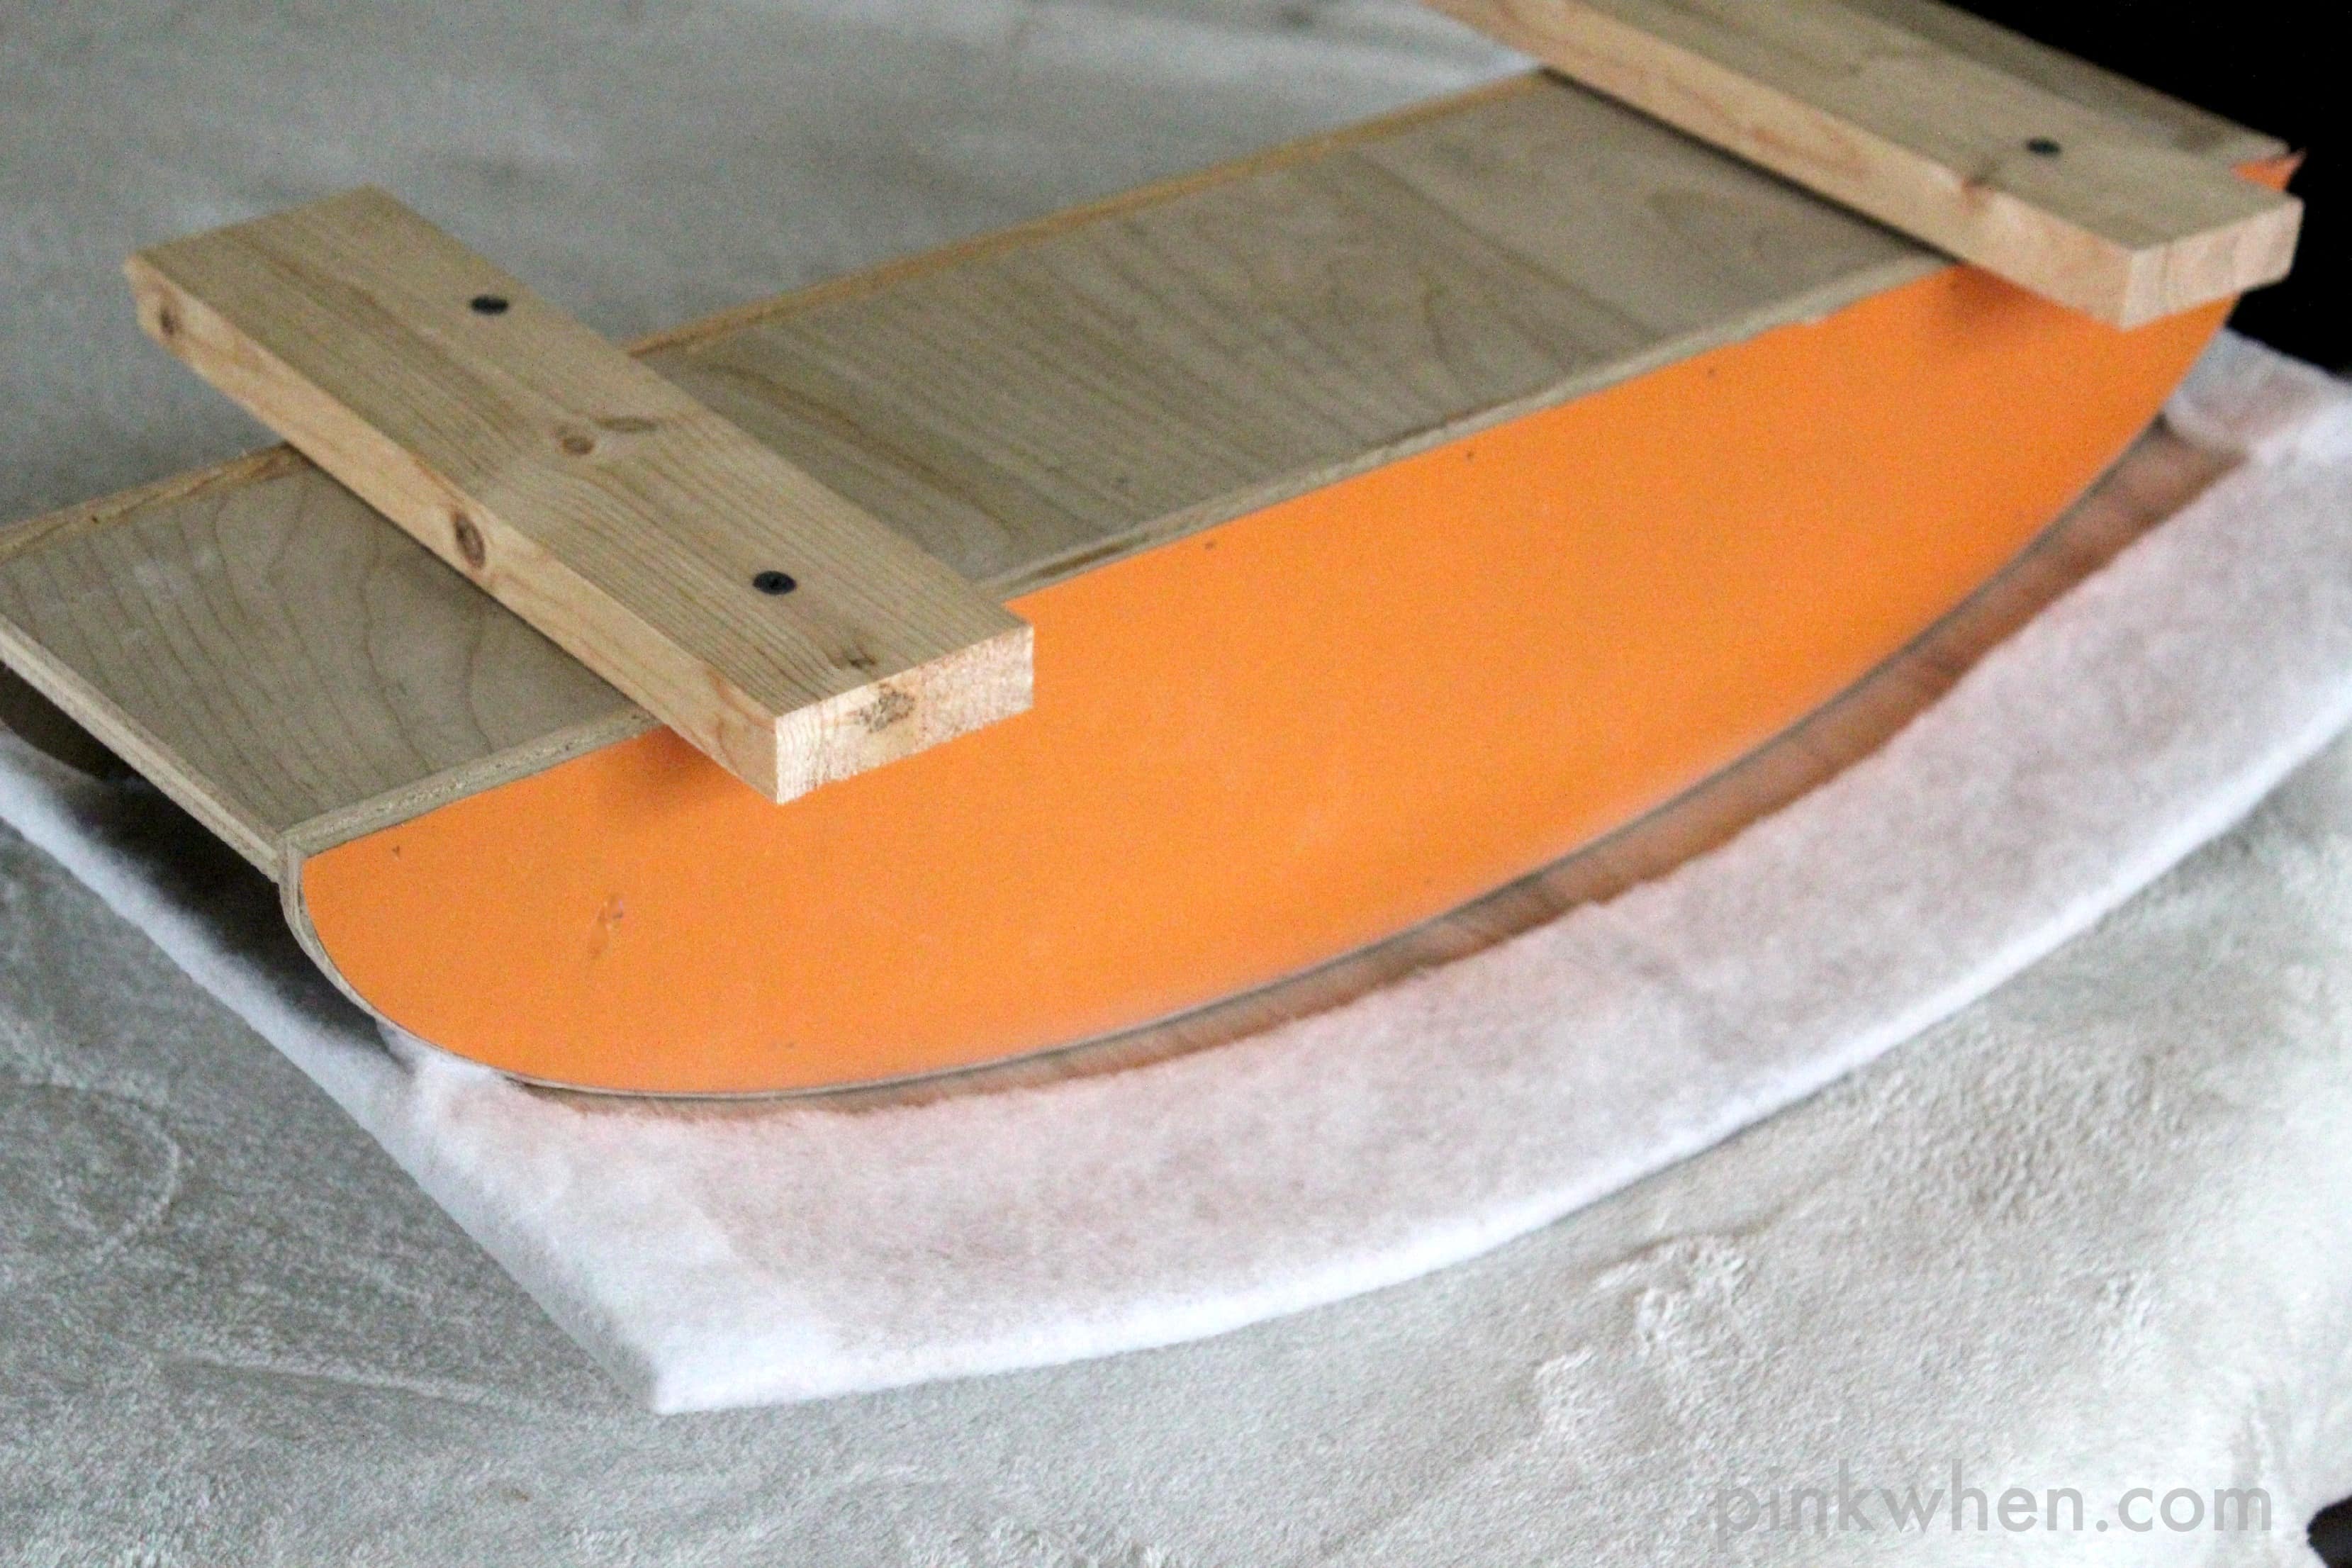
Once you have one set of batting on the board, repeat the previous step and attached another piece of batting. This is optional, but I wanted a little more fluff to the board.
After you have the batting attached, cut the fabric and place it down on your working table, cutting around the cornice board leaving extra room. Cut out the corners of your fabric so it will be a fit snug without bunching corners.
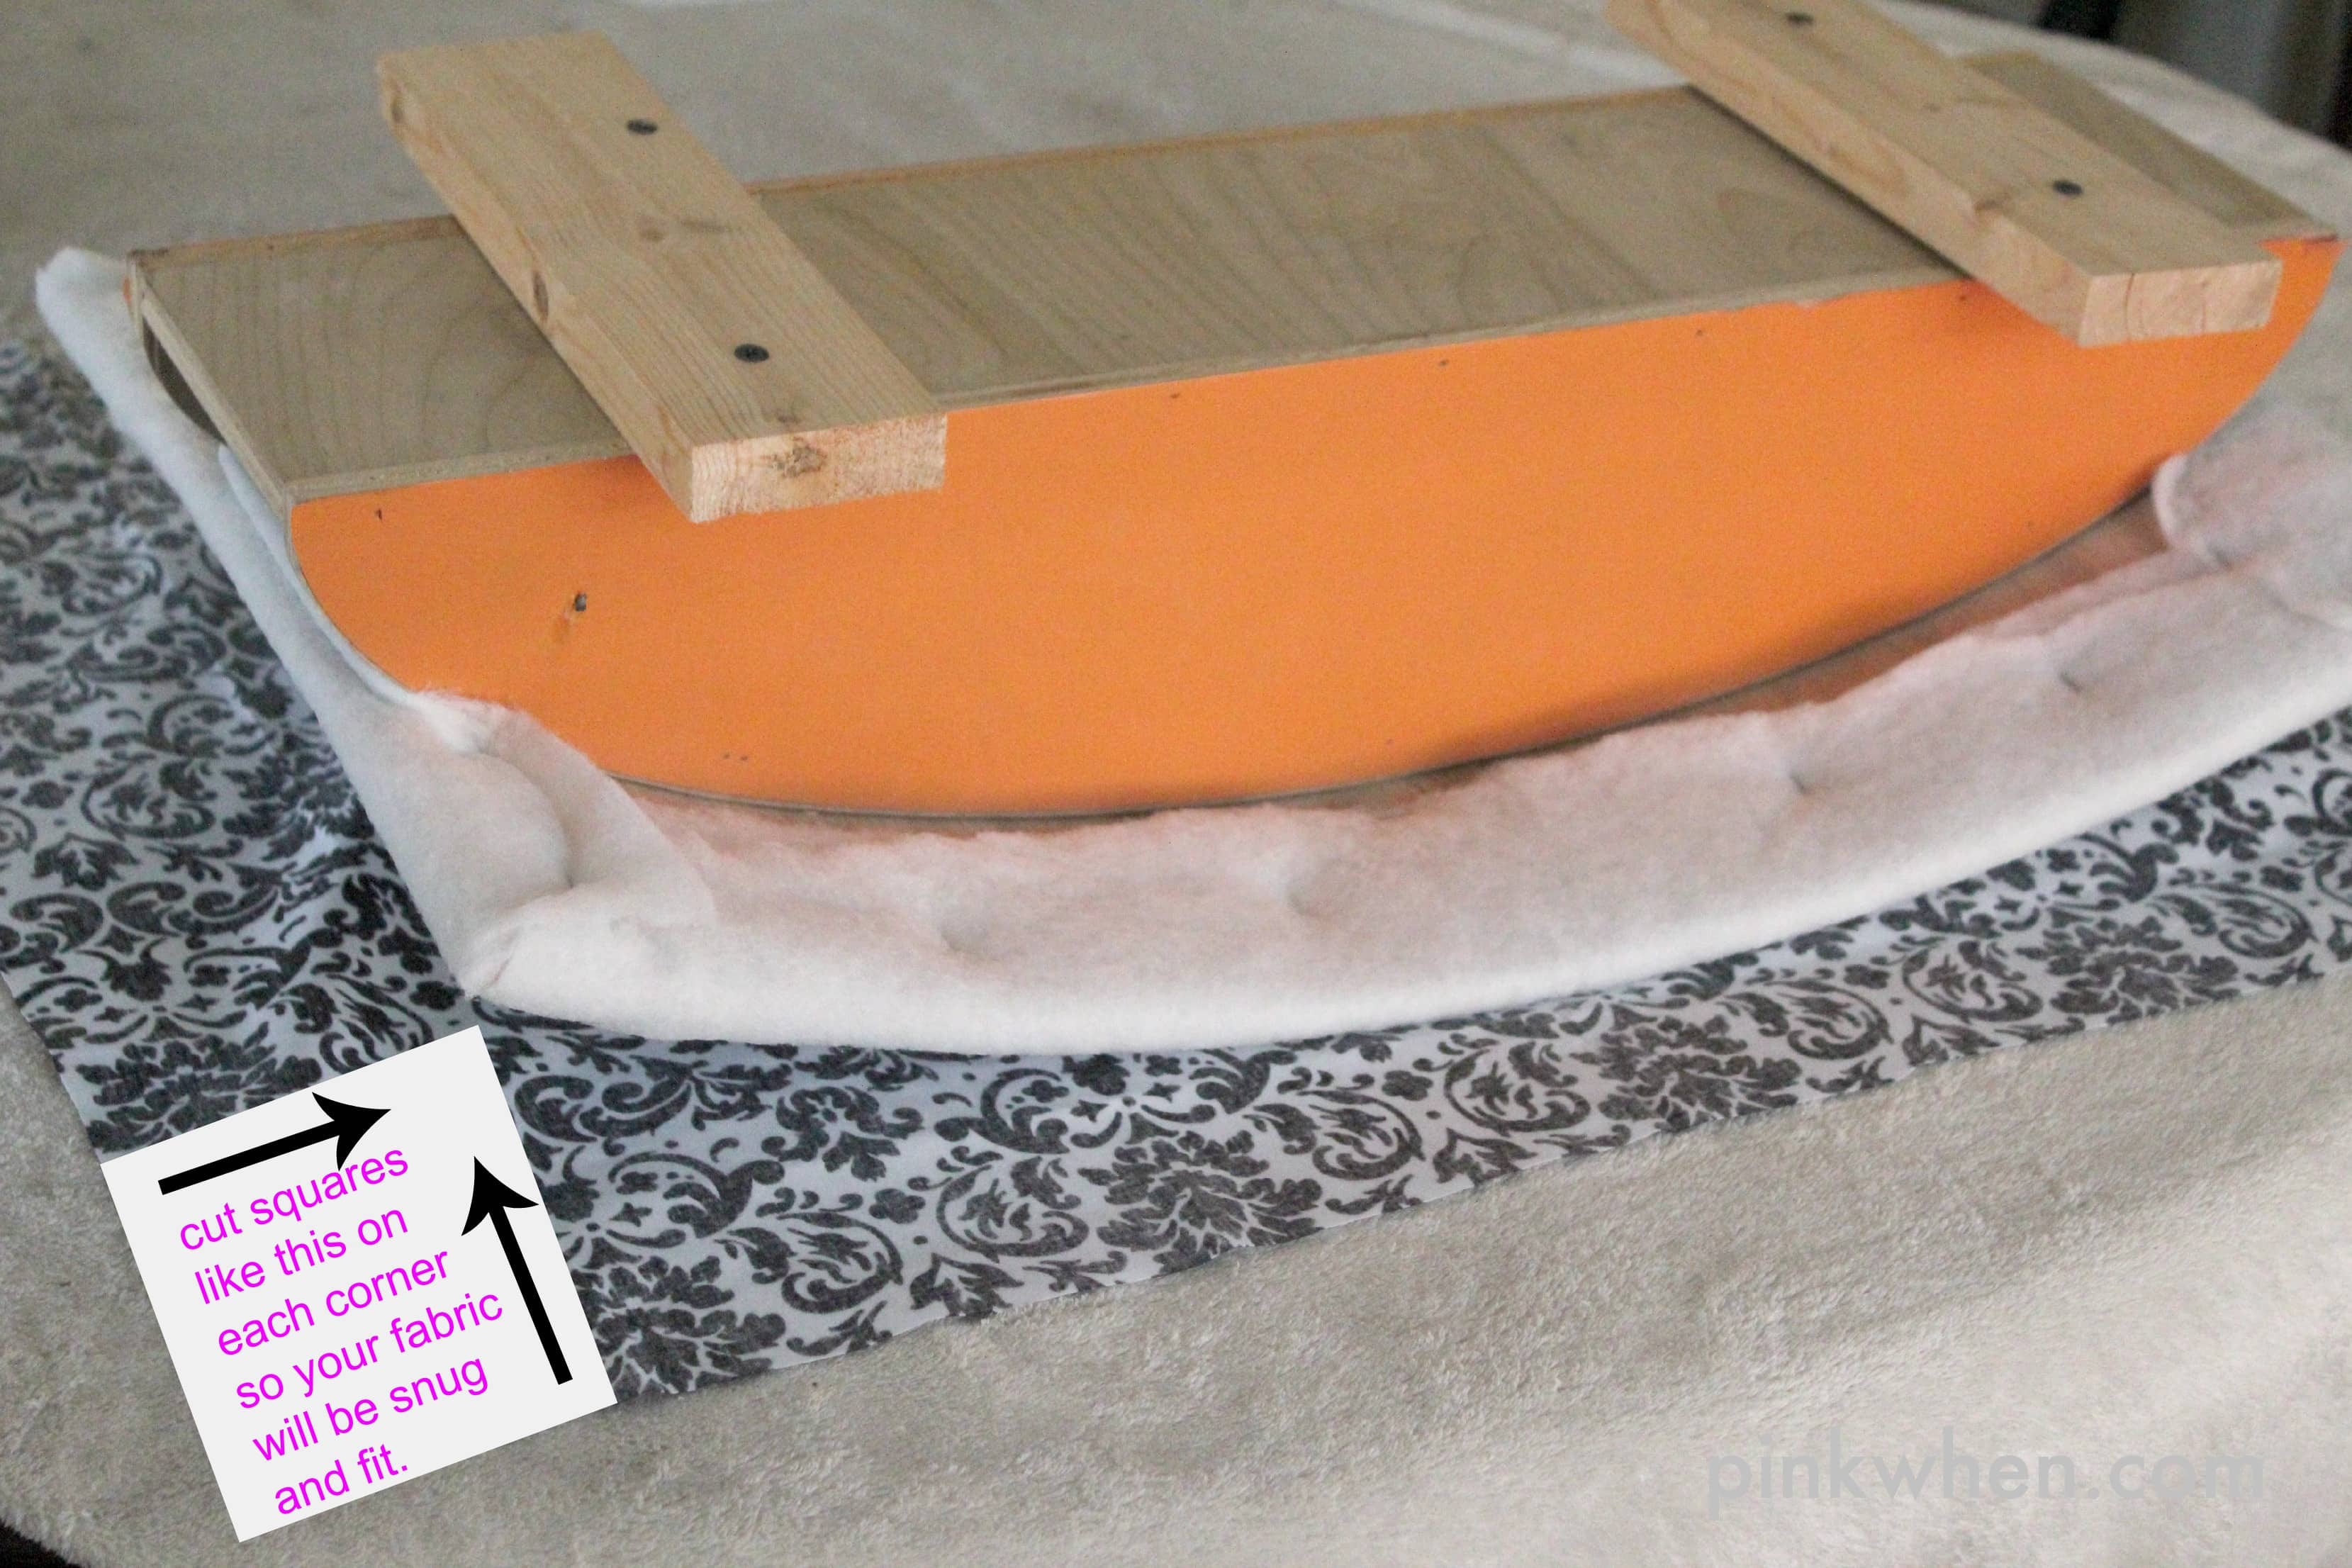
Always pull the fabric taught and staple . Don’t pull too tight, but tight enough to remove any possible wrinkles. Once you have your fabric attached, the cornice front should be smooth.
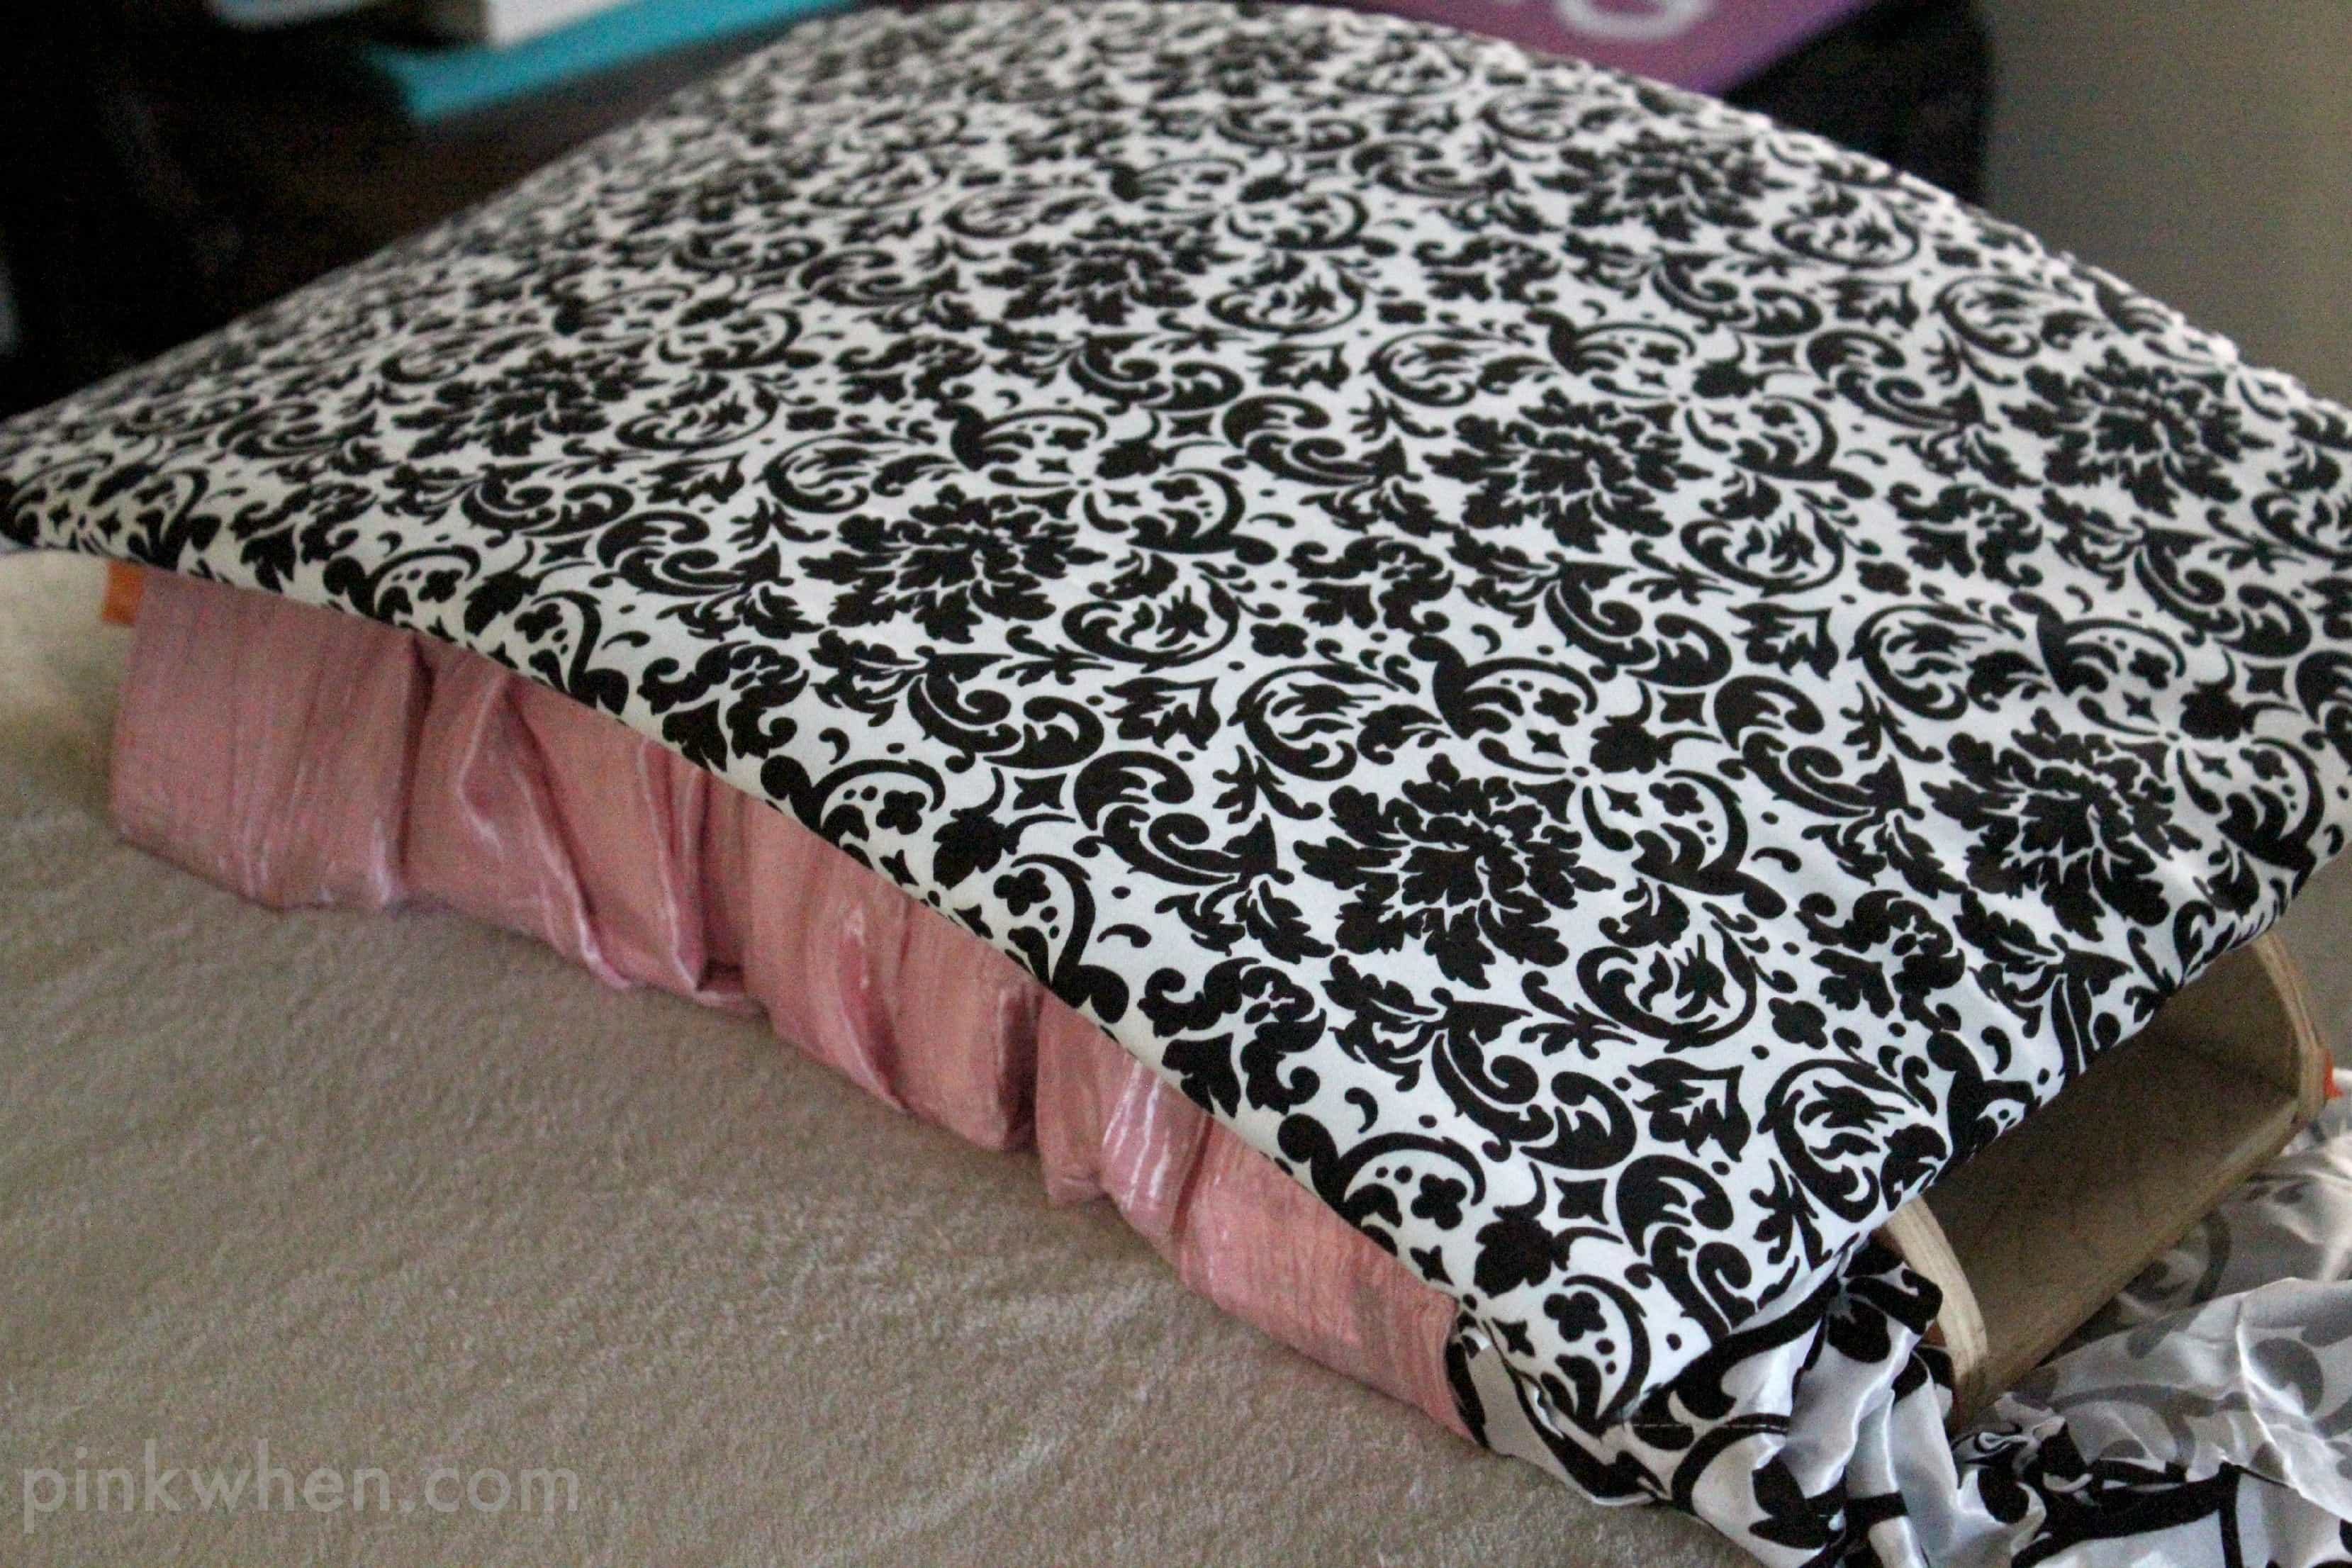
I did not take any pictures of this next step, but I also attached the panels with staples. I only used two panels, one pink, and one scroll design. I cut the scroll design in half and stapled that to either side. The pink panel I created bunching and stapled to the base of the board. I did staples versus a rod because it just seemed simpler and because this is going to be a permanent piece.
Now it’s time for the frame. Before I placed the frame on the board, I took some white vinyl and placed it onto the front of the board in the shape of the oval opening. Since the fabric is a pattern, it did show through the white, so I placed a second sheet over and was able to block out all of the pattern. Once the vinyl was down, I attached the frame to the board.
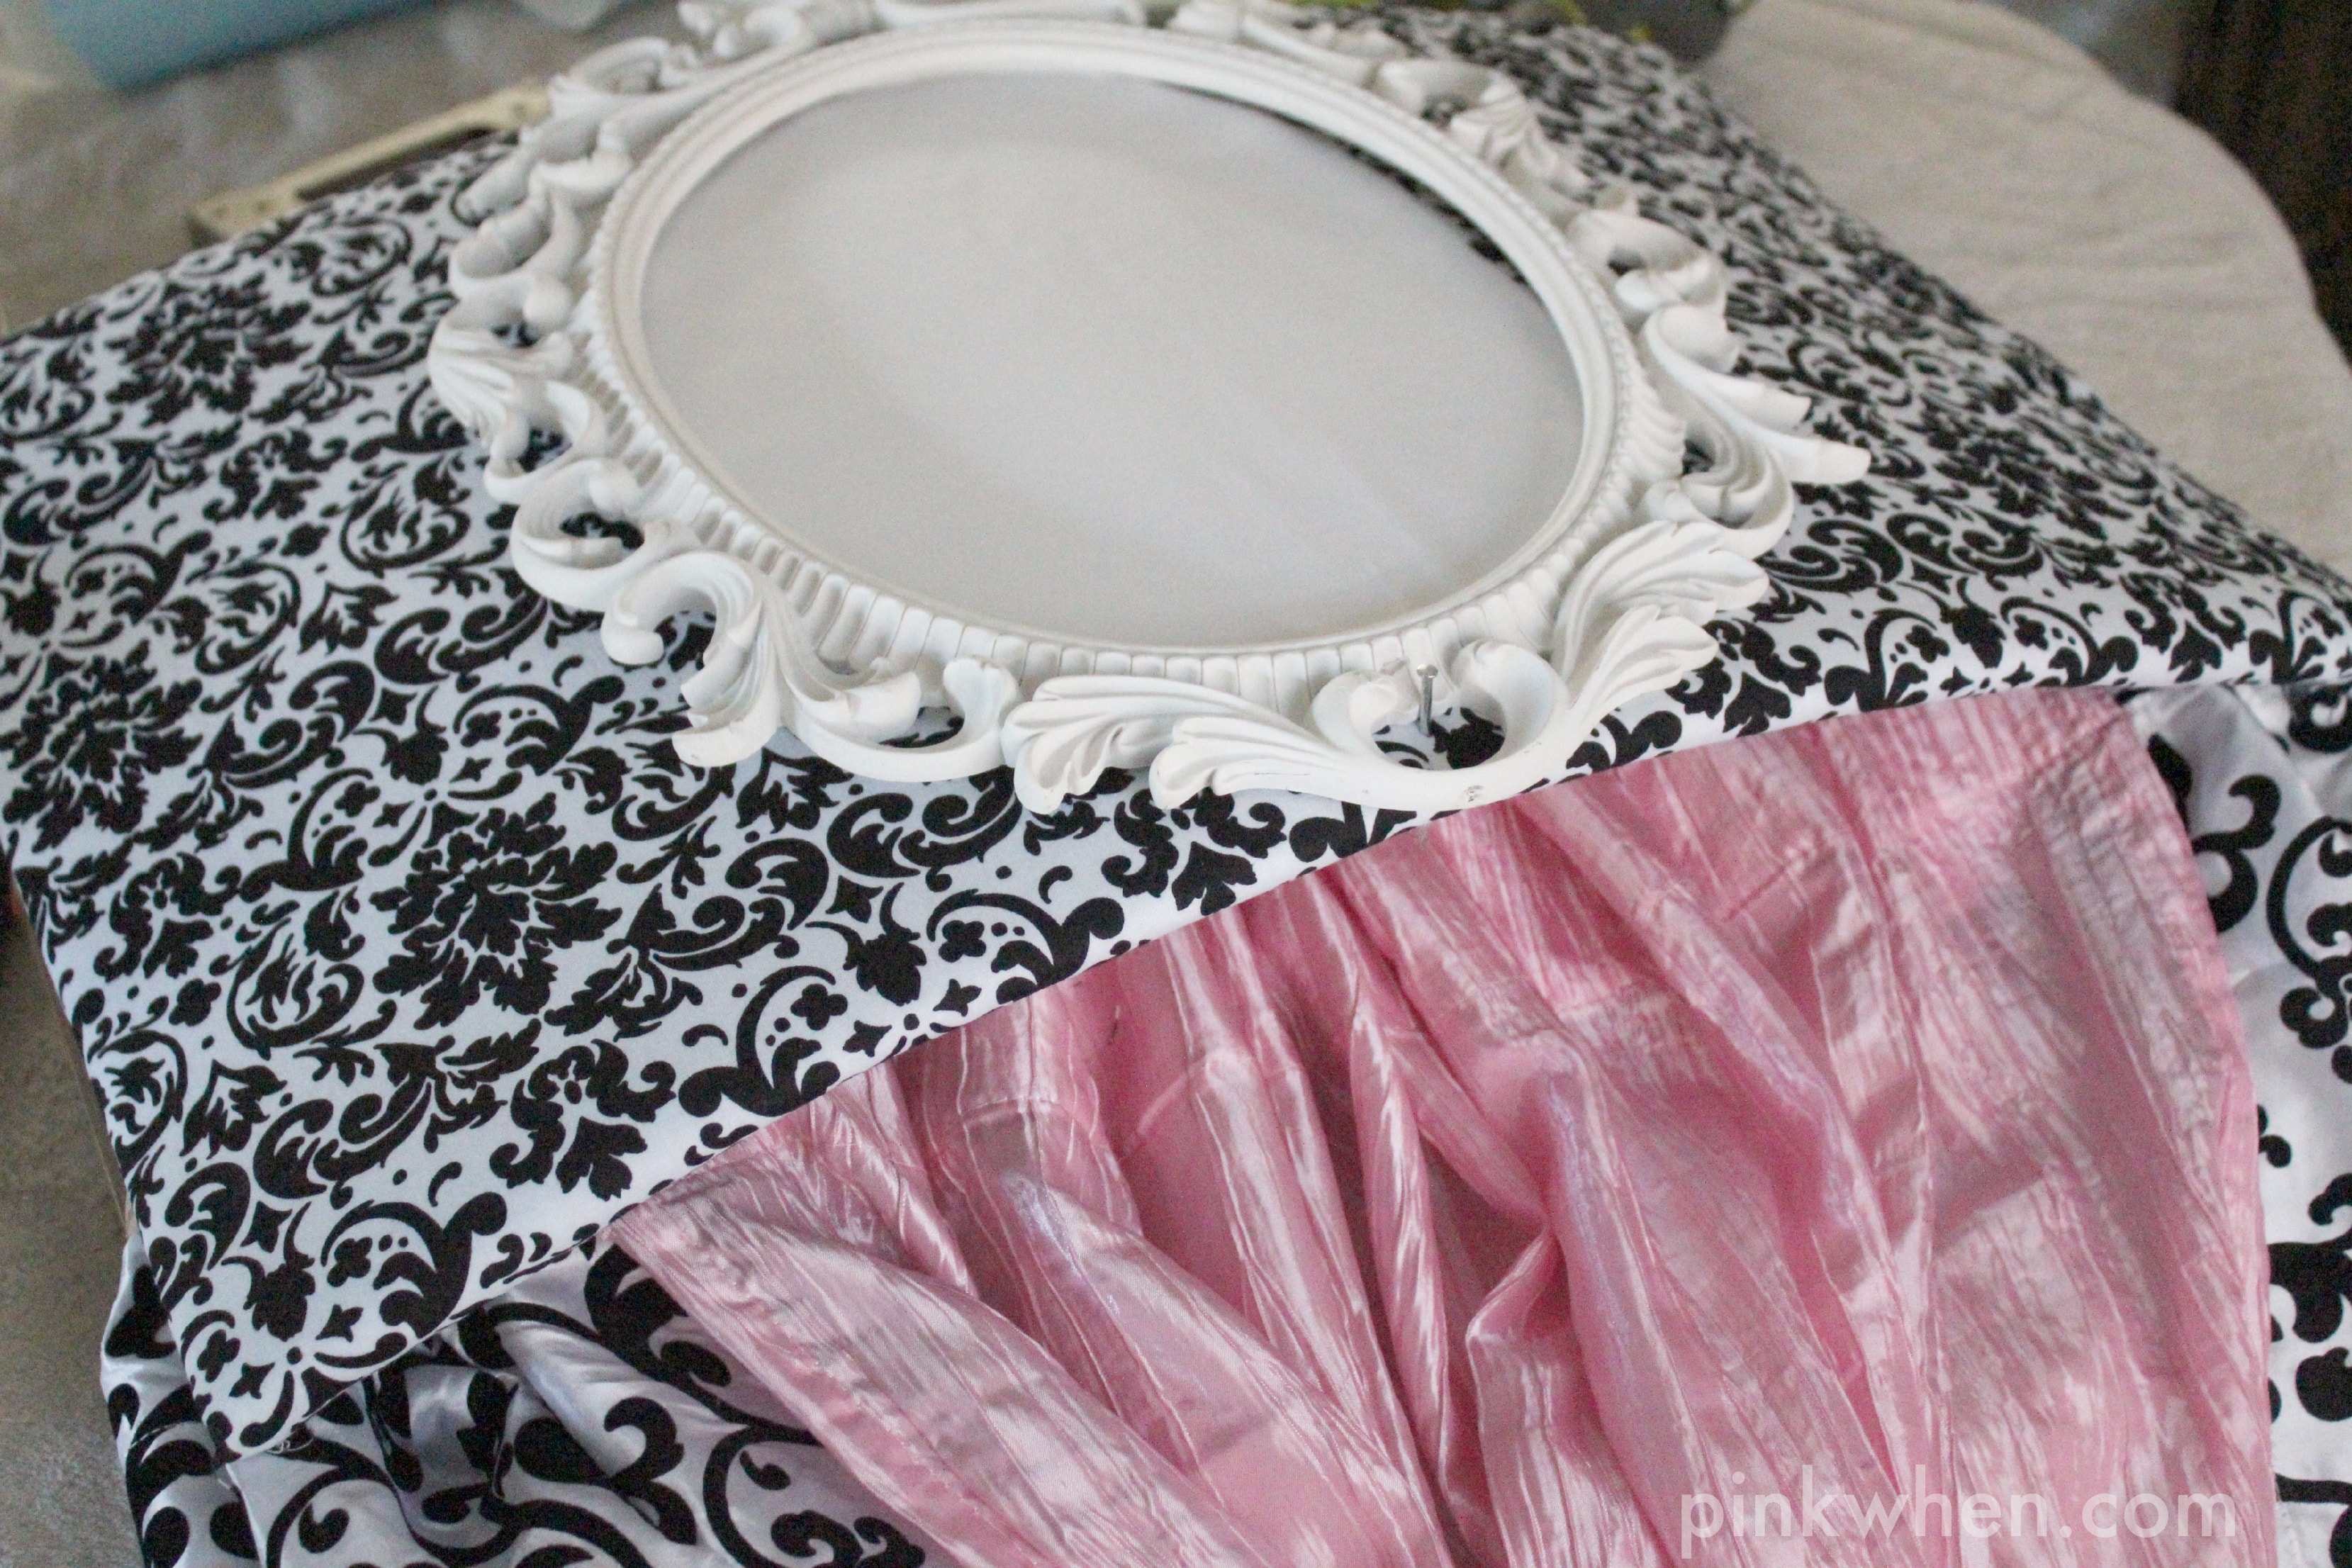
Lastly, I opened up my Silhouette and found a font I liked, created the letter and cut it out of pink vinyl. After that, it was time to securely hang the cornice and sit back and admire my handy work.
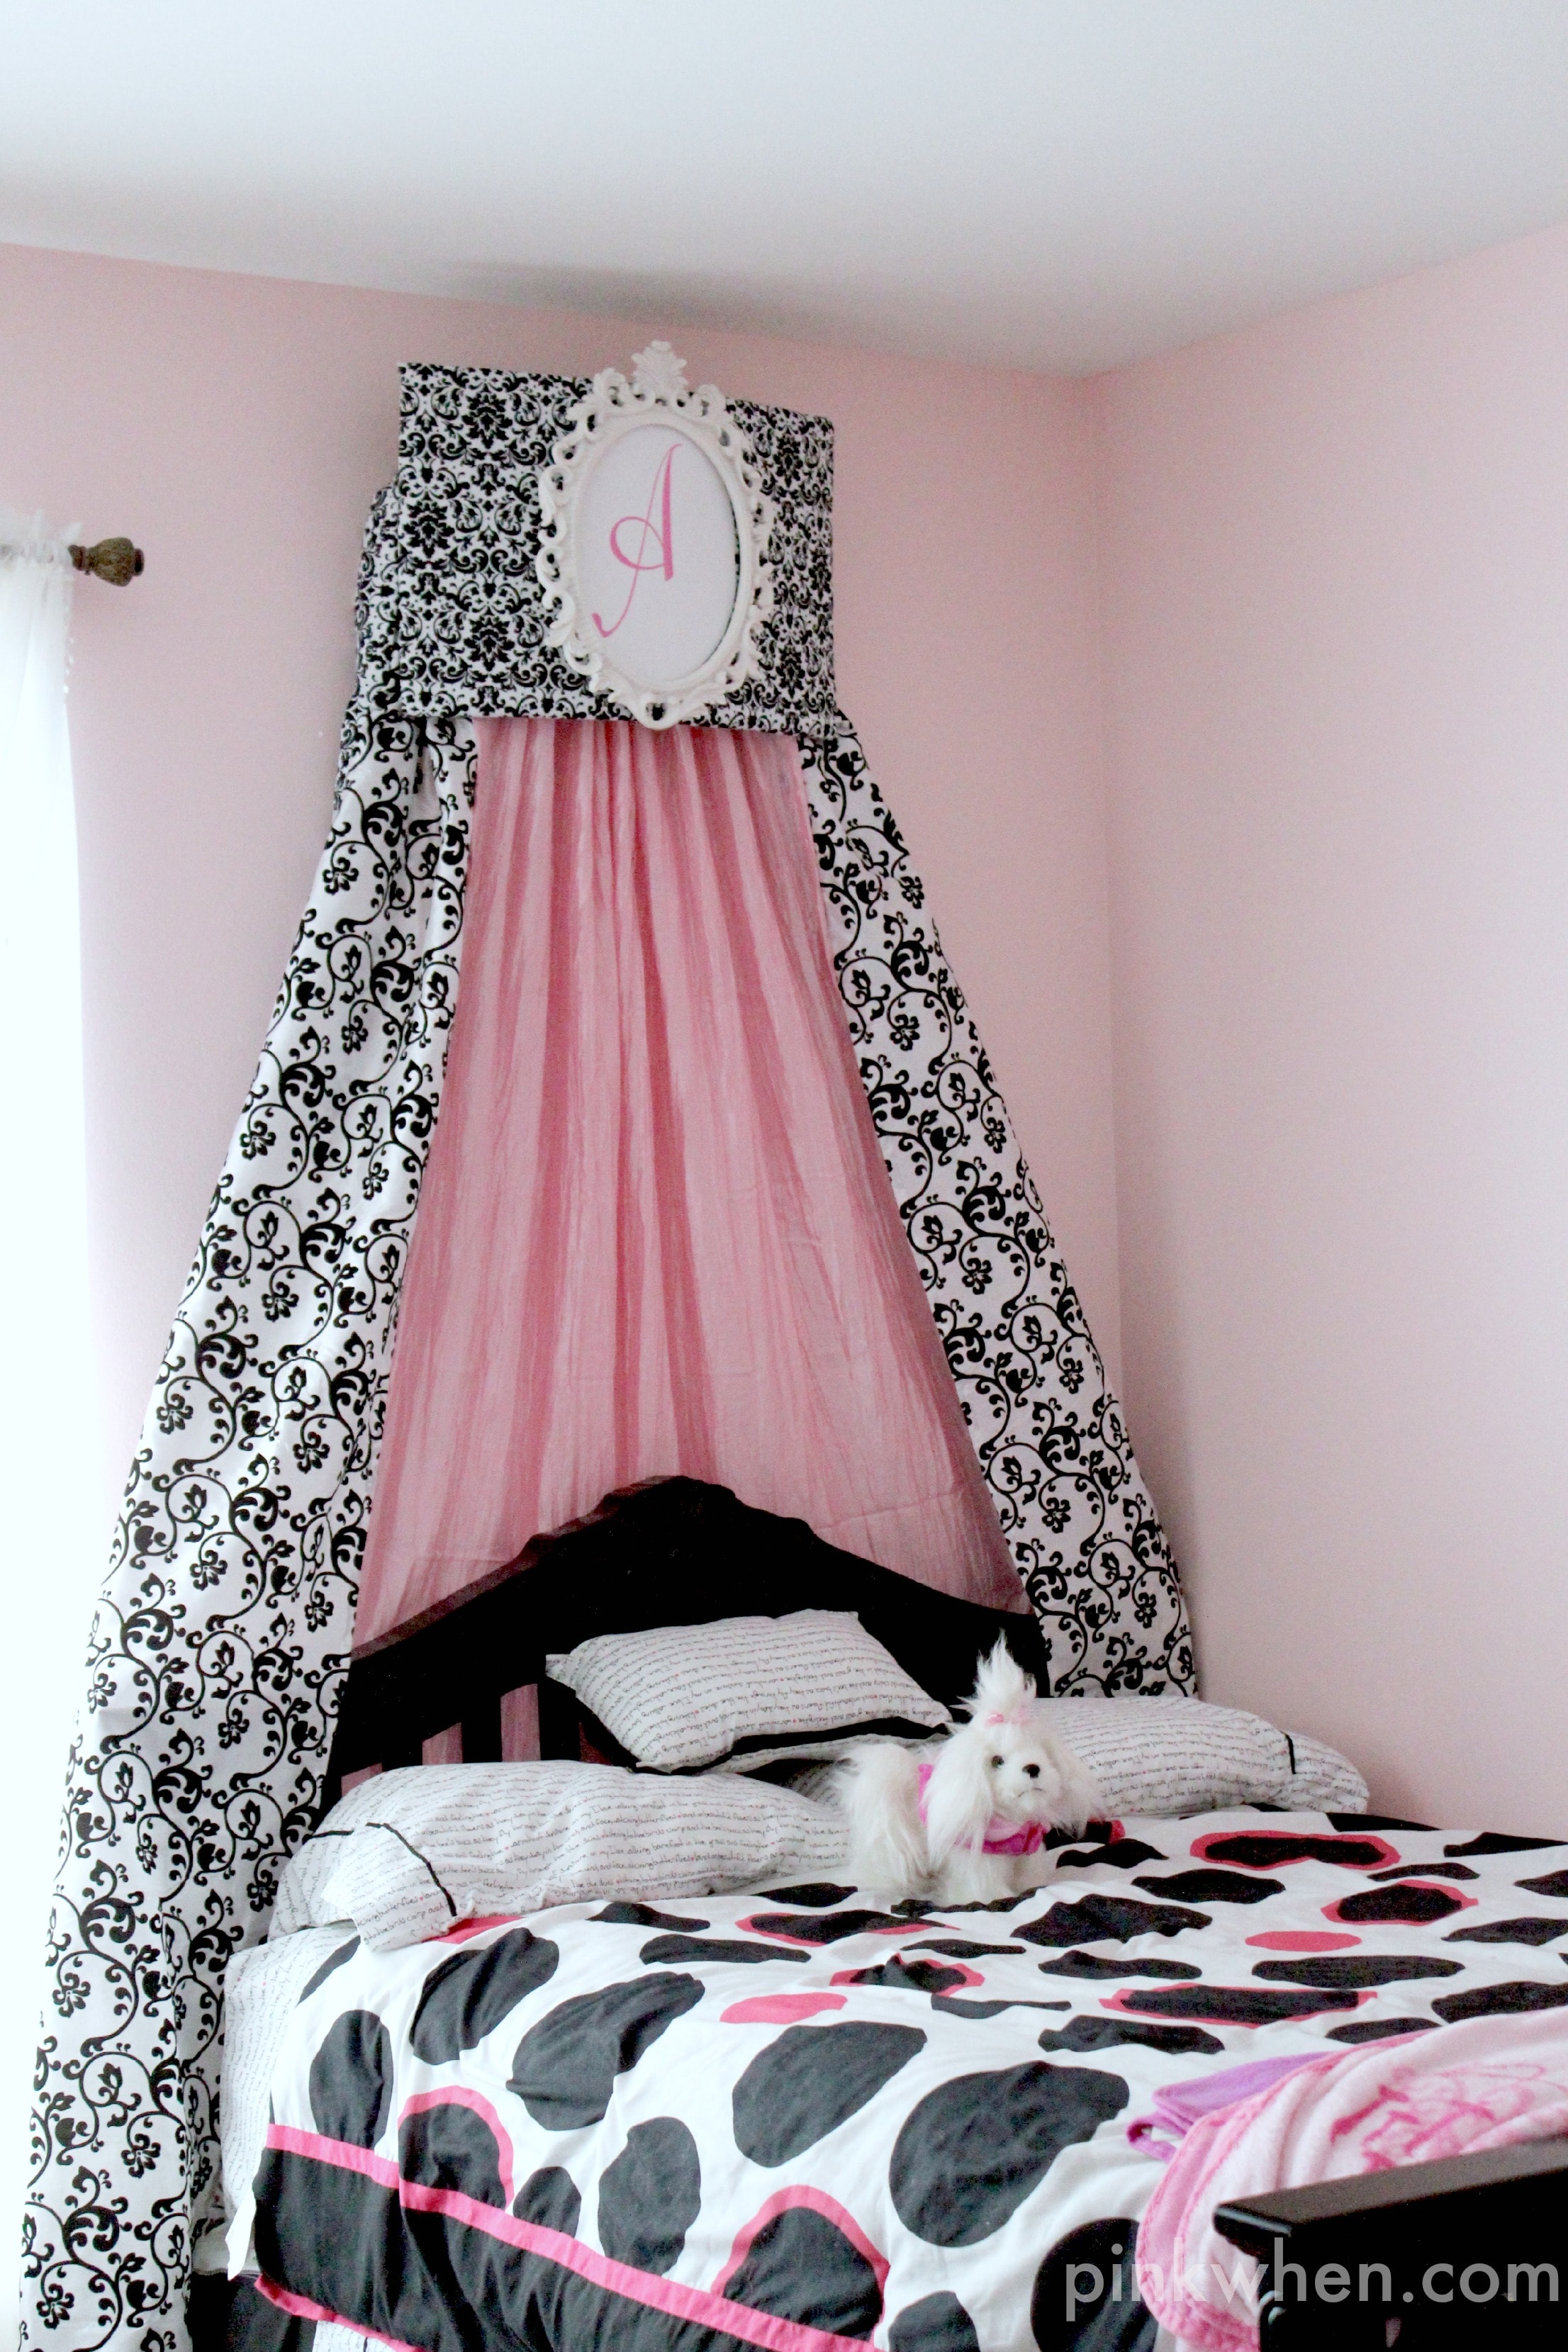
I love how it totally changed up her room.

I hope you enjoyed this tutorial for How to Make a No Sew Bed Crown Cornice. If you get a chance, make one!






super awesome idea and great tute! I think the granddaughter would LOVE this in her room! well in green but you know what I mean lol!
I must say, you created magic! Love the look. So elegant.
Hi. This is very nice. But can you please state how much fabric you used? My daughter has a full bed and I would like to do this for her room.
I used fabric panels (curtain panels) and my daughters bed is also a full sized bed. For the fabric that I purchased to cover the board I used 1 yard of fabric and had a little left over. 🙂
Beautiful! How did you attach the frame?
I attached the frame by a using long nails, bending them over the frame and securing them to the base of the frame.