Have you ever wanted to know how to make a shower bomb or shower soother? It’s merely a different version of a bath bomb that fizzes and fizzles while you take a shower. It’s a great project and a perfect gift idea. (VIDEO BELOW!)
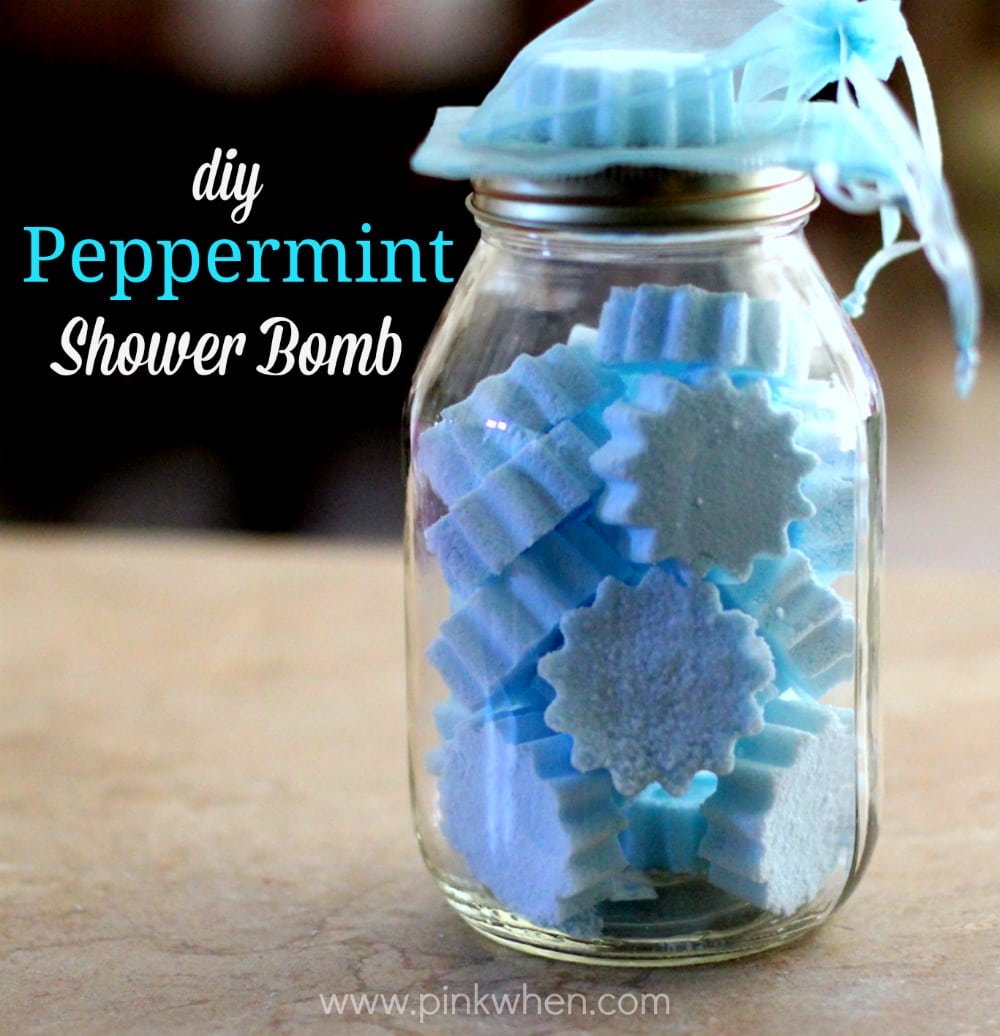
Shower bombs are perfect for taking a quick “wake me up” shower as the aroma, and the steam will help wake you up.
If you are looking for something relaxing, consider trying these Stress Away Shower Soothers or these citrus shower steamers after this project!
Shower Bombs Recipe
I love these.
Generally, I am a shower person since I am always running in 500 directions. I honestly can’t remember the last time I took a nice, long bath. These make the quick shower experience a little more like a “spa.” Check out how easy these are to make.
Below are the ingredients you will need for a shower bomb. I include a few affiliate links so you can see what I used.
How to Make a Shower Bomb
- 2 cups Baking Soda
- 1/2 cup Citric Acid
- 20 drops Peppermint essential oil
- 1 1/2 Tbsp water
- 6 drops food coloring if you want different colors (I used blue)
- Silicone Mold
or other shape making product
- dropper and a small bowl
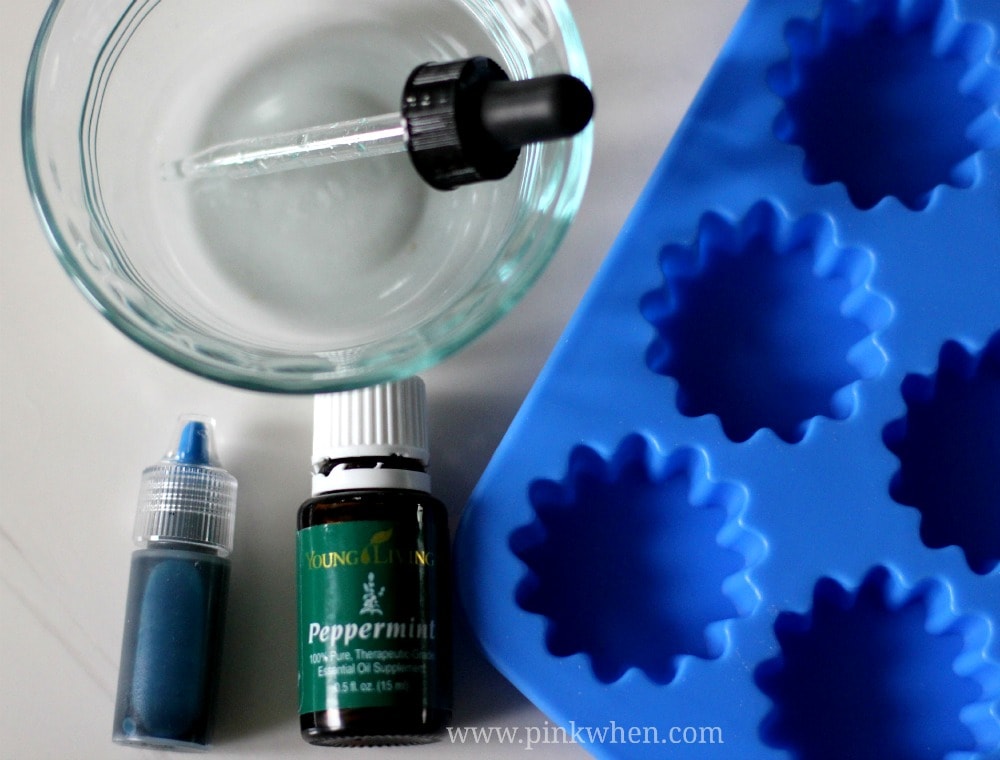
If you have a Kitchen Aid mixer, this may be the easiest thing to use. Pour the baking soda and citric acid into the mixing bowl and stir well.
In a small bowl, add water, essential oil, and food coloring. Mix well.
Turn the mixer on low, and then add three to four drops of the essential oil mixture at a time. DO NOT POUR. It’s critical to do a few drops at a time, and while the mixer is ON.
Once you have all of the ingredients mixed, you should have a light-colored damp mixture. You don’t want it wet like a paste, just moist.
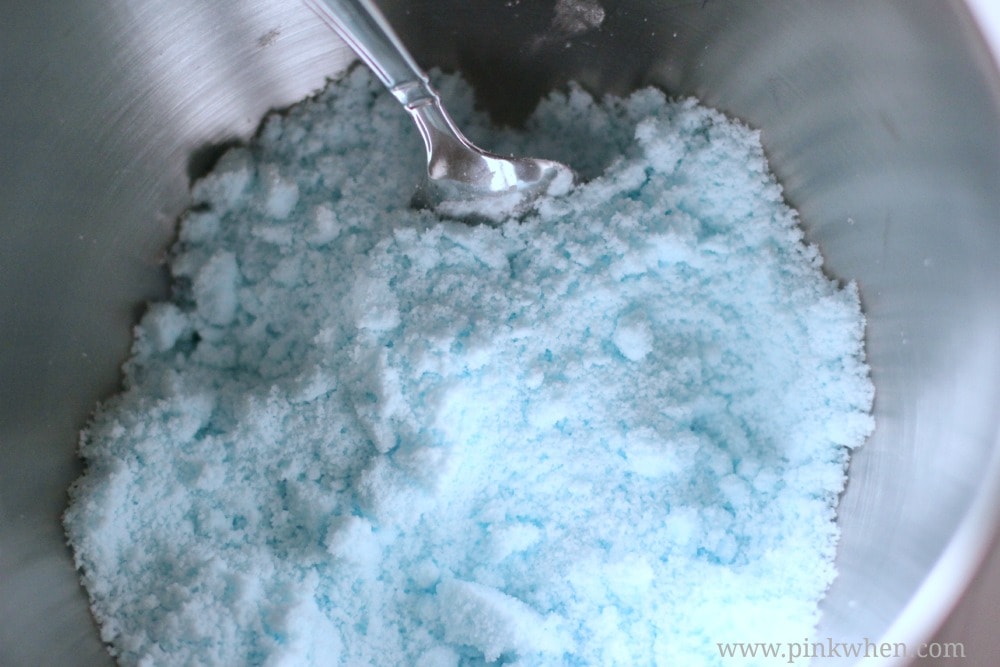
How to make shower soothers
I then took the mold and my tablespoon and scooped the mixture into the mold. It takes about two tablespoons of mixture per mold piece.
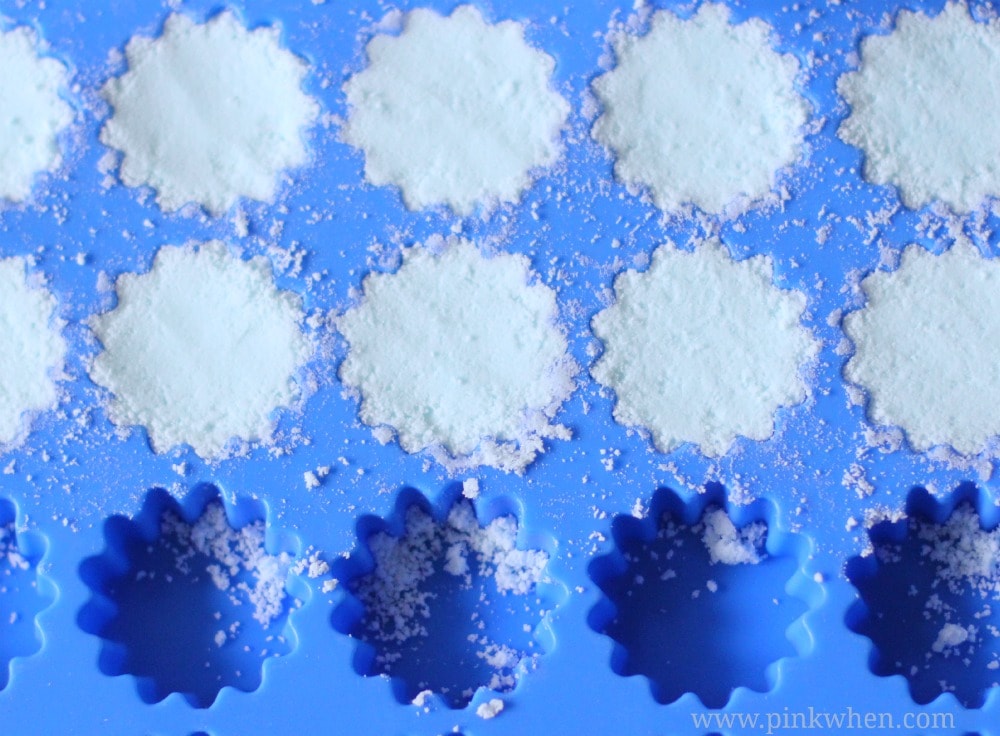
Once you have all of the mold full, take the spoon and press down to make sure they are right and compact. Allow the mixture to sit for a few hours to rest and begin to dry.
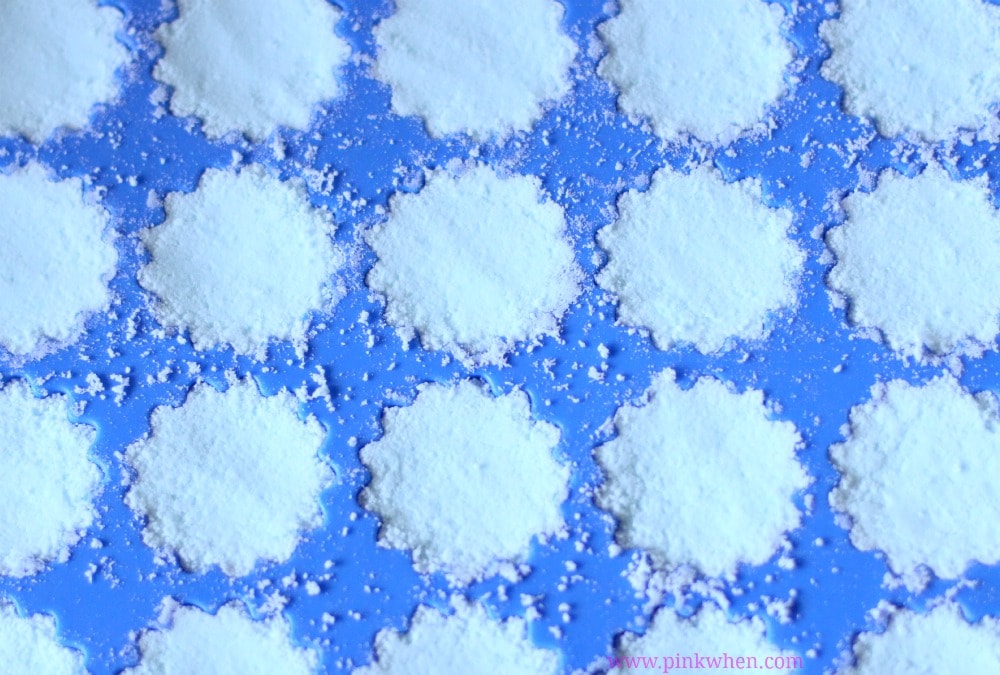
After a couple of hours carefully remove the shower bombs from the silicone mold and allow to continue to dry overnight.
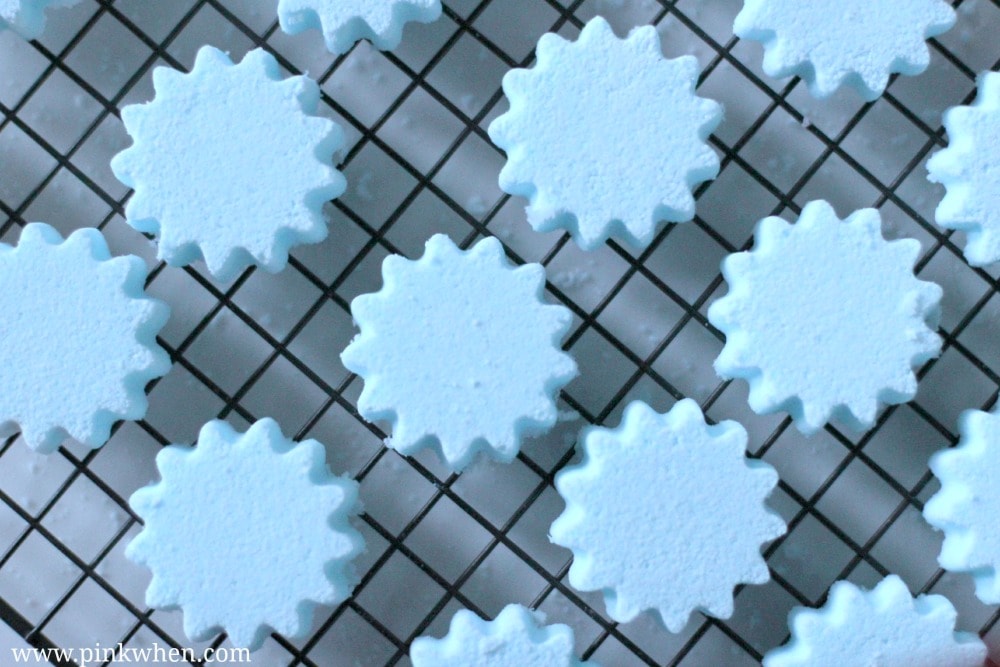
You want to make sure they are in a safe place, so they don’t get wet.
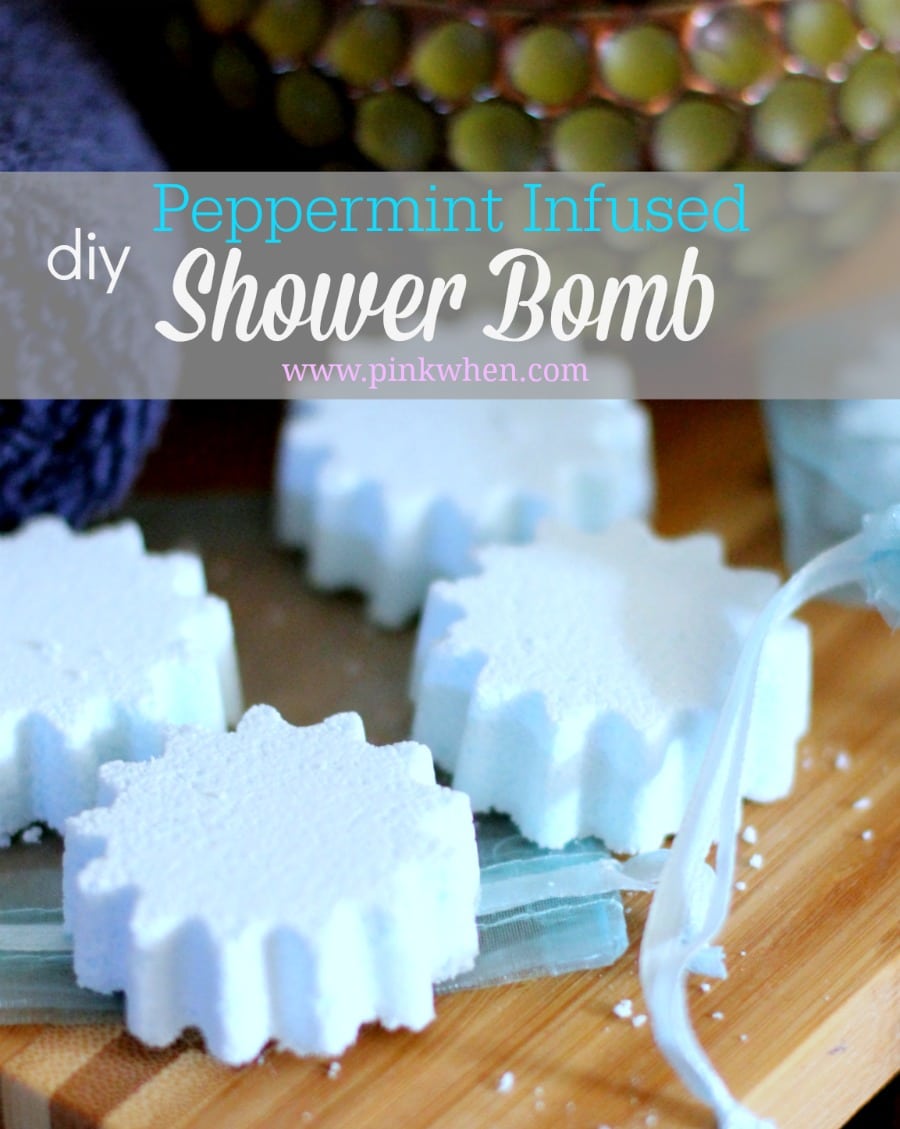
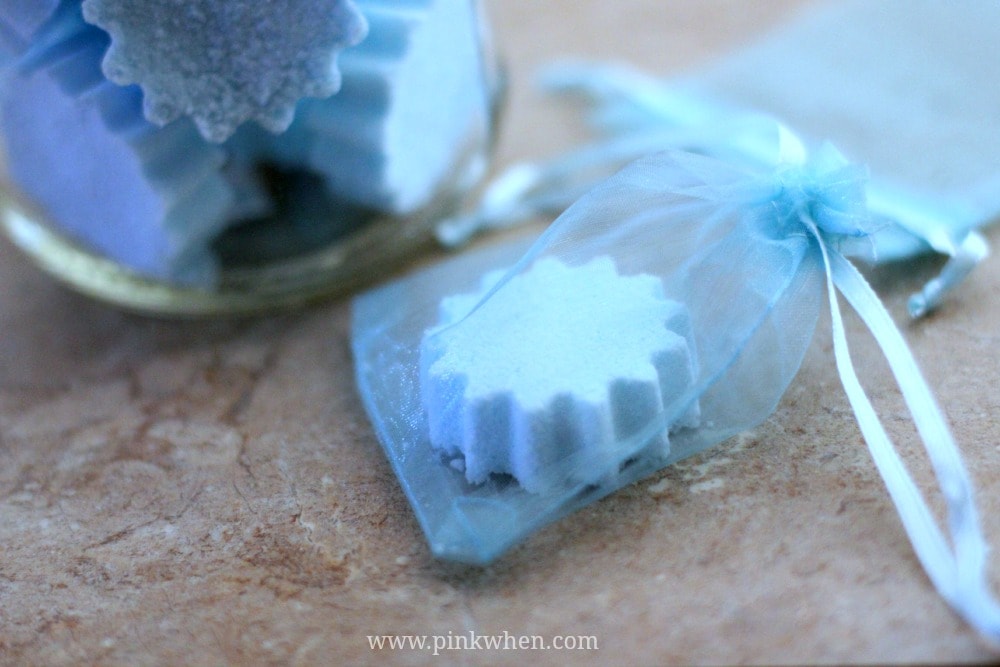
I like to keep these in a jar on the counter so when it’s shower time I can grab one and go.

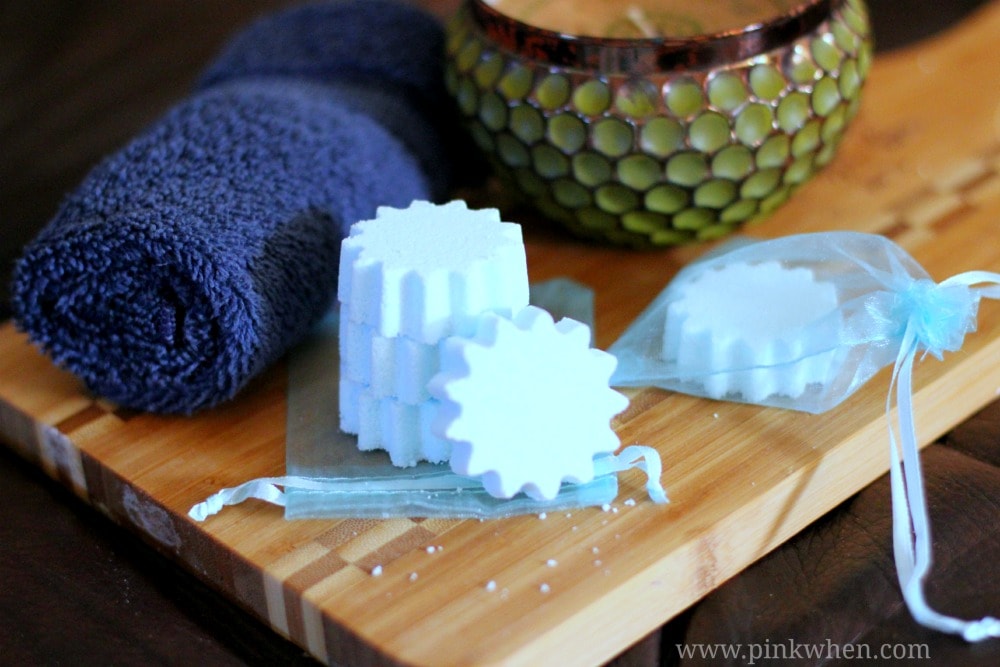
I love how refreshing the smell is, and how the steam and the Peppermint help open up my head congestion right when I need it. It’s a nice “wake me up,” too.
If you loved this tutorial on How to Make a Shower Bomb, and are looking for other uses for essential oils, check these other ideas out!
[adthrive-in-post-video-player video-id=”GWwDTHyT” upload-date=”2019-12-16T15:06:20.000Z” name=”How to Make a Shower Bomb ” description=”Step by step tutorial on how to make a shower bomb. ” player-type=”static”]
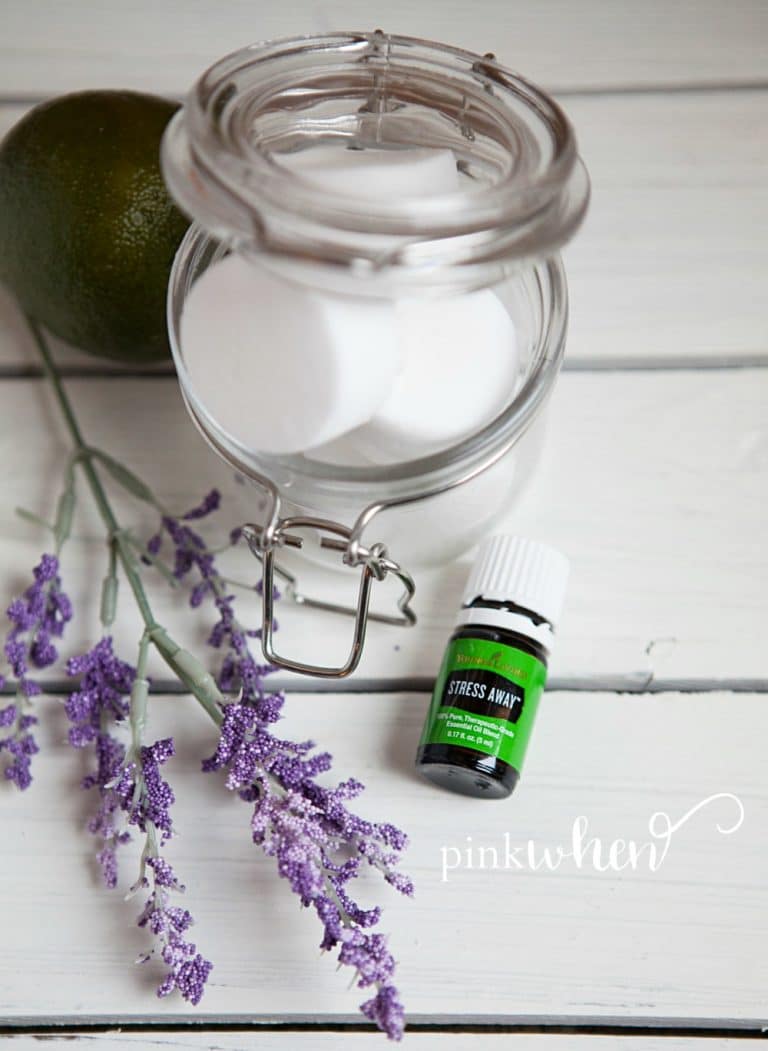
Stress Away Shower Soothers are also fantastic and easy to make. You can find them here!
Best Young Living Thieves Products
DIY Essential Oil Diffuser Bracelet

Disclaimer: The Food and Drug Administration has not evaluated these statements. This information is not intended to diagnose, treat, cure, or prevent any disease. The information on this site is not intended or implied to be a substitute for professional medical advice, diagnosis or treatment. Please confirm any information obtained from or through this website with other sources, and review all information regarding any medical condition or treatment with your physician. Never disregard professional medical advice or delay seeking medical treatment because of something you have read on this website.
Ingredients
- 2 cups baking soda
- 1/2 cup citric acid
- 20 drops essential oil Peppermint, or your favorite
- 1 1/2 tbsp water
- 6 drops food coloring
Instructions
- Pour the baking soda and citric acid into the mixing bowl of a stand mixer and stir well.
- In a small bowl add water, essential oil, and food coloring. Mix well.
- Turn the mixer on low and then slowly add three to four drops of the essential oil mixture at a time. DO NOT POUR. Keep the mixer ON and slowly add the drops
- Drop tablespoons full of the mixture into your desired mold and pack the mixture well.
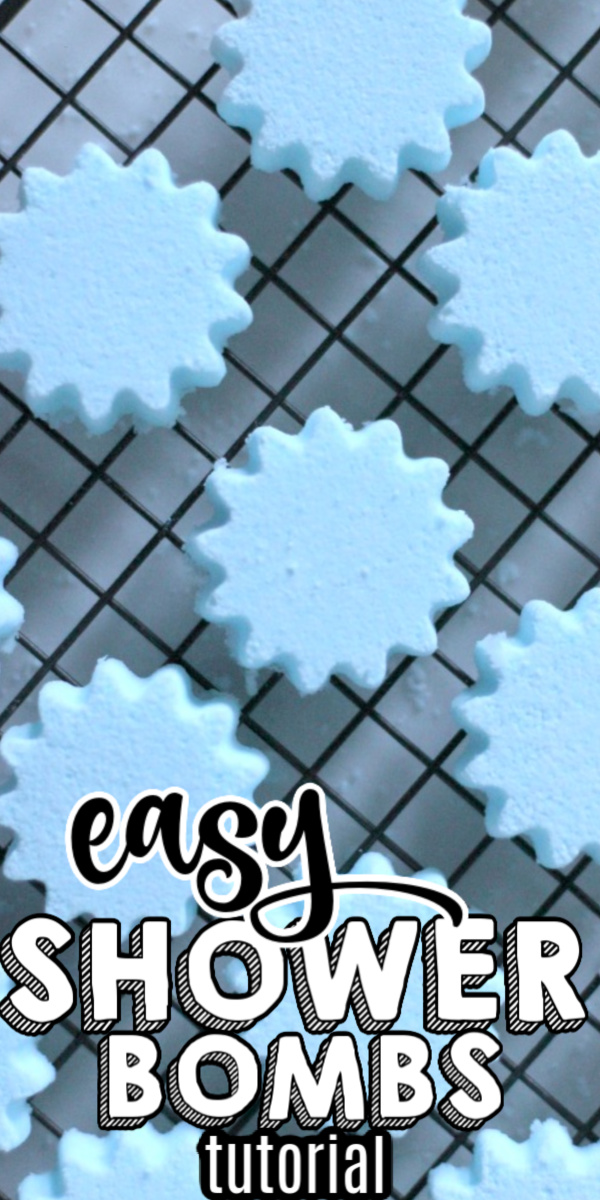
- Once the mold is filled, set it aside and allow the Shower Bombs to air dry for 4-8 hours. If you're not in a rush, let them dry overnight for best results. Carefully pop them out of the molds and let them continue to dry if needed.
- To use one of the shower bombs, place it in the shower or the bath tub with water and allow it to fizz.
Notes
- Store these shower bombs in an airtight container in a dry place. I like to store mine in mason jars.
- Gift these in little tiny mason jars. It’s always a favorite gift for our teachers during Christmas!
- Use different colors, essential oils, and molds to make different shower bombs and designs.



What a beautiful product. So do you just drop them on the floor of the shower then? I’ve never heard of these…. I’m thinking stocking stuffers for next year, or a nice gift for girlfriends!
That’s correct! Just grab one and place it on the floor of the shower. It will dissolve before you get out, and these do make great gifts! I’m going to do more in different scents. LOVE these.
I’m now a bath person either. Going to try these out!
I am going to try these for baby shower gifts. Great for bridal shower too. Thank you! 🙂
They are really awesome. I love just to throw one in and wake up. 🙂
What is the purpose of the citric acid in this recipe? Can it be made without it? Also, I’ve read that “artificial” citric acid is a problem. The link to the CA you provided does not state what kind of CA it is (natural or artificial). thanks!
I have never made these without the citric acid, but I believe it helps keep the end product together as well as keep it from dissolving to quickly. The link (which is the exact one I purchased) says it is 100% pure citric acid. Hopefully that helps! 🙂
The citric acid reacts with the bicarbonate (base) to produce carbon dioxide gas which is why it fizzes. Without an acid you wont get a reaction that produces gas. I don’t know about the artificial CA tho.
Oh fun! I might skip the food coloring personally but you used the perfect amount. I can just smell it now!
Actually, I literally can. I have Peppermint oil on my fingernails.
I just recently got on the Young Living bandwagon. I’m excited to try your shower bomb recipe! Pinned!
What an easy and great idea. I would love these. Definitely trying this.
Bev
Peppermint is also good for pain, so these are a must try for me!
Thanks for sharing at Inspire Me Mondays!
Has anyone tried using thieves in these?
Love these! I pinned your post a few weeks ago when I was planning for a Make & Take class. We didn’t make them that night b/c of the time to dry, but they are definitely on my list for myself. 🙂 I’m featuring you tomorrow at Show Me Saturday. Thanks for linking up.
I just found this on Pinterest and would love to make these for Christmas gifts. How many shower bombs can you make out of one batch?
I was able to make the entire silicon tray once, and I had a little left over to where I could make a few more if needed. 🙂
How long do they last in storage (mason jars)? I made eucalyptus ones and they’re amazing! But want to make ahead for Christmas. TX!
I think they would last for a couple of months. I am not sure how much longer because mine were all gone!
Was it a 12 spot tray? Trying to get a better idea of how many one batch makes for a make n take we are planning…
Thanks for the information 🙂
It’s the 24 cavity silicone tray. I have the link for the same one I used under the list of supplies. Hope that helps!
I have a large open shower and didn’t really get the peppermint sensation with this recipe. Are you using these in a smaller closed in shower?
My shower is more closed in and is not very large. If you have a larger shower and want a stronger scent, you can always adjust your peppermint ratio, or use more than one when you shower. 🙂
Was disappointed with this i followed the directions exactly planned on doing these for xmas gifts and i didnt even make it into the shower and it was gone already!
I am so sorry you had a difficult time with these. I wouldn’t give up! They are amazing, and maybe you accidentally added a little too much liquid. Hopefully you will get a second chance and they will turn out amazing. 🙂
Im making right now in a silicon sheet just like yours, however, they are puffing up like cupcakes. Did yours do that? They sure don’t looks as pretty as yours. Did I put too much water in? I also used eucalyptus and lavender in mine. ????
Oh no! Mine did not puff up at all. In fact, I packed my ingredients in. If they are getting puffy, you may have used too much liquid. 🙁
Mine also puffed up somewhat, but here are some things I might have done wrong. I added liquid very slowly but not with a dropper so I might have caused the reaction to begin in the mixing. I used a 6 mold rather than 12 so they might have been too big. I’m going to try again.
I see that a few people had some trouble making these, but I just made a batch to give as gifts with my handmade soaps and lip balms, and they came out great. A few notes: when Jennifer says to add the essential oil mixture a couple of drops at a time, she means it! If you dump the whole thing it at once, you will end up with a big, fizzy failure. Also, if you don’t have a stand mixer (and I don’t) it works fine to keep stirring with a spoon with one hand while you add the EO mixture with the other. Finally, when you use them, put the soother on the very outside of the shower stream so it gets wet slowly and releases the fragrance a bit at a time. Otherwise, it will melt before you’ve managed to get your hair wet.
What are the instructions for the person receiving these as a gift? Can you put in a dish in the shower as a aromatherapy bomb or just on shower floor?
You just place them on the shower floor. I would place these in the shower just before you get in. Otherwise, they may be gone before you get in. 🙂
I made these a few weeks ago in a gingerbread silicone mold, but they puffed up. Any suggestions?
Hmmm, I am not sure. I made sure to pack mine really well and then let them sit overnight to dry out some before I removed them from the mold.
I love this recipe!! Just curious, what does the citric acid do in the recipe? Thanks
I’m sure it depends on the size of the mold, but approximately how many bombs does the recipe make?
My mold I believe give me 18.
Does anyone know if the food coloring has stained any bath tubs?? Just worried about that!! Otherwise, the recipe sounds great!!
I was wondering the same thing…anyone used these on a white shower floor before?
My shower floor is white and it didn’t stain or anything. I love them!
Fantastic idea! But how do you use these bombs in shower?? You keep them in your hand and then you put on your skin?
Because in bath they are fantastic and easier to use!!
Thanks
Chiara
You place them on the floor of the shower and allow the water and steam to create the aroma from the bombs. 🙂
I followed the directions & most of the scent evaporated over night. I ended up adding 3 drops to all of the steamers again. Has anyone tried the baking method instead?
I used a water-based food colouring to avoid staining. You need to use about 25 drops to get a faint blue colour.
I read somewhere that if you were to “bake” them, don’t put the Essential Oils INTO the mixture, but to put the oils ONTO the dried discs.
You don’t want to heat the oils up because it will kill the effectiveness of them.
I only bought 2 molds. How can I store the left over so I can make more tomorrow?
I save mine in jars and they are easy to store. In fact, some of mine have been stored for several months and are still fully intact.
I did 2 batches of this. First batch totally worked. Second was all crumbly. Can I salvage it? Thought about adding more water to make it “packable” again? The only difference was the oil blend that I can figure out. Thanks!
I made a few batches using a variety of different oil combinations. They look nice and fast through most of the shower if I keep them at the edge of water but I didn’t get a very strong scent from them. Should I just add more drops of oil? Do you think the brand of oils used will make a difference?
You could probably add more oil to them if you want a stronger scent.
I made these and mine puffed too but other recipes say they puff because of the ewction between the baking soda and citric acid. Anyways, can these just be dried overnight because I tried removing them as stated carefully and they stuck to the mold and fell apart! 🙁 I rolled them into a ball so as not to waste them. I also used a tad of beet powder and it did not stain my tub. However, I added extra scent but could not smell it in the shower. Can I use them taking a bath instead? Maybe I’ll smell them better.
You can probably use them as a bath bomb, and if you want more scent, you will want to add more oil. Just do it carefully so that you don’t cause them to activate.
I am wondering how slippery they are with the essential oils. I would like to make some for my mom but am concerned about falls. I know some of my bath ones are very slick.
Thanks,
Patty
Hi Patty! I actually like to toss mine on the side of the shower. That way they dissolve slowly, and also release the scent a little longer. If you are worried about slippage, I would try maybe a soap dish or something to hold the shower bomb, but still allowing it to get wet and release the scent. I would also recommend trying this ahead of time to make sure it is not too slippery. Hope that helps!
Hi, not sure what I did wrong. Mine won’t dissolve unless I crush it in little pieces and I can’t smell them at all. What did I do wrong?? I thought I followed the recipe exactly.
hi Kelly, I am not sure what the difference would be? I have never had a problem making these. The only thing that would stand out to me in maybe elevation of the area you live in? Humidity and elevation can make a difference in these projects. I live in a high humidity area and at sea level.
Can I use mini cupcake liners in a muffin tin instead of a silicone mold? Thank you!
Can you make these without a stand mixer? Mine just gave out on me. 🙁
Of course! You may have sore arms by the time you finish 🙂
I mixed these exactly according to the directions and amount. But, they were too dry when I placed in molds and didn’t set. I ended up pouring the contents back into the mixer. I guess I will try adding more oil and water to see if they will hold together and setup better.
Some people do have problems, so I should say that I am on sea level. I definitely think that the elevation level where you live can cause you to have to adjust the recipe a bit. I hope you are able to adjust a few amounts here and there and get them to work for you. They are the best!
Hi Jennifer!
Any additional tips on packaging? I’ve tried storing my bath shower bombs in an airtight container, wrapping in plastic wrap, and wrapping in foil and they all loose their scent after 2 weeks :(.
Any ideas?
I have noticed my scent diminish as well. My suggestion would be to add a few drops to a cotton ball and place that in the container as well before sealing. It should help lengthen the scent life. 🙂
hmm, I tried something similar (putting a few drops on the inside of the cork stopper) and the jar smells very strong for months on end but the shower bombs don’t smell like anything when placed in the shower.
Where did you get the mould from? It’s fantastic!
I ordered it from Amazon. 🙂
This looks so good! What a fun gift to make for friends or for yourself!
Thank you! 🙂
Thanks for sharing! Do they keep long?
I store mine in an airtight container (usually a mason jar) and they keep for 6 months easily.
Hi! Where did you buy the silicone mold you used? I have looked all over amazon and can’t seem to find it. ThankS!
I grabbed it off of amazon! Search for star shaped silicone mold. I have also seen these at Michaels and Hobby Lobby.