Hello to all of you PinkWhen readers! I’m Lisa Mabey from Mabey She Made It, a DIY, crafts, and sewing blog and I’m so excited to be here with you sharing a super simple but fun summer idea.
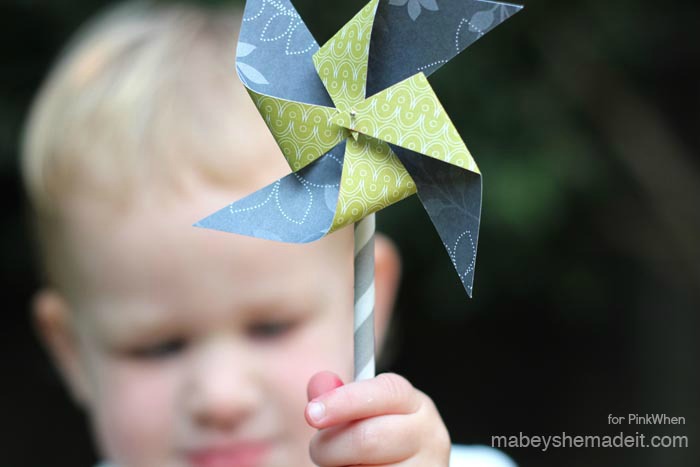
If you’ve never made pinwheels before, you’re in for a fun treat! I love how quick and cute they are. They’re the perfect addition to your summer decor and they look impressive while taking no time at all to create.
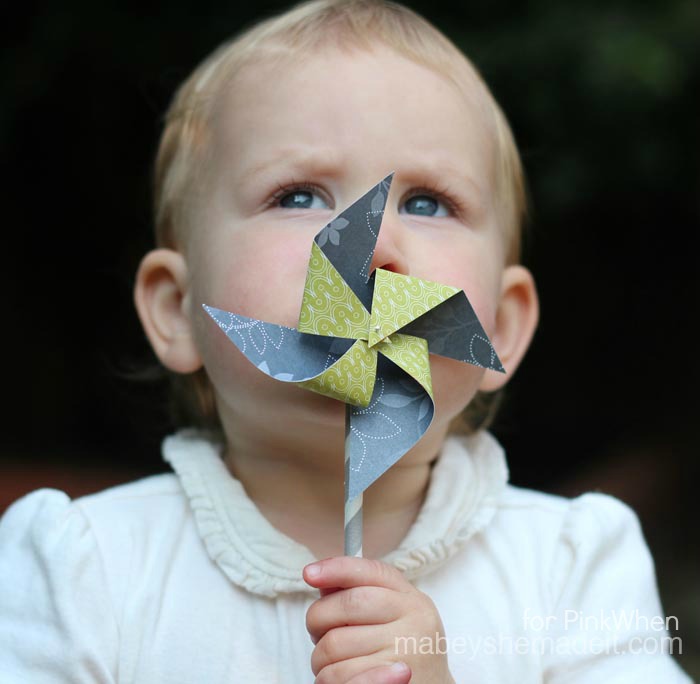
I wanted to incorporate them into some wedding luncheon centerpieces, so I made quite a few, and my girls had so much fun with them. So even if you don’t have a project or event coming up, you can spend just a few minutes making up a couple and watch your little ones have a lot of fun.
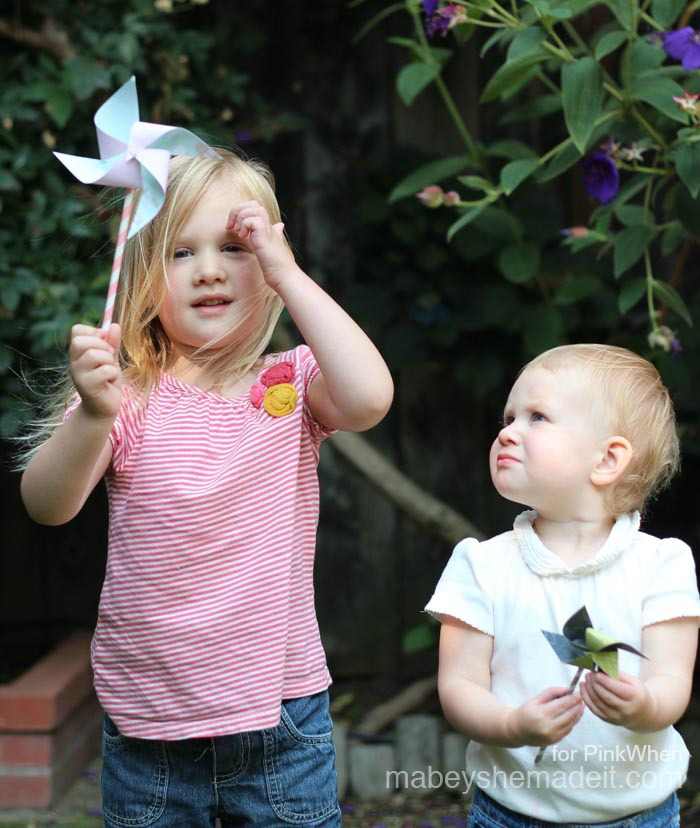
Their favorite is to stand in front of the fan and watch how quickly they spin. A nice breeze outside is pretty fun too. I ended up making extra so they could play with them and not impede my progress. Double win.
Here’s how to make your own:
- Print the Pinwheel Template onto the paper of your choice. I like to use a double-sided scrapbooking paper so you have fun designs on both sides.
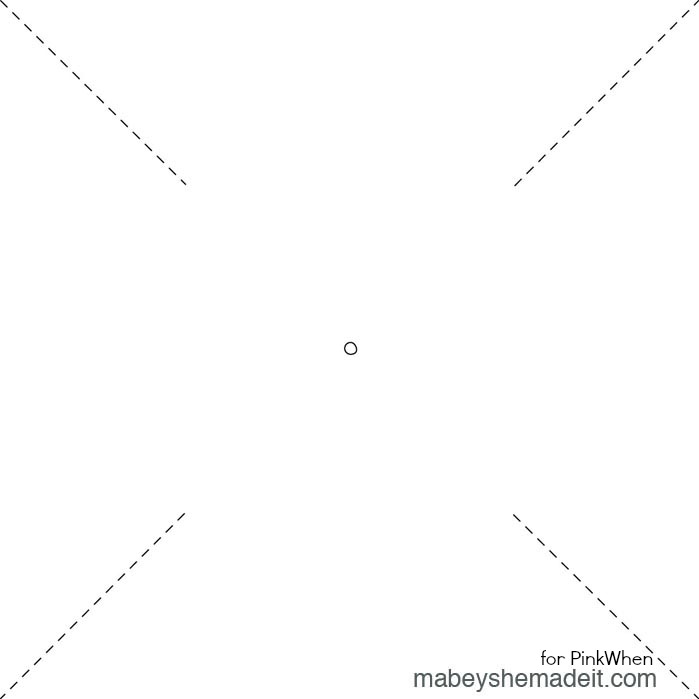
- Cut along the four dotted lines.
- Pull the right corner (or left; it doesn’t really matter as long as you use the same corner each time) of each side to the center, but don’t crease the fold
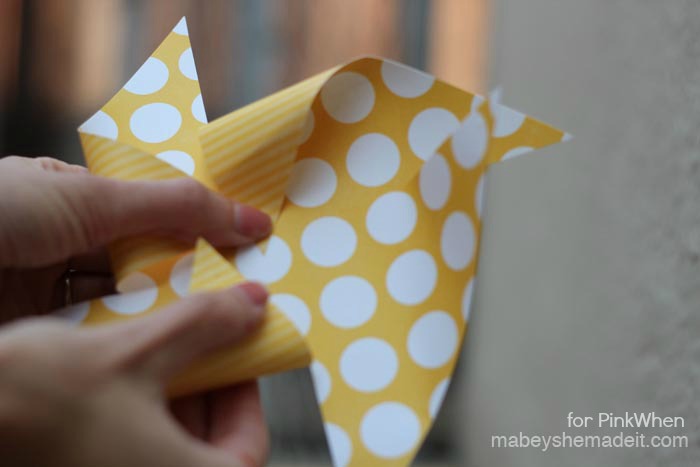
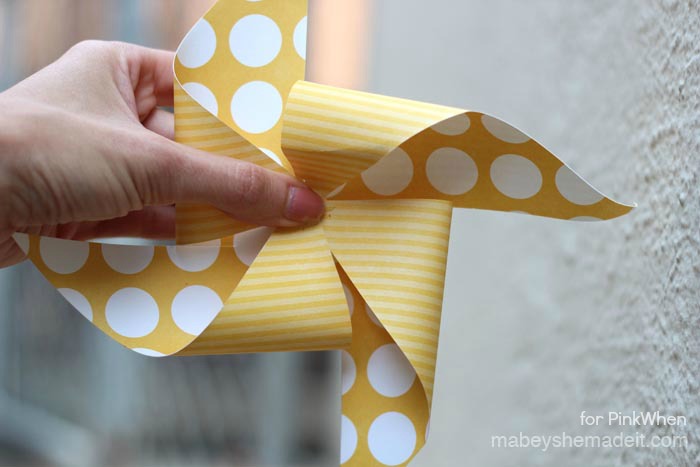
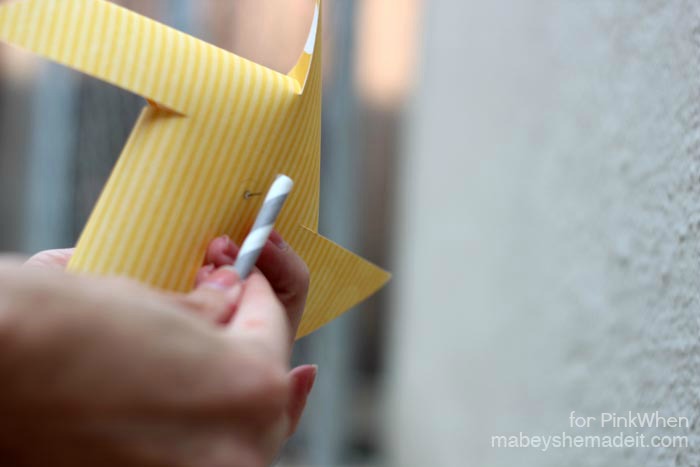
- Pin all four pulled corners to the center dot using a pin then stick the pin into a pencil eraser, straw, or any other “stick” for your pinwheel.
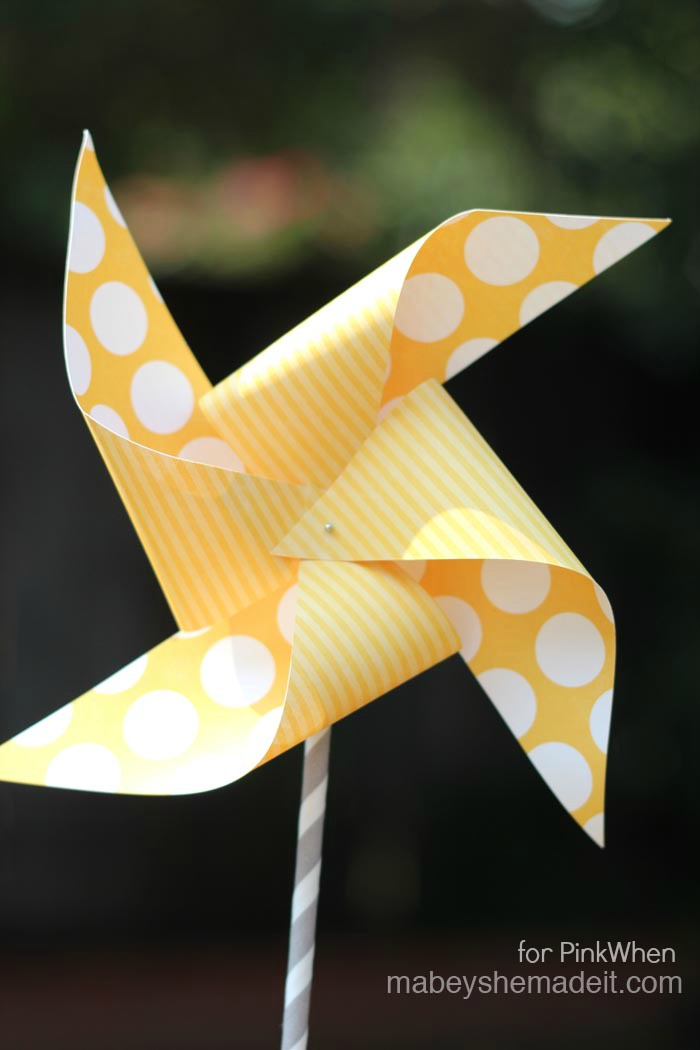
That’s it! One quick note, if you’d rather not print the template, you can eye it starting with square paper. They’re rather forgiving.
Thank you, Jenn, for letting me be part of your summer fun! And don’t forget to come visit me at Mabey She Made It or on Facebook, Twitter, Pinterest, Instagram, or Google +!



That does look super simple! I can see how you could easily make so many. These look like fun!
These are totally adorable and fun!
So cute and look so easy……….pinned I may have to find a reason to make some this summer Andi
I didn’t realize how simple pinwheels were to make. Thank you for sharing. =D
These are great! Pinwheels are so much fun and such a staple in a child’s life!!! I would love it if you would add your project to our link up this week! http://www.sowderingabout.com/2014/06/awesome-things-tuesday_10.html
Hi! I found you on the Artsy-Fartsy linkup and loved this post. Thank you for sharing and for the printable! I will surely be using it at my next birthday party. I wish I would have found this before my Strawberry Shortcake party last weekend. Thanks again!
Hi! I love this idea and was planning to make some for my wedding. However, I’m having trouble with everything staying together. I’ve tried map pins and cute striped straws, but the pins won’t stay in the straw – they just fly off. Any advice??