
Easy Homemade Ooey Gooey Bars Recipe

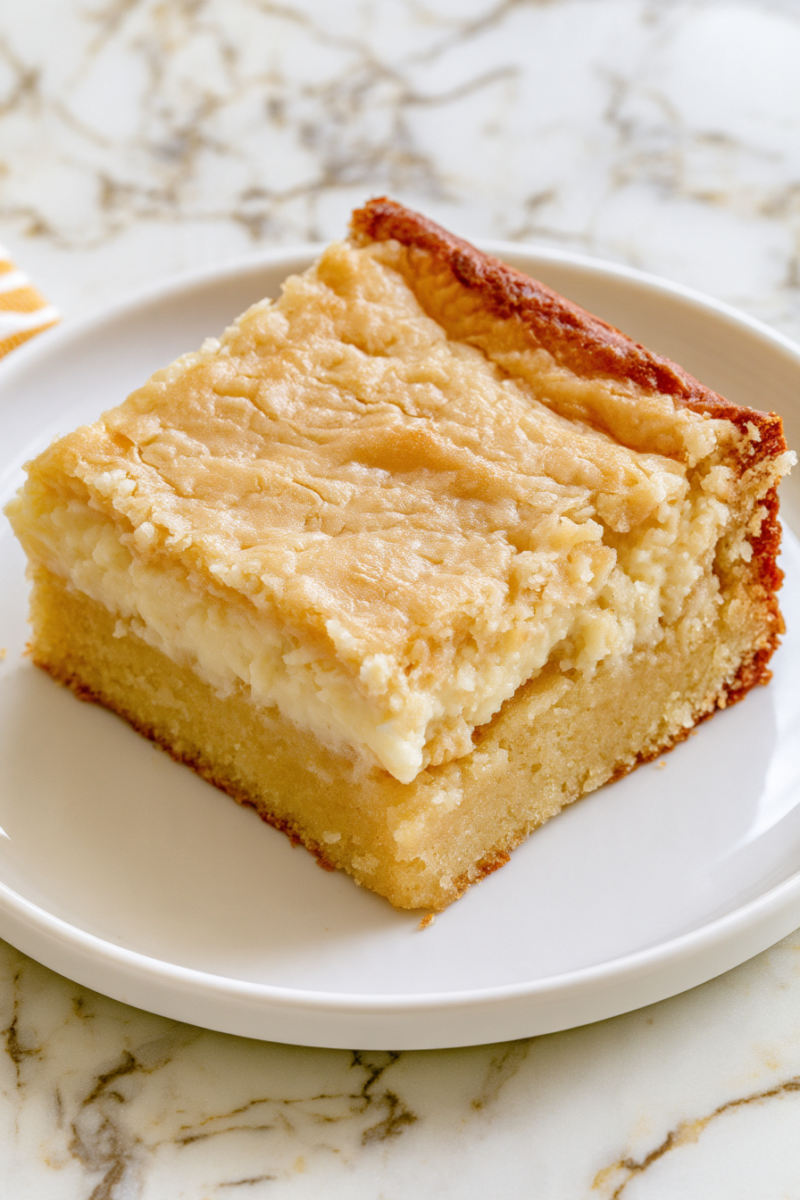
Homemade ooey gooey bars are the ideal dessert to take to your next neighborhood potluck. The chewy cake crust and rich cream cheese topping make them the ultimate nostalgic treat that disappears within seconds at a party. Because the base layer uses a box of cake mix, you can prepare this dessert for the oven in less than 10 minutes.
While the cake bakes, you get to enjoy a golden brown treat that’s perfectly crisp on the outside and tender on the inside. This recipe is incredibly easy to prepare, leaving you plenty of time to get ready for your guests.
Why You Will Love This Recipe
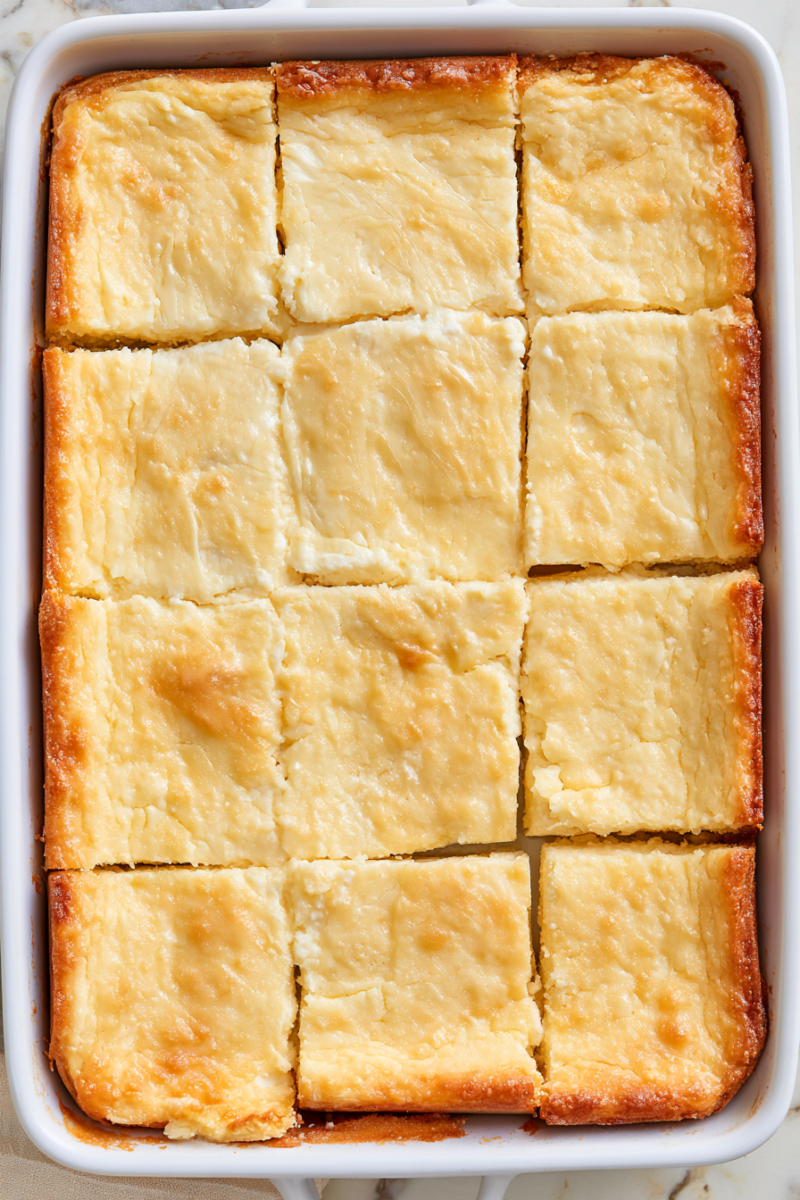
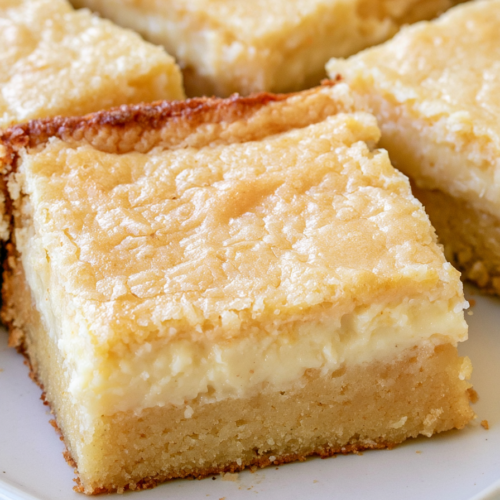
You’ll fall in love with this dessert because of the amazing texture contrast. The bottom layer is a dense, chewy blondie while the top is soft and creamy. The cream cheese topping is the perfect balance of sweetness for the buttery cake.
The best thing about this recipe is that cleanup is a breeze, which is great if you’re making this on a busy afternoon. Since you only use two bowls and one pan, you don’t have to wash a bunch of dishes afterward. This is the perfect low-maintenance, high-reward baking recipe when you want a pretty treat without the hassle.
The Ingredients
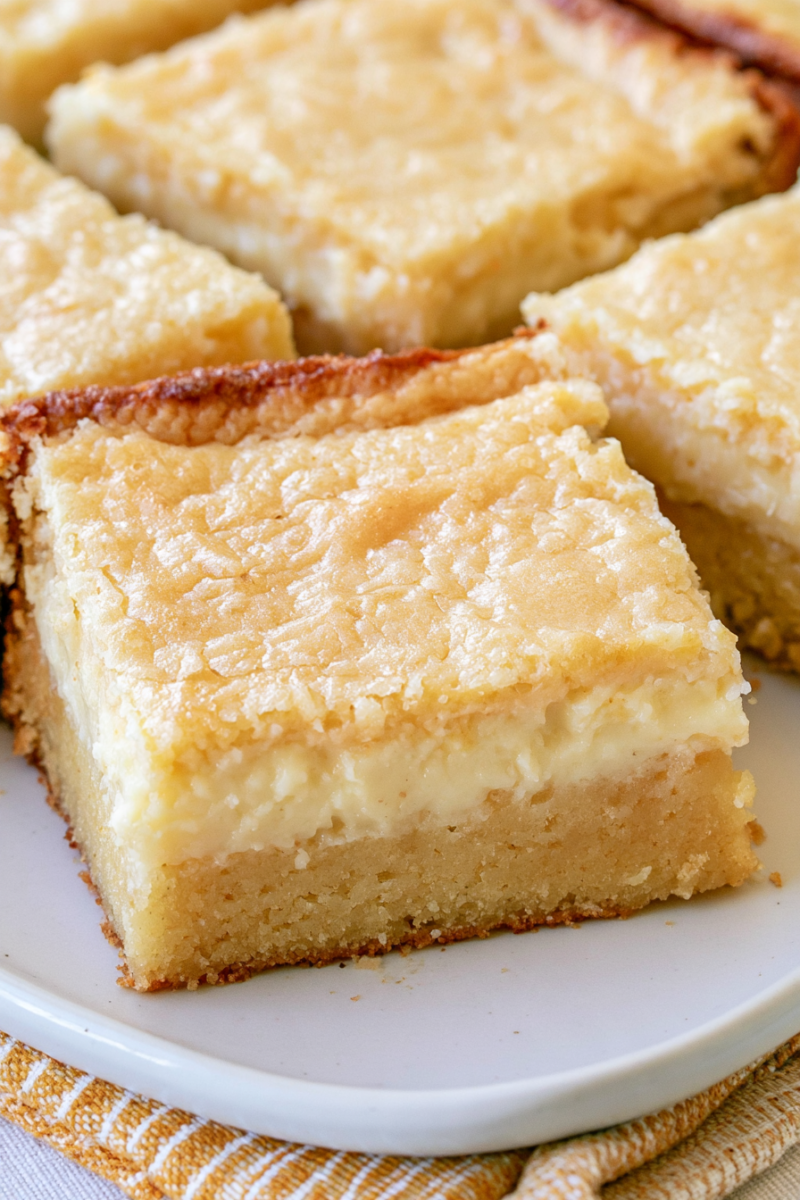
This recipe calls for yellow cake mix, unsalted butter, large eggs, cream cheese, powdered sugar, and vanilla extract.
Yellow Cake Mix
Using a box of yellow cake mix is the smart way to make a chewy, buttery base for these ooey gooey bars. Although the cake mix comes with instructions for making a cake, we don’t do that. Instead, we mix the dry ingredients with butter and an egg to make a dough. You can use a different flavor of cake mix like chocolate or lemon for a delicious flavor twist.
Cream Cheese
Rich, tangy full-fat cream cheese is what makes the gooey top layer so addictive. Be sure to let the cream cheese soften to room temperature before adding it to the batter, or you may end up with little white chunks in your topping. Mascarpone cheese is a great substitute for regular cream cheese. Mascarpone is a little sweeter, but it adds a luscious quality to the bars.
Powdered Sugar
The powdered sugar also helps sweeten the cream cheese flavor and sets the top layer to form a beautiful, crackly crust during baking. Take care to fold the sugar in gently to avoid making a huge sugar cloud all over your kitchen countertops. Sift the sugar ahead of time if it appears particularly clumpy to help ensure a smooth, silky gooey layer.
How to Make It
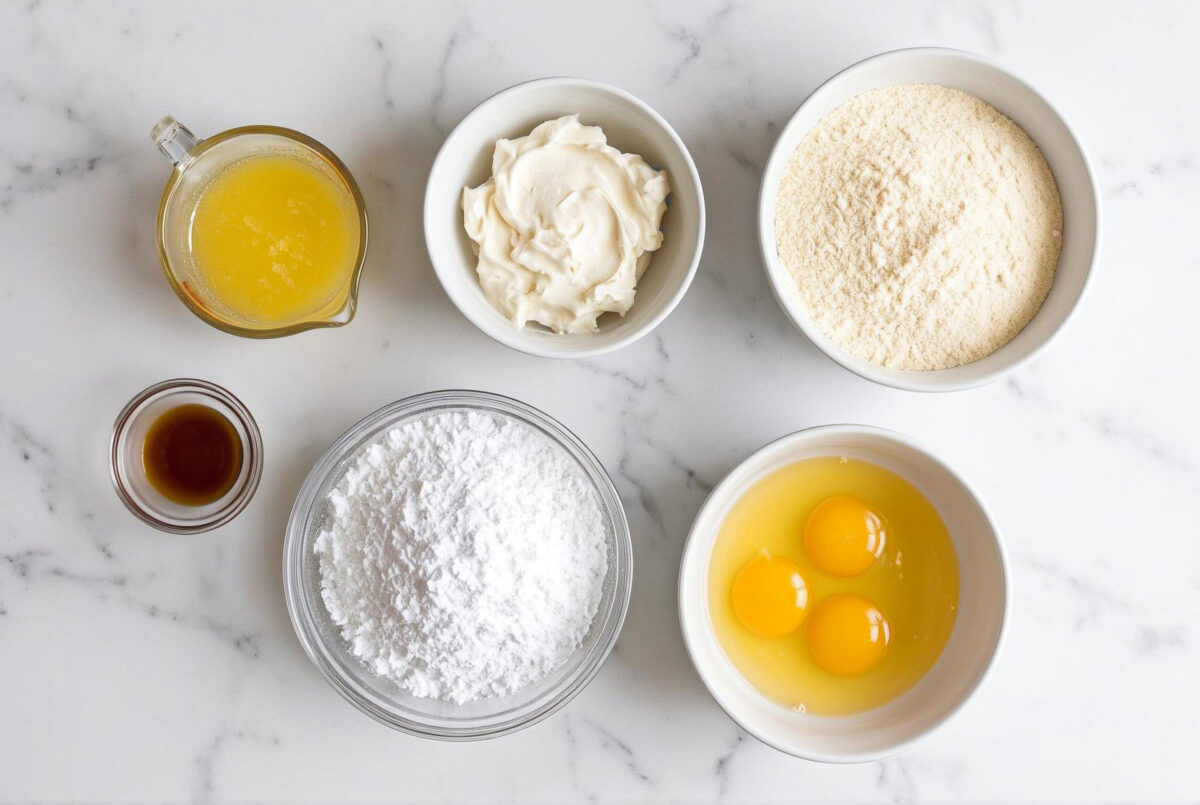
Let’s go over how ridiculously easy these layered cream cheese bars are to make.
Prepare the Pan
Preheat your oven to 350°F and lightly coat a 9×13″ baking dish with cooking spray. You can line the pan with parchment paper to help the sticky bars release more easily after they’ve cooled.
Mix the Crust
In a large mixing bowl, stir together the yellow cake mix, one egg and the melted butter until a thick dough is formed. Press the buttery crust mixture into the bottom of the prepared baking dish, forming an even layer.
Beat the Topping
In a separate mixing bowl, beat the softened cream cheese with an electric hand mixer until it’s smooth. Add the remaining eggs, vanilla extract and powdered sugar and beat until the mixture is smooth and creamy.
Pour and Bake
Spread the sweetened cream cheese topping evenly over the pressed crust, making sure it reaches the edges of the pan. Bake for 40-45 minutes, until the edges are lightly browned and the center is slightly jiggly.
My Best Tips for Success
Be sure your cream cheese is fully softened to room temperature before you beat it. Cold cream cheese will not fully incorporate with the other ingredients, leaving you with a lumpy topping. The best thing you can do is set the cream cheese on the counter an hour prior to baking.
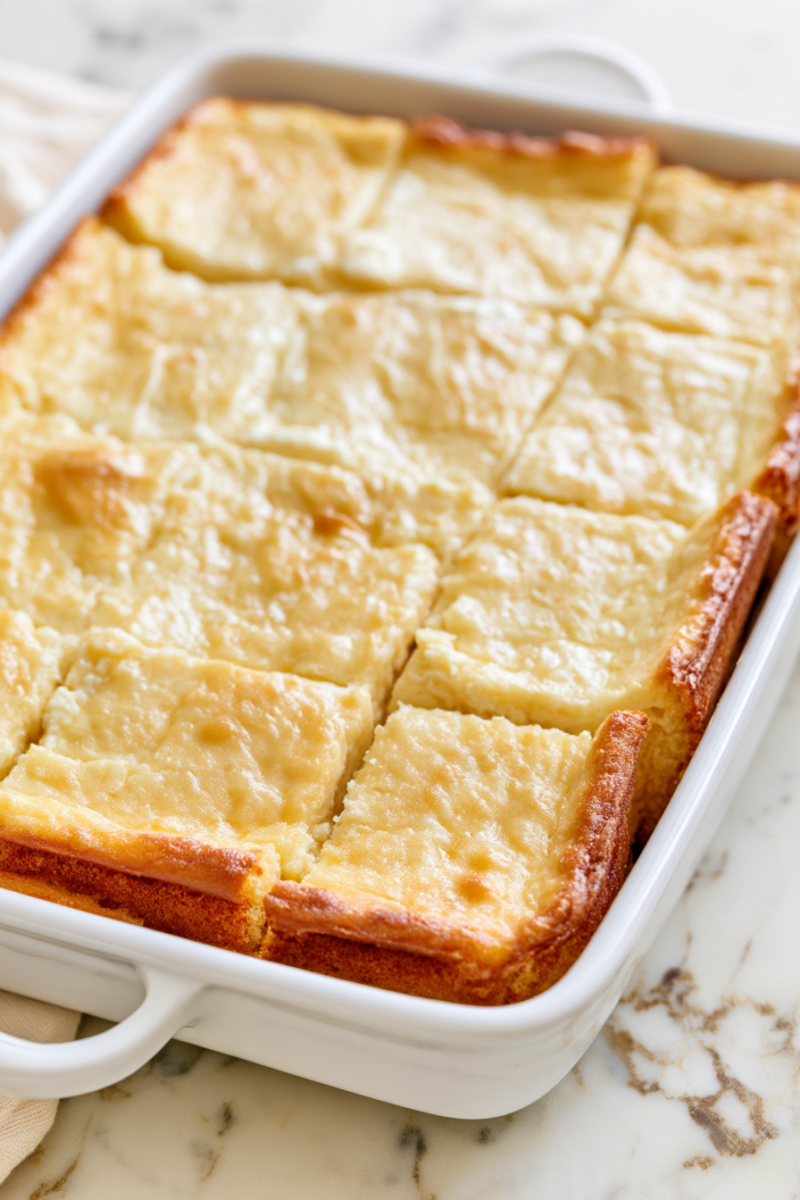
Don’t overbake these bars! Even if the middle looks underdone when the timer dings, the gooey cream cheese layer will continue to set and firm up as it cools on the countertop. Pulling them out of the oven while they still jiggle a little bit ensures the ultimate melt-in-your-mouth texture.
Allow the pan to cool to room temperature before you even consider slicing into the bars with a knife. Cutting them while they are still warm will cause the gooey topping to run and make a mess. For the cleanest slices, place the cooled pan in the refrigerator for an hour before slicing.
Easy Homemade Ooey Gooey Bars Recipe
JenniferEquipment
- 9×13 inch baking dish
- Electric hand mixer
- 2 Mixing bowls
Ingredients
For the Crust:
- 1 box yellow cake mix 15.25 oz box, dry only
- ½ cup unsalted butter melted
- 1 large egg
For the Topping:
- 1 block cream cheese 8 oz block, room temp
- 2 large eggs
- 1 tsp vanilla extract
- 3 ½ cups powdered sugar
Instructions
- Preheat your oven to 350°F and lightly grease a 9×13 baking dish with nonstick cooking spray or line with parchment paper.
- In a large mixing bowl, stir together the dry yellow cake mix, melted butter, and 1 large egg until a dough forms.
- Press the cake dough evenly and firmly onto the bottom of the prepared baking dish.
- In a separate medium mixing bowl, use an electric hand mixer to beat the softened cream cheese until smooth.
- Add in the remaining 2 eggs and vanilla extract and beat until combined.
- Slowly add in the powdered sugar and continue to beat until the mixture is completely smooth.
- Pour the cream cheese mixture evenly over the pressed cake crust in the baking dish.
- Bake for 40-45 minutes or until the edges are golden brown and the center is set.
- Allow the bars to cool completely before slicing and store in the refrigerator.
Nutrition
*Nutritional information is a calculated guesstimate. Please note that this can change with different brands and modifications you may make to the recipe. For the most accurate information, use a nutritional calculator with the exact brands and measurements you’re using with each recipe.
©PinkWhen 2026
Storage and Reheating
- To Store: Store the sliced bars in an airtight container in the refrigerator for up to 5 days.
- To Freeze: Freeze the bars in an airtight container for up to 3 months, placing parchment paper between the layers to prevent sticking.
- To Reheat: I highly recommend serving these bars cold right out of the fridge, but I’ve also been known to let them sit on the counter for about 10 minutes so they soften up a bit.
What to Serve with These Bars
- A steaming hot mug of dark roast coffee to cut through all of the sweet.
- A big spoonful of vanilla bean ice cream poured right over a hot, gooey square.
- A ton of salted caramel sauce drizzled on top of the whole pan.
- A tall glass of ice-cold whole milk, like we used to drink when we were little.
Frequently Asked Questions
Can I use a different cake mix flavor?
Yes, chocolate, strawberry, red velvet, and lemon cake mixes will all work great here! It’s a great way to make these for other holidays as well.
Why did my bars sink in the middle?
It’s totally normal for ooey gooey bars to sink just a little bit in the middle as they’re cooling on the counter. The sunken middle is actually the gooiest part of the entire bar!
Do these have to be refrigerated?
Yes, because there is a lot of cream cheese and eggs in the topping, you’ll want to keep them refrigerated.
Hi! I'm Jen, a wife, mother, and tennis lover who likes to share all of my quick easy recipes, crafts, and more. Visit my website for all of my tasty recipes.
- Jennifer
- Jennifer
- Jennifer
- Jennifer
- Jennifer
- Jennifer
- Jennifer
- Jennifer
- Jennifer
- Jennifer
- Jennifer
- Jennifer
- Jennifer
- Jennifer
- Jennifer
- Jennifer
- Jennifer
- Jennifer
- Jennifer
- Jennifer
- Jennifer
- Jennifer
- Jennifer
- Jennifer
- Jennifer
- Jennifer
- Jennifer
- Jennifer
- Jennifer
- Jennifer
- Jennifer
- Jennifer
- Jennifer
- Jennifer
- Jennifer
- Jennifer
- Jennifer
- Jennifer
- Jennifer
- Jennifer
- Jennifer
- Jennifer
- Jennifer
- Jennifer
- Jennifer
- Jennifer
- Jennifer
- Jennifer
- Jennifer
- Jennifer
- Jennifer
- Jennifer
- Jennifer
- Jennifer
- Jennifer
- Jennifer
- Jennifer
- Jennifer
- Jennifer
- Jennifer
- Jennifer
- Jennifer
- Jennifer
- Jennifer
- Jennifer
- Jennifer
- Jennifer
- Jennifer
- Jennifer
- Jennifer
- Jennifer
- Jennifer
- Jennifer
- Jennifer
- Jennifer
- Jennifer
- Jennifer
- Jennifer
- Jennifer
- Jennifer
- Jennifer
- Jennifer
- Jennifer
- Jennifer
- Jennifer
- Jennifer
- Jennifer
- Jennifer
- Jennifer
- Jennifer
- Jennifer
- Jennifer
- Jennifer
- Jennifer
- Jennifer
- Jennifer
- Jennifer
- Jennifer
- Jennifer
- Jennifer
- Jennifer
- Jennifer
- Jennifer
- Jennifer
- Jennifer
- Jennifer
- Jennifer
- Jennifer
- Jennifer
- Jennifer
- Jennifer
- Jennifer
- Jennifer
- Jennifer
- Jennifer
- Jennifer
- Jennifer
- Jennifer
- Jennifer
- Jennifer
- Jennifer
- Jennifer
- Jennifer
- Jennifer
- Jennifer
- Jennifer
- Jennifer
- Jennifer
- Jennifer
- Jennifer
- Jennifer
- Jennifer
- Jennifer
- Jennifer
- Jennifer
- Jennifer
- Jennifer
- Jennifer
- Jennifer
- Jennifer
- Jennifer
- Jennifer
- Jennifer
- Jennifer
- Jennifer
- Jennifer
- Jennifer
- Jennifer
- Jennifer
- Jennifer
- Jennifer
- Jennifer
- Jennifer
- Jennifer
- Jennifer
- Jennifer
- Jennifer
- Jennifer
- Jennifer
- Jennifer
- Jennifer
- Jennifer
- Jennifer
- Jennifer
- Jennifer
- Jennifer
- Jennifer
- Jennifer
- Jennifer
- Jennifer
- Jennifer
- Jennifer
- Jennifer
- Jennifer
- Jennifer
- Jennifer
- Jennifer
- Jennifer
- Jennifer
- Jennifer
- Jennifer
- Jennifer
- Jennifer
- Jennifer
- Jennifer
- Jennifer
- Jennifer
- Jennifer
- Jennifer
- Jennifer
- Jennifer
- Jennifer
- Jennifer
- Jennifer
- Jennifer
- Jennifer
- Jennifer
- Jennifer
- Jennifer
- Jennifer
- Jennifer
- Jennifer
- Jennifer
- Jennifer
- Jennifer
- Jennifer
- Jennifer
- Jennifer
- Jennifer
- Jennifer
- Jennifer
- Jennifer
- Jennifer
- Jennifer
- Jennifer
- Jennifer
- Jennifer
- Jennifer
- Jennifer
- Jennifer
- Jennifer
- Jennifer
- Jennifer
- Jennifer
- Jennifer
- Jennifer
- Jennifer
- Jennifer
- Jennifer
- Jennifer
- Jennifer
- Jennifer
- Jennifer
- Jennifer
- Jennifer
- Jennifer
- Jennifer
- Jennifer
- Jennifer
- Jennifer
- Jennifer
- Jennifer
- Jennifer
- Jennifer
- Jennifer
- Jennifer
- Jennifer
- Jennifer
- Jennifer
- Jennifer
- Jennifer
- Jennifer
- Jennifer
- Jennifer
- Jennifer
- Jennifer
- Jennifer
- Jennifer
- Jennifer
- Jennifer
- Jennifer
- Jennifer
- Jennifer
- Jennifer
- Jennifer
- Jennifer
- Jennifer
- Jennifer
- Jennifer
- Jennifer
- Jennifer
- Jennifer
- Jennifer
- Jennifer
- Jennifer
- Jennifer
- Jennifer
- Jennifer
- Jennifer
- Jennifer
- Jennifer
- Jennifer
- Jennifer
- Jennifer
- Jennifer
- Jennifer
- Jennifer
- Jennifer
- Jennifer
- Jennifer
- Jennifer
- Jennifer
- Jennifer
- Jennifer
- Jennifer
- Jennifer
- Jennifer
- Jennifer
- Jennifer
- Jennifer
- Jennifer
- Jennifer
- Jennifer
- Jennifer
- Jennifer
- Jennifer
- Jennifer
- Jennifer
- Jennifer
- Jennifer
- Jennifer
- Jennifer
- Jennifer
- Jennifer
- Jennifer
- Jennifer
- Jennifer
- Jennifer
- Jennifer
- Jennifer
- Jennifer
- Jennifer
- Jennifer
- Jennifer
- Jennifer
- Jennifer
- Jennifer
- Jennifer
- Jennifer
- Jennifer
- Jennifer
- Jennifer
- Jennifer
- Jennifer
- Jennifer
- Jennifer
- Jennifer
- Jennifer
- Jennifer
- Jennifer
- Jennifer
- Jennifer
- Jennifer
- Jennifer
- Jennifer
- Jennifer
- Jennifer
- Jennifer
- Jennifer
- Jennifer
- Jennifer
- Jennifer
- Jennifer
- Jennifer
- Jennifer
- Jennifer
- Jennifer
- Jennifer
- Jennifer
- Jennifer
- Jennifer
- Jennifer
- Jennifer
- Jennifer
- Jennifer
- Jennifer
- Jennifer
- Jennifer
- Jennifer
- Jennifer
- Jennifer
- Jennifer
- Jennifer
- Jennifer
- Jennifer
- Jennifer
- Jennifer
- Jennifer
- Jennifer
- Jennifer
- Jennifer
- Jennifer
- Jennifer
- Jennifer
- Jennifer
- Jennifer
- Jennifer
- Jennifer
- Jennifer
- Jennifer
- Jennifer
- Jennifer
- Jennifer
- Jennifer
- Jennifer
- Jennifer
- Jennifer
- Jennifer
- Jennifer
- Jennifer
- Jennifer
- Jennifer
- Jennifer
- Jennifer
- Jennifer
- Jennifer
- Jennifer
- Jennifer
- Jennifer
- Jennifer
- Jennifer
- Jennifer
- Jennifer
- Jennifer
- Jennifer
- Jennifer
- Jennifer
- Jennifer
- Jennifer
- Jennifer
- Jennifer
- Jennifer
- Jennifer
- Jennifer
- Jennifer
- Jennifer
- Jennifer
- Jennifer
- Jennifer
- Jennifer
- Jennifer
- Jennifer
- Jennifer
- Jennifer
- Jennifer
- Jennifer
- Jennifer
- Jennifer
- Jennifer
- Jennifer
- Jennifer
- Jennifer
- Jennifer
- Jennifer
- Jennifer
- Jennifer
- Jennifer
- Jennifer
- Jennifer
- Jennifer
- Jennifer
- Jennifer
- Jennifer
- Jennifer
- Jennifer
- Jennifer
- Jennifer
- Jennifer
- Jennifer
- Jennifer
- Jennifer
- Jennifer
- Jennifer
- Jennifer
- Jennifer
- Jennifer
- Jennifer
- Jennifer
- Jennifer
- Jennifer
- Jennifer
- Jennifer
- Jennifer
- Jennifer
- Jennifer
- Jennifer
- Jennifer
- Jennifer
- Jennifer
- Jennifer
- Jennifer
- Jennifer
- Jennifer
- Jennifer
- Jennifer
- Jennifer
- Jennifer
- Jennifer
- Jennifer
- Jennifer
- Jennifer
- Jennifer
- Jennifer
- Jennifer
- Jennifer
- Jennifer
- Jennifer
- Jennifer
- Jennifer
- Jennifer
- Jennifer
- Jennifer
- Jennifer
- Jennifer
- Jennifer
- Jennifer
- Jennifer
- Jennifer
- Jennifer
- Jennifer
- Jennifer
- Jennifer
- Jennifer
- Jennifer
- Jennifer
- Jennifer
- Jennifer
- Jennifer
- Jennifer
- Jennifer
- Jennifer
- Jennifer